How To Get Seeds From Brussel Sprouts: Tips and Tricks for Seed Saving
It’s time to harvest your Brussels sprouts. If you’re wondering how to get seeds from Brussel sprouts, you should know that there are a few things that can make it difficult. First of all, as a member of the Brassica family, Brussels sprouts are pollinated by bees and also cross-pollinate with members of the same species making it hard to get true-to-type seed. Secondly, they are biennial which means they’ll flower in the second year. We’ll discuss how to get good quality seed from your Brussels sprouts plants despite these challenges!
Nutritious and cool-weather hardy, Brussels sprouts make a great addition to your vegetable garden. Saving seeds from healthy Brussels sprout plants saves you from having to buy seeds next year!
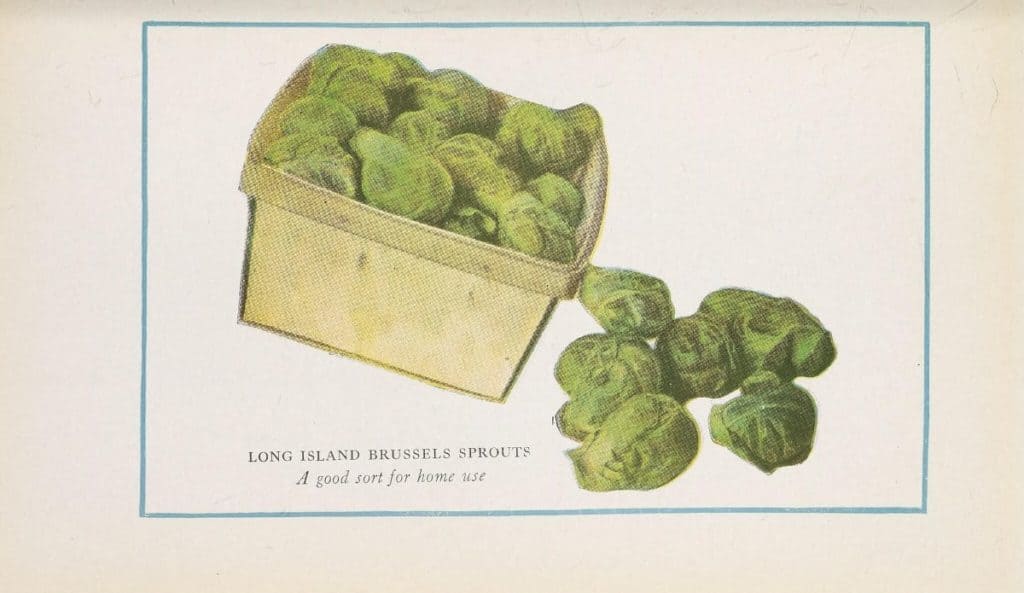
Why saving Brussels sprouts seeds is tricky
Brussels sprouts belong to the Brassica oleracea family of which broccoli, cabbage, cauliflower, collards, and kale also belong. (Perhaps it’s no surprise that sprouts resemble mini cabbages!)
The thing about Brassicas is that saving seeds from flowering plants is not for the faint of heart. This is because Brassicas will cross-pollinate with one another—you may end up with hybrid seeds, of say, cauliflower-Brussels sprouts, or some other type of Franken-crop.
If you wish to save sprouts seed, you can only grow one type of Brassica at a time, (or, take careful steps to limit mixing which we’ll outline in the next section).
Here’s why getting Brussels sprouts seeds (good seeds, anyway) is tricky:
Tip: Seed saving only works with open-pollinated (true-to-type) seeds and not hybrid varieties.
How long do Brussels sprouts seeds remain viable?
When properly stored in a dry, cool, and dark place, Brussels sprouts and most types of Brassicas are viable for 4–5 years.
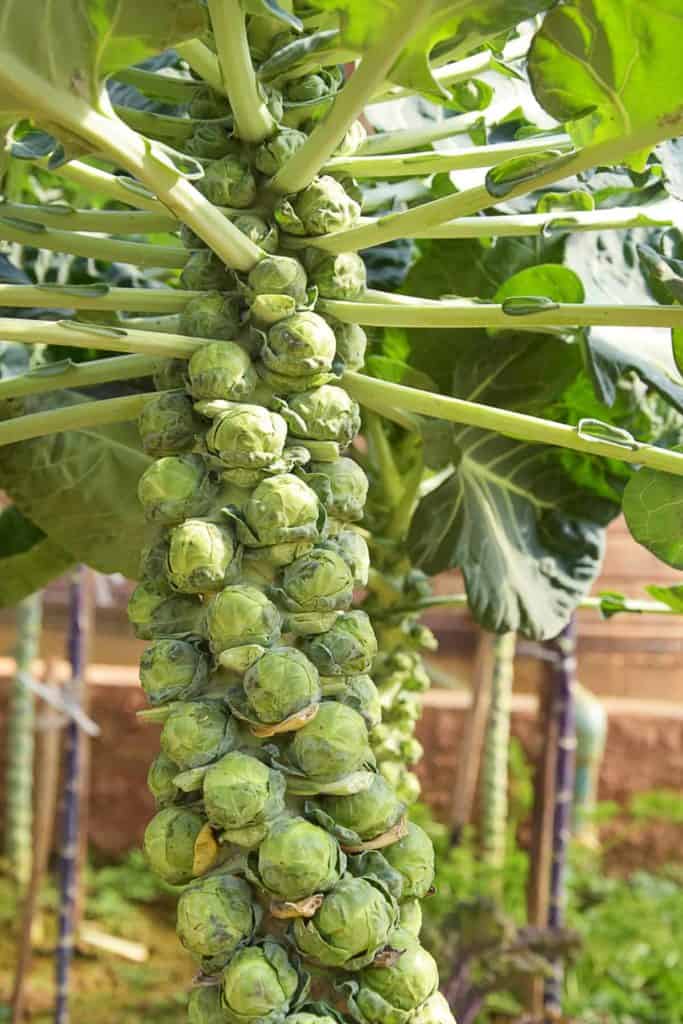
Tips and tricks on how to get seeds from Brussel sprouts
I hope we didn’t discourage you too much from trying to save seed from Brussels sprouts so far. As we mentioned, saving seed from Brussels sprouts is tricky, but not impossible.
Isolation is key when trying to collect quality seeds from Brussels sprouts.
There are various ways you can isolate your sprouts from other Brassicas.
Distance
With distance isolation, you want to keep any flowering plants far, far away from other members of the same species. How far, exactly?
Many sources say a minimum of at least 100 yards apart. Others say 1 mile (1.6 kilometers) works better. The more distance between other Brassicas, the better.
I can’t give you an exact number as I’ve never tried distance isolation living in the city.
And truth be told, the distance required between plants differs for each individual garden. There are a number of factors that come into play such as garden topography, layout, types of physical barriers (walls or shrubs), number of plants, etc.
This method only works though if you have a large homestead. If you’re an urban gardener, this method probably won’t work for you.
If you plan to use this method, it’s a bit of trial-and-error—you’ll need to experiment to see what works best for you.
Limit flowering
The second (and more feasible) way to prevent cross-pollination is to limit flowering. Only allow one type of plant within a single species to flower and produce seed in a single year.
As Brussels sprouts seeds (and most Brassicas) are good for at least 4 years, this means you could potentially grow broccoli, cabbage, cauliflower, and Brussels sprouts together in a garden, but only allow one type to flower each year.
Rotate the plant that’s allowed to flower, collect the seeds, and soon you’ll have a nice seed collection.
Tip: While this isn’t a failproof method, limiting flowering is probably the most feasible and effective option for most gardeners.
Containment
The third way to limit cross-pollination is to physically isolate or contain each type of Brassica oleracea.
You would still need to remove the cages or containers once in a while to let bees pollinate the flowers. As you can imagine with this method, there’s still some chance of species mixing.
How to get seeds from Brussels sprouts: step-by-step
Ensure you save seeds from multiple plants to get a good selection. Aim to save seeds from at least five or more different plants.
Saving seeds from only one Brussels sprouts plant for example results in poor quality, inbred plants.
Don’t allow small small, or weak plants to flower—eat these instead during harvest time!
Overwinter
Many types of brassicas including Brussels sprouts are biennial meaning they’ll grow and mature in the first year, and flower and set seed the following spring. Most varieties do well in cold weather and can survive frosty temperatures (their flavor is actually improved with a touch of frost).
Most Brussels sprouts can tolerate cold to 0 degrees Fahrenheit (-18 degrees Celsius). If you live in a colder climate, you’ll need to dig up the sprouts and roots, put them into pots with moist soil. Overwinter them either in a greenhouse or indoors in a garage or shed.
It’s important to vernalize Brussels sprouts to ensure they produce plenty of flowers and seeds in the spring. This period of cooling off is essential to the germination process.
Once spring and warm temperatures arrive, you can then plant Brussels sprouts back into the garden to flower and seed. Space plants 36 inches (91 centimeters) apart.
Tip: When selecting which plants to save for seeds, select only the strongest, most healthy plants. It’s a good idea to mark the pots so you’ll be able to identify them come springtime.
When to collect seeds
Once Brussels sprouts are transplanted into the garden in early spring, you’ll want to support the tall seed stalks with stakes.
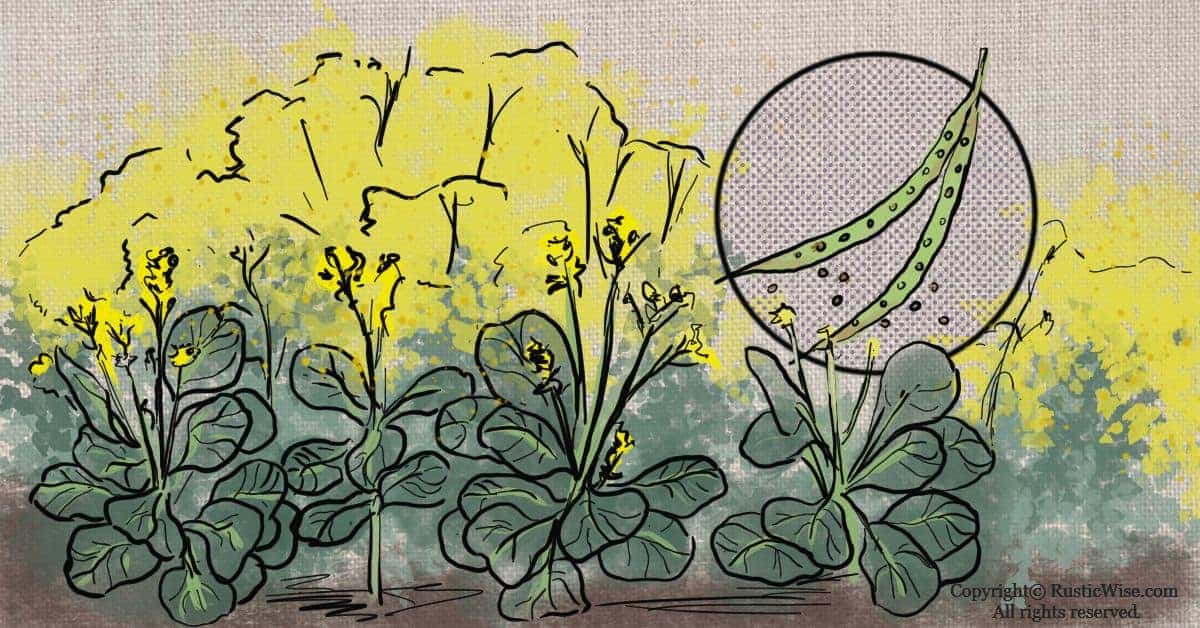
A flowering mature sprouts plant produces seed pods which turn from green to brown. Completely green seed pods aren’t mature yet (and won’t mature after they’re harvested).
Keep a close eye on your sprouts: there’s a small timeframe when seeds begin to turn from green to brown.
Take a peek inside a few seed pods. The seed pods still look green on the outside, but the seeds inside are turning darker, an olive-green. This is when you know it’s harvest time!
If you wait too long, seed pods turn completely brown and papery in what seems like the blink-of-an-eye. At this point, they become fragile, hard to work with, and are essentially bird feed.
How to save seeds from Brussels sprouts
Ready to collect seed pods?
Let’s gather a few supplies:
- Sharp knife or a pair of scissors
- A large cloth to place and gather the stalks
- A large bag to beat the pods (a cloth bag or an old pillowcase works)
- Cut stalks: Use a sharp knife or a pair of scissors to cut off the entire flowering stalk.
- Dry stalks: Place the cut stalks outdoors (away from birds) in a sunny area to sun-dry. Or, you could hang upside down to air-dry.
- Strip pods: Once stalks are completely dry, remove the seed pods and place in a large bag.
- Place in bag and beat: This is the fun part—you can use a stick (or something similar) to gently beat the bag. This loosens the seeds from the pod. At this point if the stalks and pods are completely dry, the seeds should come off easily. Remove dried stalks. ⁴
- Winnow: Winnowing involves remove seeds from chaff. Once you’ve “beaten” the bag, give the bag a gentle shake. The heavier seeds should have fallen to the bottom at which point you can remove the top, papery seed husks.
Drying seed
You’re almost done! The final step is to completely dry the Brussels sprout seeds for proper storage. While the seeds you now have may appear dry, they’re not completely dormant.
This step requires a few supplies:
- Uncooked, dry rice (two parts rice to one part seed; or, double the amount of rice to seed)
- Baking sheet
- Large glass jar and lid
- Old nylon stocking (foot section) to hold seeds
- Elastic band
- Dry rice in oven: Place rice onto a baking sheet and heat in the oven for 45 minutes on the lowest heat setting. This ensures the rice is nice and dry.
- Place dry rice into jar: Carefully pour the hot rice into the glass jar. Allow to cool completely.
- Place seeds into a clean nylon stocking: The nylon stocking works well as it’s a porous material. Carefully fill the nylon with the seeds; tie closed with rubber band.
- Place seeds into jar: It’s important to allow the rice to fully cool, or risk baking the seeds! Place seeds into the jar filled with rice and replace lid. Leave the seeds in the jar for 14 days to allow the rice to soak up any remaining moisture from the seeds.
You’re done! You can now store your seeds for safe keeping in a sealed plastic bag, and share some with your fellow gardening friends.

References
- British Columbia Ministry of Agriculture, Food and Fisheries, Apiculture Factsheet, https://www2.gov.bc.ca/assets/gov/farming-natural-resources-and-industry/agriculture-and-seafood/animal-and-crops/animal-production/bee-assets/api_fs111.pdf. Accessed July 2021.
- Mentor Public Library, Specific Seed Saving Instructions for Common Vegetables, https://www.mentorpl.org/wp-content/uploads/2015/06/Seed-Library-Seed-saving-instructions.pdf. Accessed July 2021.
- Southern Exposure Seed Exchange, Brussels Sprout Growing Guide, https://www.southernexposure.com/brussels-sprout-growing-guide/. Accessed July 2021.
- Emery, Carla (2012). The Encyclopedia of Country Living, 40th Anniversary Edition. Sasquatch Books. ISBN-13: 978-1-57061-840-6.
- Real Seeds, Brassica Seed Processing, https://www.realseeds.co.uk/brassicaseedprocessing.html. Accessed July 2021.

Author: Josh Tesolin
Josh is co-founder of RusticWise. When he’s not tinkering in the garden, or fixing something around the house, you can find him working on a vast array of random side projects.

