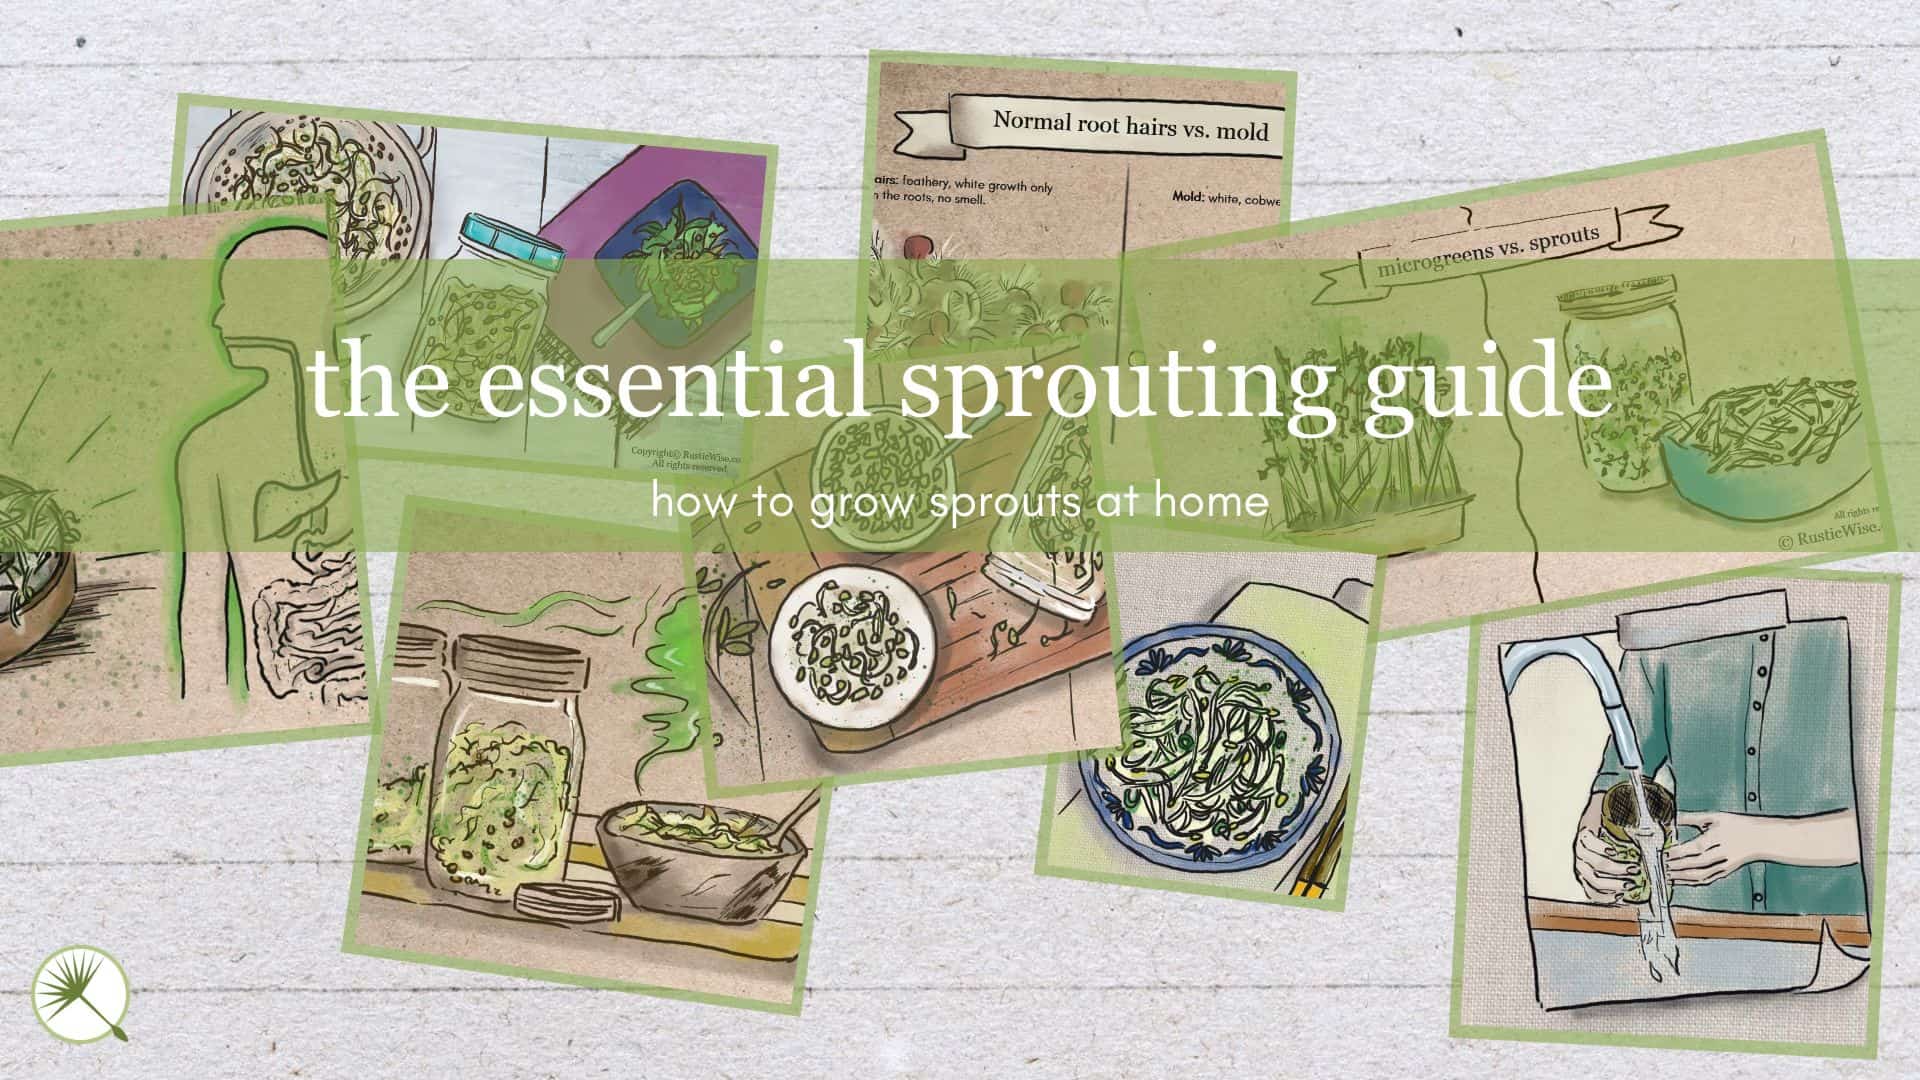
The Essential Sprouting Guide: How To Grow Sprouts at Home
If growing your own fresh food appeals to you, sprouting is an excellent place to begin. You just need a glass jar, some seeds, and clean water. You don’t need soil or (much) sun. You don’t even need much countertop space. And the best part is that sprouts are quick-growing, healthy, and tasty. Here’s a sprouting guide to help you from seed to harvest.
We’ve been growing sprouts at home for several years now. It has been great adding some fresh sprouts to salads and sandwiches. For the most part, we’ve had sprouting success, save for a couple bad batches (mostly old seeds, or poor airflow).
Sprouts and Food Safety
Are the risks of eating sprouts worth the health benefits? And should sprouts be eaten raw or boiled? A closer look at sprouting safety.
For someone who lives in a cold climate, sprouting at home has been a bright light that livens up our long and harsh winters. We don’t need to make as many trips to the grocery store. We save money. Our kids see indoor gardening right under their noses. We stay healthy.
Are sprouts the same as microgreens?
These two terms are often used interchangeably, so it’s easy to confuse sprouts and microgreens. They are both nutritional powerhouses and are young versions of plants. However, there are key differences.
Sprouts are germinated seeds. The entire plant is eaten—seed, root, and shoot. Sprouts are often grown in low-light conditions and don’t require any soil.
Microgreens are young shoots of a plant. Typically, you grow them in soil (or some type of growing media). You harvest microgreens just above the soil line and eat the young shoots and leaves.
What’s the Difference Between Microgreens and Sprouts?
A look at key similarities and differences between microgreens and sprouts.
Read more about key similarities and differences between sprouts and microgreens.
Credit: DepositPhotos
All About Storing Sprouted Bread
Why are sprouted bread loaves found in the freezer aisle? And how do you store a loaf of sprouted bread? Let’s take a look.
Are sprouts safe to eat?
If you’ve heard about foodborne illnesses linked to sprouts, you may be hesitant to eat them. While we have grown sprouts at home for years and have never gotten sick, let’s take a closer look at sprout safety.
The U.S. Food and Drug Administration reports that contaminated sprouts (most likely due to contaminated seeds) are linked to over 2,600 cases of foodborne illness between 1996 and 2018.
This points to the importance of good-quality seeds and proper handling. Sprouts grown commercially are especially prone to foodborne illnesses including Salmonella and E. coli because of the dark and humid growing conditions.
Generally speaking though, the many health benefits of sprouts outweigh the risks if you’re a healthy person.
According to Certified Dietitian-Nutritionists on Eat Right, “In general, the health benefits associated with savoring raw or lightly cooked sprouts outweigh risks for healthy individuals. However, be aware that there is risk of food poisoning if you plan to eat them. If you’re a high-risk individual, avoidance is recommended. And though not the ideal way to enjoy sprouts in cuisine, the safest bet for all is to thoroughly cook sprouts to reduce the risk of food poisoning.”
Who should avoid eating sprouts?
To stay on the safe side, certain high-risk people should avoid sprouts. This includes:
- Young children (less than 5 years old)
- Elderly (over 65 years old)
- Pregnant women
- Those with weakened immune systems or chronic illnesses
How Do Sprouts Affect Digestion?
Are sprouts hard to digest? Those with sensitive stomachs will be pleased to know that sprouts go down easy.
Do you need special sprouting seeds?
While you can try your luck with “normal” seeds, we don’t recommend this. With sprouting, we don’t like to take any shortcuts for health and safety reasons (not to mention the fact that we don’t like having bad harvests!).
You can find sprouting seeds at local health food or gardening stores. There are also plenty of reputable sellers online such as Johnny’s Seeds and West Coast Seeds (based in Canada) to name just a few.
Types of sprouting seeds
So many types of seeds, so many exciting flavor profiles. Here’s just a quick overview of the main types of seeds you can sprout at home:
- Bean and pea sprouts: You’re probably familiar with mung (or moong) beans. These add a nice crunch and are great in stir-fry. Other bean and pea sprouts are lentils, soybeans, green peas, and garbanzo.
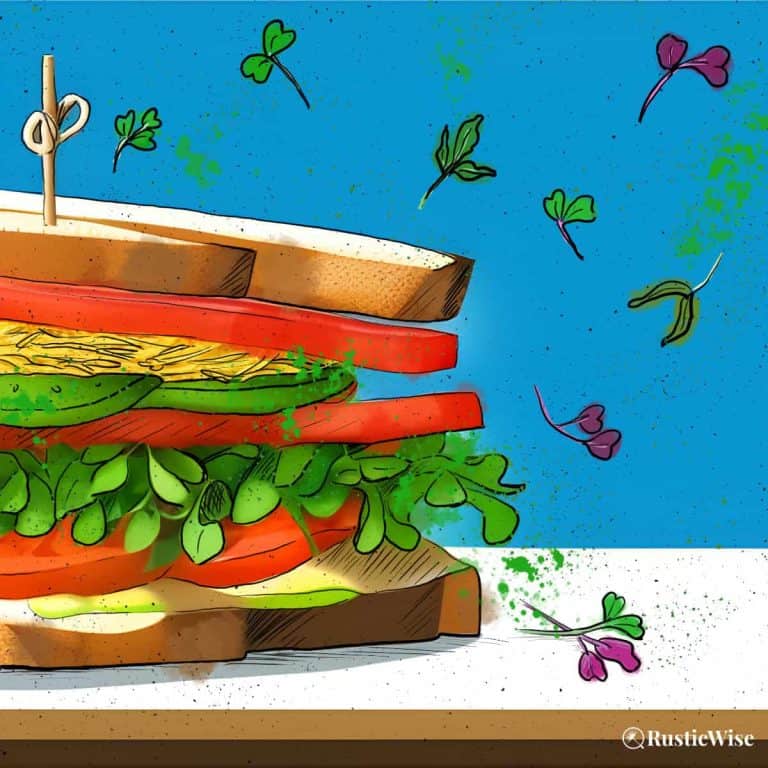
- Seed and nut sprouts: A popular sprouted seed that falls in this category is alfalfa, which spruces up sandwiches and salads. Others are radish, sesame, sunflower, and pumpkin.
- Veggie sprouts: The sprouted version of vegetables taste very similar to their mature counterparts. Good ones to try include beets, broccoli, clover, and mustard greens (which add a spicy kick).
- Grain sprouts: You might be a fan of sprouted grain bread, which is what many of these sprouted grains are made into. A few types of sprouted grains are amaranth (a tasty cereal), buckwheat, oat, and quinoa.
Growing Lentil Sprouts
Sprouted lentils are also packed with protein, fiber, and nutrients. Sprouting lentils adds a fresh and tasty twist to your diet.
Are sprouts healthy?
Yes! Sprouts are rich in nutrients and low in calories making them a healthy addition to your diet. Sprouts often contain more nutrients than the mature version from the same plant.
Unsprouted seeds have a hard outer casing which contains antinutrients, complex proteins, enzyme inhibitors, and phytic acid. The outer protective layer makes it hard for our bodies to access nutrients.
The process of sprouting seeds helps break down this hard outer layer. Sprouted seeds are harvested when only a few days old when its nutritional content is at its peak.
Health benefits of sprouts
There are many health benefits of sprouts. Here’s just a few:
- Rich in antioxidants and nutrients: The nutritional profile of different sprouts vary. However, most are a rich source of fiber, protein, vitamins C and K, plus folate, magnesium, manganese, and phosphorus.
- Aids in digestion: Sprouted seeds are rich in fiber which helps with digestion. Sprouts are also easier to digest as the outer protective layer of each seed is broken down.
- May help regulate blood sugar levels: Some studies show that people with Type 2 diabetes had lower blood insulin levels when taking a broccoli sprout supplement. But more studies are needed to show if this is true of people without diabetes.
- May boost heart health: Sprouts have been found to improve heart health by boosting so-called “good” cholesterol (HDL) while lowering “bad” (LDL) cholesterol.
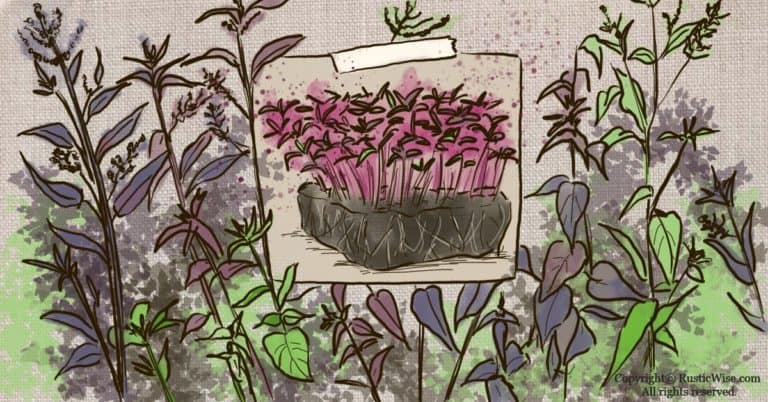
Mold On Sprouts vs. Normal Roots Hairs
What exactly does mold on sprouts look like? Here’s how to tell the difference between normal root hairs and mold.
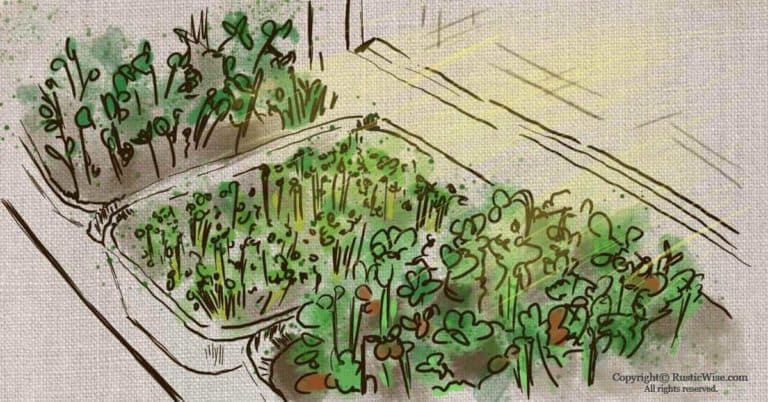
Sprouting guide: types of seed sprouters
There are many different types of seed sprouters available. Some you can DIY, while others are store-bought. It really doesn’t matter what type of sprouter you use so long as you rinse and drain your sprout seeds regularly.
Personally, we use both glass jars and a store-bought tray sprouter. We use both just to switch things up and have had success with both.
Credit: RusticWise.com
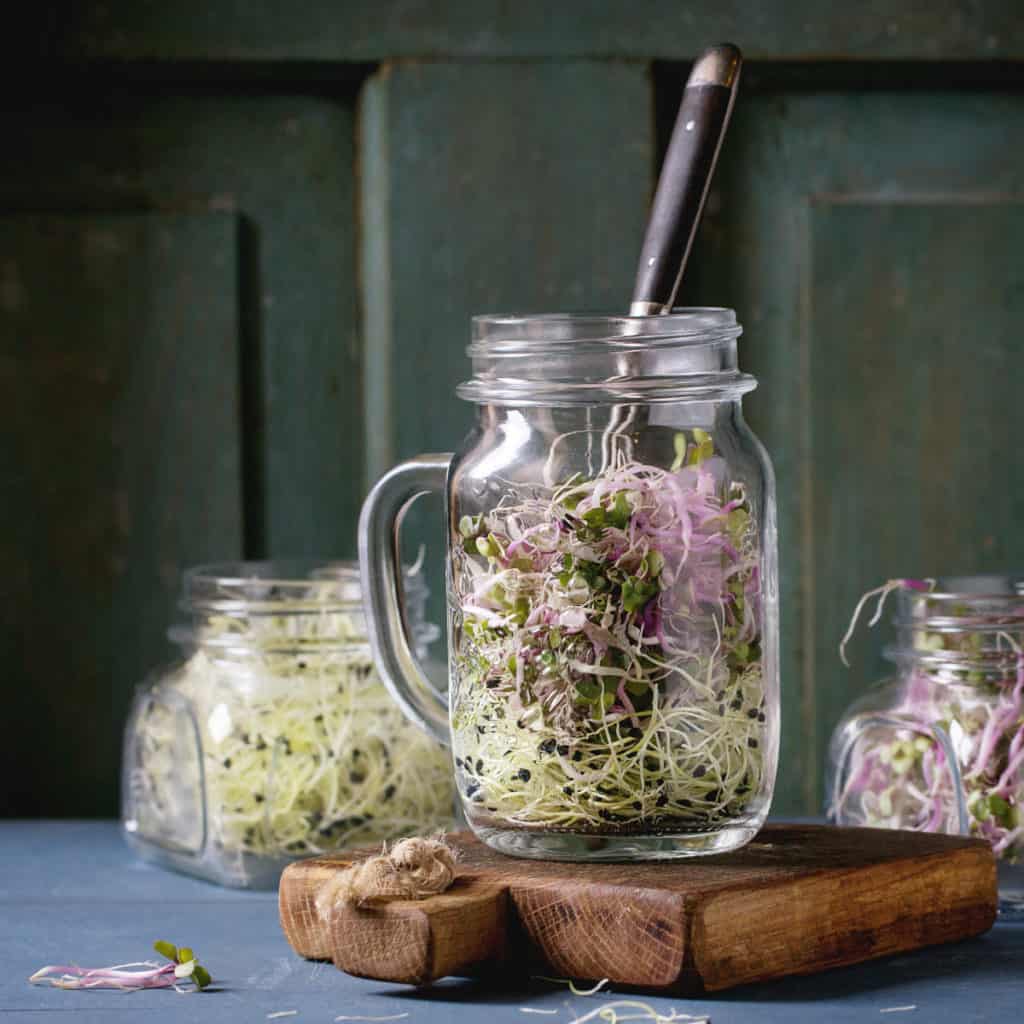
- Glass jar: This is probably the most widely-used type of seed sprouter as it’s inexpensive and easy to make yourself. If you’re going the DIY-route, you just need a one-quart wide-mouth glass mason jar with a lid. The lid needs to allow proper airflow, so some people use cheesecloth, or make their own mesh covering. You can also buy sprouting glass jars and screen lids. Most people place a bowl under the sprouts to catch water when it’s draining time.
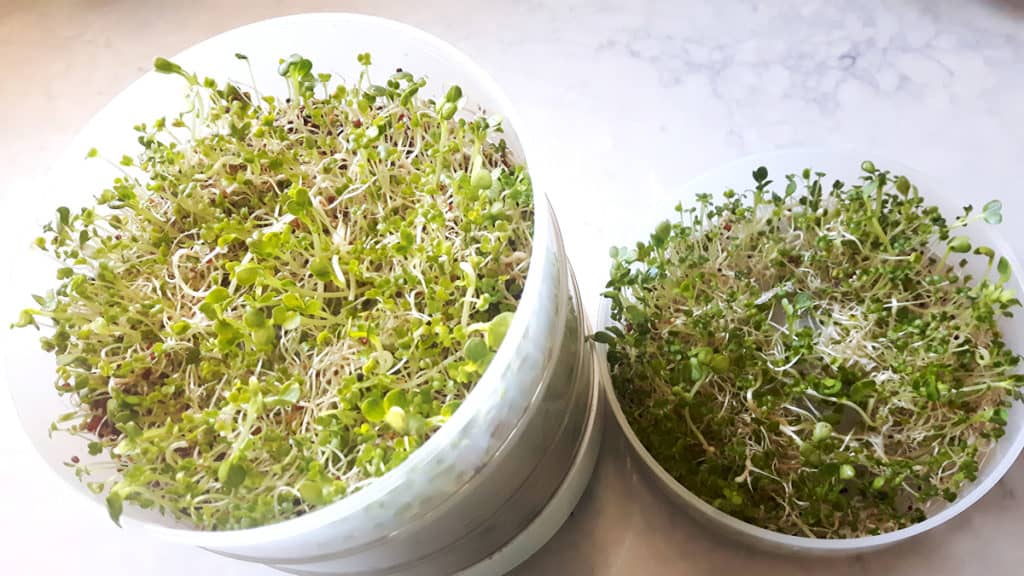
- Commercial sprouters: There are many types of store-bought seed sprouters and we’re not going to go over every single type. However, vertical tray sprouters (where you can stack multiple layers of trays on top of one another) are popular. This allows you to grow more sprouts at once without taking up too much counterspace.
- Sprouting bag: If the thought of having glass jars or trays in your kitchen turns you off, you can grow your sprouts in a bag. The sprouting bag is typically made of a natural material like hemp. Soak, rinse, and sprout the seeds all in the bag. Afterwards, you can store your seeds in the bag too. If you have a place to hand your sprouting bag over the sink to catch drips, this takes up no counterspace at all.
- Bamboo baskets: An old-school method of sprouting is using bamboo baskets. We’ve never personally used bamboo baskets, but it sounds intriguing. The premise is the same. Rinse and drain your seeds in a bamboo basket. Bamboo is a naturally water-resistant material so you don’t need to worry about it rotting. Make sure you buy a basket with a tighter weave (so seeds don’t fall through!) and that it’s free of shellac, or other chemical coatings.
- Colander: Using a stainless-steel colander works if you’re sprouting legumes and grains. These types of sprouts are ready to harvest quickly. Just place a plate under your colander to catch drips.
Tip: If you’re just starting out, you really can’t go wrong with going the glass jar route. Just cut a piece of cheesecloth slightly larger than the top of the jar and secure with a rubber band.
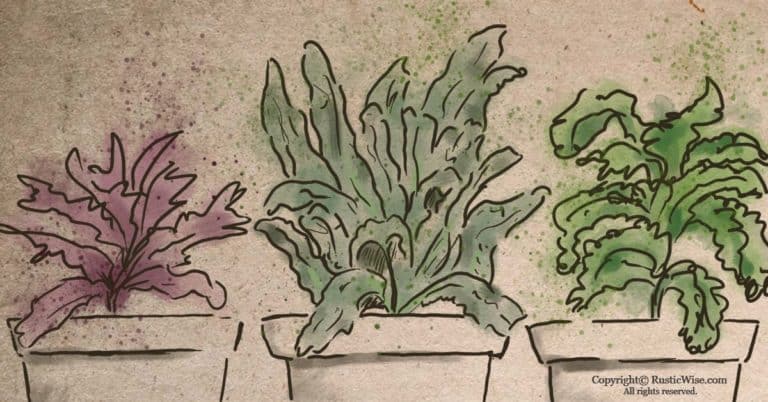
What are the easiest sprouts to grow?
Many people start with growing alfalfa, or mung beans as they’re easy to grow. These sprouts are versatile and easy to incorporate into a variety of dishes.
Other easy sprouts to try are cabbage, cress, fenugreek, lentil, and kale.
Fenugreek has a nice bittersweet flavor. The wide-range of lentils from green to black to red add a colorful splash to your plate.
Check out our guides to growing fenugreek, sprouting lentils, and growing chia.
Some types of seeds are known as mucilaginous seeds. This means they have an outer layer that becomes gooey when wet. Some common mucilaginous seeds are chia and flax. These are a bit trickier to sprout.
Sprouting guide step-by-step
You don’t need any fancy gardening tools or equipment to sprout seeds at home. The most important part of the sprouting process is rinsing and draining regularly.
Tip: We should point out that the water you use to rinse your sprouts needs to be of drinking quality. For some of you, tap water might work. If you have hard water, you might need to use distilled water.
Here’s a general overview of the sprouting process. If you’re using sprouting seeds, make sure to follow your instructions carefully as each seed variety has tips specifically for it.
Quick look-over and pre-rinse
Measure out the desired amount of seeds. Look over your seeds to remove any unwanted debris or stones. It’s a good idea to give your seeds a quick pre-rinse before soaking them.
How To Sprout Fenugreek and What To Do With It
Fenugreek, also known as methi, is a popular plant used in Middle Eastern cuisine. Sprouting fenugreek allows you to benefit from its nutritional profile that’s rich in fiber, iron, and protein. It’s also tasty and easy to incorporate into a number of dishes.
Soaking seeds
Place your seeds in your jar (or sprouter of choice). Fill with clean water so that several inches of water cover your seeds. This is an important step, so don’t skimp out on water or time. Soaking helps to coax seeds out of its dormant state. It’s worth mentioning that oversoaking your seeds may cause your seeds to not sprout or develop mold issues. Generally, most seeds require soaking overnight, or for 8-12 hours. Don’t do anything longer than this unless your instructions call for it. Never soak your seeds more than once.
Rinse and drain
Proper rinsing and draining your seeds at least twice a day (or every 8-12 hours) is vital to sprouting success. Some sprouts require rinsing three times a day. When rinsing, use cool water to ensure all sprouts are properly hydrated. Rinsing also washes away any metabolic waste, and infuses your seeds with much-needed oxygen. Rinse for several minutes.
Afterwards, allow to drain thoroughly. If you don’t allow your sprouter to drain fully, or your sprouter has inadequate airflow, your sprouts may start to smell, or develop mold. If you’re using a jar sprouter, simply place your jar in a bowl upside down at a 45 degree angle. Rotate as needed until fully drained.
Make proper rinsing and draining part of your daily morning and evening routine!
Harvesting sprouts
After a day or two, you’ll start to see signs of life poking through the seeds. Every sprout variety has different recommended harvest times. The best way to know when to harvest is to trust your own taste buds. Taste your sprouts each day to see when you’d like to harvest them.
To harvest you’ll need to give it a final rinse to clean and remove any loose hulls. Hulls are edible but most people prefer to remove them as they’re chewy.
How To Rinse and Drain Sprout Seeds
Regular rinsing and draining of your homegrown sprouts is vital to ensuring healthy growth.
Fill a large clean bowl or basin with clean, cool water. Take a handful of sprouts and gently swirl around. You’ll see the hulls float to the surface of the water. Remove them and repeat until all sprouts are cleaned.
Now you can eat them!
Check out our handy Sprout Maturity Chart.
Tip: Don’t forget to thoroughly clean your sprouting equipment after each batch of sprouts. If you’re using a mesh covering, or a tray sprouter, use a toothpick to poke out any stuck-on seeds.
Sprout storage
If you’re not planning on eating them right away, ensure you thoroughly drain your sprouts in a colander before refrigerating. Pat dry with a clean towel. Store in a perforated plastic bag, or a container with air holes. Homegrown sprouts last up to a week in the fridge, but taste best if used within 2-3 days of harvesting.
Seed storage tip: Make sure you store your unused sprouting seeds in a dark, dry, cool place. Most sprouting seeds have a shelf life of around 5 years.
When to Harvest Sprouts
While all sprouts have varying recommended growing times, here’s a sprout maturity chart to help you out.
Sprouts recipes
There are so many ways to use sprouts. Add them to your favorite stir-fry recipe. Blend them. Add to salads and sandwiches. There’s really no right or wrong way to use sprouts. If you’re planning on cooking mung beans for example, add them near the end, so they retain some of their crunch.
Sprouted Mung Bean Burger with Mint-Cilantro Chutney
Who says veggie burgers are boring? Sprouted mung beans and potatoes are the “meat” of this vegan and gluten-free burger. Serve with mint-cilantro chutney to spice things up (via Holy Cow!).
Sprouted Quinoa Pizza Crust Recipe
Here’s a fun and healthy way to use your sprouted quinoa—make your own pizza crust. Blend the quinoa with water, oregano, salt and garlic powder. Bake in the oven. Now add your favorite pizza toppings (via Mama Natural).
Berry Broccoli Sprout Smoothie
Start your day with this delicious and nutritious smoothie: broccoli sprouts, avocado, berries and coconut milk (via Healing Family Eats).
Korean Spicy Bean Sprouts
Chili flakes, garlic, and fish sauce give your bean sprouts some Korean-inspired kick (via Explore Cook Eat).
Avocado Toast with Egg and Sprouts
This hearty breakfast calls for alfalfa sprouts, but really you can use any type of sprouts. This recipe is a cinch: toast, avocado, egg, tomato, and sprouts (via Joe’s Healthy Meals).
Troubleshooting and other sprouting FAQs
Why do my sprouts smell?
Hmm…that’s a good question. Most of the time, if your sprouts smell bad, it’s a sign that your sprouts have spoiled, or may have mold or bacteria growth. For safety’s sake, never eat sprouts that “smell bad.”
One of the most common reasons why your sprouts smell is that there’s either inadequate airflow, or improper drainage. When sprouts sit in excess water, they tend to develop mold issues and an unpleasant odor. Or, if you’ve been keeping your sprouts in a dark cupboard, for example, it doesn’t have enough fresh oxygen.
We’ve rounded up a list of 10 reasons why your sprouts smell bad.
Possible Reasons Why Your Sprouts Smell Like Death
Here’s a roundup of the main reasons why your sprouts smell bad.
Are sprouts hard to digest?
Those with sensitive stomachs can take comfort in the fact that sprouts are easier to digest than unsprouted foods. Sprouts are germinated seeds. During the sprouting process, the hard outer layer of a seed is broken down. This outer layer contains many difficult-to-digest components like antinutrients, phytic acid, and complex proteins. Once this outer layer is broken down, our bodies have an easier time digesting it. Our bodies are more able to access nutrients and fiber from sprouted seeds compared to unsprouted foods.
What does mold on sprouts look like?
Many home sprouters are alarmed when they see small fuzzy hairs appear on their sprouts within the first few days. Most likely what you’re seeing are normal root hairs also called cilia. Normal root hairs are more prominent right before a rinsing, and disappear after rinsing. Root hairs develop on some sprouts as nature’s way of searching for water. So, keep your sprouts hydrated!
Mold on the other hand has a cobweb-like appearance. It also smells funky and does not disappear after rinsing. Check out how to tell the difference between mold and root hairs on sprouts.
Does sprouted bread need to be refrigerated?
You’ll find most sprouted breads in the freezer aisle of the grocery store. This is because these loaves are often free of preservatives. If you’re not planning on eating your entire loaf of sprouted grain bread within 5 days or so, it’s best to actually keep it in the freezer. Otherwise, keep your sprouted grain bread in a dry, cool, dark place at room temperature. Storing bread in the fridge tends to dry it out.
Check out more tips on storing sprouted grain bread.
Do sprouts need sunlight?
Most sprouts are grown in low-light conditions. Avoid keeping your sprouts in direct sunlight as this causes your sprouts to dry out or become too hot. Some sprouts can be placed in the sunlight for several hours to “green” them prior to harvesting, but it’s not necessary.

👉 If you like this post, see our Essential Sprouting Guide: How To Grow Sprouts at Home. 🌱
Would you like more timeless tips via email?
Fun tips to help you live an independent, self-sustaining lifestyle. Opt-out at any time.


References:
- U.S. Food & Drug Administration, FDA Issues Draft Guidance for Reducing Food Safety Hazards in the Production of Seed for Sprouting, Accessed February 2021.
- Eat Right, Are Sprouts Safe to Eat?, https://www.eatright.org/homefoodsafety/safety-tips/food/are-sprouts-safe-to-eat. Accessed February 2021.
- Eat Right, Food Safety for Those at Greater Risk for Food Poisoning, https://www.eatright.org/homefoodsafety/safety-tips/food-poisoning/at-a-greater-risk-for-food-poisoning. Accessed February 2021.
- Natural Start Medicine, Increase Digestion by Soaking and Sprouting Nuts, Grains, Seeds and Legumes, https://www.naturalstartmedicine.com/single-post/2015/04/15/Increase-Digestion-by-Soaking-and-Sprouting-Nuts-Grains-Seeds-and-Legumes. Accessed February 2021.
- Petre, Alina (23 February 2018). “Raw Sprouts: Benefits and Potential Risks”. Healthline. Accessed February 2021.
- Sproutman, Sprouting in Baskets, https://blog.sproutman.com/2013/06/24/baskets/. Accessed February 2021.

Author: Josh Tesolin
Josh is co-founder of RusticWise. When he’s not tinkering in the garden, or fixing something around the house, you can find him working on a vast array of random side projects.