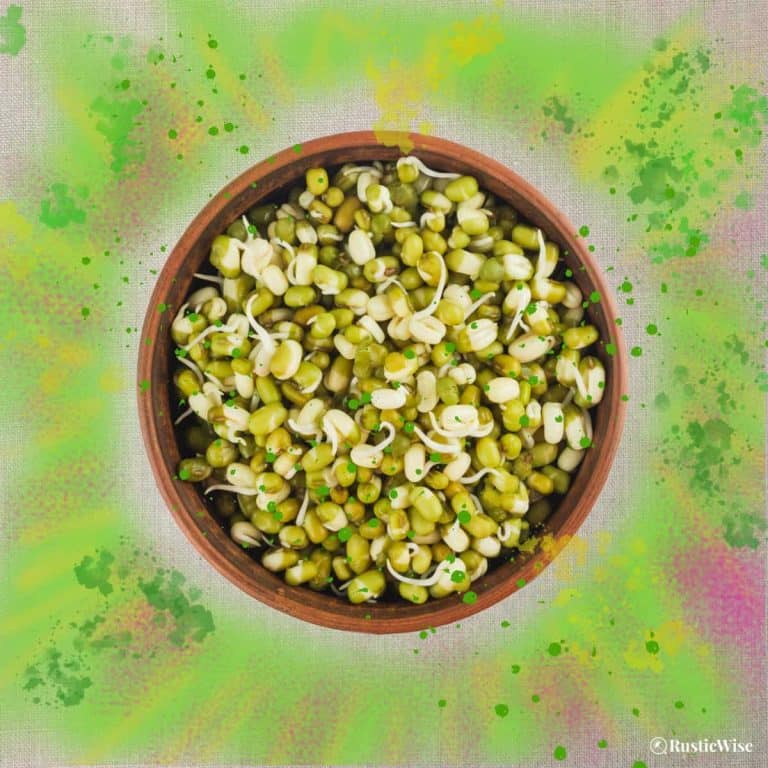
Sprout Safety: 10 Ways To Kill Bacteria on Sprouts From Seed To Plate
Whether you’re a seasoned sprout grower, or looking to get started, it’s always a good idea to take a closer look at sprout safety. We’ll show you how to kill bacteria on sprouts throughout the sprouting process from seed to plate. A large part of growing safe sprouts is keeping things clean—everything from your hands, sprouting equipment, to the seeds themselves. It’s also vital to use water that’s of drinking quality to rinse your sprouts.
Now, if you’ve come here to read about sprout safety, you’ve probably heard the warnings about foodborne illnesses linked to sprouts. The growing conditions (think moist and humid environments) of most large-scale sprout producers were the perfect breeding ground for bacteria such as E. coli, salmonella, and listeria.
The U.S. Food and Drug Administration (FDA) states that the likely source of most foodborne outbreaks were due to contaminated seeds. Since then the FDA has drafted legislation to ensure higher standards of food safety.
What about growing your own sprouts at home—is it safe? The safety of your end product (those delicious sprouts you’re growing) largely depends on the efforts you put in during the entire sprouting process. We’ve been sprouting at home for years and have not gotten sick. Ever. We’ve had a couple batches of bad seeds that didn’t turn out, but nothing that we got sick from eating.
We’ll go through 10 ways you can help to kill bacteria on sprouts at home, so you can enjoy your sprouts, worry-free.
Who’s considered a high-risk individual?
Before we start, it’s important you know that health experts don’t recommend sprouts for people they consider at high-risk for food poisoning:
- Pregnant women
- People with compromised immune systems
- Elderly people
- Young children
For people that belong to these groups, health officials suggest you avoid eating raw sprouts. If you wish to consume sprouts, cook them thoroughly first.
For otherwise healthy individuals, the overall consensus is that the health benefits of sprouts outweigh the risks, according to Eat Right, the Academy of Nutrition and Dietetics.
10 effective ways to kill bacteria on sprouts from seed to plate
One of the great things about growing your own sprouts at home is that you can control every aspect of the growing process from seed selection and water quality, to harvesting and proper storage. Let’s take a closer look.
1. Use good quality seeds
A common question many people ask when first starting out is, “Do I have to buy special sprouting seeds?” Yes, we highly recommend it!
While you may have luck sprouting with regular seeds, you likely won’t have anything close to the yield you’d get from using quality sprouting seeds.
Sprouting seeds are designed to sprout or have high rates of germination. Most regular seeds are irradiated or treated. This means they likely won’t sprout very well. Treated seeds may have a coating of harmful chemicals or pesticides—stuff you don’t want to come in contact with your sprouts.
Seeds from a reputable supplier are also prewashed or tested to eliminate harmful pathogens such as E. coli, salmonella, or listeria. (After reading about contamination of seeds being the main source of food poisoning, why take any chances?) You’ll also have peace of mind that your seeds were stored and packaged in a safe, sanitary environment.
We also recommend buying sprouting seeds that are USDA certified organic. While some may scoff at the thought of having to buy organic, having a certified organic label means the seed producer has done their homework (earning this label is no easy feat). They’ve had to go through stringent protocols. Seeds from certified organic suppliers are also not genetically modified (non-GMO).
While buying organic is completely up to you, this extra measure just ensures the food you’re growing at home (and eventually putting on your plate), is held to a higher standard.
Credit: Yay Images
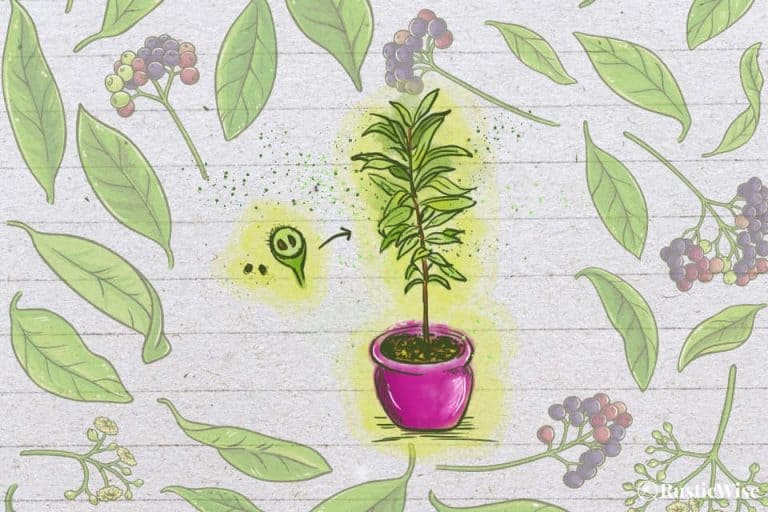
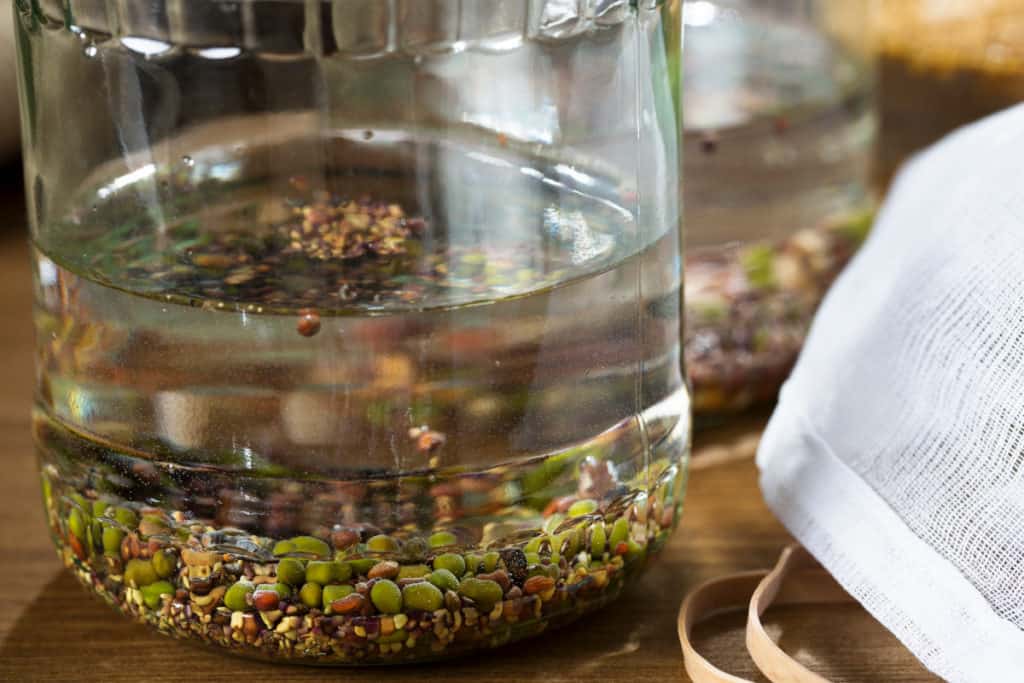
2. Optional sanitization of seeds during the initial soak
This is an optional step you can take if you’d like to eliminate any chances of harmful bacteria on your seeds. To be honest, we don’t typically do this step as we’re working with good seeds.
However, this added measure in disinfecting seed may be helpful in some instances. It’s a good idea to do this if your seeds are not organic, or if you’re using seeds that aren’t specific to sprouting.
The initial soak is a vital part of the sprouting process. Dried seeds are in a dormant state. When you initially soak the seeds, you’re kickstarting the sprouting process and coaxing seeds out of their dormancy.
Tip: Always dilute your solution, and avoid contact with eyes and skin. Drain and rinse your sprouts thoroughly after using any type of solution.
The following recommendations on how to kill bacteria on sprouts are from the book, The Sprout Book: Tap into the Power of the Planet’s Most Nutritious Food by Doug Evans.
- 3.5 percent food-grade hydrogen peroxide: Use 5 tablespoons per quart of water.
- Peracetic acid: Use 4 teaspoons per quart of water.
- CitroBio (a citrus food wash): Use 1/2 teaspoon per quart of water.
- Grapefruit seed extract: Use 2 drops per quart of water.
3. Clean, clean, and clean some more
Applying high standards of cleanliness when growing sprouts ensures you’ll get a healthy batch of fresh sprouts.
- Wash your hands thoroughly for at least 20 seconds before handling equipment, seeds, or sprouts.
- Sterilize equipment by placing in a large pot and covering with water. Bring water to a boil. Let it boil vigorously for at least 5 minutes. Turn off heat and allow water to cool.
- Keep all utensils and equipment clean. Allow to drip-dry before storing, or wipe with a clean cloth.
- Clean your sink regularly. Did you know your kitchen sink is one of the dirtiest surfaces in your home? No matter how much we scrub the kitchen sink, it’s still prone to bacteria growth. When dealing with sprouts, we like to use a clean basin or large bowl to avoid placing sprouts directly in the sink.
Tip: Avoid storing your sprouting equipment in dark places with poor air circulation such as cupboards, or below the sink.
4. Use good quality water
Sprouting seeds are fragile things that are sensitive to any type of bacteria. As soaking and rinsing is such an important part of the sprouting process, ensure you use clean water that’s of drinking quality.
In some areas, tap water is fine. In other places, tap water may have harmful bacteria or contaminants that can harm your sprouts. If you live in an area where the tap water is sub-par, you may need to use bottled or distilled water when soaking and rinsing your seeds.
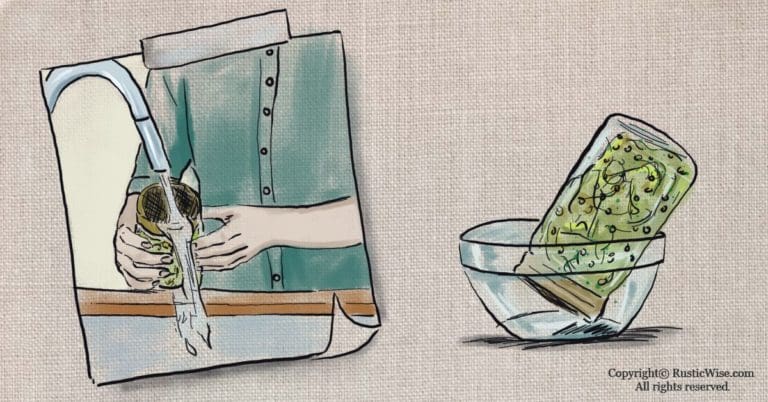
5. Rinse sprouts regularly
Proper rinsing is such an important part of growing healthy sprouts. If an apple a day keeps the doctor away, a twice-daily rinse keeps the mold on sprouts at bay.
Rinsing not only infuses your sprouts with much-needed water and oxygen, it also flushes away any bacteria or metabolic waste from the sprouts.
Stick with a twice-daily (or more, depending on the type of seeds you’re sprouting) rinsing schedule every morning and evening.
Rinse using cool water, never hot water. When rinsing, ensure all sprouts get their fair share of water. For more tips on rinsing, check out our article on how to rinse sprouts.
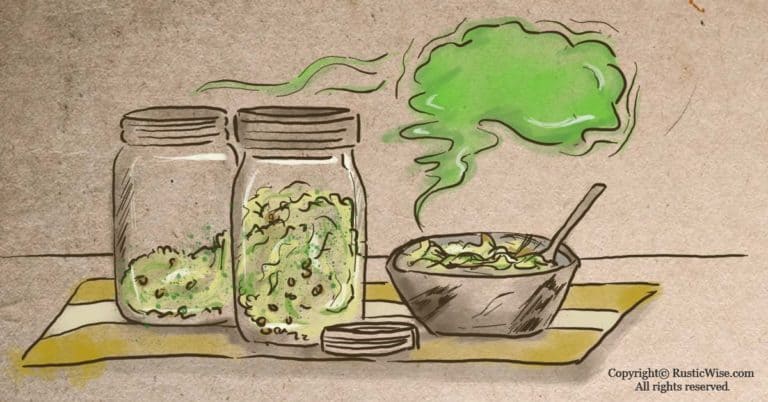
6. Drain sprouts thoroughly
Sitting water leads to mold growth. If you’ve rinsed your sprouts well, it’s vital to allow your sprouts to drain completely afterwards.
If using a mason jar sprouter with a mesh lid or cheesecloth, place it in a bowl upside down at a 45-degree angle to allow all excess water to drain.
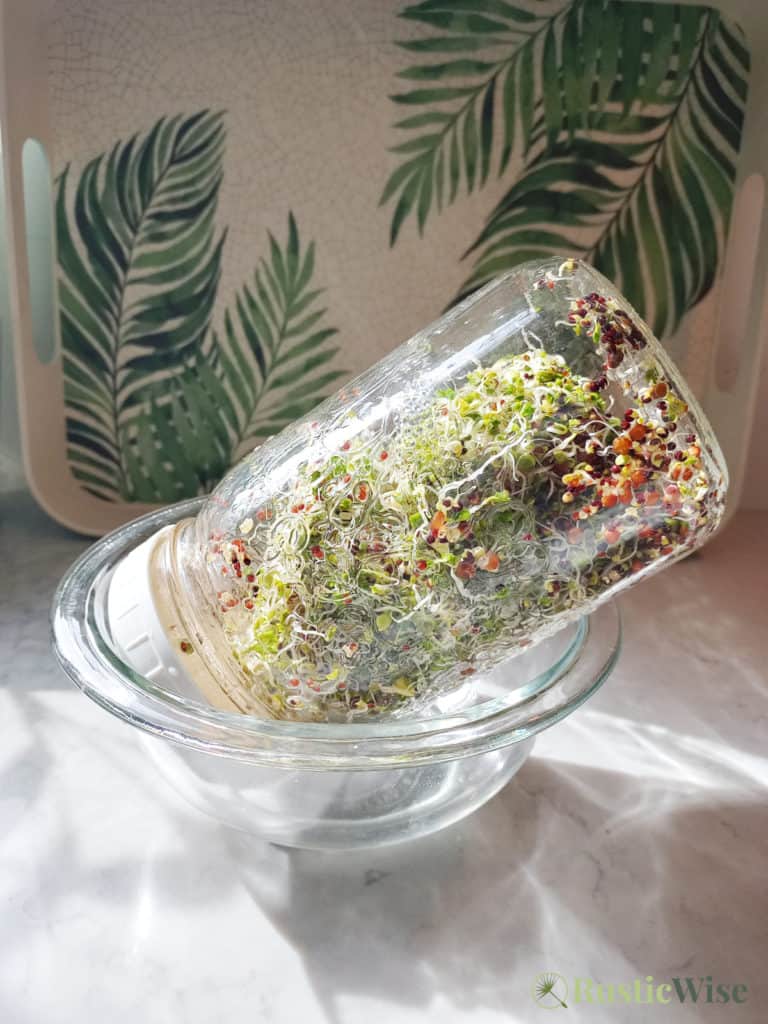
If you’ve purchased special sprouting lids, some are designed to sit upside down for easy draining.
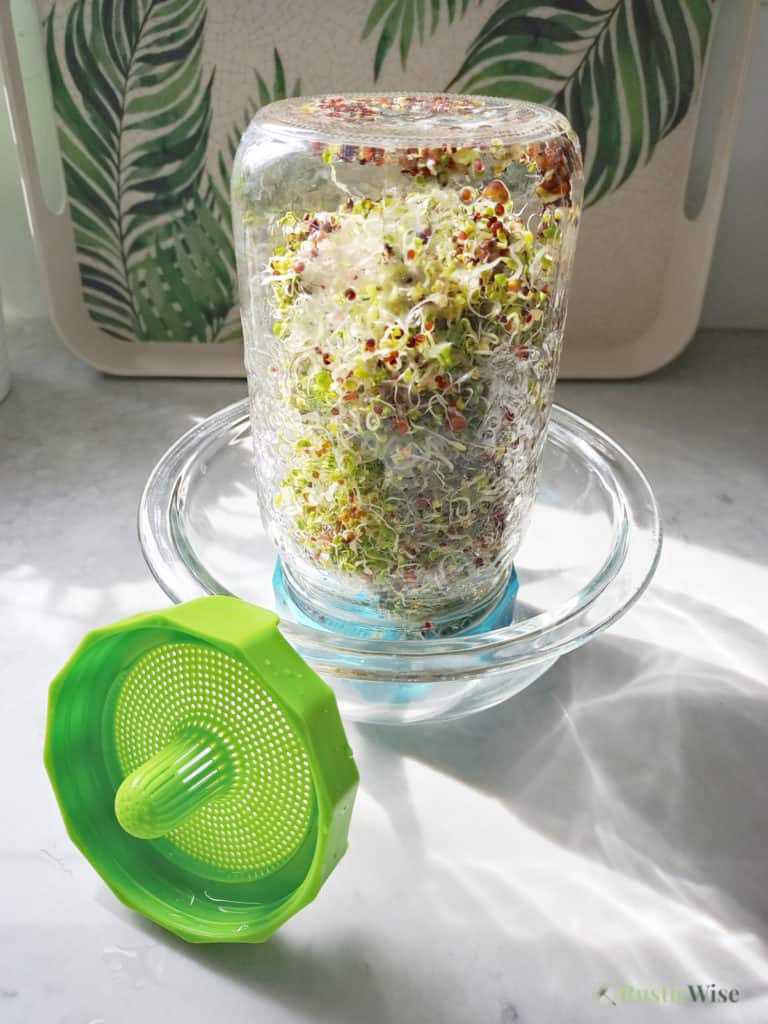
Sprouts that sit in water for long periods of time may start to smell, and are more prone to mold growth.
7. Monitor room temperature and humidity
Do you live in a hot climate, or have high humidity in your home? This is one factor that may cause bacteria to grow on homegrown sprouts.
The ideal temperature to keep sprouts is at room temperature 70–80 degrees Fahrenheit (21–27 degrees Celsius) according to Oregon State University. Keep household humidity levels between 30–50 percent.
Place your sprouts in a cool, dry place away from direct sunlight.
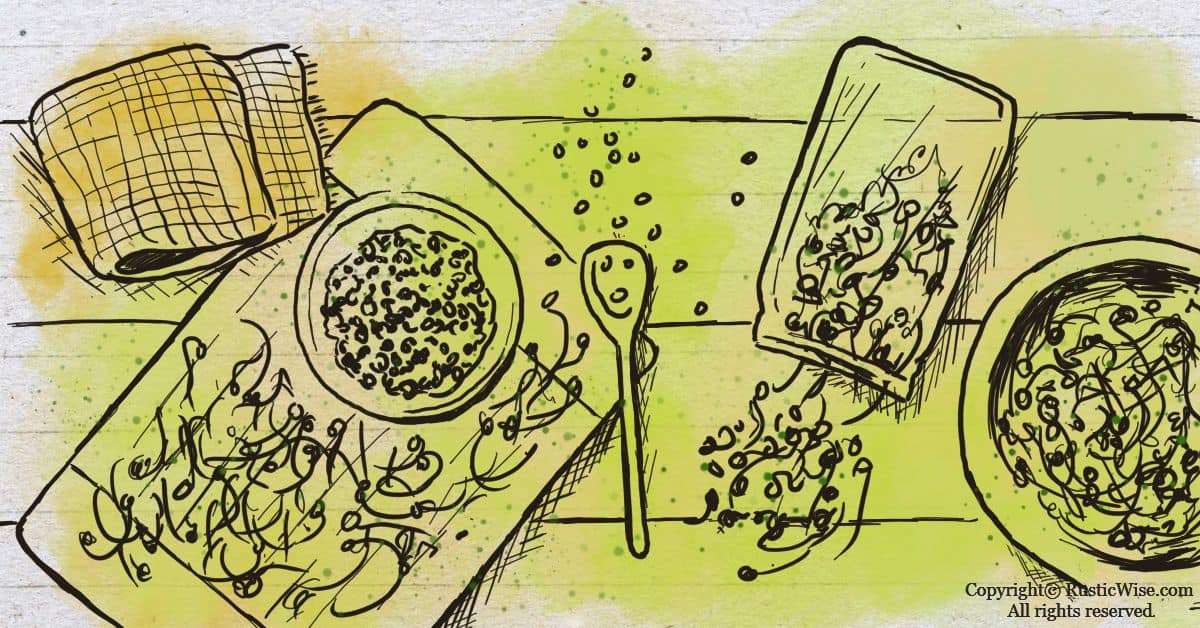
8. Store sprouts properly
Once your sprouts are ready to harvest, rinse well, and allow all water to drain before storing in the fridge. You want to get all excess water off the sprouts prior to storing to keep them fresh for as long as possible.
Store sprouts in a container with air holes, such as a perforated plastic bag, or container with ventilation.
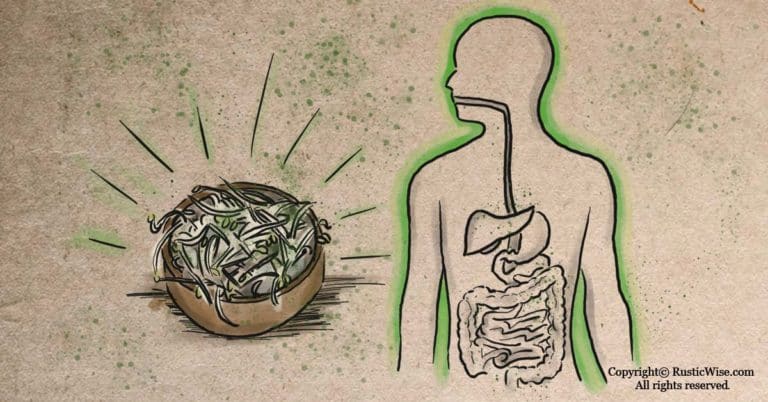
9. Cook or boil to further kill bacteria on sprouts
Cooking sprouts before eating helps to kill harmful bacteria and reduce the chance of foodborne diseases.
Some types of seeds such as mung sprouts or bean sprouts, for example, stand up well to heat and taste great cooked, sautéed, or blanched. Other types of sprouts don’t hold up as well. When you cook or boil sprouts thoroughly, it kills bacteria; it also alters the texture and nutritional content of the sprouts.
10. Eat and enjoy as soon as possible
Most homegrown sprouts are good up to one week when properly stored and refrigerated. However, like most fresh greens, they’re best used with two or three days. If you have a batch of store-bought sprouts, eat by the best-before date.
If anything smells weird, or looks slimy, it’s best to toss it!
Other related questions
Why do my sprouts stink?
There are many possible reasons why your sprouts may smell. Most often, it has to do with poor air circulation, sprouts sitting in excess water, or possible bacteria growth. Check out our article on reasons why your sprouts smell bad.
How do you get rid of mold on sprouts?
The best way to rid sprouts of mold is through active prevention via good sprouting practices. This helps you minimize the risk of foodborne pathogens from developing in the first place by practicing good cleanliness, using quality seeds, and ensuring there’s adequate airflow.
What do I do if there’s mold on my sprouts?
If you find mold on your sprouts, the safest thing to do is to throw the entire batch away. Please don’t take the chance of getting food poisoning or severe illness. Remember you can always start fresh again with new sprouting seeds, or different types of seeds. Make sure to thoroughly clean and sanitize your sprouting equipment before starting fresh.
But wait—before you throw out your sprout seeds, make sure you know the difference between mold vs. normal root hairs.
👉 If you like this post, see our Essential Sprouting Guide: How To Grow Sprouts at Home. 🌱
Would you like more timeless tips via email?
Fun tips to help you live an independent, self-sustaining lifestyle. Opt-out at any time.


References:
- U.S. Food & Drug Administration, FDA Issues Draft Guidance for Reducing Food Safety Hazards in the Production of Seed for Sprouting. Accessed March 2021.
- Newgent, Jackie (January 2021). “Are Sprouts Safe to Eat?“, Eat Right. Accessed March 2021.
- Evans, Doug (2020). The Sprout Book: Tap into the Power of the Planet’s Most Nutritious Food. St. Martin’s Publishing Group. ebook.
- Oregon State University, Sprout Production, https://horticulture.oregonstate.edu/oregon-vegetables/sprout-production-0. Accessed March 2021.

Author: Josh Tesolin
Josh is co-founder of RusticWise. When he’s not tinkering in the garden, or fixing something around the house, you can find him working on a vast array of random side projects.