How To Grow Mung Bean Sprouts 2 Easy Ways
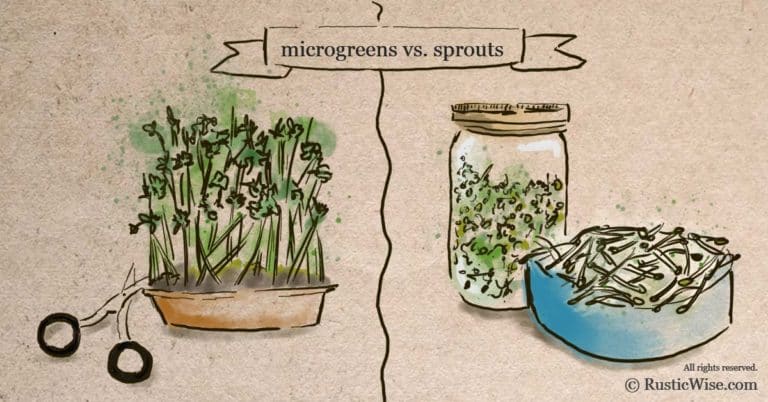
If you live in a cold climate like I do, garden fresh greens in the winter are pretty much non-existent—unless you’re sprouting or growing microgreens. One of the most popular sprouts to grow at home are fresh and crunchy bean sprouts. You may be familiar with the long and white shoots commonly found in Asian cuisine, or in the produce aisle.
I’ll show you how to grow mung bean sprouts two easy ways. Sprouted mung bean seeds grown in a jar at home will produce smaller shoots that you can harvest in as little as 4 days. If you prefer longer, sturdier shoots, you’ll need to grow them in a colander or perforated tray and apply some weight to encourage vigorous growth.
Either method produces fresh and tasty produce grown right on your countertop. So if you’re tired of shelling out for slimy, store-bought produce, let’s learn how to grow your own mung bean sprouts at home.
A closer look at mung beans and why you should sprout them
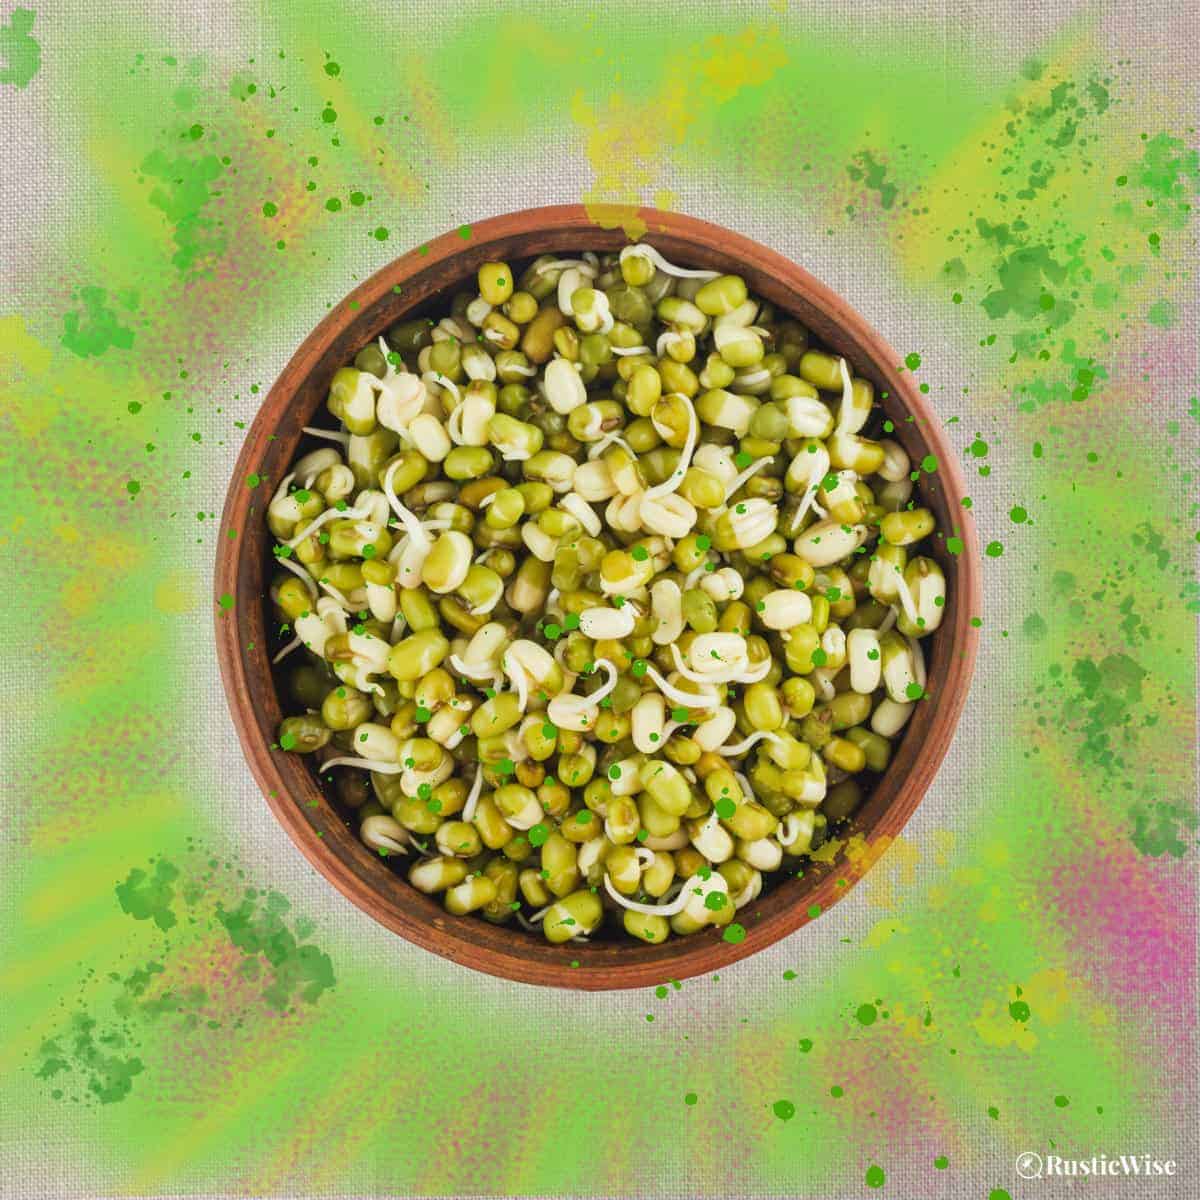
Bean sprouts are sprouted mung beans from the Vigna radiata plant. Other names it goes by are moong bean, or green gram. They are a type of legume. This is a popular crop cultivated in India, China, Korea and other parts of southeast Asia.¹
The pale green seeds when sprouted produce pale white to light-yellow shoots which you can eat raw or cooked. You can use your mung beans to make delicious stir-fries, salads and even pho.
Mung bean nutritional benefits
These little shoots are a nutritional powerhouse. Mung beans are full of protein, dietary fiber and vitamins. Here’s a closer look at this tiny sprout.
Some nutrition facts based on 1 cup of raw sprouted mung beans:²
- Calories: 31
- Dietary fiber (1.9 grams): 7 percent Daily Value
- Protein (3.2 grams): 6 percent DV
- Carbs (6.2 grams): 2 percent DV
- Fiber (1.9 grams): 7 percent DV
- Fat (0.2 grams): 0 percent DV
- Sugar (4.3 grams) 9 percent DV
- Vitamin C: 15 percent DV
- Iron: 5 percent DV
- Vitamin K: 29 percent DV
These crunchy shoots are also a good source of B-vitamins including folate. You’ll also find many minerals including copper, iron, potassium, magnesium, and manganese.
How long does it take for mung beans to sprout?
These quick growing sprouts can be harvested in as little as 2 to 3 days (if you prefer short sprouts). Others may prefer to grow the shoots for up to a week to grow thicker, longer shoots (similar to the type of sprouts you see at the grocery store or in Asian restaurants).
Green gram growing conditions
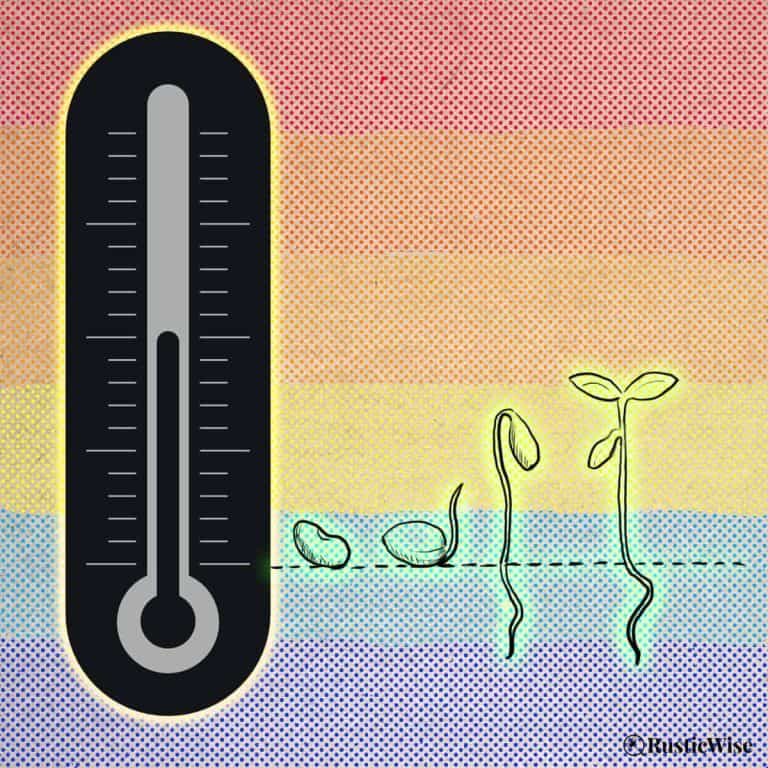
While bean sprouts grow quickly, they still need optimal growing conditions for best results. Keep your sprouting jar or colander at room temperature away from direct sunlight.
Some people recommend you place your growing shoots in a dark cupboard. I do NOT suggest doing this as this doesn’t allow for good air circulation. When sprouts don’t have enough airflow, they can grow bacteria or mold. They can smell or become slimy.
While it’s best to keep your sprouting seeds away from direct sunlight, it doesn’t need to be in complete darkness. Pick a fairly dark corner in your kitchen away from a window and you should be golden!
How to grow mung bean sprouts two easy ways
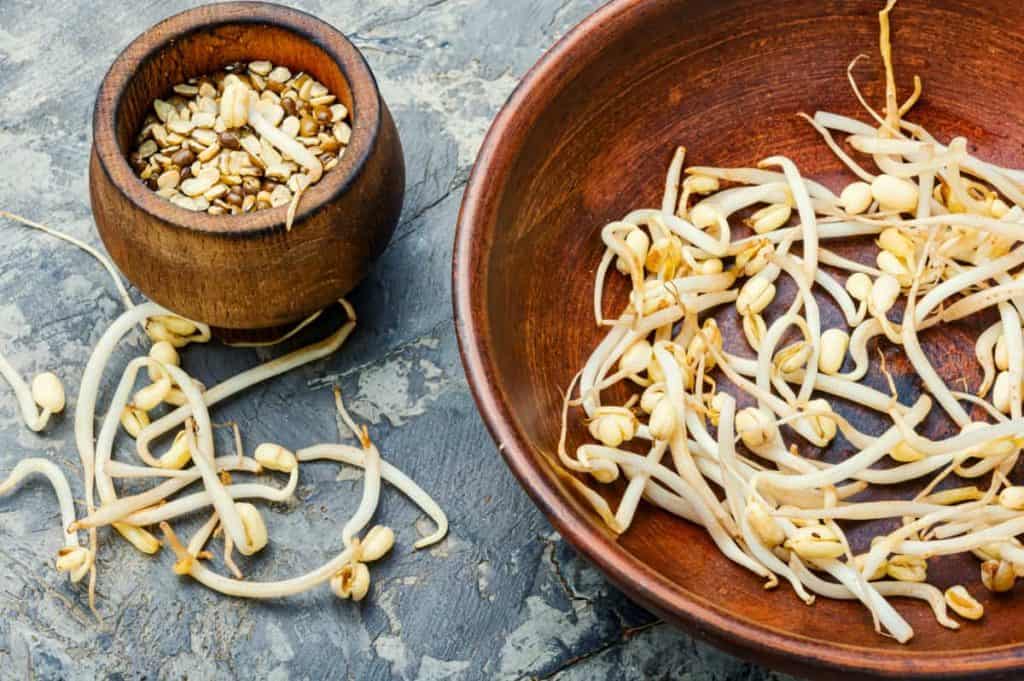
There are two main ways to grow bean sprouts: in a sprouting jar or in a colander. Bean sprouts grown in glass jars produce smaller shoots which can be harvested more quickly. Using a colander (along with a weight on top) to sprout produces longer sprouts like those that you’re accustomed to seeing.
If you’ve ever tried to grow your own bean sprouts using a sprouting jar, you might have been disappointed to discover that your homegrown beans don’t exactly look like those at the grocery store.
Tip: If you decide to go the sprouting jar method, you should know that your shoots will be smaller. But if done correctly, they are just as sweet and tasty! Just be sure to adjust your expectations.
Seeds
In terms of sprouting seeds, it’s best to stick with organic mung bean seeds which are often of higher quality and have better germination rates.
You can find these at sprouting seed suppliers, commercial gardening seed suppliers, or some health food stores.
Never use seeds that have been treated with fungicide. You’ll know they have been treated if they have a light green or pinkish dust coating.
Method 1: Using a sprouting jar
Use a mason jar if you wish to grow short and quick-growing mung sprouts.
You’ll need:
- 1-quart glass mason jar
- Sprouting lid or cheesecloth and rubber band
- ⅓ cup of quality mung bean seeds
- Clean water (filtered)
- Measure seeds: Portion out roughly ⅓ cup of seeds per quart jar.
- Inspect and wash beans: It’s important to do a quick inspection and toss out any damaged beans and other debris. Place the beans in the jar and rinse with clean cool water several times until the water runs clear.
- Soak: Ensure the beans are fully submerged under water and let them soak overnight, or for 8 to 12 hours. This soaking period helps to activate the seeds. Place sprouting lid or fasten cheesecloth on with an elastic band.
- Drain: The next morning, drain the soaked water by tipping the jar upside down. You can also rest it at a 45-degree angle inside a bowl for more thorough draining.
- Rinse and drain: After the initial soak, continue to rinse with cool water at least twice a day, or every 8–12 hours. Ensure you drain the jar well to prevent sitting water, which can encourage mold or bacterial growth.
- Harvest: If you’re growing short mung sprouts, you can harvest as early as Day 2 or 3. Others prefer to wait until Day 4 or 5. There’s no guideline set in stone on when you have to harvest—it’s best to harvest according to your taste preferences! When harvesting, give your sprouts one last rinse under cold water in a colander to remove any seed coatings or other residue. Allow to drain fully, and pat dry. Keep in the refrigerator.
Method 2: Using a colander
Use a colander to grow longer, sturdier white shoots. You can use a variety of containers or vessels you have around the house, including fast-food takeout containers. Just make sure they are food-safe, and that one of them has holes.
You’ll need a colander (or a food-safe container with holes); a bowl or shallow dish to catch the drips from the colander; and a plate that fits inside the colander. It’s also a good idea to insert a small inverted dish between the colander and the shallow dish to create better air flow if your colander doesn’t have a stand on the bottom. Plus, you’ll need a small weight to put on top of the sprouts, such as a small soup can.
You can use paper towels or cheesecloth. I prefer to use cheesecloth as it’s sturdier and reusable. Just be sure to wash it and keep it clean for next time!
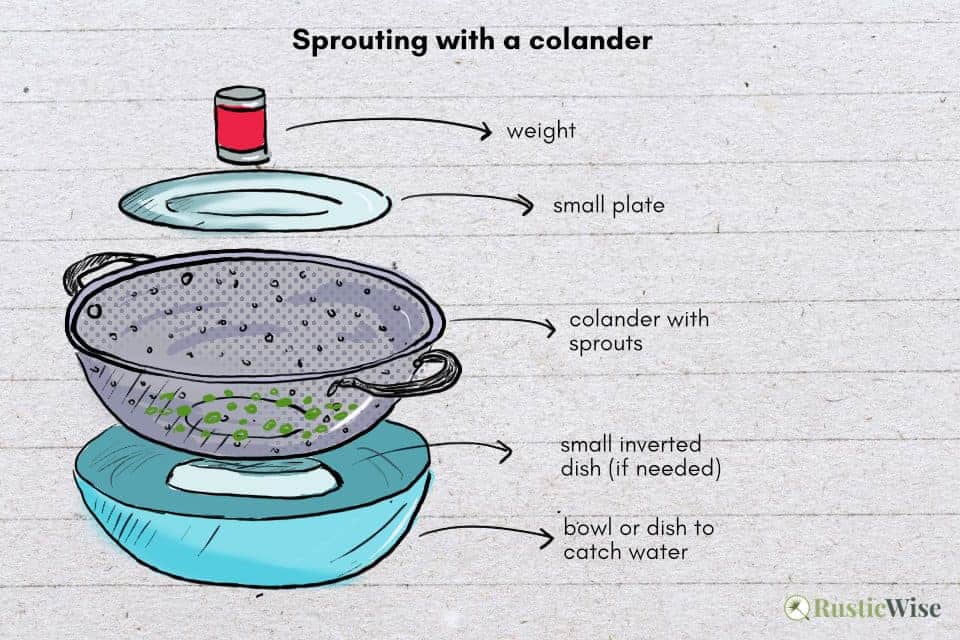
Credit: RusticWise
You’ll need:
- ⅓ cup of quality mung bean seeds
- Colander or strainer
- Bowl or shallow dish to catch water drips
- Something that creates a gap between the two containers such as an inverted dish (if your colander doesn’t have a stand on the bottom)
- A small plate that fits inside the colander
- A small item to use as a weight (such as a small soup can)
- Cheesecloth or paper towels
- A glass jar for soaking the seeds and a piece of cheesecloth and elastic
- Clean water (filtered)
- Measure seeds: Portion out roughly ⅓ cup of seeds. This is just a general guideline depending on the size of your colander. Adjust as needed so that you have enough seeds to lie in a single layer and have a bit of room to grow.
- Inspect and wash beans: It’s important to do a quick inspection and toss out any damaged beans and other debris. Place the beans in the jar and rinse with clean cool water several times until the water runs clear.
- Soak: Ensure the beans are fully submerged under water and let them soak overnight, or for 8 to 12 hours. This soaking period helps to activate the seeds. Place sprouting lid or fasten cheesecloth on with an elastic band.
- Drain: The next morning, drain the soaked water by tipping the jar upside down. You can also rest it at a 45-degree angle inside a bowl for more thorough draining.
- Set up growing vessels: Place a small inverted dish between the strainer and the bowl. This allows for good air circulation. Moisten the cheesecloth with a bit of water (it should feel like a damp sponge). Line the colander with the dampened cheesecloth. Spread a thin layer of soaked seeds on the cheesecloth or paper towel.
- Cover seeds: Cover the seeds by folding loose ends of cheesecloth over them. The seeds should be loosely enveloped in a “cocoon.” Add just enough cool water over the seeds to moisten them evenly. Allow excess water to drain (empty the bottom bowl).
- Weigh it down: Place a small plate on top of the seeds, and a small weight such as a can of soup, for example. This ensures they grow strong and healthy with longer, thicker shoots. Place at room temperature in a dark place. Don’t place in a cupboard as this promotes poor air circulation. Just place in a dark corner of the kitchen.
- Water and drain: Continue to water and drain twice daily. Feel free to have a peek at the seeds as they begin to sprout!
- Harvest: Sprouts will be ready to harvest between days 5 and 7. They will grow into the paper towels or cheesecloth. Use sharp kitchen shears to trim them. Rinse them to remove any seed coats and allow to dry. Place in the refrigerator.
How to store bean sprouts after harvesting
After rinsing your sprouts and allowing them to drip dry, cover them in a paper towel and store in a plastic bag or container in the fridge. Sprouts stored in this way are best consumed between 3 to 5 days.
Want more tricks on how to keep bean sprouts from going bad? We have several hacks on extending shelf life.
What do mung bean sprouts taste like?
They’re very fresh and crunchy, with slightly earthy undertones. If I had to compare it to another type of vegetable, I would say they have a hint of fresh green peas on the palate.
But mostly, the flavor is mild and won’t overwhelm other flavors in your culinary creation. They are mainly used to add texture and crunch to your dishes, whether raw or cooked.
How to use bean sprouts
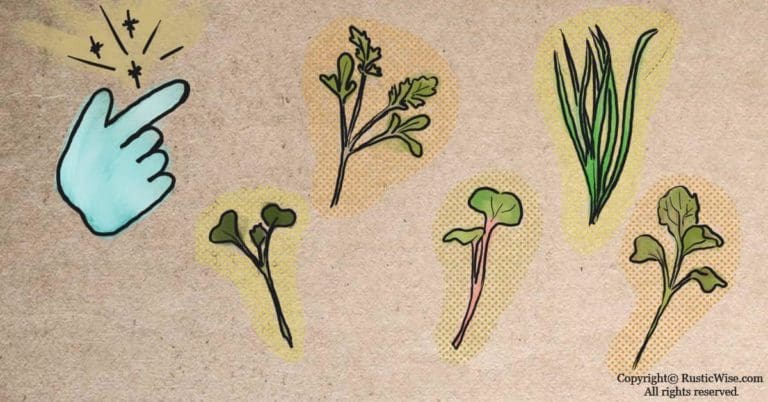
Bean sprouts are a very versatile ingredient for adding to stir-fry dishes and salads. You can create some wonderful combinations by mixing with other legume and veggie sprouts, such as sunflower microgreens or flaxseed sprouts.
You can also add to soups or stews during the last minute of cooking to preserve the crunchiness. Some people also pickle them for a mouth-puckering flavor.
👉 If you like this post, see our Essential Sprouting Guide: How To Grow Sprouts at Home. 🌱
Would you like more timeless tips via email?
Fun tips to help you live an independent, self-sustaining lifestyle. Opt-out at any time.


References
- Plants For a Future (PFAF), Vigna radiata, https://pfaf.org/user/Plant.aspx?LatinName=Vigna+radiata. Accessed October 2022.
- My Food Data (USDA), Mung Bean Sprouts, https://tools.myfooddata.com/nutrition-facts/169957/wt1/1. Accessed October 2022.

Author: Josh Tesolin
Josh is co-founder of RusticWise. When he’s not tinkering in the garden, or fixing something around the house, you can find him working on a vast array of random side projects.