10 Reasons for Microgreens Falling Over: How To Grow Healthy, Sturdy Greens
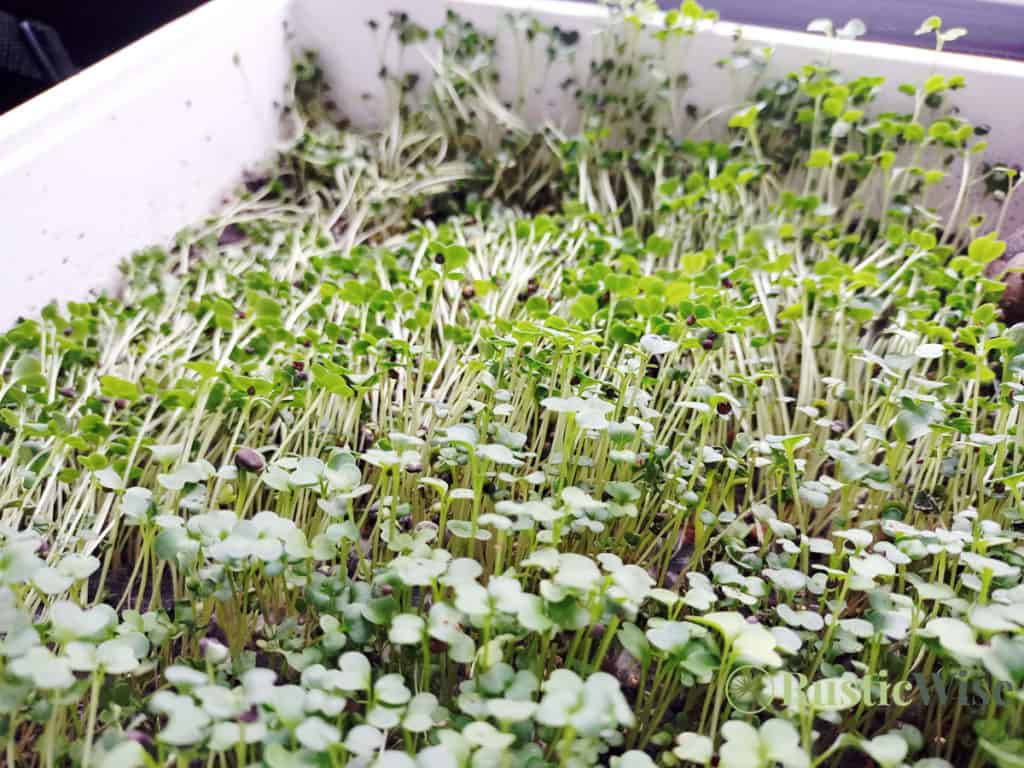
Microgreens are delicate and beautiful. Everything appears fine until one day, it isn’t. Unfortunately, many people find their microgreens falling over for one or more reasons. To grow healthy, sturdy microgreens that stay upright and produce the best flavor it’s important to pay attention to water levels, light conditions, and overall temperature.
In this article, we’ll look at some of the most common causes of falling over microgreens and offer tips on how you can grow strong healthy greens all year long.
If you’re experiencing lackluster microgreens, hopefully this post may help you save or revive your plants!
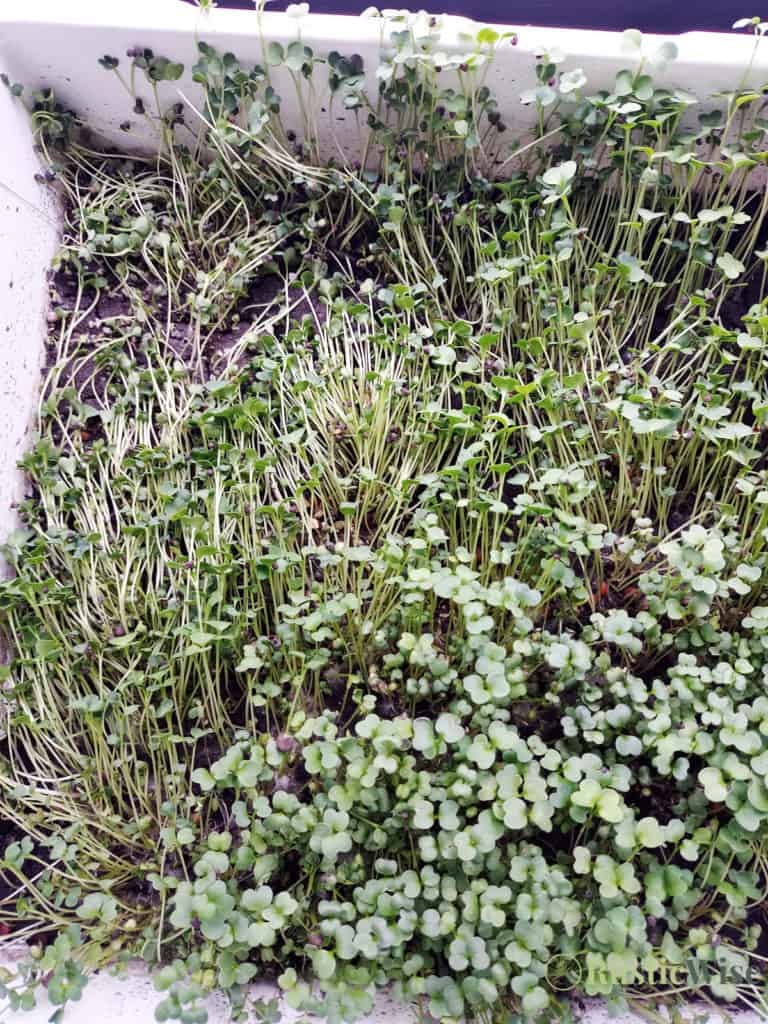
Here are the top reasons for microgreens falling over like limp noodles.
1. Not watering enough
Your microgreens may be begging for a drink of water. One of the most common reasons for microgreens to tip over is under watering. If the roots have a lack of water, they’ll start to dry out and die which leads to wilting.
Growers have varying opinions on how much water microgreens need, but you can always start with a thorough watering at least once a day. If your growing medium feels dry to the touch shortly after watering, you may need to increase your watering schedule. In this case, aim to water your microgreens twice a day (once in the morning and once in the evening).
Tips: Keep your tray of microgreens moist by regularly watering them. If you find your growing medium dries out quickly, it may be a sign that you haven’t added enough soil. Aim to fill your growing tray with between 1–2 inches (2.5–5.1 centimeters) of potting mix. Trays with less soil tend to dry out quicker. Watch for wilting microgreens as a sign that your water needs have changed, and you need to increase the watering frequency accordingly.
2. Overhead watering
Microgreens watered from the top may suffer from the pressure of the water on their fragile leaves and stems. These tiny greens are truly delicate things. The leaves, stems and shoot tips can become crushed or broken.
When watering your microgreens, we suggest either gently misting them with a spray bottle by carefully avoiding the stems and leaves. This can take a bit of time and a gentle touch! Overhead watering may not be the best option for everyone.
Better yet, try bottom watering.
Tips: Consider using the bottom watering method to keep your microgreens healthy. As the name implies, this method involves watering your tray from the bottom. Bottom-watering is a great option because it allows for even distribution of water to all plants in the tray, minimizing plant stress and resulting in more stable microgreens. This works well so long as the tray you’re using has a few drainage holes at the bottom to soak up the water. Simply place your tray of greens into a tray, basin, or clean sink filled with about 1/2-inch (1.3 centimeter) of water for several minutes.
3. Overwatering which leads to seedlings damping off
Damping off is a common fungal or mold problem that affects seedlings and other plants (not just microgreens). This condition most often occurs in cool and wet conditions and leads to root rot. If your grow tray has too much water, this could be a reason for your microgreens falling over.
A common pathogen that causes damping off is Pythium spp. This pathogen is typically introduced by dirty or contaminated tools or hands. The spores of another type, Fusarium spp. is carried over by pests like fungus knats.
This bacterium thrives in cool temperatures, so it’s common during winter months when plants are indoors with insufficient light.
Signs your microgreens are experiencing damping off:
- Seedlings don’t sprout at all.
- Cotyledons and stems are spongy and soft
- Stems are very thin and weak
- Leaves may change color to grayish-green or brown.
- A white cobweb-like substance on some plants.
You may need to consider using a heating pad to warm up the soil. The University of Minnesota recommends a soil temperature of 70-75 degrees Fahrenheit (21-24 degrees Celsius) for indoor plant germination.
Tips: To prevent this condition, avoid getting the soil around your plants too wet. Ensure you have well-draining soil or that you are using a tray with drainage holes in the bottom. Ensure you properly clean all equipment (including grow trays and trowels) before every new batch of microgreens. And of course, wash your hands before touching or planting microgreens!
4. Too many seeds
Overseeding is another common cause of microgreens falling over. Having too many seeds in the tray doesn’t give the seedlings enough “breathing space” and could lead to overcrowding or competition for light, nutrients, and water. This can result in poor germination, poor air circulation, or stunted growth which ultimately makes plants fall over.
Tips: While microgreens in general are typically densely sowed, there is a limit to how many seeds you should plant in a tray. Most microgreens seeds come with instructions or suggestions for how much seeds to use, so it’s best to follow the instructions for a first-time grower. Johnny’s Seeds recommends spacing seeds about ⅛–¼ inches apart. For each square-inch for smaller seeds, you should have 10–12 seeds. For larger seeds, sow 6–8 seeds per square-inch.
5. Inadequate lighting
Unlike sprouts which don’t require much or any light, microgreens need at least several hours of steady light a day.
Light is crucial for photosynthesis, which means that microgreens need it in order to make food as well as grow strong and healthy stems and leaves. Plants tend to fall over if they don’t get the right amount of exposure to sunlight (either naturally or artificially).
Tips: If you have a sunnier window, it may be a better spot for your microgreens. Consider using indoor grow lights if you don’t have access to good natural sunlight.
6. Too much heat
It’s gettin’ hot in here…Like most other plants or flowers, microgreens are also not fans of intense heat.
If you live in a warmer climate, or are just experiencing some summer heat, you may notice your microgreens begin to wilt. Another cause is your tray of microgreens may be too close to your indoor grow lights, or your wattage is too strong.
Tips: There are a few things you can do to help keep your microgreens from wilting. Try moving them to a cooler spot indoors or outdoors, depending on the season and weather conditions. If you’re using grow lights, consider moving them further away from the light, or adjusting the wattage.
7. Too much, or too little humidity
Heat and humidity go hand-in-hand in the summer. If your microgreens are wilting due to high humidity, you may need to increase air circulation.
On the other hand, humidity levels often drop during the winter months resulting in a dry indoor environment. Aim to keep household humidity levels around 35–50 percent.
Tips: If you find yourself with too much humidity, provide plenty of airflow by opening windows and/or using fans. Conversely, if your household humidity is too low, consider bumping up your humidity or using a humidifier.
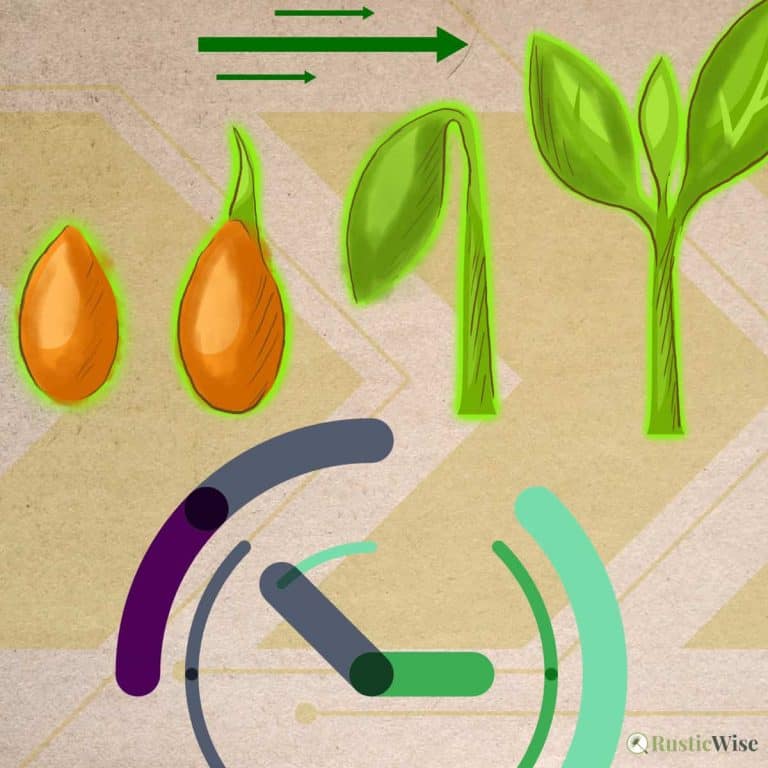
8. Waiting too long to harvest
Microgreens, as the name suggests, are meant to be harvested when only a few inches tall. A good rule of thumb is to harvest when the cotyledons (first seed leaves) are fully developed. Others prefer to wait until a set of true leaves emerge. Somewhere around this time is a good time to harvest your microgreens.
If you wait too long, they will become leggy and fall over due to their weight from being unsupported by a shorter stem. The plants also won’t be as flavorful or nutritious. While some types of microgreens like pea shoots are generally grown for a longer time, this is not true for most microgreens.
Tip: The best way to know when to harvest is to taste throughout the growing process. Harvest when the greens taste right to you! For more about harvesting, check out our article on microgreens harvesting tips.
9. Not enough nutrients
The growing medium or potting mix you use greatly affects the quality and taste of your finished product. Remember that microgreens are essentially miniature plants, and all plants need nutrients to grow and thrive.
Lacking nutrients may cause plants to become weak and fall over.
For a well-balanced microgreens crop, it’s very important to use a quality growing medium such as organic potting mix (typically a mixture of mostly peat moss with some perlite thrown in).
Or, you could try a growing medium like coconut coir. We know there are lots of fans of coconut coir out there. However, you need to get a good quality coco coir and remember to supplement your greens with nutrient-enriched water, or something similar.
Tip: Ensure your microgreens get plenty of nutrients to ensure healthy growth. Microgreens are also very sensitive to the pH levels in their growing media. The ideal soil pH is somewhere between 6.0–6.5 for optimal microgreen growth.
10. Bad seeds
If you’ve experienced poor growth in your microgreens time and time again, and you’ve made adjustments like the tips suggested above, you can perhaps chalk it up to having bad seeds. You may either have poor quality seeds, or your seeds may be past their best-by date.
Yes, all batches of seeds have best-by dates. You can find it stamped somewhere on your package. Generally seeds may keep for several years if stored properly.
Tip: Ensure you’re buying quality seeds from a reputable seed supplier. Seeds specific to sprouting or microgreens are different from “regular” seeds. They come untreated (free of pesticides) and are designed to have high-germination rates. When not using your seeds, store them in a cool, dry, dark place.
We hope that you’re able to keep your microgreens growing strong with these tips!
Related questions
Do microgreens need to be covered?
It’s a good idea to cover microgreens with a protective dome to help them stay moist and warm during the germination phase which is typically the first three or four days after planting. During this time, the microgreens don’t require any light. Once you see signs of growth, it’s safe to uncover your microgreens and allow them to get light.
Can we eat roots of microgreens?
No, microgreens are harvested just above the soil—only the leaves and stems above the roots are eaten. The roots remain in the soil (or growing medium) which you can then compost after you’re done harvesting. Sprouts on the other hand are eaten whole—seed, root, and shoot.
What happens if you don’t harvest microgreens?
We know what you’re thinking. If you don’t harvest microgreens, you’re hoping it will grow into a full-sized mature plant, right? Or maybe you’re thinking that you could try replanting your microgreens in your garden to see if they’ll regrow. Unfortunately, it’s not that simple.
If you think about how microgreens are grown (densely packed together), their roots become a tangled mess. The roots can’t absorb as much water or nutrients, so they will eventually die. The microgreens that don’t get harvested would turn into a sad and sorry bunch of plants!
While it’s not impossible for microgreens to grow into mature plants if they are replanted, it’s not likely. At the very least, harvest your microgreens first (why waste all those good greens?), and then you can try your luck with replanting. Just don’t get your hopes up!


Author: Josh Tesolin
Josh is co-founder of RusticWise. When he’s not tinkering in the garden, or fixing something around the house, you can find him working on a vast array of random side projects.