How to Grow Microgreens Indoors: An Easy Step-by-Step Guide
RusticWise is supported by its readers. When you purchase through links on our site, we may earn an affiliate commission. As an Amazon Associate, we earn from qualifying purchases. Thank You!
Maybe you’ve tasted microgreens at a restaurant and got hooked. Or maybe you’ve seen friends grow trays of tiny greens and want to give it a go yourself. Whatever your reasons are for learning how to grow microgreens indoors, you’re in good company.
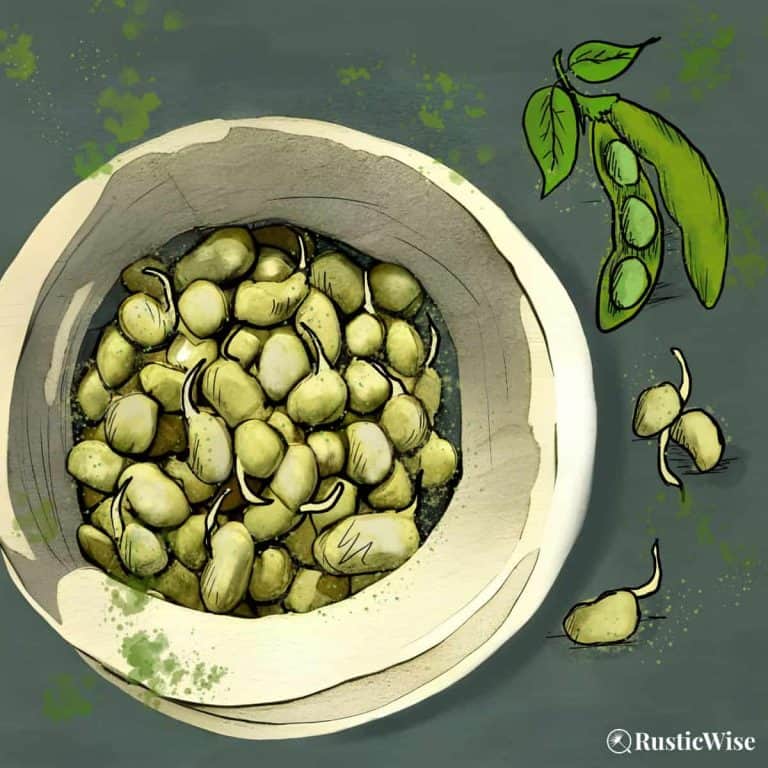
Microgreens are the young shoots of plants that are harvested when just a few inches tall. Not to be confused with sprouts which are germinated seeds that are eaten root, shoot, and stem, microgreens are plants that are cut from the stem-up and contain the cotyledons (seed leaves), stem, and maybe a few “true” leaves. Microgreens are smaller than baby lettuces.
Packed with nutrients and flavor, microgreens are easy to grow in a small amount of space. All you need are a few shallow containers, seeds, and potting soil to get started.

Why grow microgreens?
There are so many reasons to grow microgreens. Here’s just a few:
- Year-round fresh greens: Imagine having a fresh source of homegrown greens all year-round, even during the bleak winter months. It’s possible with microgreens. Having the ability to grow microgreens indoors is a huge advantage—especially for those who live in colder climates.
- Health benefits of microgreens: While there are many different varieties of microgreens, most are a rich source of iron, potassium, copper, zinc, and magnesium. They also contain plenty of antioxidants. A study conducted by the USDA Agricultural Research Service (ARS) found that amongst 25 common varieties of microgreens, most types contain about five times the amount of vitamins and carotenoids (on average) than the leaves of the same mature plant. (Researchers found a wide range of nutrient levels in microgreens ranging from 4 to 40 times the amount of vitamins and carotenoids found in mature leaves.)
- Tasty: For such small greens, microgreens are packed with flavor. They generally taste similar to the mature version of the plant, but with a more concentrated taste. So add a splash of broccoli microgreens, or spice up your salad with arugula microgreens.
- High-yielding crop in small space: Unlike other crops that require a lot of space with a relatively small yield (pumpkins, I’m referring to you!), microgreens are sown densely and provide a relatively big harvest in a small space. This makes microgreens the perfect crop for urban gardeners.
- Fairly quick growing: One of the quickest growing types of plants, microgreens are rewarding for the impatient gardener. Many types of microgreens are ready to be harvested within one to two weeks, although some varieties are grown up to five weeks. If you want something that’s ready-to-eat in a matter of days, you’ll have to look into growing sprouts.
Good soil, good seeds
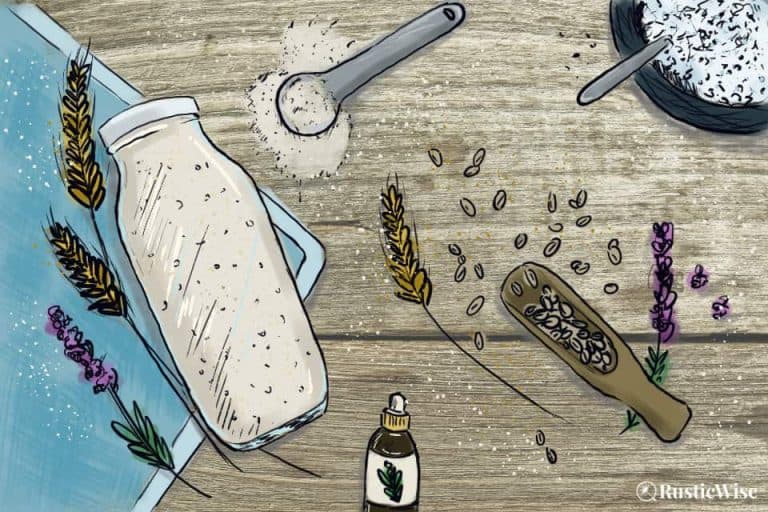
The taste of microgreens is greatly affected by its growing conditions such as amount of sunlight, type and quality of growing medium, water quality, and quality of seeds. You want to make sure you do everything possible to ensure microgreens are planted in a clean, nutrient-rich environment to produce the best young shoots.
This leads us to the importance of buying good quality seeds.
(We’ve updated this section to stress the importance of buying good quality seeds. Along our growing journey we’ve discovered that it really helps to buy seeds specifically for microgreens.)
Here are a few good reasons to invest in microgreens seeds:
Good seeds produce good microgreens. And there’s nothing more disappointing than investing your time, energy, and money only to get a lackluster harvest.
Did you know that microgreens don’t need to grow in soil? There are other growing mediums as well. However, soil remains the popular choice as it’s fairly inexpensive, easy to buy, and produces great results. Let’s go over a few different growing mediums:
- Soil: Potting soil works well, or seedling mix. Soil that’s rich in nutrients produces healthy, great tasting microgreens. It’s nice to stick with organic options and not have any unnecessary chemicals or fertilizers in your growing medium. Generally speaking, the grow cycle of most microgreens is so short that you won’t need to bother with fertilizer when growing in potting soil.
- Soilless: Some people prefer to make a soil-free mixture of different growing mediums such as coconut coir, or a mixture of vermiculite/perlite. Soilless methods are “cleaner” than soil, however, these soilless mixtures won’t provide enough nutrients for your microgreens to grow—you’ll need to supplement with an organic liquid water-soluble fertilizer.
- Hydroponic growing mats: You can grow microgreens without soil by using a type of growing pad made of coco coir (coconut husks), hemp, or jute/wood fibers. Growing mats are less messy than soil which is a main reason people who use them over soil. However, they are more expensive, nor provide enough nutrients on their own. While most mats aren’t reusable, most made of natural fibers are compostable.
Tip: Keep in mind that some types of seeds (typically larger seeds) grow best with a thin layer of soil to cover them and keep them moist. A hydroponic growing mat may not work as well for certain types of seeds.
So what are some of the easiest microgreens to grow?
- Bok choy
- Broccoli
- Cabbage (napa)
- Cress
- Lettuce (romaine)
- Mustard greens
- Radish
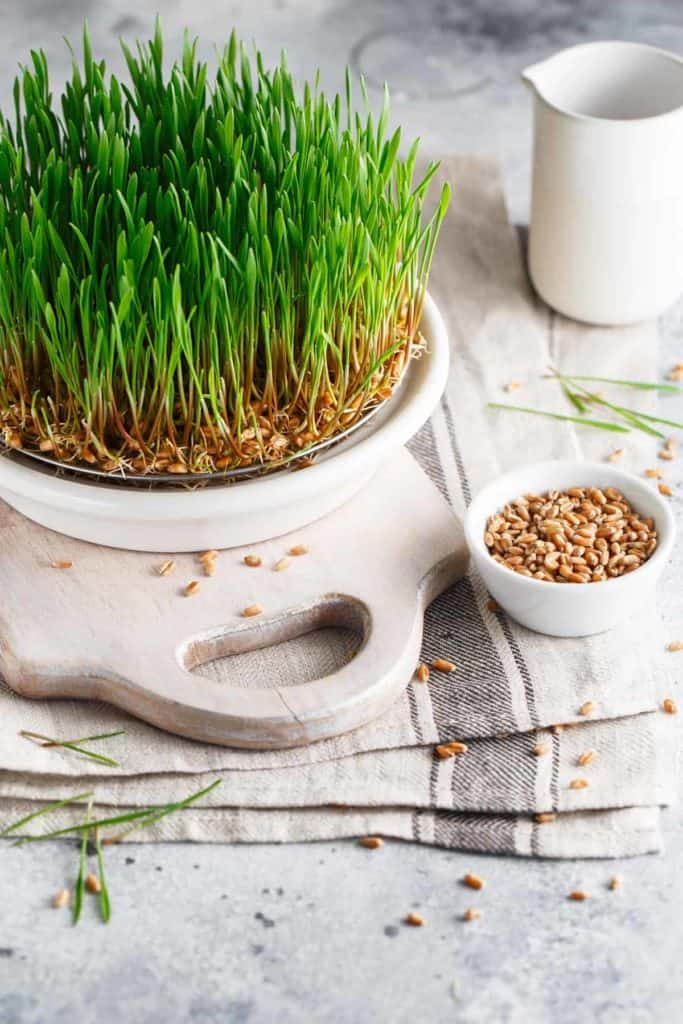
- Wheatgrass
👉 Check out our article on the 13 Easiest Microgreens to Grow.
How to grow microgreens indoors step-by-step
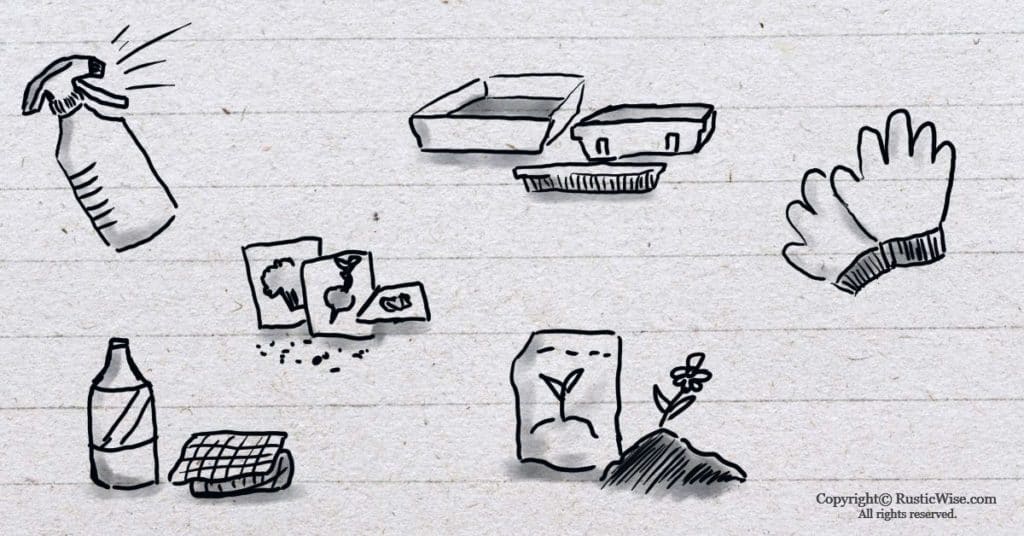
Ready to start? Let’s gather a few supplies that you’ll need:
- Quality seeds
- Growing containers (You can buy grow trays, or any shallow container such as pie plates, or clear plastic produce containers work well. Just make sure to poke a few holes for drainage.)
- Potting mix (While there are other ways to grow microgreens without soil as mentioned above, we’re just sticking with soil here.)
- Spray bottle filled with water
- Glass jar if you’ll be soaking seeds (optional)
- Clean bucket to moisten soil or soilless medium (optional)
- Gloves (optional)
- Small piece of cardboard (optional)
If you want to sanitize your growing trays, you’ll need:
- Hydrogen peroxide in a spray bottle (for sanitizing trays)
- Clean, lintless cloth for cleaning
Cleaning and sanitizing your grow trays
Before planting, you’ll want to make sure your growing containers are clean. This helps reduce the chance of harmful bacteria proliferating in your food source.
It’s a good practice to thoroughly wash your grow trays after each use. Simply wash trays with warm, soapy water, rinse, and dry.
IF you’ve recently used a grow tray and had the unfortunate experience of having mold or fungus issues, then it’s time to sanitize them. This extra step kills any mold spores from transferring onto your microgreens.
To sanitize growing trays, you can either spray or directly apply a bit of hydrogen peroxide with a clean, lintless cloth all over the trays. Let sit for a few minutes then wipe off.
Do you need to sanitize your trays after each and every use? Not really. I personally don’t sanitize between each harvest. But, I thoroughly wash and clean the growing containers with soapy water. As mentioned, if you’re experiencing mold issues or dampening off, it certainly doesn’t hurt to take this extra step.
To group or not to group
Before diving straight into planting, look into the growing times of each type of seed. You might want to grow each type of microgreen in a separate container.
Or, you could group together micros that have similar growth cycles. Grouping more than one type of microgreen together helps save space, and also lets you have more variety.
Now that we’ve hopefully cleared some cobwebs, let’s get started!
If you’re ready to begin, here’s how to grow microgreens indoors at-a-glance:
- Measure and soak seeds. (Soaking is optional as not all microgreens seeds need soaking—check the instructions on your seeds.)
- Moisten the growing medium and fill the growing tray or container.
- Sow seeds and mist.
- Cover seeds and keep warm.
- Place in the light once microgreens begin to grow upwards.
- Water as needed.
- Harvest and enjoy!
Step 1: Measure and soak seeds
Measuring the right amount of seeds can be tricky.
How much seeds do you need? As a general rule, you’ll need roughly 1–2 teaspoons for a tray that measures 5 X 5 inches.
An easy way to guesstimate the proper amount of seeds is to fill your empty grow tray so that the entire base has a thin layer of seeds.
Some larger seeds require more spacing between them (such as pea seeds). Others can be more densely sown. Refer to the growing instructions on your microgreens seed packet.
Tip: If you want to get more precise in measuring seeds, PennState Extension has created a microgreens seed density calculator. It’s a spreadsheet where you can select the variety of microgreens you’re growing, input the shape of the container (rectangular or circular), the size of the container, and it calculates the amount of seeds you’ll need in grams.
The next consideration is whether you’ll be pre-soaking your seeds.
While it’s not necessary to soak seeds before planting, it does help to speed up germination.
Keep in mind that not all seeds should be soaked (particularly mucilaginous seeds, or very tiny seeds such as some lettuce varieties).
Mucilaginous or gelatinous seeds such as chia or flax form a gel-like layer around each seed when it comes in contact with water. If you soak these types of seeds, you’ll end up with a gooey mess!
If you’re planning on soaking seeds, a glass mason jar works well. Fill with clean water.
Soak seeds for 8–12 hours, or overnight.
Tip: It’s best to follow the directions on the seed packet for soaking recommendations.
Step 2: Moisten growing medium and fill grow tray
If you’re using soil or a soilless medium, the easiest way to moisten it is to portion out soil into a separate clean bucket, and incorporate water until it’s thoroughly moistened. Soil should have the consistency of a damp sponge—not too wet, not too dry.
If you’re using a grow mat, thoroughly moisten and gently wring out excess water. Repeat as needed until the grow mat has the desired moisture level.
Next, fill your growing trays with roughly 1–2 inches (2.5–5 centimeters) of soil.
You can use either your hands or a small piece of cardboard to gently tamp down and level the soil’s surface. (Don’t press too hard—you don’t want the soil too compressed.)
Step 3: Sow seeds and mist
Now that your grow tray is ready, it’s time to broadcast the seeds.
As microgreens stay in soil for a short time and grow to a small size, you don’t need to worry about overcrowding the way you would when planting other vegetables. While microgreens are more densely sown than other crops, it’s important not to go overboard.
So how dense should microgreens seeds be sown? Generally, it’s okay if a few seeds are touching, but your seeds should not be overlapping. Microgreens that are sown too densely are more prone to moisture and mold issues.
Seeds that aren’t making contact with the soil won’t germinate. Once seeds are sown, press down gently so that all seeds are making firm contact with the soil—you can use your hands or a small piece of cardboard to press down.
Next, give the tops of the seeds a misting with a spray bottle.
Note: Some seeds do better when covered with a thin layer of soil, particularly larger seeds. However, most seeds don’t require covering with soil. Check with the instructions on your seed packet for specific details.
Step 4: Cover seeds and keep warm
During this germination phase most microgreen seeds don’t require any light. Some refer to this phase as the blackout period.
In order for seeds to germinate, they also require warmth. It’s important to place your tray of microgreens in a room that’s at least room temperature. Seeds placed in cool rooms either won’t germinate, or will germinate very slowly.
Different varieties of microgreens have different optimal temperature requirements. That said, the University of Illinois Extension recommends an ambient temperature range between 70–75 degrees Fahrenheit (21–24 degrees Celsius). An ideal soil temperature range is between 73–75 degrees Fahrenheit (23–24 degrees Celsius).
Humidity should be between 40 to 60 percent.
To help keep moisture in, place a cover over the grow tray. This helps create a mini greenhouse effect. If you don’t have a cover, you could use either a newspaper, or a piece of clean, breathable fabric such as cotton.
During this stage, you can take a peek at the seeds once a day and mist with lukewarm water if they become dry. Remember to replace the cover. Depending on the variety of microgreens, most germinate within the first three or four days.
Avoid over-misting seeds as overly wet conditions increase the chance of mold growth.
Step 5: Place in the light
Once microgreens begin to show sturdy upwards growth, remove the cover and place in the light. This can be a sunny windowsill or under artificial grow lights if there’s insufficient natural sunlight.
It’s important to place micros under sunlight at this point to “green” them which promotes vigorous growth and enhances the flavor of the crop.
Micros that don’t receive enough light may look pale, or “leggy.”
According to the book Microgreen Garden: Indoor Grower’s Guide to Gourmet Greens by Mark Braunstein, most microgreens that have germinated need at least 10 hours of sunlight a day. And like most other plants, microgreens benefit from a period of darkness each day too—at least 6 hours.
If you don’t receive adequate natural sunlight, you may need to supplement with artificial lighting. Don’t worry about shelling out tons of money for a fancy lighting setup (especially if you’re just growing for personal use).
Use what you already have. Chances are, you may already have a spare fluorescent light bulb or two you could use. LEDs are more pricey, but maybe something you’d like to invest in later.
Tip: If you’re placing your tray of microgreens on a windowsill, you may notice that they all begin to lean toward the sunlight. It’s a good practice to rotate the tray to ensure all tiny greens receive an equal amount of light to help them grow upright.
Step 6: Water regularly
Now that your tray of micros is exposed to light, you may notice that the growing medium dries out more quickly. Monitor moisture levels and keep the soil moist by watering once a day (or as needed).
Bottom watering is the recommended method for most micros. This involves watering micros from the roots-up which avoids getting leaves and stems wet.
To bottom water, your growing tray needs to have a few drainage holes. Fill a clean basin or sink with several inches of water. Simply place the microgreens tray into the water. Remove after several minutes.
Credit: Deposit Photos
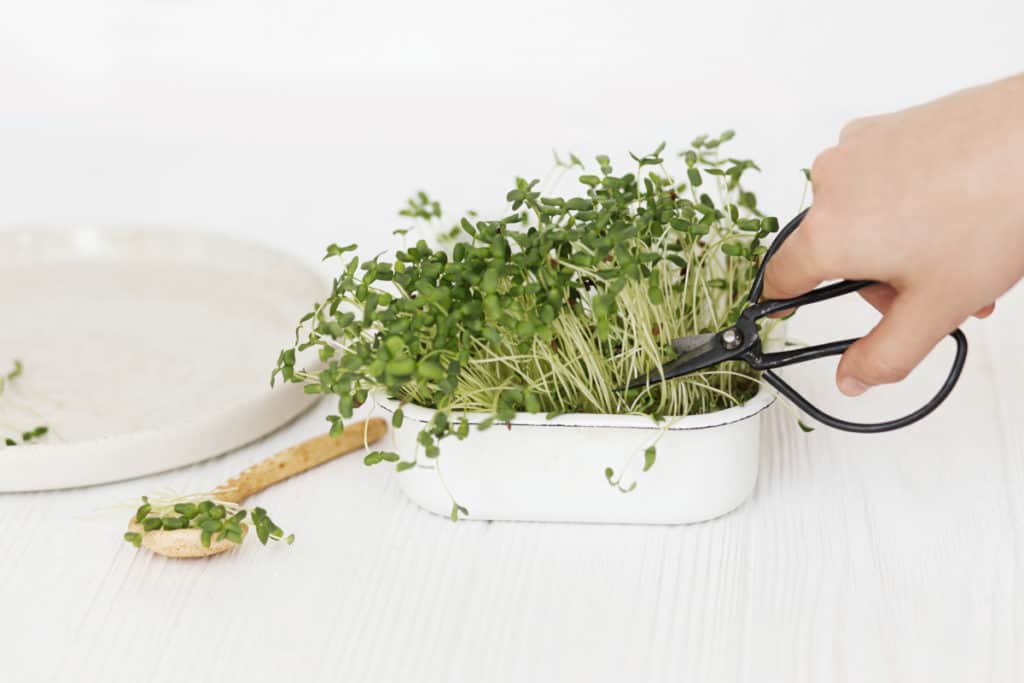
Step 7: Harvest
Some microgreens have short growth cycles and are ready to harvest in 1–2 weeks. Others may require around 30 days until harvesting.
While your seed packet will give a general harvesting time frame, the best way to know when they’re ready is to harvest according to taste. This means you can sample a few stems and leaves throughout the grow cycle to see when they taste best.
Generally, microgreens are ready for harvesting when they are around two inches tall (5.1 centimeters).
You can decide to harvest as soon as the first seed leaves (cotyledons) appear, or wait until the first true leaves (the second set of leaves) unfold.
To harvest, simply use a clean, sharp pair of scissors or knife to cut just above the soil line. Have a clean container or bag ready to catch your harvest of microgreens. Store in the fridge.
Note: Any moisture shortens the shelf life of microgreens. Store unwashed in the fridge, and wash just before eating. Microgreens can keep up to one week in the fridge, but are best when consumed within 3–4 days after harvesting.
Common questions about microgreens
Do microgreens regrow after cutting?
Sadly, no. Most varieties of microgreens do not regrow after they are harvested at the base of the stem.
There are a few exceptions though. Pea shoots regrow nicely as they are larger than most other varieties and are able to bounce back. Some other varieties that may (or may not) regrow are basil, beans, and some leafy greens.
It’s important to note that the first harvest produces the best, tastiest, and most nutritious batch of microgreens. Each subsequent batch is of lower quality.
The good news however is that you don’t need to harvest all the microgreens in a growing tray all at once. Since they are densely sown, you can harvest microgreens over a period of several days so you can enjoy super-fresh greens each time.
Do microgreens need direct sunlight?
Direct sunlight is also known as bright, unfiltered light. In terms of lighting requirements for most microgreens, some varieties may find direct lighting too much.
Signs that your microgreens have too much light are spots, scorched leaves or stems, or the need to water the tray more than once or twice a day.
With that said, microgreens need a good source of light for at least 10 hours a day. They also need about 6 hours of darkness too to mimic the natural day and night cycles.
Sometimes when placed on a windowsill, microgreens tend to grow towards the sunlight leaving you with slightly bent stems. No biggie—simply rotate the tray to ensure all greens get an equal amount of light.
Sometimes you’ll need to supplement natural sunlight with grow lights. You can experiment with different kinds of lights and lighting setups, but with standard size grow trays (10-inch by 20-inch) placed four-in-a-row, you’ll want to have a light source that equally covers all trays. If you have something smaller, such as a 17-inch grow light you’ll need to rotate the trays to ensure they all get enough light.
You’ll know if your microgreens aren’t getting enough light when they start to look leggy and slumped over.
Some varieties of microgreens do fine even in indirect lighting.
Are there any types of microgreens that I shouldn’t grow?
Yes, not all seeds are suitable as microgreens. While fine to eat when mature, plants that belong to the nightshade family should not be eaten as young shoots (nor as sprouts) because they are poisonous. They contain solanine and tropanes which can cause digestive problems. This includes plants such as tomatoes, potatoes, peppers, eggplant, and goji.
Other microgreens such as buckwheat should be avoided—when eaten in larger quantities, it may result in an upset stomach or produce a skin rash.
Don't grow seeds of plants that belong to the nightshade family as microgreens. Their young shoots and sprouts are NOT safe to eat.
Growing microgreens indoors for profit?
Interested in starting a side hustle? Growing microgreens indoors for profit is not as crazy as it sounds. If you think about it, microgreens are the perfect type of plant to grow—short grow times, high density, high yield all in a small amount of space.
Of course to turn your homegrown operation into a profitable one takes a bit of work, and a small investment in proper grow lights. But once that’s set up, you can test the waters by talking to local restaurants and farmer’s markets.
👉 Check out our article on the best markets to sell microgreens.
Happy growing!
👉 If you like this post, see our Complete Guide to Growing Microgreens at Home. 🌱
Would you like more timeless tips via email?
Fun tips to help you live an independent, self-sustaining lifestyle. Opt-out at any time.


References
- USDA Agricultural Research Service (ARS), AgResearch Magaine, January 2014 edition, https://agresearchmag.ars.usda.gov/2014/jan/greens. Accessed May 2020.
- PBS Utah, Modern Gardener, Growing Microgreens and Sprouts Part 3: Growing and Eating, https://www.pbsutah.org/modern-gardener/stories/growing-microgreens-and-sprouts-part-3-growing-and-eating. Accessed May 2020.
- Hart, Jane (7 February 2014). “Solanine poisoning – how does it happen?”, https://www.canr.msu.edu/news/solanine_poisoning_how_does_it_happen. Michigan State University, MSU Extension, Accessed May 2020.
- PennState Extension, Microgreens Seed Density Calculator, https://extension.psu.edu/microgreens-seed-density-calculator. Accessed September 2021.
- Braunstein, Mark Mathew (2013). Microgreen Garden: Indoor Grower’s Guide to Gourmet Greens. Book Publishing Company. ISBN 13: 978-1-57067-294-1.
- University of Illinois Extension, Microgreens – year-round edible greens to grow at home, https://extension.illinois.edu/sites/default/files/dkk-mg-microgreens-tipsheet.pdf. Accessed September 2021.

Author: Josh Tesolin
Josh is co-founder of RusticWise. When he’s not tinkering in the garden, or fixing something around the house, you can find him working on a vast array of random side projects.