Grow Onion Microgreens For Intense Flavor
Onions are a mainstay in our kitchen. I add green onions to salads, soups, and pretty much any savory cheesy dish. If you’re like me and love the taste of onions and want to try growing your own fresh produce at home, let me introduce you to the humble onion microgreen.
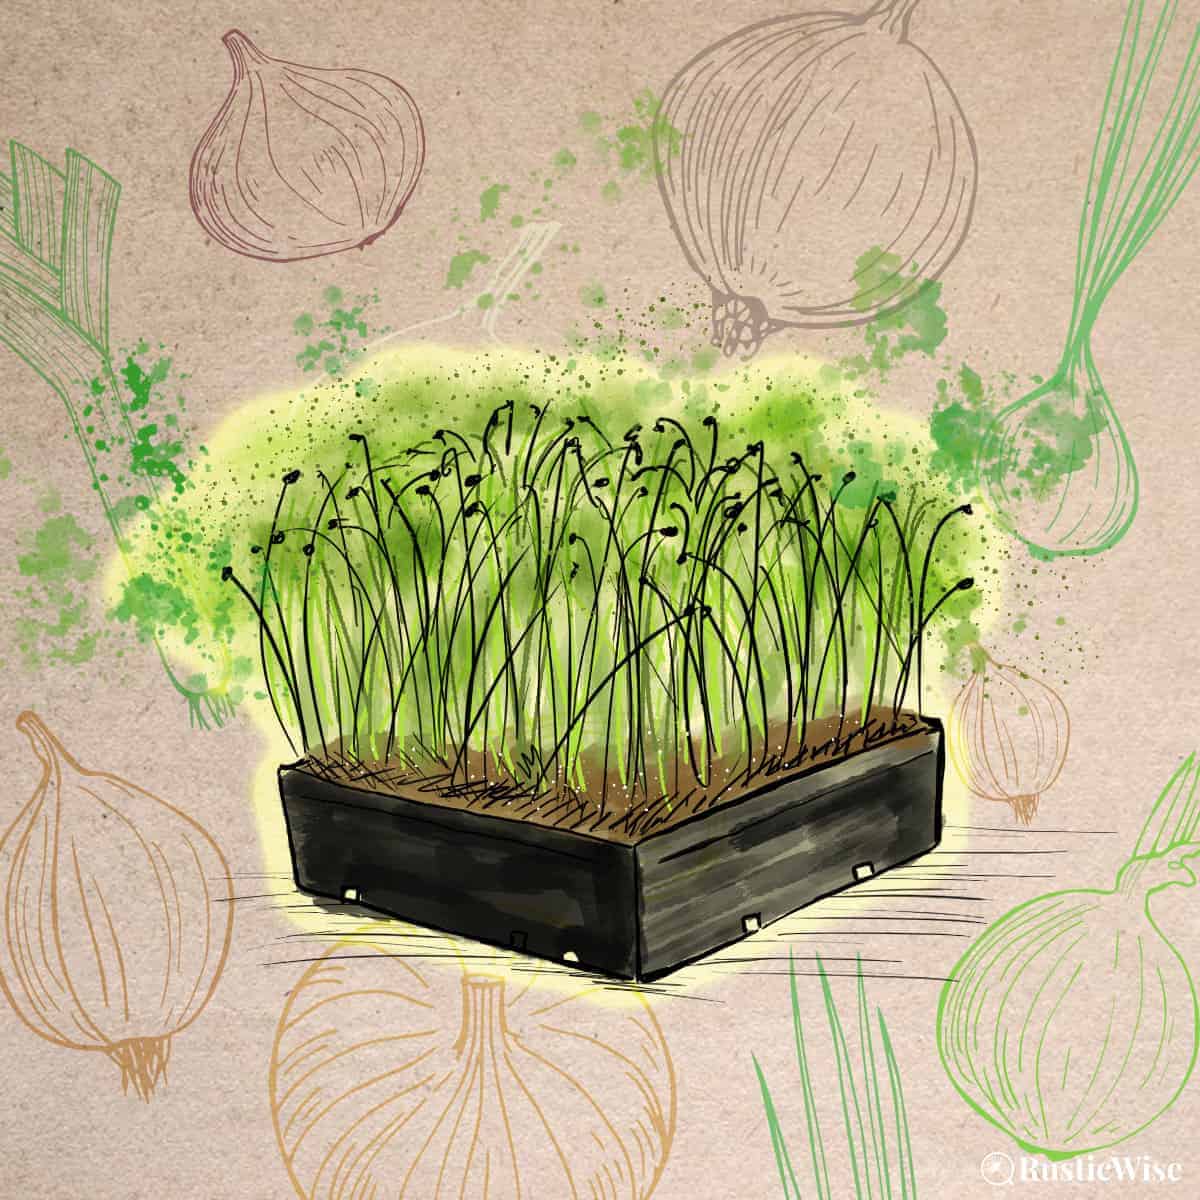
Onion microgreens are easy to grow in a kitchen with minimal equipment and produce a potent punch to elevate your dishes with an extra flavor dimension. This is a slower growing variety of microgreen that can take between 14 to 21 days, but the extra wait is well worth it. This is one of the few micros that actually regrows after the first harvest!
So, without further delay, let’s look at onions and how to grow these tiny black seeds as microgreens.
What exactly are onion microgreens?
Onion microgreens are the youngest members of the Allium family, which includes garlic, leek, and chives. Microgreens are the tiny, immature seedlings of a plant that are harvested when only an inch or two tall.
At this young stage of growth, they’re chock-full of nutrients and offer an intense onion taste. Larger than sprouts, but tinier than full-grown baby leafy greens, microgreens occupy a unique stage of plant growth.
These allium micros grow thin shoots that resemble blades of grass and have tiny, black edible seed husks that remain.
While you can also grow onion microgreen seeds as sprouts (in a mason jar or sprouter, with daily rinse and drain cycles without soil), this article focuses on growing this vegetable as a microgreen (anchored in soil in a shallow container).
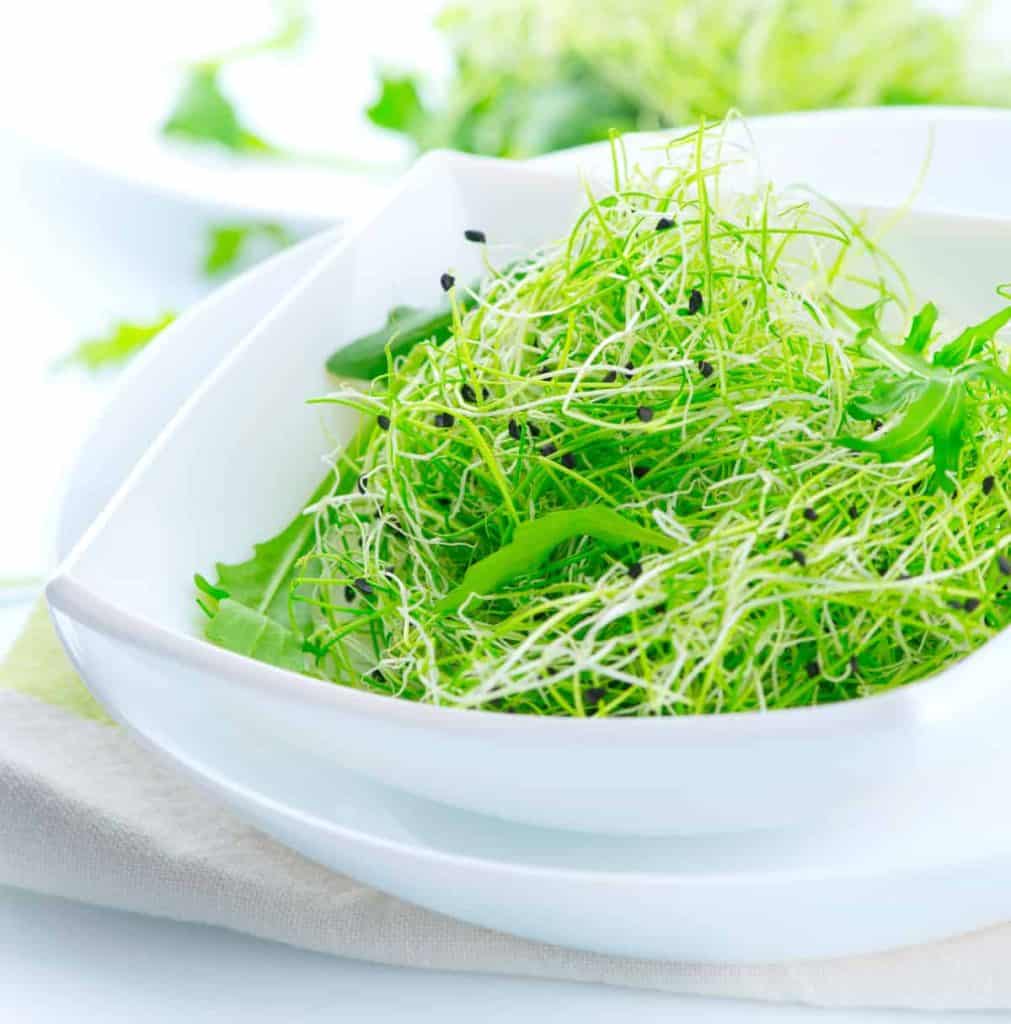
These tiny onion greens are unique because they are one of the few types of microgreens that have a strong onion flavor. We can use them as a topping for pizzas, sprinkled on top of avocado toast, or mixed into salads, just to name a few options!
Why you should grow onion microgreens
With minimal equipment, you can grow allium microgreens in the kitchen, producing a tasty garnish.
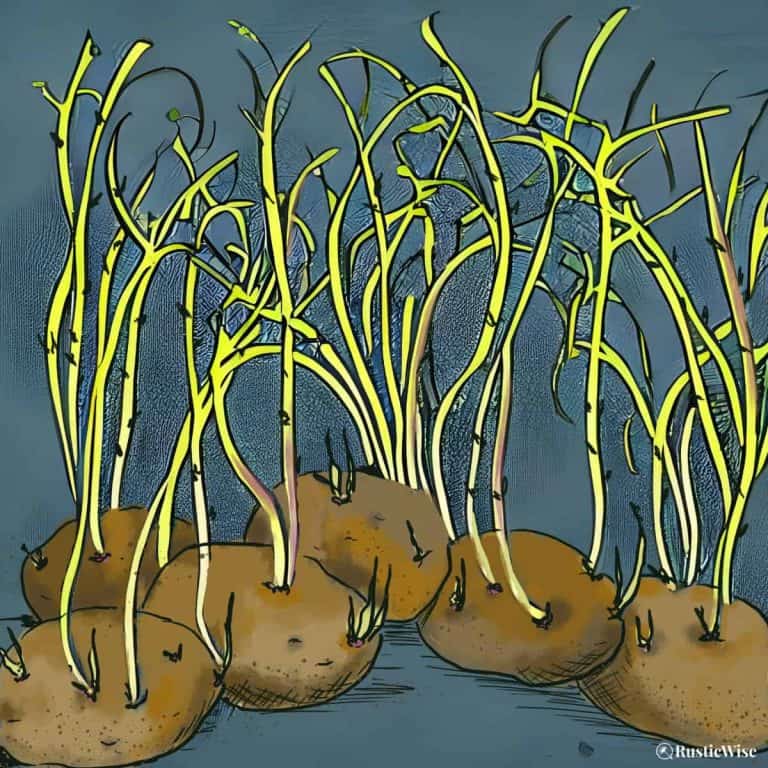
- Quicker grow time than full-grown onions: Sure, in the world of micros, this allium is actually considered a slower growing variety (up to 21 days till harvest). But compared to fully mature onion bulbs that can take three or four months to harvest when grown from seed (or even green onions which take up to 6 weeks), this time goes by in a heartbeat.
- Regrows: Micros rarely regrow after the first cutting. But onion microgreens are one of the rare exceptions. Since the growth generates from the root (and not the stems like other micros), you can actually enjoy a second harvest, perhaps a third.
- Less cutting and tears: Did you know that the reason full grown onions make you cry is that they contain a volatile oil which contains sulfur?¹ You don’t need to worry about this when growing onion microgreens at home. Besides, the small bite-size micros require little to any chopping, which saves you work!
- Cheaper than buying store-bought micros: Homegrown micros are a fraction of the cost of store-bought microgreens. Plus, nothing beats the fresh produce you reap from a quick harvest-to-plate cycle.
Credit: VectorState
Onion history and nutrition facts
Onions (Allium cepa) themselves have a long history and are one of the oldest cultivated plants in the world. They are thought to originate from Asia, the Middle East, and India.¹
Ancient Egyptians looked to the round shape of this allium as an emblem of the universe. The word “onion” comes from the Latin word unus, which means “one.”¹
With a variety of onion cultivars, they come in multiple colors, including white, yellow, and red, and now grow in mainly temperate regions all over the world.
According to the National Onion Association (NOA), onions are an excellent source of dietary fiber, vitamins B6 and C, potassium, and other nutrients such as calcium, folate, iron, and phosphorus.²
Onions contain organosulfur compounds, which may help reduce blood pressure and cholesterol levels. They also have a unique flavonoid called quercetin, which has anti-inflammatory effects on the body. Onions may protect against heart disease, regenerate vitamin E levels, and have some cancer-fighting properties.²
What kind of onion seeds to use for growing microgreens?
When growing microgreens, it’s important to stick with organic, untreated onion seeds. You don’t want to use any seeds that are treated with fungicides or pesticides (no thank you!). You’ll also want to choose quality, high-germinating seeds that are free of harmful pathogens.
While you don’t have to buy special microgreens seeds, in this case, I recommend buying them from a microgreen seed supplier because an individual packet of seeds from garden centers will contain very few seeds. One or two regular seed packets won’t be enough to grow a tray (even a small one) of microgreens.
So, check out some quality microgreen seed suppliers in your area. You’ll be able to order seeds in larger quantities, which will last you many batches.
Since I live in Canada, I like to buy mine from Mumm’s Sprouting Seeds. But if you’re from the U.S. you’ll have plenty of options to choose from. There are a variety of microgreen onion cultivars to choose from.
They sell Tokyo Long White Bunching Onion over at True Leaf Market, and scallions (Allium fistulosum) at Johnny’s Seeds.
Supplies you’ll need to grow onion microgreens
Growing microgreens is fun and easy! Here’s what you’ll need to grow microgreens at home:
- Shallow growing tray: Any shallow food-safe container with drainage holes will suffice. You can repurpose many takeout containers you may have around the house. Or, you could use any standard 5 X 5, 10 X 10, or 10 X 20 microgreens tray.
- Cover: You’ll also need a cover that fits over the grow tray, which should block out light while still allowing air circulation. If you don’t have a cover, you could use a breathable cotton cloth or newspaper to cover the seeds.
- Bottom tray: This tray does not have any holes and is used to catch the drips from the growing tray and for bottom watering. The top growing tray should fit inside the bottom tray.
- Organic growing medium: For micros with longer growth cycles such as onion, I prefer to use a quality potting soil which will provide nutrients and sustain the greens during the entire cycle. If you choose to use a soilless mix such as coconut coir, make sure you add some water soluble fertilizer.
- Onion microgreens seeds: You’ll need roughly 1–2 teaspoons per 5 X 5 tray. For a 10 X 20, you’ll need about 2–4 tablespoons. Refer to the section above for more details.
- Spray bottle filled with clean water.
- Small piece of cardboard for tamping down soil and seeds (optional).
Credit: Deposit Photos
How to grow tasty onion microgreens
Ready to get started? Let’s learn how to grow tasty onion micros, step by step.
Growing onion micros at-a-glance
- Presoak: Not necessary. When growing micros, you generally don’t need to soak seeds that are on the smaller side. As these black seeds are fairly small, you can skip this step.
- Germination: 3 or 4 days, on average, depending on the temperature.
- Time to harvest: 14 to 21 days.
- Growing height: Around 1 to 2 inches (2.5 to 5 centimeters).
- Measure and inspect seeds: Take a quick look over your seeds and remove any debris or broken seeds. Measure seeds and set aside.
- Prepare the growing tray: Using a clean growing tray, fill with 1–2 inches (2.5–5 centimeters) of potting soil. Slightly compress the soil with hands or a piece of cardboard. Moisten with water. The soil should feel damp, but not overly soggy.
- Sow seeds: Broadcast the onion seeds evenly over the soil surface. Seed densely, but avoid overlapping the seeds as this will make it overcrowded (and may lead to mold issues). Tamp down with your hands or a small piece of cardboard to press the seeds lightly into the soil. Gently mist the seeds with a spray bottle.
- Cover and keep warm: During the blackout phase,the seeds don’t need light—they have everything they need to germinate. To retain moisture, place a grow cover over the tray. If you don’t have a cover, a newspaper, or a piece of clean, breathable cotton cloth works too. Keep at room temperature. If you have a heating mat, this can help speed up germination. Cooler temperatures will tack on a few days of germination. If needed, mist the soil once a day (if it feels dry). Replace the lid after misting. Germination typically occurs on Days 3 or 4.
- Give it light: Once small shoots poke out, remove the cover and place in the light. A sunny, south-facing windowsill works, or you might need artificial grow lights if there’s not enough natural sunlight. Sunlight helps promote vigorous growth and greening.
- Water: You can now bottom water your micros as needed. Keep the soil moist and don’t let it dry out.
- Harvest time: Once your shoots are roughly 1 to 2 inches (2.5 to 5 centimeters) tall, the microgreens are ready for harvest. This is typically between Days 14 and 21. Use a clean, sharp knife or scissors to cut the microgreens above the soil line. Toss the used growing medium in a compost pile.
Tips for harvesting onion micros
Harvesting your onion microgreens is the last step in the growing process. Microgreens that are harvested too late may develop a bitter taste. Here are a few tips on how to harvest onion microgreens.
- Try tasting them along the way: This is the best way to harvest micros to suit your personal taste.
- Don’t cut too close to the soil line: Remember that onion micros will regrow after the first cutting IF you leave a bit behind. So don’t cut too short! Aim to leave about ½ inch of stem behind to allow for a second (or third) harvest. While subsequent waves won’t be as abundant as the first, it’s still worth keeping around.
- Can you eat the black seed husks on onion micros? If you’re wondering if the seed hulls are edible, yes, they are! So you don’t have to worry about brushing off or removing the black husks. The seeds often cling to the tops of the shoots and can be enjoyed whole with the rest of the shoot.
- Store freshly harvested onion micros in the fridge immediately.
Ways to use onion microgreens
Substitute your tasty micros for any dishes that call for green onions or spring onions.
- Use as a garnish on omelets, meat, poultry or fish dishes. It also works great with roasted vegetables.
- Add to the last few minutes of cooking time for stews, soups, and stir fry.
- Incorporate into tuna, chicken, or egg salads.
- Add a fresh onion flavor to wraps, salads, and sandwiches.
- Add an extra flavor punch to onion soup!
👉 If you like this post, see our Complete Guide to Growing Microgreens at Home. 🌱
Would you like more timeless tips via email?
Fun tips to help you live an independent, self-sustaining lifestyle. Opt-out at any time.


References
- Britannica, Onion, plant, https://www.britannica.com/plant/onion-plant. Accessed January 2023.
- National Onion Association, Onion Nutrition, https://www.onions-usa.org/all-about-onions/onion-nutrition/. Accessed January 2023.

Author: Josh Tesolin
Josh is co-founder of RusticWise. When he’s not tinkering in the garden, or fixing something around the house, you can find him working on a vast array of random side projects.