How Long To Soak Microgreen Seeds: A Complete Guide
Sometimes a simple act such as pre-soaking seeds can make a surprising difference in germination rates. It’s important to note that NOT all seeds need soaking before sowing. This is especially true of mucilaginous seeds like chia, or tiny seeds such as lettuce greens.
So which seeds need to be soaked, and how long to soak microgreen seeds? A general guideline is that most large or medium seeds with hard outer casings or pods should be soaked for 8 to 12 hours. This helps activate the seed out of its dormant state. It can also improve germination rates and knock off a day in total grow time.
So if you want to grow microgreens, give your seeds a helping hand by presoaking them. Let’s look at which seeds need to be soaked, plus a guide on how to do this, step by step.
Why do you need to presoak microgreen seeds before planting?
Many whole seeds are encased in hard seed coats, sometimes referred to as seed hulls or pods. When unsoaked, these outer casings make it very difficult for seeds to germinate and break through the exterior layer. Soaking seeds helps to soften hulls and pods.
Water is the key ingredient that activates microgreens seeds from a dormant state. It brings the seed to life.
Once the seed has soaked enough water through the seed coat, it will germinate and break through the casing.¹
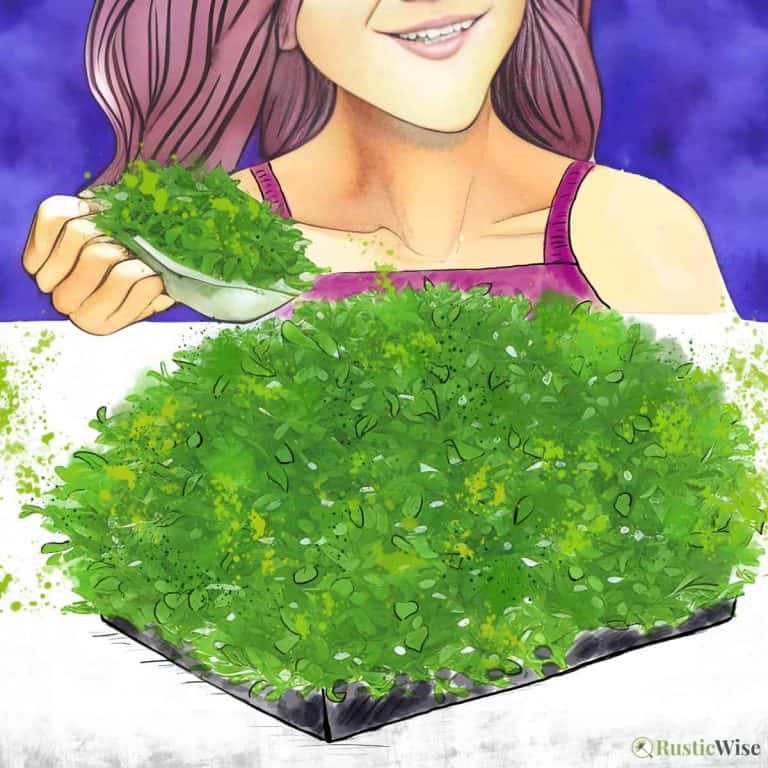
You’ll notice that after soaking the seeds, they plump up, and their outer coats are softened.
Credit: VectorState
Benefits of soaking seeds
There are two key benefits to soaking microgreen seeds:
- Quicker germination process: Soaking seeds in water for even just a few hours can improve germination rates. You’ll notice tiny shoots emerge more quickly from seeds that are given a water bath prior to planting.
- Reduce total growth time: Who doesn’t want to spend less time growing? Be doing this easy preliminary step, you may decrease total growing time by up to 1 day.
How long to soak microgreen seeds?
Seeds that require soaking can generally be soaked in lukewarm water for 8–12 hours, or overnight. It’s important to not oversoak seeds as this can “drown” the seed. Do NOT let your seeds soak longer than 24 hours.
If you’re pressed for time, some seeds still benefit from soaking times as short as 4 hours. Remember that some soaking is better than no soaking (if you are growing seeds that require this, that is).
Do you need to soak all types of seeds?
No, you don’t need to soak all types of seeds for microgreens. A general guideline is that most medium to large sized seeds (especially large seeds with thick outer shells, or seeds encased in pods) should be soaked.²
Here’s a chart of the types of seeds that require prosoaking.
| Seed | Presoak (Yes/No) |
|---|---|
| Alfalfa seeds | Yes |
| Arugula microgreens | No! (mucilaginous) |
| Basil microgreens | No! (mucilaginous) |
| Beet microgreens | No |
| Broccoli microgreens | No |
| Buckwheat microgreens | Yes |
| Cabbage microgreens | No |
| Celery microgreens | No |
| Chia seeds | No! (mucilaginous) |
| Cilantro microgreens | No |
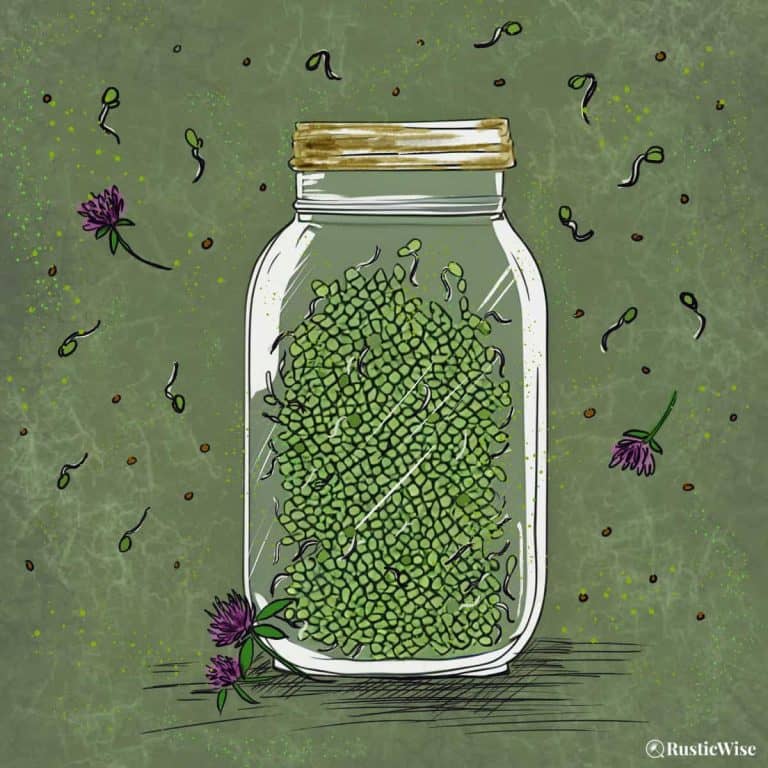
| Clover microgreens | Yes |
| Corn (popcorn) shoots | Definitely yes! |
| Cress microgreens | No |
| Dill microgreens | No |
| Flaxseeds | No! (mucilaginous) |
| Kale microgreens | No |
| Kohlrabi microgreens | Yes |
| Lettuce greens | No |
| Mizuna greens | No |
| Mustard microgreens | No |
| Pea shoots | Definitely yes! |
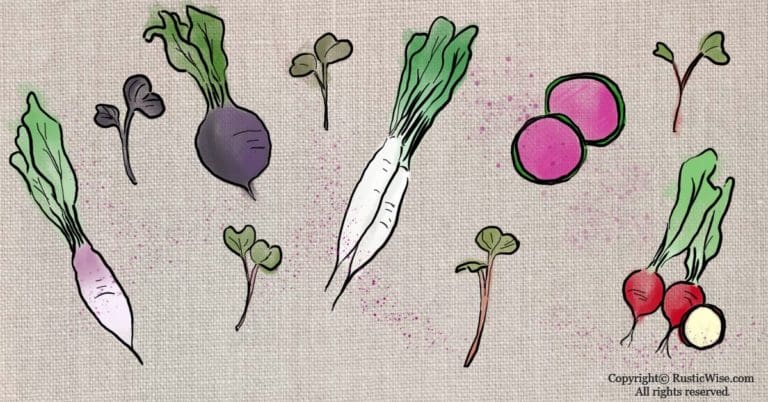
| Radish microgreens | No |
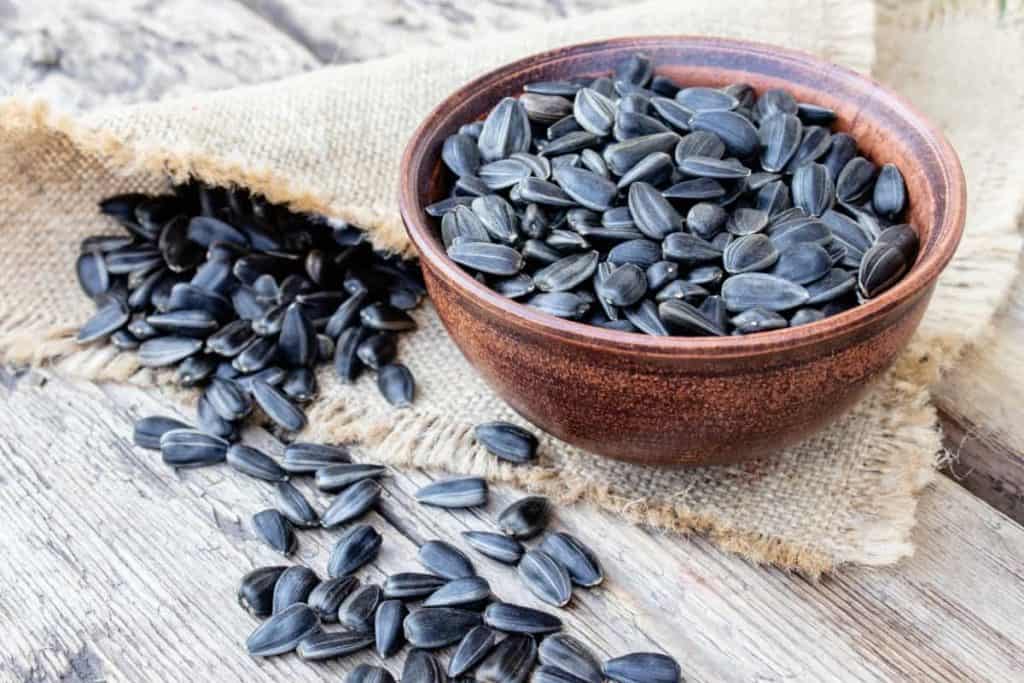
| Sunflower microgreens | Definitely yes! |
| Tatsoi microgreens | No |
| Wheatgrass | Yes |
If you want to learn how to grow sunflower microgreens which have a fresh, nutty flavor, check out our growing tips for sunflower micros. Pea shoots are also a crowd-pleaser for their fresh taste and crunchy texture. Both types require presoaking and presprouting.
Seeds that don’t require presoaking
Do NOT soak gelatinous (mucilaginous) seeds like chia, flax or basil, or tiny seeds like lettuce greens. Mucilaginous seeds are covered in a gel-like substance. Upon contact with water, they turn soft and mushy.
Your soaked seeds will turn into a big gloppy mess!
Notes about water temperature and quality for soaking seeds
As you’re about to grow your own food source, let’s talk about the importance of using clean water and proper water temperature.
Anytime you’re growing sprouts or microgreens, it’s important to only use clean water—drinking quality at a bare minimum. Some people like to use filtered or bottled water, but this isn’t necessary if you have clean tap water.
The quality of water you use can affect the health and taste of your micros.
Avoid using overly hot water as this can damage seeds. Instead, use lukewarm water.
How much water do you need to presoak micros seeds?
Add enough water so that the seeds are completely immersed under water. You’ll add roughly double or triple the amount of water as seeds. Use 2–3 parts water to 1 part seed.
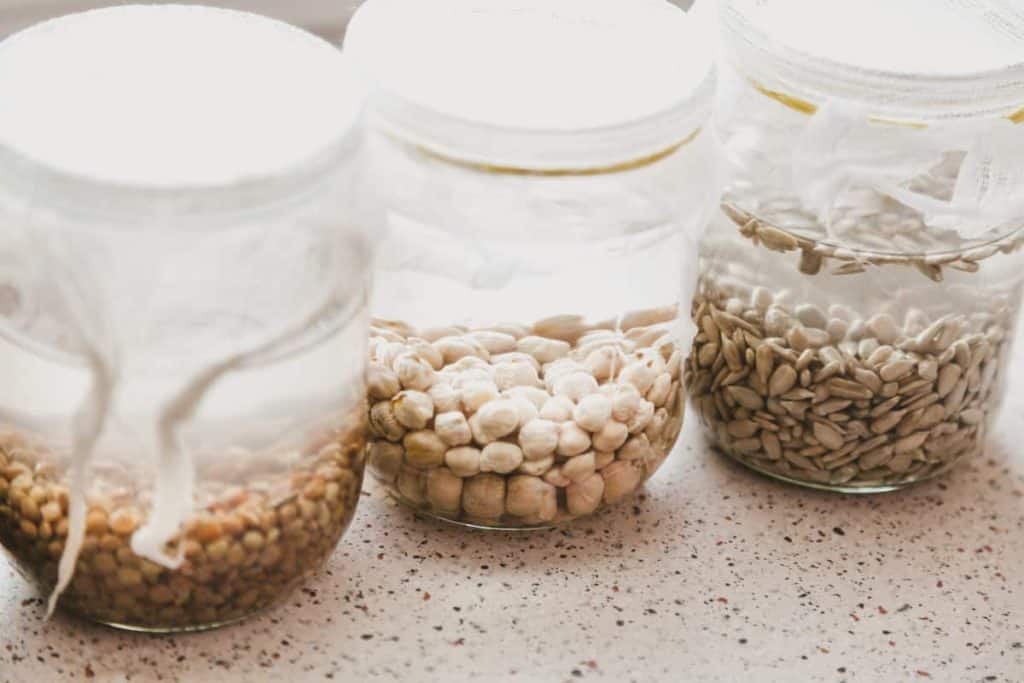
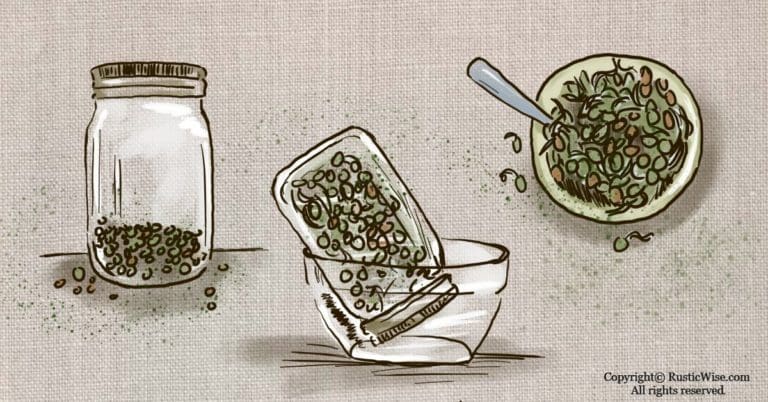
How to soak microgreen seeds step by step
This is a fairly straightforward process that is mostly hands off. All you have to do is let the seeds soak in a jar overnight. Then you can put the seeds in a corner of your kitchen at room temperature.
Let’s gather a few supplies:
- Glass jar, such as a mason jar
- Small spoon to stir with
- A sprouting lid (or a piece of cheesecloth or muslin with a rubber band)
- Measuring spoons
- Quality seeds
- Bowl (to rest the jar upside down for drainage)
Note: I like to use the same glass jars and sprouting lids I use to grow sprouts. This is a system that works well for me and allows me to drain the seeds afterwards without using a colander. But if you don’t have a sprouting lid, no worries. You can also make a DIY lid using a square of cheesecloth or muslin and fasten it on with an elastic band. And, if you don’t have that either, you can simply drain the seeds in a sieve or colander.
- Measure seeds: Portion out the amount of seeds you’ll be using per each tray. Place seeds in the jar.
- Fill with water: Fill the glass jar with lukewarm water. You’ll add roughly 2–3 times more water than seeds.
- Stir seeds: Stirring the seeds gently helps to ensure all seeds have exposure to water. Some types of seeds will float. You’ll want to use a small spoon to push these down. Replace the lid.
- Gently swirl or shake the jar: This helps aerate water. You’ll notice that the seeds will settle at the bottom of the jar.
- Place in a dark corner at room temperature: Place your jar somewhere out of direct sunlight at room temperature. A corner on the kitchen countertop works great.
- Soak your microgreen seeds: Let the tiny pods soak for 8–12 hours. Optional: If you’re doing this during the day, you can drain and rinse the seeds once or twice and refill with water. This helps further aerate the seeds.
- Remove floaters and drain: Remove the lid. If you notice any seeds that are floating on the surface, use a small spoon to remove these. Next, put your sprouting lid (or cheesecloth/elastic back on). Let the seeds drain completely. Rest your jar upside down and at an angle inside a bowl for better drainage.
It’s best to let the seeds dry a bit before sowing in your microgreen tray. Wet seeds are a bit messier to work with if you’re growing in soil or a soilless medium.
Note: Most seeds that are soaked do better with a thin layer of soil after sowing. This allows the seedlings to more easily shed their shells, leaving them in the soil as they grow. For some reason, this rule doesn’t apply to sunflower seeds which when covered with soil, their hulls cling to the seedling leaves.
How to store dry microgreen seeds
You can store dry seeds in Ziploc bags up to 2 years with proper storage. It’s best to keep them in a cool, dry, and place for long term storage. Moisture and temperature can impact the germination rates of the seeds. Try to keep the bags in an environment with little fluctuation in temperature and humidity.
I have heard of some growers storing seeds in the fridge. Personally, I don’t recommend storing seeds in the fridge, as this can lead to temperature fluctuations and condensation buildup.
👉 If you like this post, see our Complete Guide to Growing Microgreens at Home. 🌱
Would you like more timeless tips via email?
Fun tips to help you live an independent, self-sustaining lifestyle. Opt-out at any time.


References
- The Pennsylvania State University, Understanding Seeds and Seedling Biology, https://extension.psu.edu/understanding-seeds-and-seedling-biology. Accessed December 2022.
- Braunstein, Mark Matthew (2013). Microgreen Garden: Indoor Grower’s Guide to Gourmet Greens. Book Publishing Company. ISBN 13: 978-1-57067-294-1.

Author: Josh Tesolin
Josh is co-founder of RusticWise. When he’s not tinkering in the garden, or fixing something around the house, you can find him working on a vast array of random side projects.