Beet Microgreens Benefits and How To Grow Them
If you love beets but don’t want to go through the hassle of chopping or cooking them, there’s good news. You can grow beet microgreens! If you’re not familiar with how to grow beet microgreens, don’t worry. We’ll go over all the information that you need to know about growing and using beet microgreens. Rich in antioxidants and vitamins A and K, there are many beet microgreens benefits including reducing inflammation, boosting digestion, and promoting healthy skin.
Beet microgreens are a culinary and nutritional powerhouse. Their colorful stems and leaves brighten up your dishes. We’ll take a closer look at how you’ll benefit from these tiny greens.
We’ll also walk you through the steps of how to grow beet microgreens in your own kitchen. You don’t need any special equipment or gardening skills to start growing these nutritious greens at home. Once they are ready for harvest, just add them to salads or sandwiches for an extra boost of vitamins A and K! Use them as garnishes to make your meals look beautiful while adding flavor at the same time.
Ready? Let’s get started!
A bit about beets
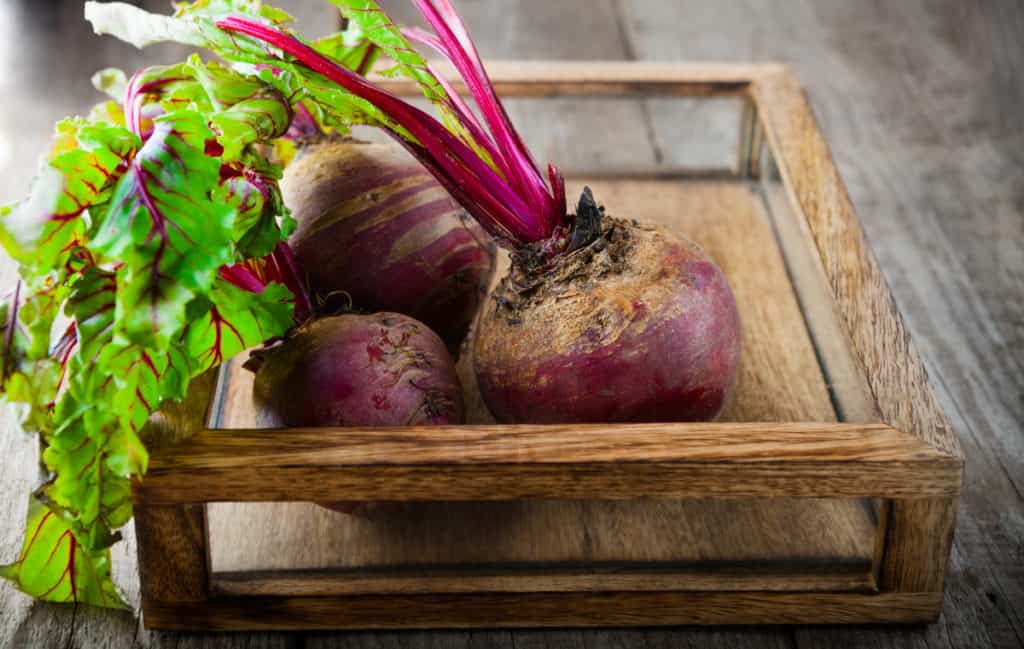
Beets (Beta vulgaris) belong to the Amaranthaceae family of which amaranth, chard, and spinach belong. There are a few important cultivars, namely the sugar beet which is an important crop for producing sugar; and the beetroot, or garden beet which is what we’ll focus on for growing microgreens.
Beetroot is a root vegetable that can be eaten raw or cooked. While much of the culinary world has focused on the fleshy root (which comes in red or purple), the leaves shouldn’t be forgotten.
Credit: Yay Images
The leaves of the plant (known as greens, or beet tops) are commonly boiled, or sautéed as vegetable side dishes. Use beet greens as a leafy alternative to spinach or Swiss chard.
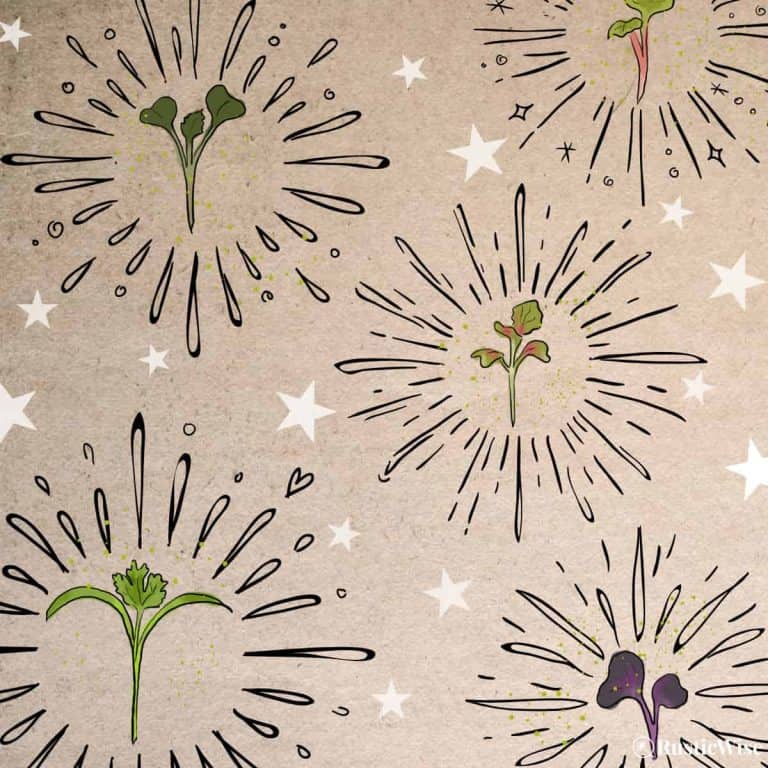
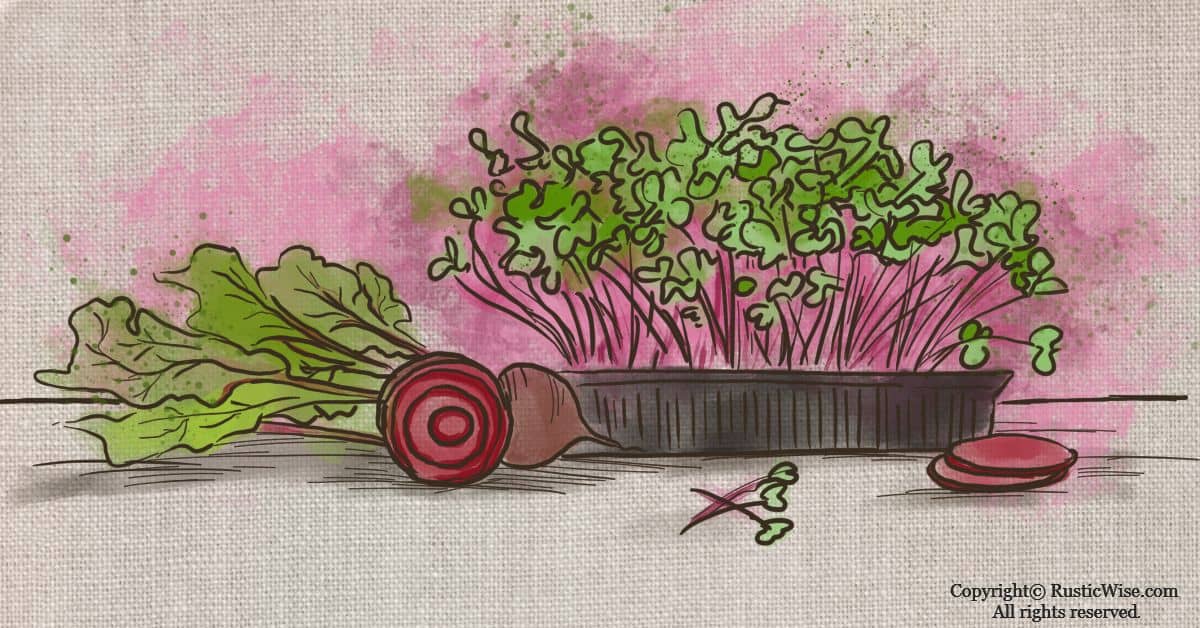
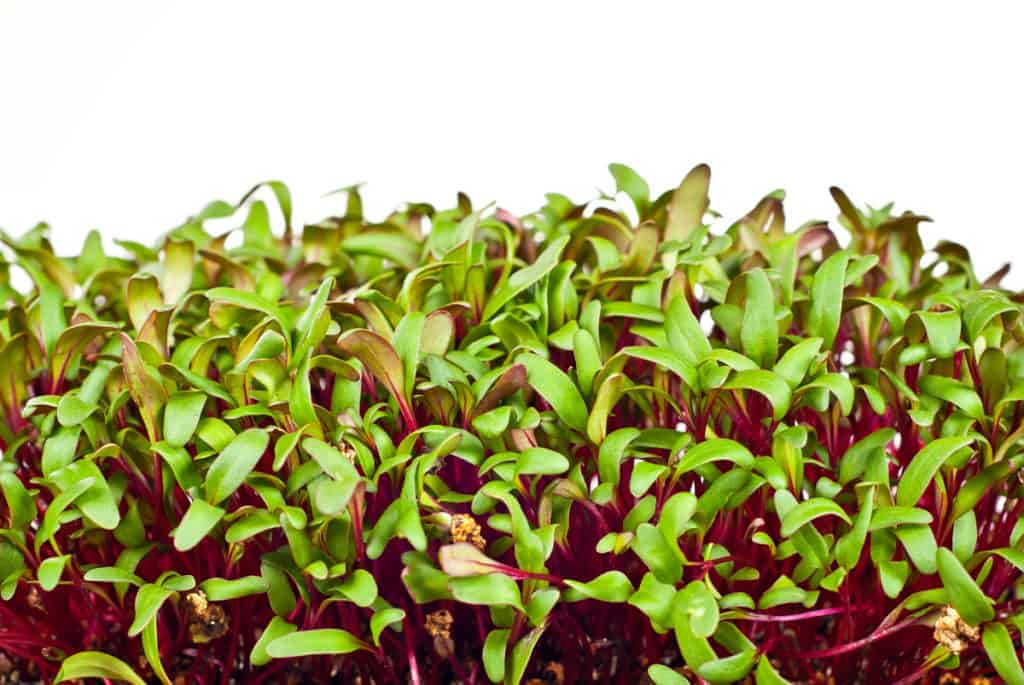
A popular variety of beet microgreens is Bull’s Blood which is a variety with stems that turn an attractive, deep red color with a sprinkling of green leaves. What you’re growing with beet microgreens is essentially tiny beet tops.
Beet microgreens benefits and nutrition
Microgreens are a great way to add vitamins and phytonutrients (beneficial organic chemicals) into your diet. They’re also rich in antioxidants, which may help prevent some forms of cancer. Microgreens have an impressive amount of vitamins, minerals, protein, carbohydrates and dietary fiber—all concentrated in tiny leaves and stems.
Here’s a look at the nutritional content of 100 grams of raw beet leaves (22 calories).
The calories consist of:
- 33% from protein (2.2 grams)
- 4% from fat (0.1 gram)
- 63% from carbs (4.3 grams)
| Raw beet leaves, 100 grams | |
|---|---|
| Calories | 22 |
| Protein | 2.2 grams |
| Carbs | 4.3 grams |
| Fiber | 3.7 grams |
| Vitamin K | 333% of the DV |
| Vitamin A (RAE)* | 35% of the DV |
| Vitamin C | 33% of the DV |
| Copper | 21% of the DV |
| Magnesium | 17% of the DV |
| Manganese | 17% of the DV |
| Potassium | 16% of the DV |
| Iron | 14% of the DV |
| Vitamin E | 10% of the DV |
| Calcium | 9% of the DV |
Source: Food Data Central, USDA
Beets also contain vital essential amino acids.
Here’s a few beet microgreens benefits:
Strong bones: Beet greens and microgreens contain a whopping amount of vitamin K. Vitamin K works together with protein and calcium to build strong bones. Consuming foods rich in vitamin K may help prevent hip fractures and osteoporosis.
Healthy skin and vision: A 100 gram serving of beet greens provides plenty of vitamin A. This vitamin helps promote healthy skin and maintains vision. It also converts food into energy and helps to maintain the immune system. Vitamin A plays a role in the healthy development of bones.
Boosts immunity: Vitamin C from beet greens boosts the immune system, and may lower the risk of developing some forms of cancer. Vitamin C helps the body produce collagen, a tissue which helps with wounds and maintaining strong blood vessel walls.
Healthy heart: Beet greens are a good source of potassium, which is important for regulating blood pressure and heart rate. Potassium may help in lowering your risk for high blood pressure.
Wards off anemia: Did you know that beet greens contain more iron than spinach? Iron is essential in carrying oxygen throughout the body by promoting the development of hemoglobin, a substance vital to healthy blood cells. Those that are iron-deficient may develop anemia. Women in particular, and those on plant-based diets may not get enough iron, so eat more of these healthy beet microgreens!
Improves digestion: High in both soluble and insoluble dietary fiber. Eating beet microgreens may help keep you regular and promote healthy gut bacteria.
May prevent some types of cancer: Betalains, the phytonutrients in beet microgreens which give them their vibrant red color are powerful antioxidants. Antioxidants help protect cells from oxidative damage such as that caused by free radicals or toxins and can be anti-inflammatory agents. Both the beetroot and leafy greens contain betalains which also have powerful detoxifying properties.
Improves blood pressure: Beet microgreens are a natural source of nitrites which may help lower your blood pressure.
Maintains cardiovascular health: Nitrates present in beet microgreens have been shown to increase the flow of oxygen through our bodies by dilating the arteries and veins, reducing blood pressure and increasing circulation.
Credit: Deposit Photos
How to grow beet microgreens
Quicker than growing full-sized beetroot, beet microgreens are great for those with little time or space to grow.
A popular variety of beet microgreens to grow is Bull’s Blood, featuring reddish-pink stems, a dash of green leaves, and a mild, slightly sweet flavor (like regular beetroots!). The seeds are on the larger side; they have a bumpy outer shell with each seed pod containing multiple seeds within it.
If you’ve been growing microgreens for a while, great! Beet microgreens are fairly easy to grow. However, there are a few things you may want to do differently with beet microgreens:
- Use potting mix rather than a growing mat. If you’re a fan of grow mats, maybe save it for another variety of microgreen. These bumpy uneven seeds seem to take better to soil.
- Cover the seeds with a very thin layer of soil. While most microgreens seeds don’t need to be covered with soil, beet microgreens seeds are on the larger side. The purpose of covering the seeds with soil is twofold: 1) To keep seeds moist during germination; and 2) To force the shoots to sprout through the soil which (hopefully) helps to leave the large seed hulls in the dirt.
- Beet microgreens have a longer blackout phase. While many types of microgreens require the cover to stay on for 3–4 days, beet microgreens need a bit longer, between 5–8 days.
Let’s gather a few supplies.
You’ll need:
- Growing tray and cover: Growing trays of any size will do—just ensure there’s a few holes for drainage. Ensure the cover you use blocks out any light while still allowing for air circulation. The blackout period is important for a successful batch of microgreens.
- Potting soil: An organic potting mix with a bit of earthworm casings for added nutrition works great.
- Bull’s Blood beet microgreens seeds: Use roughly 22 grams per 10 X 20 tray, or 3 grams for a 5 X 5 tray
- Water mister
- Small piece of cardboard (to press soil)
Ready to harvest: 11-21 days
Generally, there’s no need to soak seeds. However, if your package of seeds tells you to soak them, follow their directions.
- Prepare the grow tray and soil. Start with a clean tray with a few drainage holes on the bottom. Fill the tray with 1–2 inches (2.5–5.1 centimeters) of soil that’s free of chemicals. Lightly compress the soil down with either your hands, or a flat piece of cardboard. Thoroughly moisten the growing medium.
- Sow the seeds. Sprinkle Bull’s Blood beet microgreens seeds evenly across the surface. Lightly press the seeds to ensure they are firmly touching the soil. Every square-inch should have 10 seeds or so. Use your water mister to give the seeds a quick, even mist of water. Now apply a very thin layer of soil over the tops of the seeds.
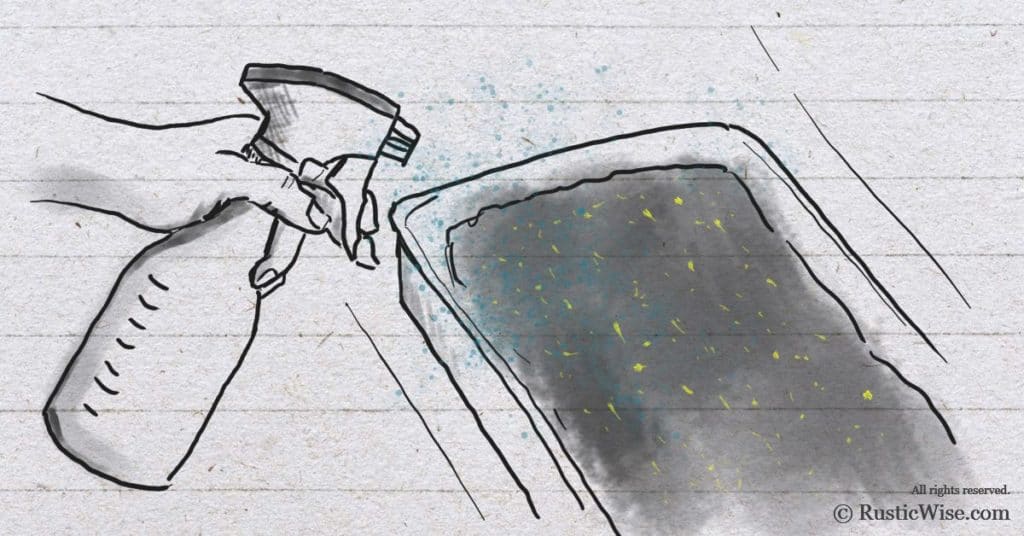
- Cover and place in a dark place. Now the germination and blackout phase begins. Place a cover over the seeds making sure that moisture is kept in and light is kept out. You may place a weight on top of the cover (this keeps it in place and promotes healthy and vigorous growth of the roots). This phase is important for beet microgreens! Place in an area that’s out of direct sunlight and at room temperature. You’ll see signs of growth typically by Days 2 or 3. Feel free to take a peek, but keep the lid on until Day 5. If your soil feels dry, you can give it a quick mist; otherwise, there’s no need to water during this time.
- Uncover and give it light. At first, your tray of microgreens may look like they’re not growing evenly. Slowly, but surely you’ll see more growth. When you see sturdy growth and most of the seed hulls fall away, it’s time to uncover these beauties and bring them into the light. Uncover and place in an area with light (either natural or artificial).
- Bottom water. Keep your mini beet plants happy by bottom watering. Simply fill a larger tray with about 1/2-inch of clean water. Place your tray of microgreens into the watering tray for several minutes, then remove. The roots will draw water from the bottom-up without damaging the fragile stems. Water once a day, or every other day, or when the soil feels dry.
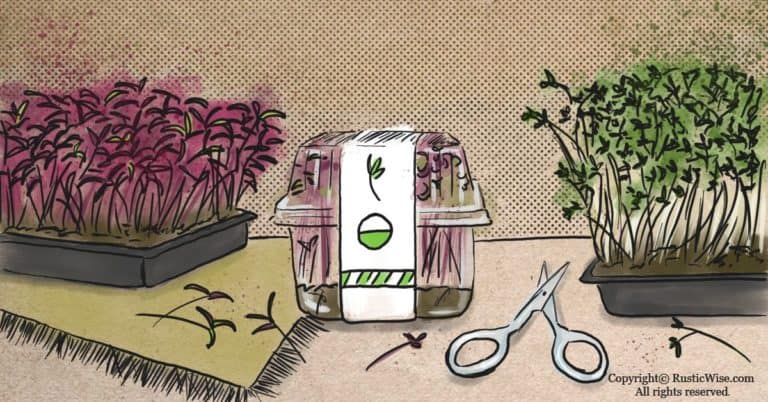
- Harvest. Most beet microgreens are ready for harvesting between 11-21 days after sowing. For tender and sweet beet microgreens, harvest once the cotyledons are fully open. You may choose to grow longer until the true leaves emerge, but older beet microgreens tend to be a bit more fibrous and chewy. Harvest to your own personal taste. Remember how we mentioned that the larger seeds have seed hulls. To remove the seed hulls, carefully lift your tray of microgreens sideways (best to do this over the sink!) and use your hands to gently brush off any remaining hulls. Use a sharp knife or pair of scissors to cut the stems at their base, just above the soil.
Rinse before eating. Once harvested, store in a container for up to one week (if using fresh). Enjoy!
How to use beet microgreens
Like regular beets, beet microgreens also impart a ruby coloring onto other foods when mixed together. This can be a good or bad thing, depending on your perspective! The coloring is a bit less intense than regular beets, but you can still use the microgreens to create beautiful beet-red drinks and salads with your favorite green veggies.
If you don’t want to have the red color bleed onto other foods, add beet microgreens at the last minute.
Beet microgreens taste slightly sweet, with a mild beet flavor. They pair well with both sweet and savory foods.
Here’s a few ideas on how to use beet microgreens:
- Add to salad
- Use as a garnish for cooked meals (seafood, poultry, or soups)
- Add to wraps, sandwiches, and tacos
- Throw into healthy smoothies


Author: Josh Tesolin
Josh is co-founder of RusticWise. When he’s not tinkering in the garden, or fixing something around the house, you can find him working on a vast array of random side projects.