What are Microgreens: A Guide to Tiny Greens Big on Nutrients + 5 Recipes
What are microgreens? As the name suggests, microgreens are tiny leafy greens that are small in stature but big on taste and nutrients. Harvested when they are only a few inches tall, microgreens contain more nutrients than the leaves of the same mature plant.
You might have seen them at a farmer’s market, grocery store or restaurant, often with a hefty price tag.
The great thing about microgreens is that they’re fairly easy to grow yourself. You don’t need a ton of space to grow them (perfect for all the urban gardeners out there). You also don’t need fancy equipment to get started. With a few basic containers, potting soil, and a sunny windowsill, you can go from planting to eating microgreens in one to three weeks—all without leaving a hole in your wallet.
There are plenty of varieties of microgreens from edible flowers, herbs, veggies to salad greens, each with their own unique flavor. Adding microgreens to a daily smoothie or salad is a great way to add a boost of nutrients to your diet.
What are microgreens, exactly?
Often confused with sprouts, microgreens are their own unique category of edible plants. You might be familiar with “baby” lettuces—microgreens are smaller than baby lettuces and are harvested even earlier. Microgreens are essentially the young shoots of plants that are harvested when only a couple inches tall.
Unlike sprouts, microgreens are planted in soil, or a soil alternative. Sprouts on the other hand are germinated through a soaking process in water and eaten whole: seed, root, and shoot. Only the stems, leaves, and cotyledons of microgreens are eaten.
Cotyledons, also known as the seed leaf within the plant embryo, are the very first leaves of a seedling. The cotyledons access vital nutrients from the seed and use these nutrients to spring forth growth of the plant’s true leaves. This helps kickstart the photosynthesis process.
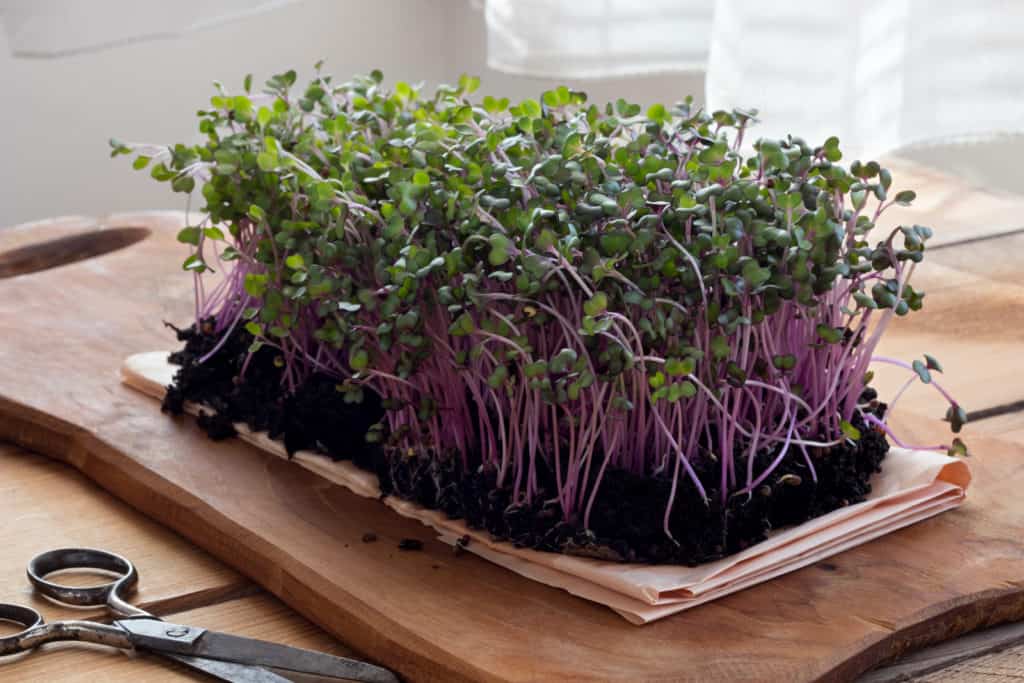
Credit: Madeleine Steinbach / Yay Images, Red cabbage microgreens on a wooden table
What do microgreens taste like?
For such tiny greens, microgreens pack a flavor punch! There are many different types of microgreens, each with their own unique flavor profile and texture.
But generally speaking, microgreens taste fairly similar to the fully-grown version of the same plant, albeit with a more concentrated flavor. So that purple radish microgreen pretty much tastes like a spicy radish. And that Arugula microgreen is a chip off the old block with a similar sharp-spicy taste.
Because microgreens are so flavorful, a little goes a long way. So add them to your salads, use as a garnish, blend them into smoothies, sprinkle them on omelettes.
Most people eat microgreens raw as cooking can diminish the nutritional contents (plus most microgreens taste better raw). However a few types of microgreens go well with stir fry such as pea shoots, or spicy mix varieties.
Here are a few popular microgreens available:
- Wheatgrass: A refreshing microgreen great for making green smoothies. Add your favorite fruits for a tasty and healthy drink.
- Sunflower: A favorite amongst microgreens-lovers, sunflower has a lovely nutty, slightly crunchy texture. Try using it as a spinach substitute.
- Cabbage: A lovely-looking microgreen with reddish-violet stems and green leaves. Tastes similar to broccoli and goes well with other brassicas.
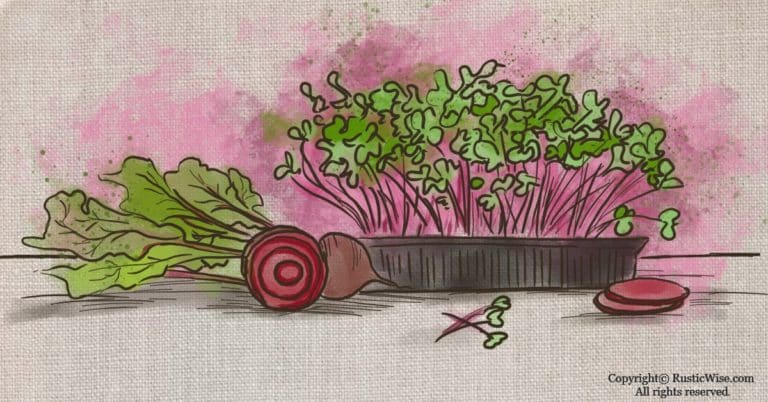
- Beet: Slightly sweet, slightly earthy flavor similar to Swiss chard, adds a gorgeous splash of red to any dish.
- Arugula: Lends a sharp, peppery taste to dishes. If you prefer a milder flavor, let the greens grow a bit longer before harvesting as the flavor gets milder with age.
- Broccoli: Tastes pretty much like broccoli, these microgreens have a good versatile flavor that goes with many dishes.
- Pea: Fresh, crunchy, sweet—just like peas!
How do you grow microgreens?
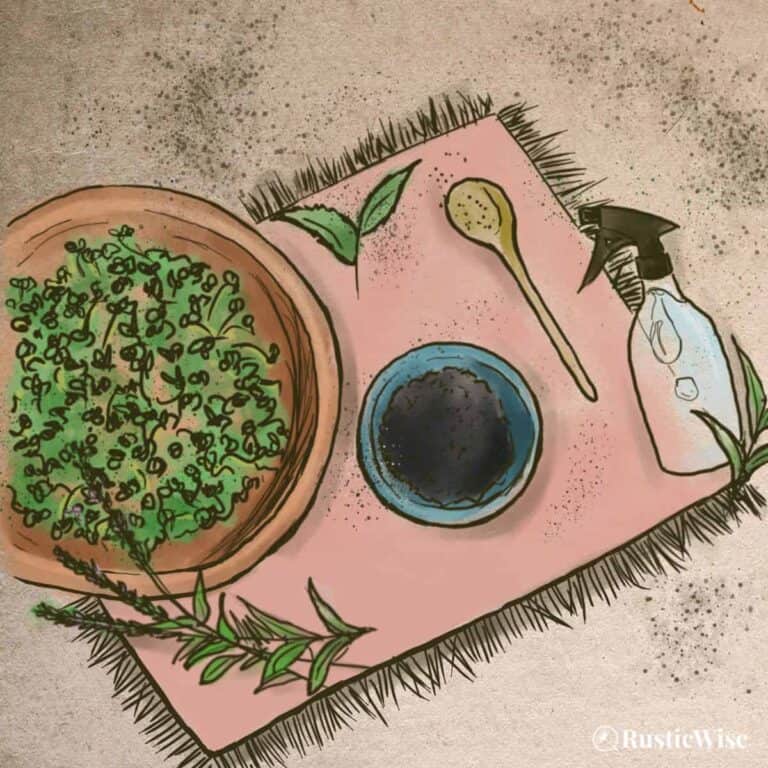
Gather your microgreen seeds, a few shallow containers, a bit of potting soil or compost, and let’s get started!
You can use containers you have lying around at home such as aluminum pie plates or disposable casserole trays (something you can poke a hole in), or reuse clear plastic produce containers that already have built-in drainage holes. If you’re planning on growing a lot of microgreens, it’s worth it to buy growing trays so you can enjoy a whole flat of microgreens in a few weeks time.
A few good microgreens for beginners to grow include: arugula, broccoli, bok choy, buckwheat, cress, kale, radish, mustard, and lettuce varieties.
Find a window that gets plenty of sunshine (if you have a south-facing window, you’re golden). With microgreens, the more sun, the better. If you don’t have a good source of natural sunlight, you might need to invest in some growing lights.
As every seed variety has its own unique requirements, it’s important to carefully follow the instructions on the seed packet.
- Fill the clean container with one to two inches (2.5 to 5.1 centimeters) of potting soil. You want the soil to be level, but not too compressed.
- Sprinkle the seeds evenly over the soil and gently pat down. Some seeds grow better with a thin layer of dirt on top, while others do not—please refer to the instructions on the seed packet.
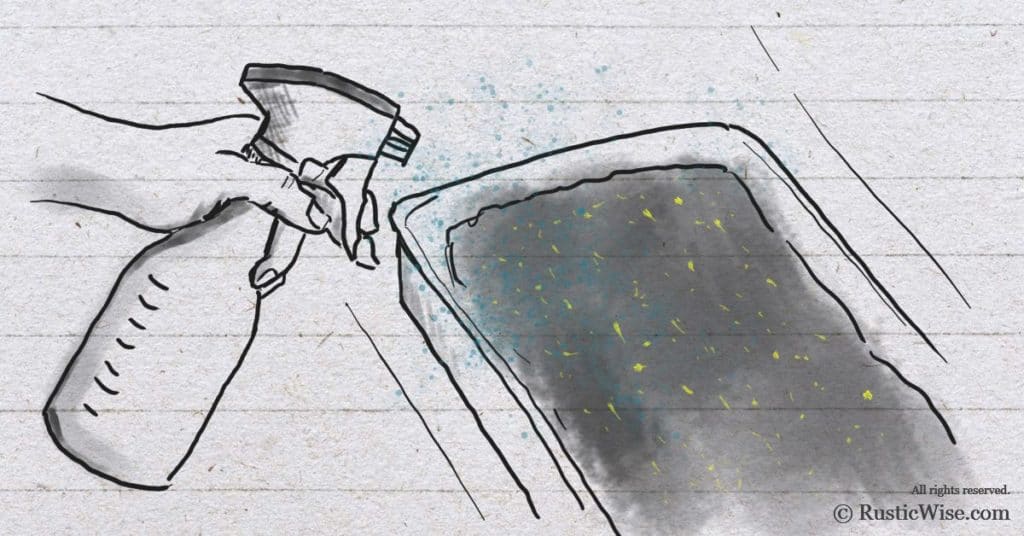
- Mist evenly with water. The soil should be moist but not too wet.
- If you have a lid for your container, place it on. If you don’t have a lid, no worries. A lid just helps to create a greenhouse effect.
- Keep soil moist by misting daily, or as needed.
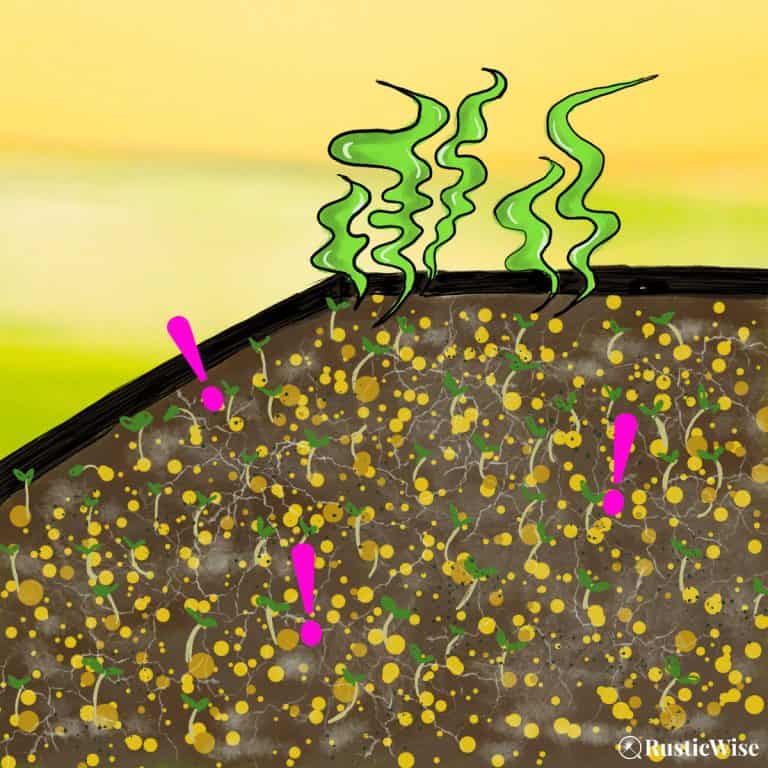
Hopefully you’ll see tiny greens pop up in three to seven days.
When to harvest microgreens
Microgreens emerge as the first true young leaves of the plant, right after the cotyledons fall off. As a general rule, microgreens are harvested when they grow to about two inches (5.1 centimeters) tall. The length of time it takes for your microgreens to reach this height varies depending on the type of seeds, but generally takes between one to three weeks.
You can eat the stems, cotyledons, and true leaves from your microgreen garden.
It’s best to harvest microgreens right before you plan on eating them for optimal freshness.
How to harvest and store microgreens
Microgreens are easy to harvest. All you need is a pair of scissors, or a sharp blade to snip the microgreen stems just above the soil line.
To keep microgreens fresh, dampen a paper towel or clean cloth with water and gently wrap around. The paper towel should not be dripping wet, but feel similar to a wrung-out sponge. This helps prevent the greens from drying or wilting. Place the wrapped microgreens in a container or plastic bag in the fridge.
While some microgreens can keep up to a week, it’s best to use within two to three days after harvesting for optimal freshness.
Before eating, give your microgreens a quick wash in a colander and pat dry with paper towel, or use a salad spinner.
Health benefits of microgreens
While we were always told to eat our veggies growing up, what they really should have been saying is to eat your microgreens. The USDA Agricultural Research Service (ARS) performed a study on microgreens which found that microgreens have higher nutrient levels than the leaves of the same mature greens—about five times the amount of vitamins and carotenoids.
While the nutrient content varies greatly amongst different microgreens, researchers found that from the 25 microgreens tested, the following had the highest levels of vitamins A, K, E, and carotenoids:
- Red cabbage
- Cilantro
- Garnet amaranth
- Green daikon radish
Microgreens recipes
Use them in salads, sprinkle some in soups, add them in omelettes—there are endless creative ways to use microgreens. Here’s a roundup of five tasty microgreen recipes.
Mushroom Omelette with Microgreens
This filling and savory meal is good for anytime of day. You can use any type of microgreens you have on hand (via Platter Talk).
Tex-Mex Charred Corn, Bacon & Jalapeno Pizza
Sprinkle microgreens on top of this Tex-Mex naan bread pizza—delicious (via No Spoon Necessary)!
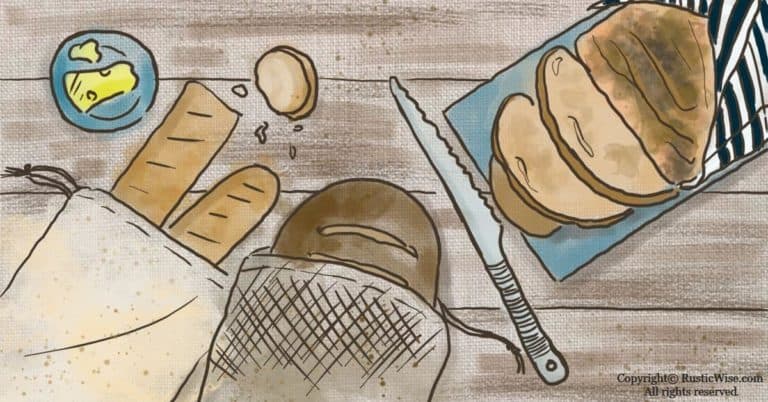
Avocado Hummus Toast with Microgreens
This protein-packed easy meal features some of the best things that go on toast: avocado, hummus, a dash of microgreens, and a drizzle of sriracha to spice things up (via This Savory Vegan).
Because of course you need a solid microgreens salad. A blood orange, avocado, and shredded carrot or daikon add a variety of texture and flavors to keep things interesting (via PBS).
Vegan and paleo-friendly, this green smoothie with microgreens is a healthy way to kickstart the day (via 80 Twenty Nutrition).


Author: Josh Tesolin
Josh is co-founder of RusticWise. When he’s not tinkering in the garden, or fixing something around the house, you can find him working on a vast array of random side projects.