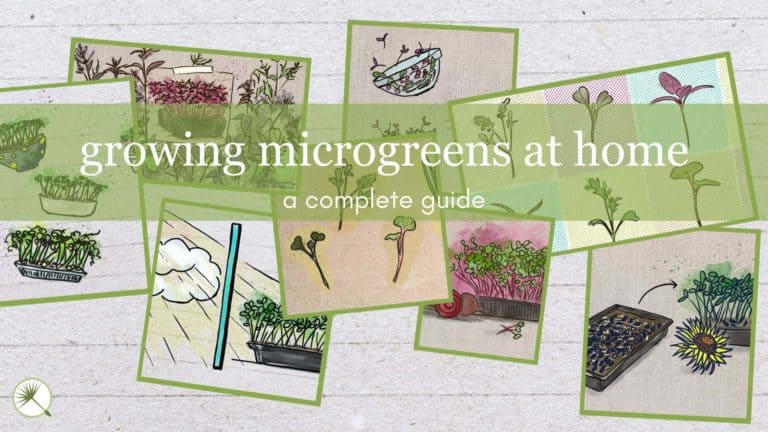
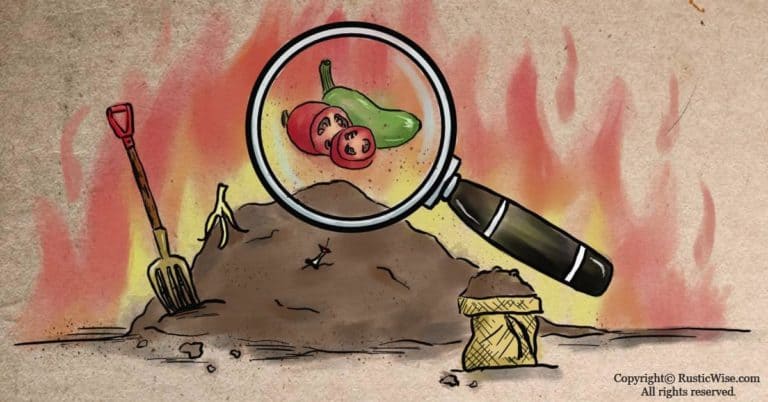
How To Grow Chili Peppers Indoors: What You Need To Know
If you love all things spicy, you’ll be happy to know that you can grow chili peppers indoors. Growing hot peppers in pots is a great way to enjoy fresh peppers all year round. There are a few growing requirements: mainly a sunny, south-facing window or grow lights, warmth, and well-draining soil. Not only are the foliage of pepper plants attractive, once your fruits mature, they’ll add a lovely splash of color to brighten your décor.
Chili peppers are of the genus Capsicum which belongs to the nightshade family. That mouth-burning, spicy sensation you get when you bite into a hot pepper comes from capsaicin, a compound found in hot peppers. As chili peppers grow natively in warm climates such as Mexico, and parts of central and south America, you’ll want to replicate this as much as possible when growing hot peppers inside.
We’ll take a look at the soil requirements for growing chili peppers indoors in pots, which varieties of chili pepper plants work best inside, and some tips on harvesting and storing your crop. Let’s get started!
The best varieties of chili peppers to grow indoors
Selecting the right cultivar is the first step for gardening success. Not all hot peppers are suitable for growing in pots indoors. The best cultivars are ones in which the roots don’t reach too far down (or you’ll require huge pots), and ones that grow to a manageable (smaller) size.
There are many different chili varieties. Here are a few good picks:
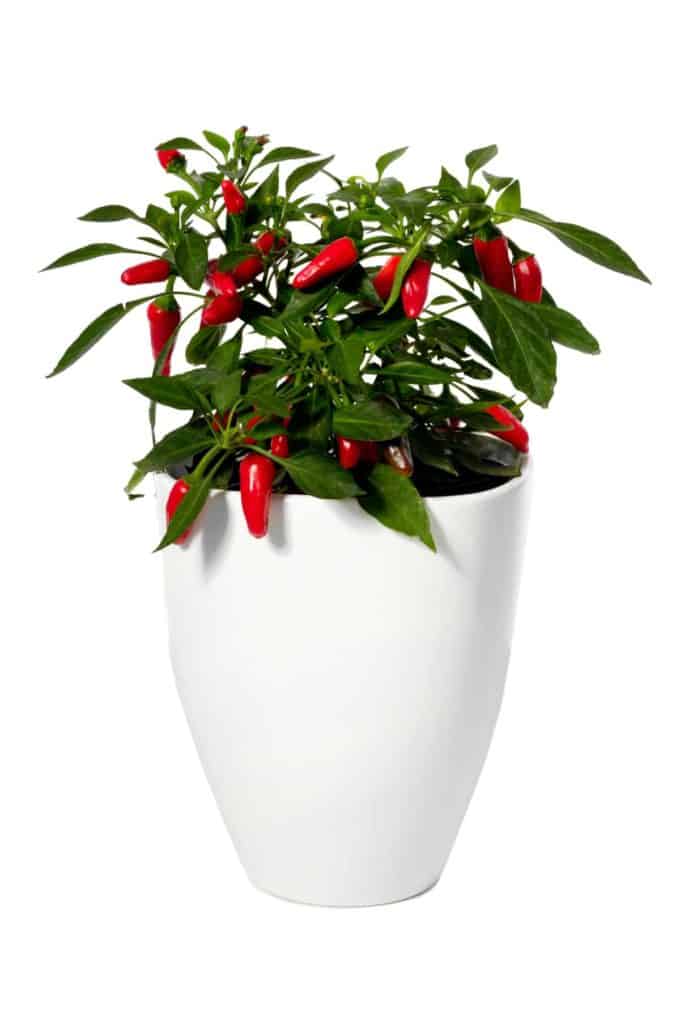
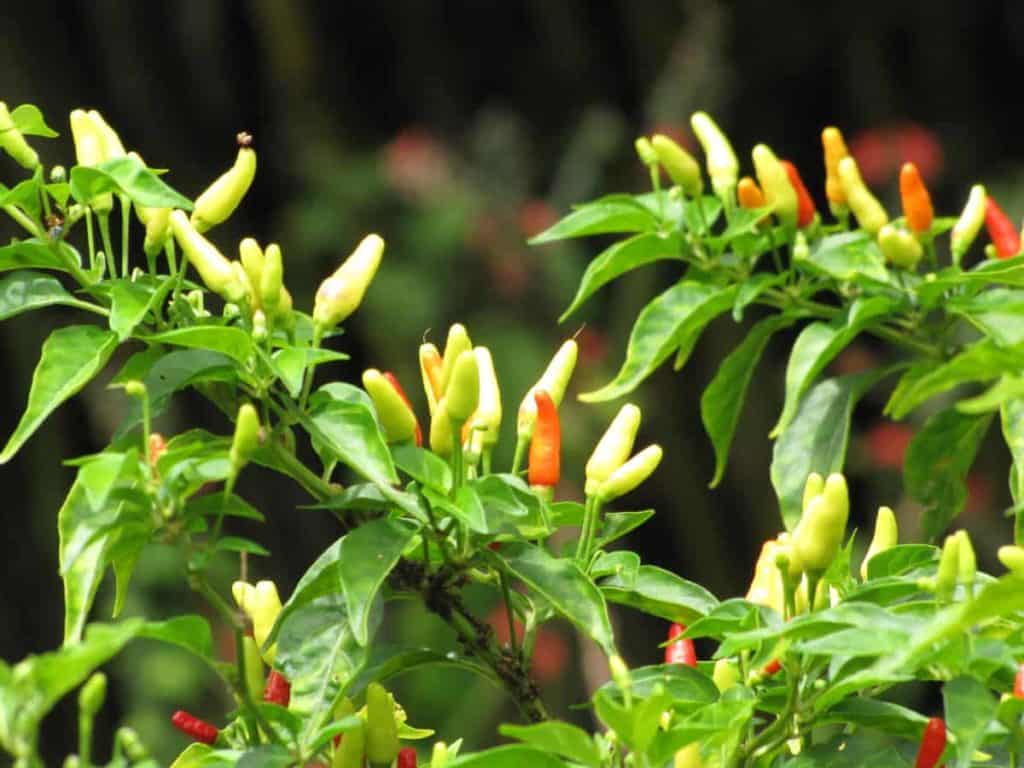
Credit: Yay Images
Growing conditions for indoor chili peppers
Light
Chili peppers are sun-seekers. They require sun and plenty of it. Ideally, you would have a sunny windowsill facing south, or perhaps one facing west. If you don’t have enough natural sunlight, supplement with LED grow lights. Arrange the grow lights so they are roughly 6 inches (15 centimeters) above.
Requires about 10-12 hours of sunlight, or 14–16 hours of artificial sunlight each day.
Soil
You want to use a rich, well-draining soil so use a decent indoor potting mix that provides good drainage. You may want to add some vermiculite or perlite to improve drainage, and amend with a bit of compost for added nutrients.
Temperature and humidity
Chili peppers like it warm and humid (think of the climate of Mexico). If your indoor temperature is on the cool side, consider using a heat mat.
If you’re starting seeds indoors and planning to replant outdoors, ensure you do this after all risk of frost has passed.
Food
Feed your hot peppers with a balanced, all-purpose fertilizer (equal parts N-P-K) every 2 weeks once they’ve germinated.
While your chili peppers are producing fruit, feed them with a fertilizer that’s rich in potassium (K) to encourage growth. You can also try making your own fertilizer using comfrey leaves.
Pots and containers
Choose a plastic container over a terracotta or clay one. The plastic helps to keep the plants warm and retain moisture. Ensure the pots have drainage at the bottom.
How to grow chili peppers indoors: step by step
Ready to get started? Let’s dig in!
Many people like to start their chili peppers in winter, sometime in January. This allows you to have fruit-bearing plants come summertime should you choose to place or replant outdoors. But, if you’re planning on keeping the plant indoors year-round, you can start your seeds at any time.
Tip: Ensure you’re working with clean plastic pots to prevent any spread of disease from plant to plant.
You’ll need:
- Several small plastic pots
- Potting soil
- Water mister
- Either plastic bags to cover pots, or a heated propagator
Trick for speeding up germination
Some of you may already know this trick, but it works like a charm. If you want to give your seeds a head-start, get two paper towels or clean dish cloths. Moisten the paper towels and lay seeds onto one paper towel in a single layer. Place the other paper towel on top and carefully roll up (like a burrito).
Place your moistened seeds inside either a ziploc plastic bag, or a plastic container with a lid. Place somewhere warm for a few days (perhaps on a sunny windowsill, or somewhere near the oven).
You’ll know your seeds are ready for planting when they have puffed up a bit. Some may have even sprouted!
Sowing
- Fill pots with potting soil, leaving 1 inch (2.5 centimeters) of space from the top.
- Moisten soil so that it’s thoroughly damp, but not soaking wet. Add more water or dirt as needed.
- Sow seeds 1/2 inch (1.3 centimeter) deep and space 2 inches (5 centimeters) apart.
- Apply a thin layer of compost on top.
- Mist with water.
If you have a heated propagator this would work wonderfully. Otherwise, place in a sunny area and cover each pot with a plastic bag or lid to retain moisture and warmth. It’s important to maintain a consistently warm temperature for germination.
Germination: 1–6 weeks depending on variety, and growing conditions. (4)
Once seeds have germinated, remove the plastic bag or remove from the propagator.
Caring for your indoor chili peppers
Once your chili peppers start off on the right foot, they’re fairly easy to maintain. You can keep them indoors year-round, or choose to replant outdoors, or place outdoors during warmer months. If you’re planting outdoors, do so when all chance of frost has passed; this sometime typically in late-May or early June, depending on your climate.
- Once seedlings are at least 1 inch (2.5 centimeters) tall, you can transplant them into their own pots. Pots should be at least 5 inches (13 centimeters) with drainage holes. As seedlings continue to grow, move them into gradually larger and larger pots—avoid going from a tiny pot to a huge pot.
- Continue to water regularly, however allow the soil to become slightly dry before the next watering. You may need to water twice a week, or so.
- Support tall plants, or plants that begin to lean with a bamboo stake.
- Ensure there is good airflow indoors by opening windows, or blowing an indoor fan on low.
- During warm weather, you may like to help pollinate your plant by placing it outdoors where insects can visit. Or, you can help to pollinate blooming plants by using your hands or a small brush to gently touch the center from flower to flower.
- To encourage lush growth and high fruit production, pinch out tips of shoots when the plant has grown to roughly 12 inches (30 centimeters) tall.
- Common pests of chili peppers: aphids, whiteflies, gray mold. However, most hot pepper plants kept indoors don’t attract pests like their outdoor counterparts.
- If keeping chili pepper plants indoors all year, you can cut back on the watering and fertilizing during the winter months.
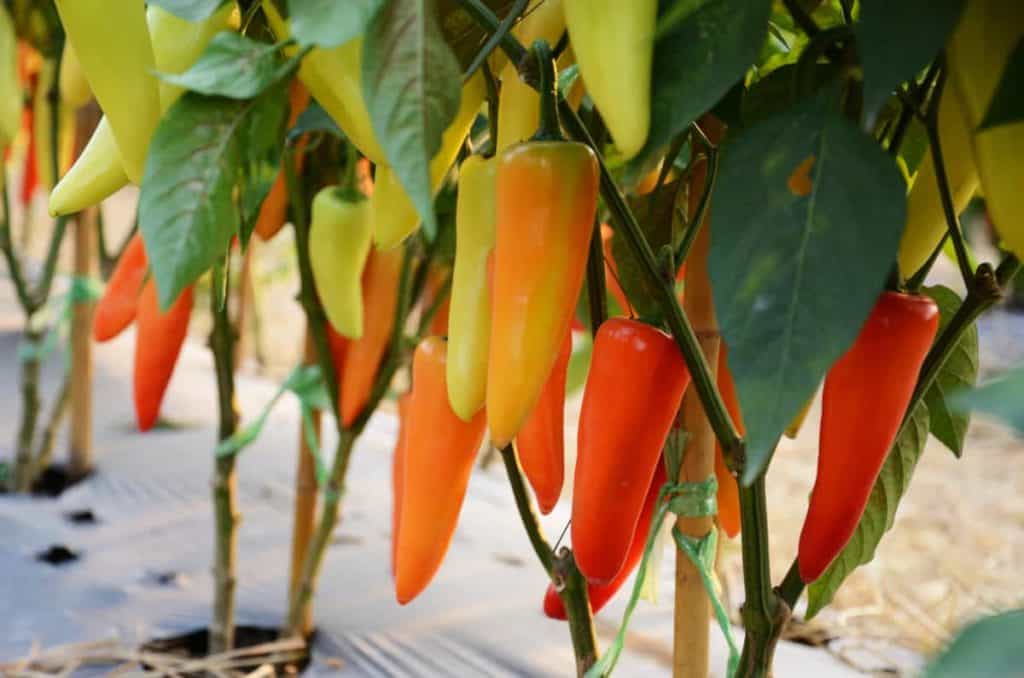
Credit: Forest and Kim Starr / Flickr
How to harvest chili peppers
Your chili peppers are ready to harvest when the fruits are fully mature and turn from green to the desired color. If your variety of chili pepper stays green, you’ll know it’s ready to harvest when the fruits are firm but not hard.
Harvest regularly to encourage more fruit production.
Harvest by using a sharp knife or a pair of secateurs and cut near the stem. This is preferable to hand-plucking as the pulling may damage the plant. Place into a paper bag or bowl for storage in your refrigerator’s crisper.
How to store chili peppers
Store freshly harvested, unwashed chili peppers in the crisper of your fridge. They should keep at least one week.
Alternately, you can dry them in the sun, oven, or by hanging to dry on a string. If you choose to dry by hanging on a string, they’ll add a lovely splash of color to your kitchen!
Related questions
How long do chili pepper plants live for?
Chili pepper plants are planted as annuals by most gardeners, but they are actually considered short-lived perennials. Most chili plants may thrive and continue producing fruit for more than a year, anywhere from 1 1/2 to 3 years on average, with some making it to 5 years. If properly cared for, your indoor chili peppers may produce fruit all year.
Are pepper plants safe for pets?
According to the ASPCA, if you have an ornamental variety of pepper plant, you should know that this is toxic to cats and dogs. Ornamental varieties include Natal Cherry, Winter Cherry, and Jerusalem Cherry which fall under the group Solanum pseudocapsicum. These ornamental plants contain solanine which is toxic to your furry friends.


References
- Britannica, Chili pepper, https://www.britannica.com/plant/chili-pepper. Accessed June 2021.
- The Royal Horticultural Society, Back to Vegetables A to Z, Chilli pepper, https://www.rhs.org.uk/advice/grow-your-own/vegetables/chilli-pepper. Accessed June 2021.
- Vertical Veg, How to Grow Chillies in Containers – Introduction, https://verticalveg.org.uk/how-to-grow-chillies-in-containers/. Accessed June 2021.
- Millard, Elizabeth (2014). Indoor kitchen gardening: turn your home into a year-round vegetable garden. Cool Springs Press. pp. 195–201. ISBN 978-1-59186-593-3.
- ASPCA, Ornamental Pepper, https://www.aspca.org/pet-care/animal-poison-control/toxic-and-non-toxic-plants/ornamental-pepper. Accessed June 2021.

Author: Theresa Tesolin
Theresa is co-founder of RusticWise. She helps people unleash their inner DIY spirit by encouraging them to get dirty and make or grow something from scratch.