Growing Kale in Containers Indoors: A Step-by-Step Guide
Kale (Brassica oleracea) is a hardy vegetable belonging to the Brassica genus under the mustard family. Although broccoli and cauliflower belong to this family, kale most resembles its close relative cabbage.
Frost-tolerant kale is a great leafy green to grow in your home garden, indoors or out. Packed with vitamins A, C, and K, this healthy green is something you’ll want to add more of to your diet!
While kale does well outdoors, growing kale in containers indoors from seed is a great way to keep a fresh source of greens year-round. Most plants are ready for harvesting in 55–75 days. As long as you have adequate sunlight and provide enough space and water, you’ll be able to reap the benefits of kale’s long growing season.
Why grow kale?
This delicious and low-maintenance crop is a “cut and come again” veggie that you’ll want to add to your vegetable garden.
- Nutritious: Rich in vitamins, dietary fiber, and minerals such as calcium, copper, and manganese, kale is a super-healthy leafy green. Just one cup of raw kale contains:¹
- Vitamin A: 206 percent DV (Daily Value)
- Vitamin C: 134 percent DV
- Vitamin K: 684 percent DV
- Vitamin B6: 9 percent DV
- Easy to harvest: Kale is a biennial vegetable, meaning you can harvest leaves and it will grow back.
- Easy to grow: A hardy plant that can withstand frost, kale is easy to grow from seed indoors, or directly sown in your outdoor garden.
Kale growing conditions and care
When growing vegetables indoors, it’s important they still receive the proper amount of sunlight (either naturally or artificially). Kale likes full to partial sun—around 6 to 8 hours of sunlight a day.
It’s important to note that the key to success when growing kale indoors is ensuring your indoor greens receive adequate lighting.
More sun encourages the production of its yellow flowers. If you’re placing your kale container outside and you live in a very dry, warm climate, be sure to give it some shade in the hot afternoon hours. Too much heat and sun turns kale leaves bitter.
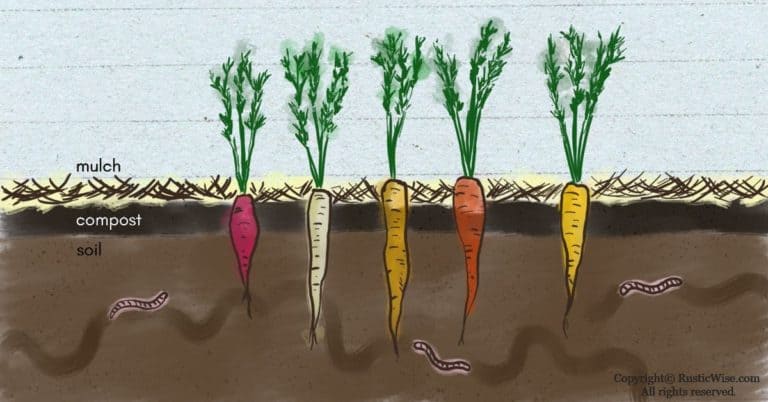
Kale prefers a neutral soil with a pH of 6.0 to 7.5.² Like collards, kale likes loamy, well-drained soil rich in organic matter—so don’t skimp out on the organic compost. You can add more compost every two months or so. If your soil is rich in organic matter, you might not need to apply any fertilizer.
When it comes to watering kale, slow and steady wins the race. Kale doesn’t need a lot of water, just ensure soil is kept moist for even growth. When growing kale in containers, keep a watchful eye on moisture levels as container gardens tend to dry out more quickly.
Did you know…the tiny yellow flowers and buds on a kale plant are edible? You can eat them raw or cooked.
Credit: Brianna Privett / Flickr, Kale!
Varieties of kale to plant indoors
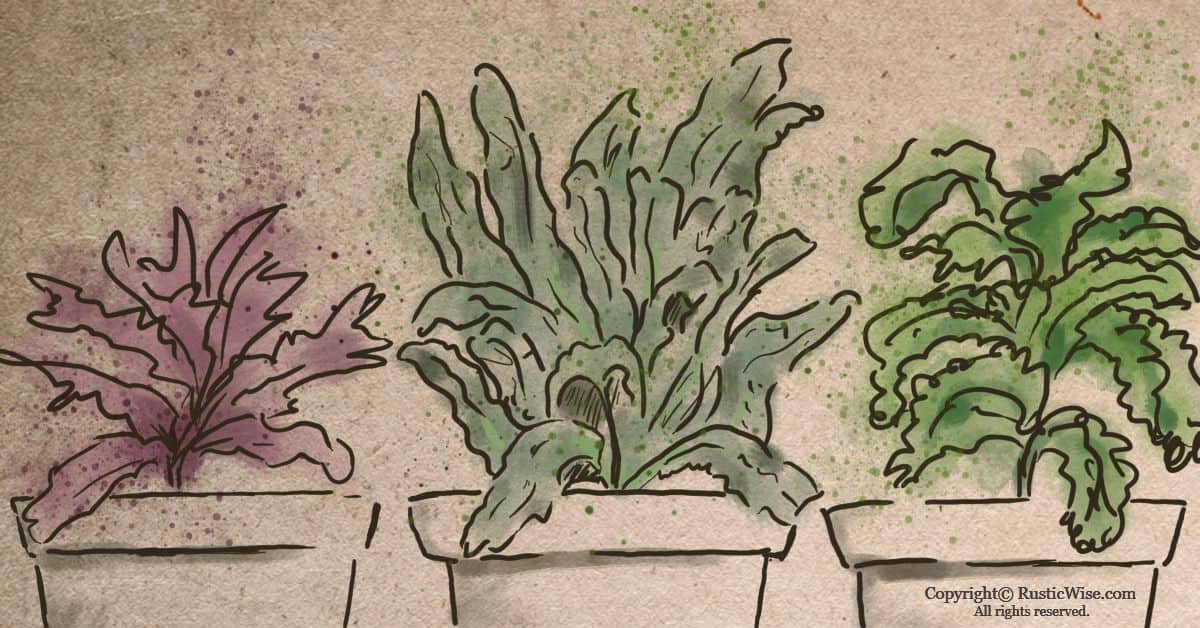
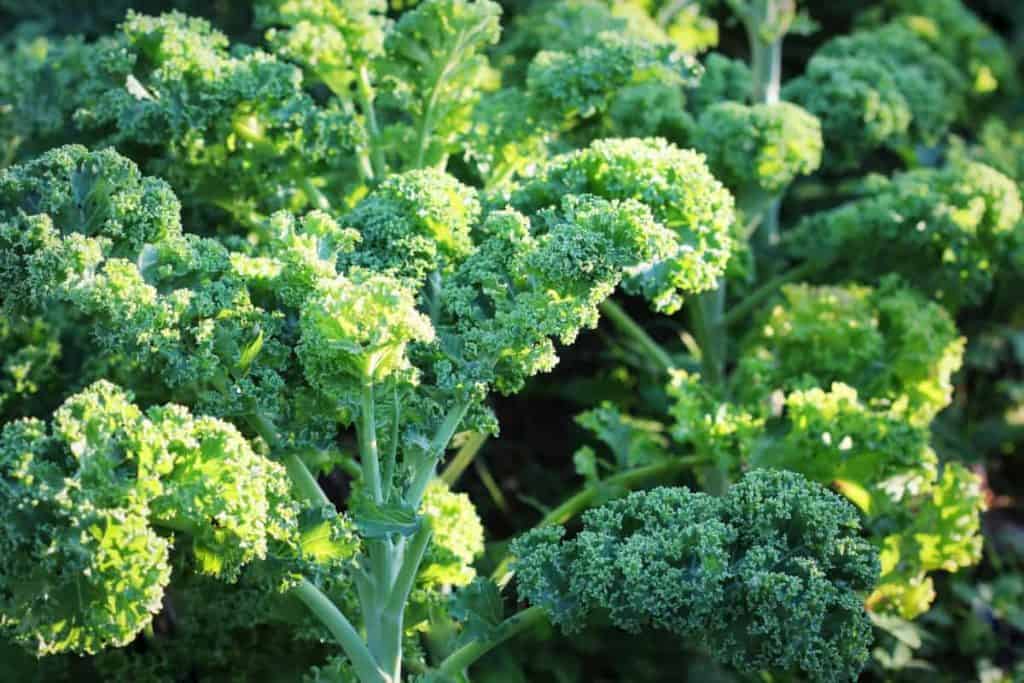
Kale has a large variety of cultivars to choose from, with varying colors ranging from all shades of green to lavender. Leaves can be curly, flat, bumpy, or a hybrid. Some kale varieties are planted purely for ornamental purposes.
Tip: Keep in mind that when selecting a kale cultivar, it’s best to stick with compact or dwarf varieties that produce a high yield when you’re growing indoors. This helps you get the best ‘bang for your buck’ so to speak when dealing with limited space.
Here’s a few suitable indoor kale varieties to consider:³
- Dwarf Blue Curled: Also known as Scotch kale, Blue Scotch Curled, or simply as Vates kale, this is perhaps the type most people are familiar with as it’s commonly found in grocery stores. Characterized by its dark-green, frilly leaves and rich, robust flavor, it’s great for adding to smoothies, soups, and making crispy kale chips. Its compact-size makes it ideal for indoor container gardening. It’s also cool-hardy and slow to bolt in hot weather.
- Lacinato: Also known as Dinosaur kale or Tuscan kale, this kale variety has narrow leaves with slight dimples. With a more delicate flavor profile than Scotch kale, you’ll like to eat this variety fresh—great for salads.
- Dwarf Green Curled: Also known as Bloomsdale, Jamaica, or Dwarf Curled Scotch kale. With tightly curled, yellow-green leaves, this is an heirloom variety that remains compact, perfect for container gardening. It’s also cold-resistant, good for winter harvesting.
- Starbor: With dark, bluish-green, curled leaves this is a variety that’s great indoors as it’s compact and high-yielding. Each stem carries tightly packed leaves.
- Red Russian Kale: While not exactly considered a compact variety (the mature plant has medium-tall leaves), it’s a popular cultivar for growing baby greens. The kale leaves are more tender than other varieties and have a smooth green texture with reddish-purple veins. Great for adding to salads!
If you’re planning on planting kale with other vegetables in a container, here are a few good kale companion plants:
- Chamomile
- Mint
- Dill
- Rosemary
- Sage
- Beets
- Cucumber
- Onions
- Celery
Avoid planting kale near tomatoes, potatoes, beans, eggplant, and peppers.
Growing kale in containers indoors step-by-step
Make sure you select a sunny area that gets around 6-8 hours of sunlight a day and use an adequate-sized pot (at least 12 inches wide and deep).
So, you want to know how to grow kale in pots?
Once you’ve selected your kale seeds and gathered a few basic gardening supplies, you’re ready to start!
You’ll need:
- Quality kale seed
- Plant container(s) with drainage, at least 12 inches wide and deep
- Quality potting soil and organic compost
- Mulch
- Clear plastic bag
- Nitrogen-rich organic fertilizer
- Watering can
Note: These are just general kale growing guidelines. For best results, follow the specific directions on your seed package.
Step 1: Select a grow site and containers
Kale needs around 6-8 hours of sunlight a day, so be sure to choose a sunny windowsill, ideally, a south-facing one. If you don’t have a sunny window, you’ll need to get a grow light.
While you can select any type of container you like, make sure it’s at least 12 inches (31 centimeters) wide and deep to accommodate proper kale growth.
If there aren’t already drainage holes at the bottom, remember to drill a few. If you plan to use terracotta pots, keep in mind that these tend to draw out moisture and you’ll need to monitor moisture levels more closely.
Step 2: Prepare soil and containers
Fill the pots with a mixture of potting soil and organic compost. Each pot should hold roughly 3 gallons (11 liters) of soil. The optimal soil temperature is between 50-85 degrees Fahrenheit (10-30 degrees Celsius).
Step 3: Sow seeds
Sow around three or four seeds ¼ inches (5 millimeters) deep in each place you want a plant to sprout. Water until the soil is damp. Place a clear plastic bag over the seeds until seeds begin to sprout . Germination happens in 7-10 days. Ensure soil is kept moist.
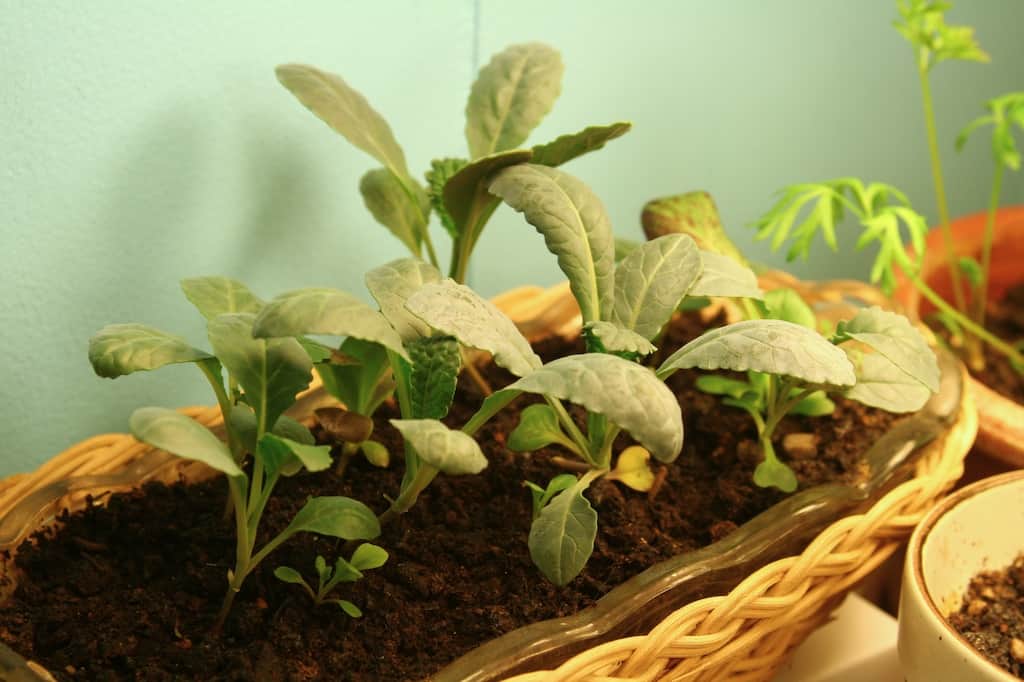
Step 4: Thin seedlings
Thin your kale seedlings by leaving the sturdiest ones until they are at least 6 inches (15 centimeters) apart. Depending on the size of your growing container, you may only have room for one plant per pot.
Step 5: Apply mulch
Once your kale plants are several inches tall, and properly spaced out, you’ll want to apply a layer of mulch around 1 inch thick (2.5 centimeters) to the soil. This helps retain moisture. Indoor containers are especially prone to drying out quickly.
You may need to water your kale plants daily to keep the soil moist.
Step 6: Apply fertilizer periodically
To promote healthy growth, you may find that your kale plants benefit from a bit of nitrogen-rich fertilizer applied every 2 to 4 weeks.
How to harvest kale
When growing from seed, kale plants generally are ready to harvest in 55-75 days. If you prefer baby kale, you can harvest in roughly 30 days.
The great thing about kale is you can harvest a few leaves as needed, and it’ll continue to grow.
To harvest kale, pick the larger outer leaves for use, and leave the smaller more tender leaves to continue to grow. With this method, you can pick more leaves again in about a week.
Tip: Use a pair of sharp, clean shears to cut one leaf at a time working from the bottom-up, from the outside-in.
Avoid harvesting the entire kale plant if you wish to maintain a continual supply of fresh greens. Keep at least 4 to 5 immature leaves at the top of the plant. With indoor gardens, you may like to have plants continually growing.
Depending on how much kale you eat, you might want to plant more seeds every several weeks to have a steady supply of fresh kale.
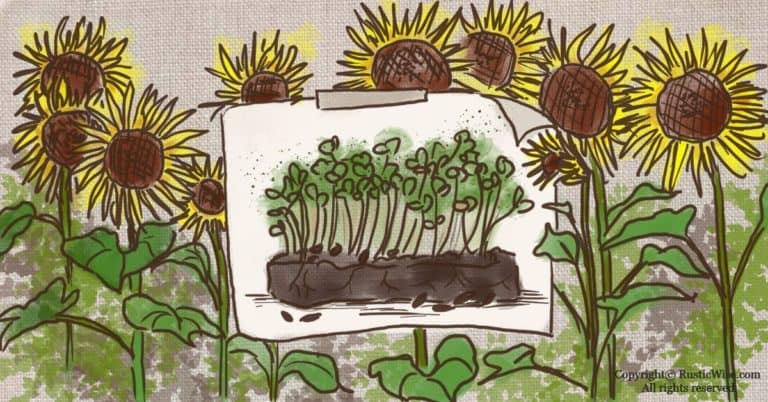
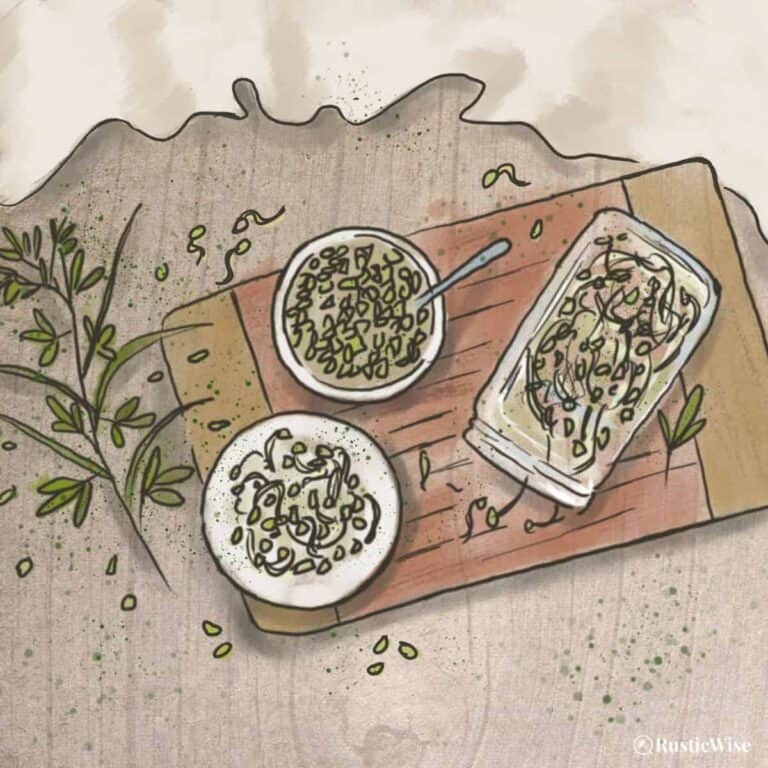
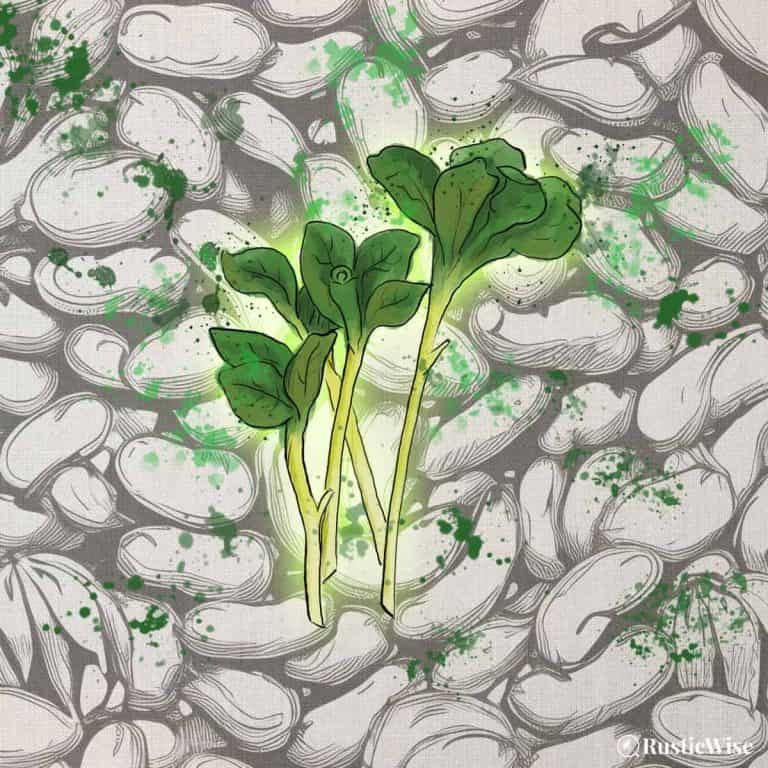
Did you know you can also grow kale microgreens? Microgreens are smaller plants harvested when only one to two inches tall.
How to use kale in the kitchen
Kale is a versatile plant with a variety of colors, textures, and flavors (depending on the variety). Here are just a few ways to use kale in the kitchen:
- Juice or blend: Blend the outer leaves for green juices and smoothies.
- Salads: The small, inner leaves are tender and perfect for eating raw in salads.
- Soups and stews: Tough, outer leaves, or leaves of more mature plants can be cooked until tender.
- Omelettes: Use kale like you would spinach and chop and add as part of a hearty breakfast.
- Baked: Use Dwarf Blue Curled (aka Scotch kale) for baked, crispy kale chips.
- Stir-fry: A splash of oil and garlic turns these greens into a tasty addition to stir-fry.
Related questions
How much sun does kale need?
Kale requires roughly 6-8 hours of sunlight a day. If you want to grow kale indoors, choose the sunniest area you can—preferably a south-facing window. Otherwise, you may need to supplement natural lighting with a grow light.
Do kale seeds started indoors need light to germinate?
No, kale seeds do not require light while germinating. But they do need warmth and moisture! Once the seeds have germinated, move to a sunny location.
How often do you need to water indoor kale?
Water your potted plant when the soil feels dry. Depending on factors such as the amount of sunlight your kale receives, the size of the pot, the quality of soil, you may need to water every 2 to 3 days. In hot, dry weather, you may need to water daily.
There’s no hard and fast rule when it comes to how often to water your kale in containers. The important thing is to aim for roughly 1 inch (2.5 centimeters) of moisture a week. Provide consistent moisture to prevent leaves from becoming bitter.
Keep in mind that container plants dry out more quickly. So keep an eye out for moisture levels.
How many times can you harvest kale?
With proper harvesting technique and proper care, there’s no hard limit on the number of times you can harvest kale. Regular harvesting once a week may encourage healthy leaf growth. Remember to remove any dead or yellowing leaves.
Keep in mind that kale is a biennial plant. This means that it has a roughly 2 year life cycle. It produces leaves in the first year and a flowering stalk in the second year. The flower will produce seeds—save the seeds to restart a new kale plant!
👉 If you like this post, see our complete Indoor Growing Collection.
Would you like more timeless tips via email?
Fun tips to help you live an independent, self-sustaining lifestyle. Opt-out at any time.


References
- Nutrition Data, Kale, Raw Nutrition Facts & Calories,https://nutritiondata.self.com/facts/vegetables-and-vegetable-products/2461/2. Accessed September 2022.
- University of Minnesota Extension, Growing collards and kale in home gardens, https://extension.umn.edu/vegetables/growing-collards-and-kale#soil-testing-and-fertilizer-274960. Accessed September 2022.
- Cornell University, Vegetable Varieties for Gardeners, http://vegvariety.cce.cornell.edu/main/showVarieties.php?searchCriteria=kale&searchIn=1&crop_id=0&sortBy=overallrating&order=DESC . Accessed September 2022.

Author: Josh Tesolin
Josh is co-founder of RusticWise. When he’s not tinkering in the garden, or fixing something around the house, you can find him working on a vast array of random side projects.