How to Propagate Rosemary from Cuttings
Rosemary with its woodsy scent and slightly lemony-pine flavor, is a mainstay herb in many kitchens. Good for seasoning poultry, soups, stews, fish, pork, and adding depth to dishes with mushrooms, potatoes and onions, rosemary is a workhorse.
While dried rosemary works in a pinch, it doesn’t compare to the fresh herb. Adding fresh rosemary sprigs to your cooking or as a garnish elevates the flavor and presentation of the food from ho-hum to ooh-la-la.
With fresh rosemary, the doors of the DIY-kingdom are flung open. Make your own rosemary butter, or rosemary-infused cooking oil.
So you want to learn how to propagate rosemary from cuttings?
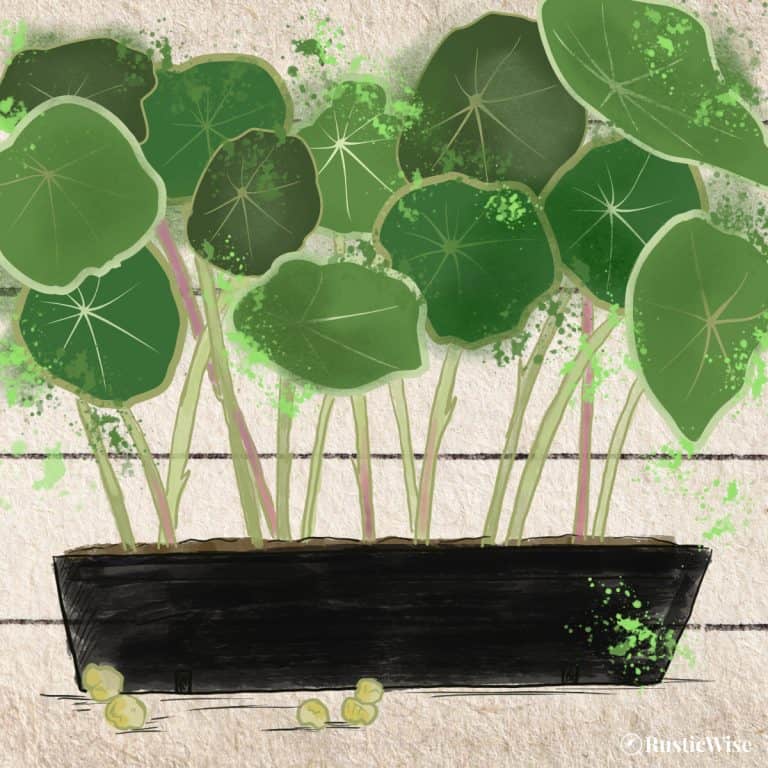
If you’re lucky to live in a warmer climate (USDA zones 8 and up), you can enjoy rosemary in your outdoor garden where it’ll attract bees, butterflies, and other helpful pollinators. Otherwise, rosemary plants do just fine in a container for gardeners who live in colder climates. You can bring it inside when it’s too chilly outside, or enjoy rosemary’s woodsy scent all year-round in your indoor plant container.
We’ll go over two different methods on propagating cuttings: the Water Method and the Potting Method. And you can decide which method to choose.
Why propagate rosemary cuttings?
Reap the benefits of this practical perennial herb by learning to propagate rosemary plants yourself. While you can grow rosemary by seed, they take a long time to grow with only a modest success rate. Taking stem clippings on the other hand, is fairly straightforward with better results.
Here are a few benefits of propagating new rosemary plants:
- Faster and easier results: Rosemary seeds germinate only under the right conditions. When propagating cuttings, you’ll get viable new plants in only weeks.
- Selection of a healthy parent plant: The great thing about propagating plant stems is you get to choose the parent plant yourself. With seeds, you really don’t know the condition of the parent plants you’re planting. With propagating, select a healthy plant free of diseases and you have a good chance of replicating this through propagation.
- Saving money and self-sufficiency: Once you start propagating, you won’t need to spend a cent on seeds. You’ll also learn a valuable skill that’ll allow you to expand your home garden through propagation.
When to take rosemary cuttings
If you’re planning on growing new rosemary plants indoors, you can start this DIY propagation project anytime of year.
The optimal time to take cuttings from the mother plant is right after it has flowered. Once the bluish flowers have faded, you have several weeks to take a stem clipping. Avoid taking rosemary cuttings while the shrub is in bloom. Taking cuttings when the parent plant is in flower diminishes the chance of the stem clipping from taking root.
Morning is also the best time of day to take plant clippings. This is when the parent plant is full of water and increases the chance of the plant rooting.
Selecting the right rosemary plant and stems
Perhaps one of the most critical steps is choosing the right mature rosemary plant to take a stem clipping from. Your new rosemary plant will likely inherit the attributes of the parent plant. Look for rosemary plants with:
- Healthy, full leaves
- Free of diseases
- An abundance of new growth
Once you’ve found a healthy rosemary plant, look for areas of new growth. Identify stems that are young, green, and pliable—good signs of a healthy stem. Avoid stems that look old or brittle.
How to take rosemary cuttings
You’ll need:
- A clean, sharp knife or pruning scissors
- A healthy rosemary plant (parent plant)
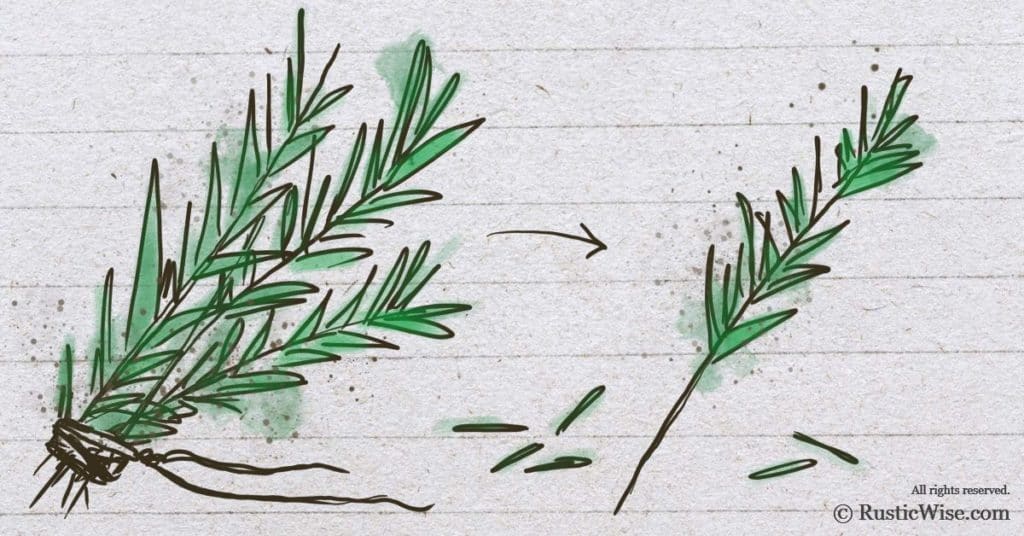
Use a sharp knife or pruning scissors to make a clean cut of a section of the rosemary plant between 4–6 inches (10–15 centimeters) long. Aim for the area right below a node (where a leaf joins the stem). Stem clippings that are too long are prone to breaking.
Gently remove the bottom leaves so that the bottom third of the stem is exposed. This helps with rooting and prevents it from drying out. If you’re not planning on potting your clippings right away, place them in either a plastic bag or wrap lightly in cloth until you’re ready to pot.
Now you can either use the Water Method, or the Potting Method to begin growing your rosemary roots. Once roots have grown, you’ll need to transplant the clippings into a larger pot with richer soil.
How to propagate rosemary from cuttings: the Water Method
For those of you who have propagated other plants before, you’ll know that magic happens when certain plant clippings are placed in a cup of water and allowed to do their thing. Rosemary is no different.
The downside of this method is of course time. You’ll need to have patience, (about 4 to 8 weeks or so of it). But this method is handy when you don’t happen to have any potting soil or compost on hand, or if you’re feeling lazy. Once the rosemary has sprouted roots, you’ll need to transplant the new plant into potting soil.
I’ve sometimes had plants that successfully rooted in water but later don’t take well to their new home in soil. But such is the luck of the draw! It’s easy to try again.
And for the burning question some of you may be wondering about…can you propagate rosemary from the grocery store? Yes, you can. Just be sure to make a clean, angled cut at the bottom and remove the lower leaves before placing in water.
You’ll need:
- Rosemary clippings
- Small container filled with lukewarm water
Simply place your rosemary stem clippings into a small cup or vase filled with lukewarm water. While it might not seem like a big deal, I never like to water plants with cold water—it’s too shocking. Use water that’s room temperature to fill your container to cover the bottom third of the exposed stem.
Place in an area with sun, but not direct sun to avoid drying it out. Dump out the old water out every few days as needed and replenish with fresh lukewarm water. Give the clippings a quick rinse while you’re at it.
Now it’s time to play the waiting game.
Hopefully after several weeks, your patience and care will be rewarded with the appearance of roots!
Now it’s time to plant your new rosemary plants in soil.
How to propagate rosemary from cuttings: the Potting Method
Once you’ve taken fresh rosemary clippings you can choose to place them directly in soil. This method is fairly foolproof.
You’ll need:
- Rosemary clippings
- Small pots, preferably terracotta
- Rooting hormone powder (optional)
- A mixture of compost and horticultural grit (for good drainage)
- Small stick or pencil to poke a hole
- Clear plastic bag
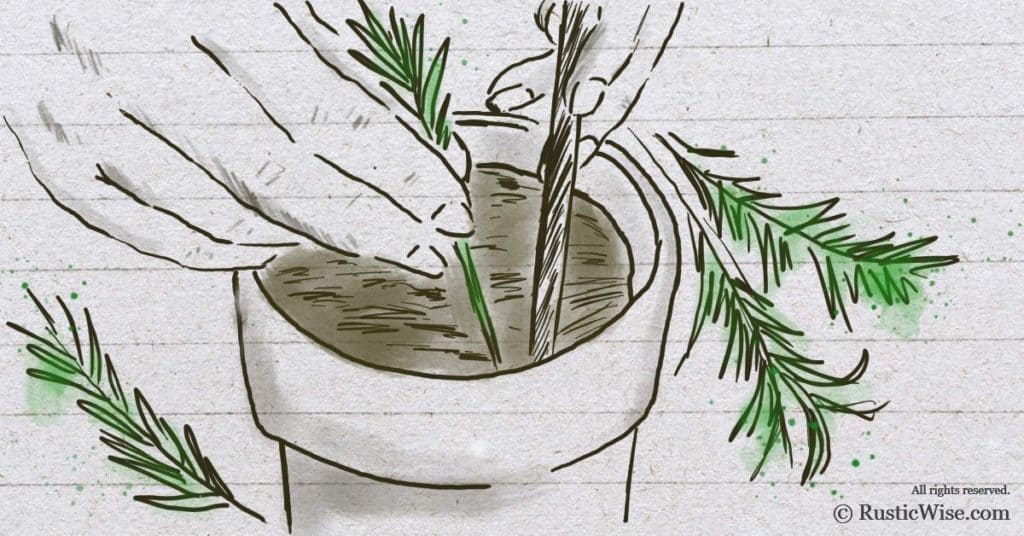
Fill your planting pots with about half compost mix and half horticultural grit to ensure your pots are well-drained. If you have terracotta pots at home, use these as the material is breathable, and these young clippings like their space!
Take your fresh rosemary clippings and lightly cover the exposed stems with rooting hormone powder. This just provides a quick boost to kickstart the growing process. If you don’t have any rooting hormone powder on hand, no worries.
Poke holes in the dirt with a small stick or pencil around the perimeter of the pot and place each clipping a couple of inches apart. Water well, let drain and place in a protected area. To recreate a greenhouse effect, try placing a clear plastic bag around the top of the pot.
After a few weeks you should see roots forming. Success!
Regardless of which method you chose to propagate your rosemary, once it has grown roots, you can now transfer each new rosemary plant into a larger, separate pot filled with a mixture of perlite and compost mix.


Author: Theresa Tesolin
Theresa is co-founder of RusticWise. She helps people unleash their inner DIY spirit by encouraging them to get dirty and make or grow something from scratch.