Carrot Microgreens: Tiny, Sweet Greens With No Bitterness
If you love the taste of carrots, but don’t want to wait three or four months from seed to harvest for the full-grown crop, we have a quicker way to get that carrot-y flavor—learn to grow carrot microgreens!
Carrot microgreens are tiny seedlings grown from seed that are ready to harvest within 2–3 weeks. While this is a slower growing variety in the microgreens world, a bit of patience is well worth the reward. They have a sweet and mild carrot flavor, and add a unique feathered texture to dishes.
Let’s take a closer look at carrot micros, growing tips, and how to use them. Plus, we have a easy and tasty pesto recipe that you can throw together with a few simple ingredients!
Carrot microgreens overview
What exactly are carrot microgreens? No, they are not the same as carrot tops (which are the greens from mature carrots). Instead, carrot micros are the tiny seedlings of the carrot plant.
And yes, in case you’re wondering, carrot greens are just as edible as regular carrot roots.
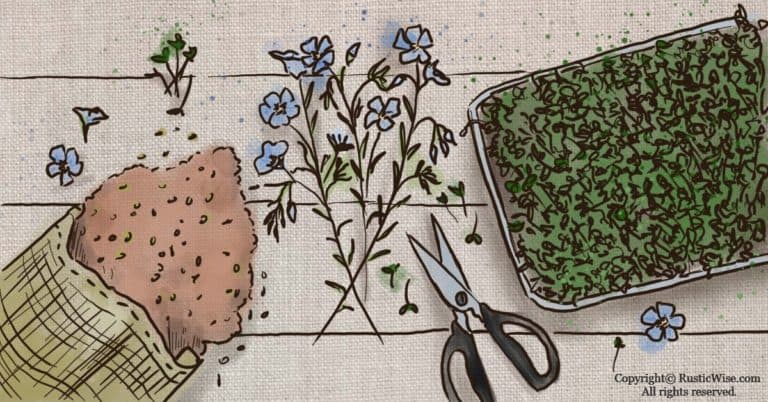
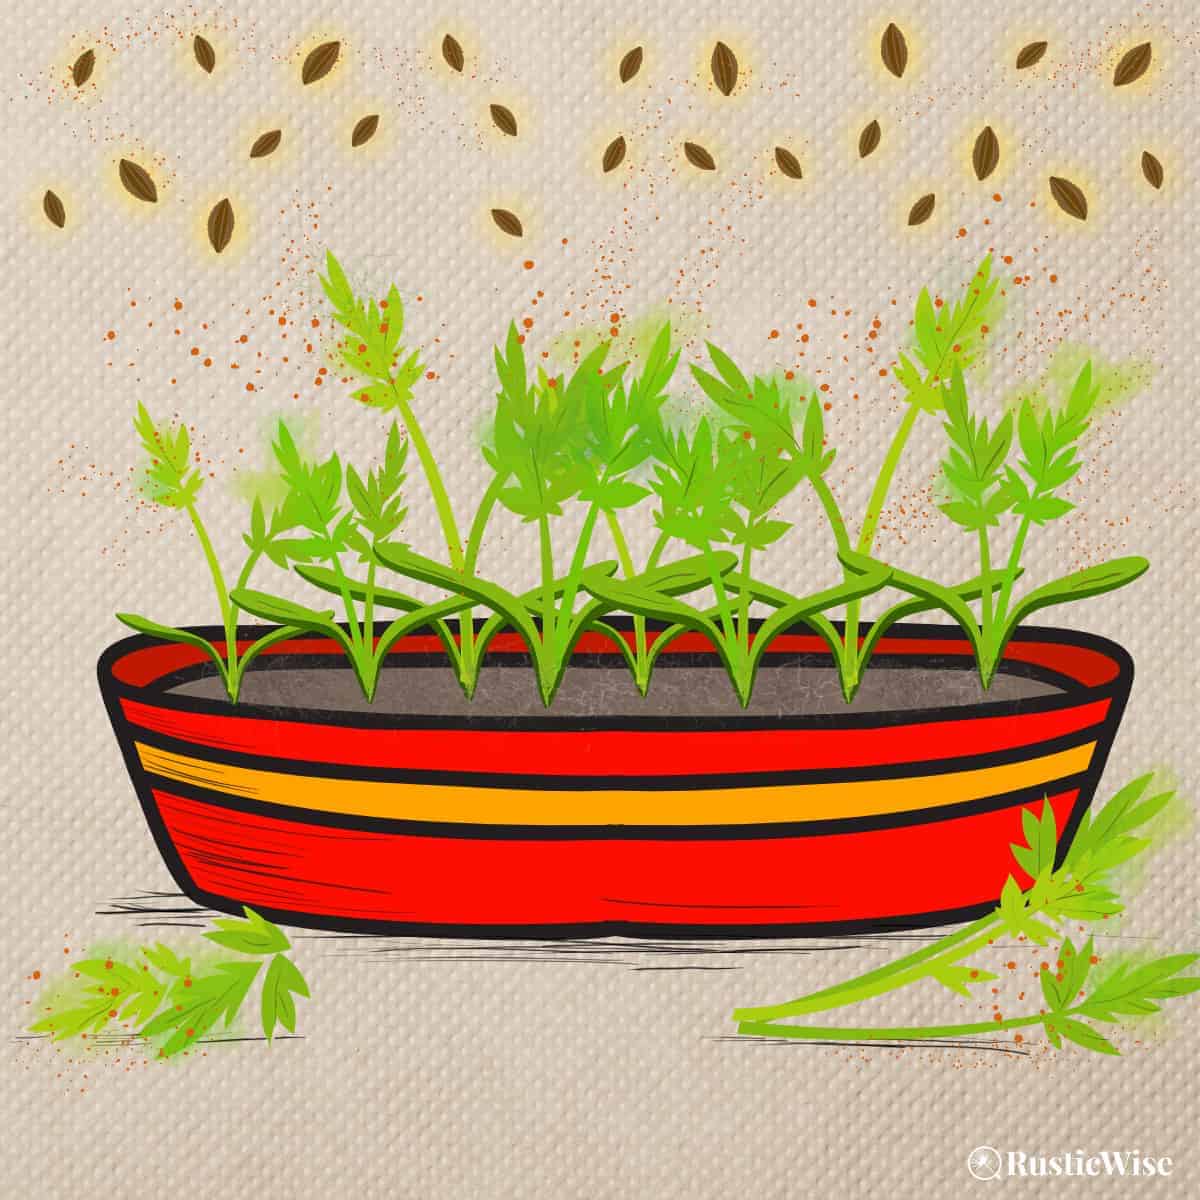
Carrot microgreens are grown from germinated carrot seeds, which are harvested when they are about 1–2 inches (2.5–5 centimeters) in height. The microgreen version of the plant has unique foliage: some look like blades of grass, while others have fern-like feathery leaves (sort of like dill).
This delicate texture adds a special touch to dishes. It can be used as a garnish or added to sandwiches, salads, soups, and other dishes for an extra burst of flavor. They can be eaten raw or cooked and added to salads, soups, stir-fries, and more for a nutritious boost.
Carrot microgreens are also high in vitamins and minerals, particularly beta-carotene, making them a nutritious addition to any meal.
Microgreens are easy to grow at home with minimal space and supplies—perfect for urban gardeners!

Credit: Yay Images
How do carrot microgreens taste?
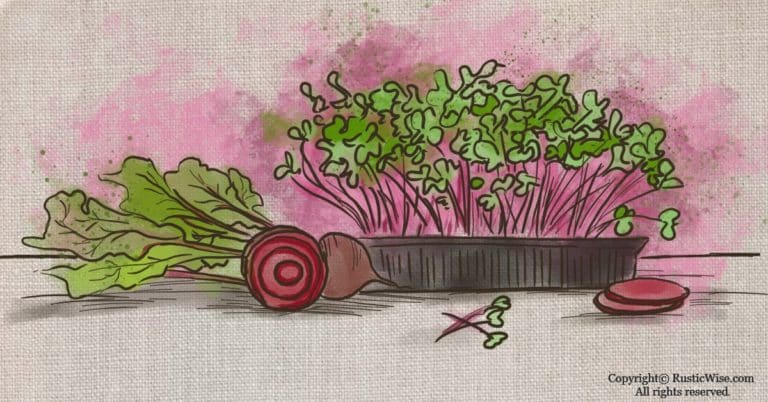
Carrot microgreens have a mild, sweet carrot flavor that is reminiscent of baby carrots. They are crisp and fresh, with a mildly peppery aftertaste.
Don’t worry—if you’re worried that carrot micros have that same bitter flavor as mature carrot tops, they don’t!
Carrot microgreens are a great addition to any kitchen garden. Carrot microgreens are a mild, yet flavorful addition to any dish.
The small size of carrot microgreens makes them perfect for adding texture and flavor to sandwiches, wraps, tacos, dip, hummus, and pesto. You can use them in many of the same ways as regular leafy greens.
Plus, they look beautiful when sprinkled on top of dishes as garnishes.
Growing tips for carrot microgreens
Here are a few pointers when starting your own tray of carrot microgreens indoors:
- Don’t presoak seeds: Since carrot seeds are so small, presoaking them is unnecessary. Soaking them would also make them more difficult to spread across the soil.
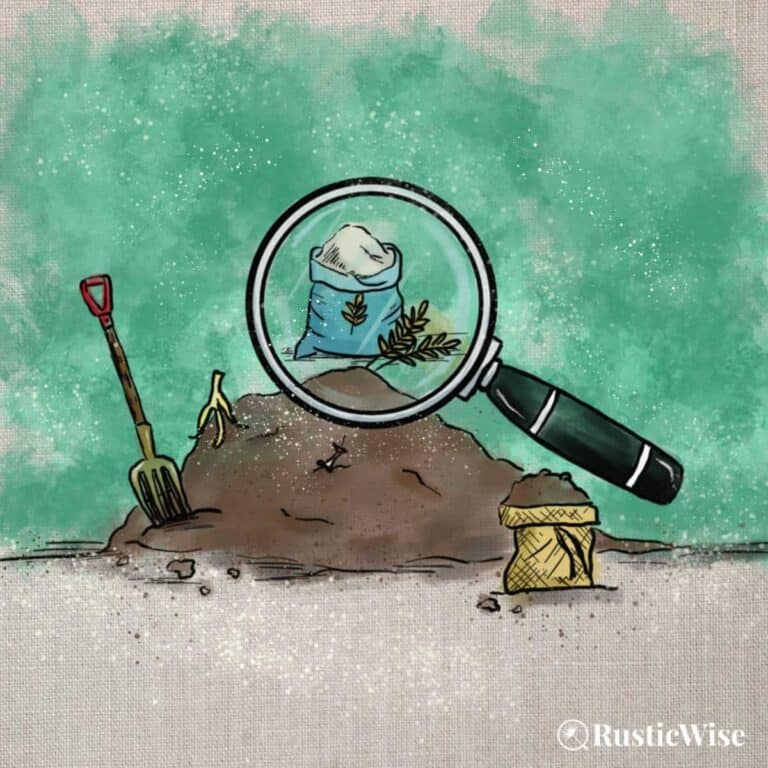
- Use good potting soil: Just like their mature counterparts, carrot micros thrive in nutrient-rich soil. I don’t suggest using a grow mat for this variety of seed as the seeds take better to regular soil (or a soilless growing medium such as coconut coir, with plenty of added nutrients). Since this is a slower growing microgreen variety, adding a bit of fertilizer such as liquid sea kelp can really boost growth and ensure the seedlings have all the nutrients they need.
- They like full sun: Carrots like the sun, so don’t skimp out on this. If you have a sunny windowsill, great. Otherwise, supplement any natural light with a grow light.
- Be patient: Carrot microgreens are slow growers compared to other types of microgreens, but they still provide a great harvest of fresh greens for salads and garnishes. If you want micros pronto, check out some faster growing types of microgreens. Otherwise, practice a bit of patience as this micro can take anywhere from 14–25 days until harvest time. Germination is also slower.
- Give them warmth: To speed up germination rates, keep things nice and cozy. Cornell University says that this root veggie has an ideal soil temperature between 50–85 degrees Fahrenheit (10–29 degrees Celsius).¹ Keeping them at average room temperature can also help shorten growing time.
A note about sowing small seeds
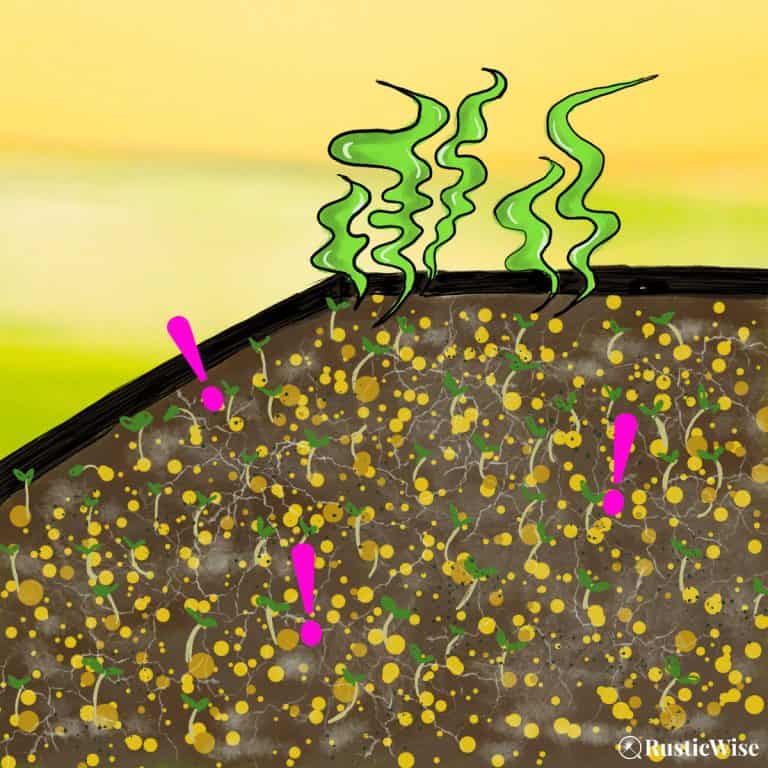
Carrot seeds are small and it’s easy to seed too densely. While it’s true that microgreens are a crop that’s grown in close quarters, try to ensure seeds are not overlapping. Seeds that are sown too close together are more prone to mold issues.
You can use a small measuring spoon to carefully spread the seed.
So how do you determine how much seed you’ll need? One way to do this is to spread out a thin layer of seeds along the bottom of the grow container. The seeds should have a bit of space.
Johnny’s Seeds recommends seeding densely. Aim for 10–12 seeds per square-inch for small seeds and 6–8 seeds per square-inch for medium and large seeds.²
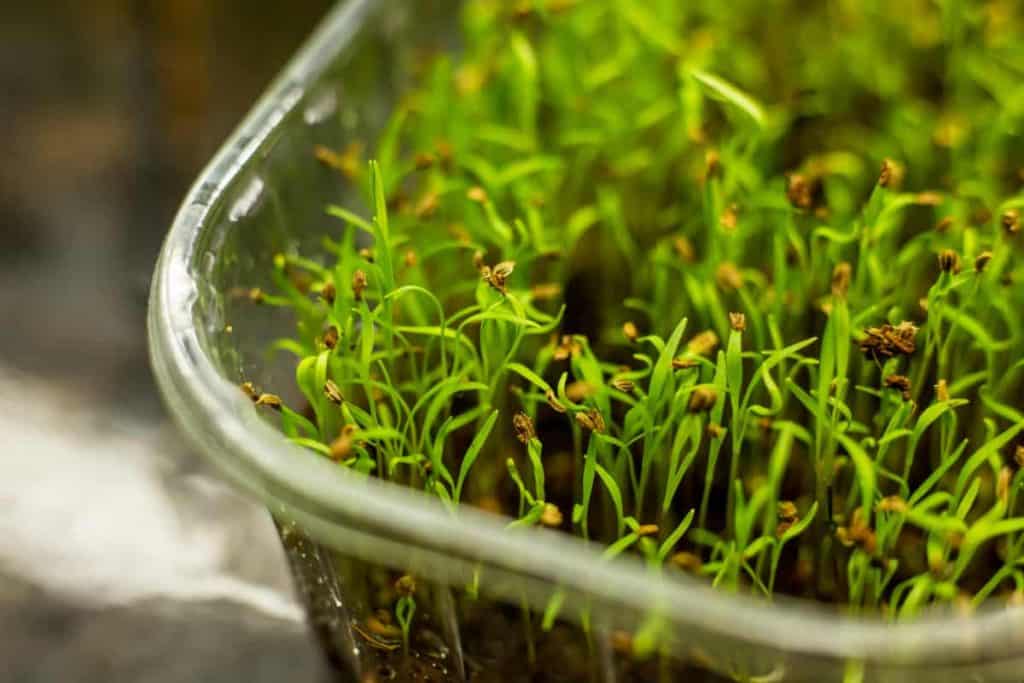
Credit: Deposit Photos
How to grow carrot microgreens step by step
Here are a few supplies you’ll need to grow carrot microgreens at home:
- Growing trays: A shallow tray or container with drainage holes for growing the seedlings; plus, one without holes for the bottom.
- A cover: To keep moisture in and to keep light out during the germination/blackout phase. If you don’t have a cover, you could use a piece of cardboard, or some breathable cotton or linen fabric to cover the seeds.
- Quality soil: Seeds with a longer growing period such as carrot micros need some nutrients to sustain healthy growth. I recommend using a quality, organic potting soil with nutrients. Alternatively, you can use a soilless growing media such as coconut coir with some added liquid fertilizer (such as sea kelp).
- Organic carrot microgreen seeds: Choosing a good quality carrot seed ensures higher germination rates. Many seeds for microgreens are tested to ensure they’re free of harmful pathogens. But, you can use any type of high quality, untreated seeds—they don’t need to be labelled specifically for microgreens.
- Water mister: To mist seeds during germination.
- Small piece of cardboard (optional): You can use this to tamp down soil and seeds.
- Measure and inspect seeds: Look over your seeds and remove any debris or broken seeds. Measure seeds and set aside.
- Prepare the grow tray: Using a clean growing tray, fill with 1–2 inches (2.5–5 centimeters) of potting soil. Slightly compress the soil with hands or a piece of cardboard. Moisten with water. The soil should feel damp, but not overly soggy. It should have the consistency of a damp sponge. You can use a piece of cardboard to make it flatter, but it doesn’t need to be perfect.
- Sow and mist seeds: Spread the carrot seeds evenly across the soil surface. (It helps to use a small spoon to gently tap seeds out as you go.) Seed closely, but avoid overlapping the seeds as this will make it overcrowded (and may lead to fungal or mold issues). Ensure seeds are making firm contact with the soil. You can use your hands or a small piece of cardboard to gently press the seeds into the soil. Gently mist the seeds with a spray bottle.
- Cover and keep warm: During this germination stage, the seeds don’t need light—they just need warmth and moisture. So keep your tray somewhere at room temperature out of direct light. To retain moisture, place a cover or humidity dome over the tray. If you don’t have a cover, a newspaper, or a piece of clean, breathable cotton cloth works too. If you have a heating mat, this can help speed up germination. Seeds will take longer to grow in cooler temperatures. If needed, mist the soil once a day (if it feels dry). Replace the lid after misting. Germination typically occurs on between Days 4 and 7.
- Bring it into the light: Once your tray of carrot microgreens has germinated and are showing sturdy growth, remove the cover and place in the light. If you have a sunny, south-facing windowsill, you’re golden. You might need artificial grow lights if there’s not enough natural sunlight. Sunlight helps promote vigorous growth and greening.
- Water regularly: Now that your micros are under light, you’ll notice that the soil dries out more quickly. You can now bottom water the carrot microgreens as needed. Keep the soil moist and don’t let it dry out.
- Harvest time: Once your shoots develop their first true leaves, the microgreens typically are ready for harvest. This is usually between 14–25 days. Use a clean, sharp knife or scissors to snip the microgreens above the soil line. Toss the used growing medium in a compost pile.
Keep your microgreens in the fridge after harvesting.
Enjoy your freshly harvested carrot microgreens as part of salads, sandwiches, or as a garnish for other dishes!
With minimal effort, you can have fresh and nutritious carrots micros all year-round!
Carrot microgreens nutrition and health benefits
Carrot microgreens are a nutrient-rich food. Consuming these tiny greens is a great way to get the health benefits of carrots in a more concentrated form.
Eating carrot microgreens can help boost your immune system and provide you with an array of health benefits.
They are also low in calories and fat, making them a great addition to any healthy diet.
Let’s unpack a few of their nutritional benefits:
- They are packed with potassium, essential for good health. Potassium works to maintain healthy levels of fluids in cells.
- Carrots are an excellent source of beta carotene, which is converted to vitamin A in the body. Vitamin A serves to promote healthy vision and overall immunity. It may even reduce the risk of certain types of cancer.³
- Carrot microgreens are rich in antioxidants, which help protect against damage from free radicals while also providing cancer fighting properties.
- These tiny greens are an excellent source of dietary fiber, which helps to keep your digestive system running smoothly.
- They also contain other important nutrients such as vitamins B, C, D, and E, as well as calcium and iron.
All in all, carrot microgreens offer many health benefits that make them an excellent choice for anyone looking to improve their overall health and wellbeing.
Easy carrot microgreen pesto recipe
Looking for an easy, yet tasty recipe using your sweet carrot shoots?
We used walnuts as a base for this recipe, but you could easily substitute almonds, pine nuts, or sunflower seeds.
Use this healthy green pesto as a spread over your favorite crackers, or as a tasty addition to sandwiches or wraps. You can also use this as a sauce with pasta.
Ingredients:
- ½ cup of carrot microgreens
- ½ cup of walnuts
- ¼ cup fresh basil leaves
- 1 to 2 cloves garlic, peeled
- 1 teaspoon fresh lemon juice
- 4 tablespoons extra virgin olive oil
- Salt and pepper to taste
Directions:
- Rinse carrot microgreens and basil leaves. Pat dry.
- Combine carrot micros, walnuts, basil leaves, and peeled garlic cloves in a food processor. Add lemon juice. Pulse until coarsely chopped.
- Slowly add the olive oil a little bit at a time. Blend until well combined and the pesto has a smooth texture.
- Remove the pesto from the food processor and place into a glass container. Season with salt and pepper to taste.
Store your pesto in an airtight container in the fridge. You can also freeze your pesto and add it to your meals later!
Related questions
Can you regrow carrot microgreens after harvesting?
No, unfortunately carrot micros do not grow again after harvesting. Most microgreens do not grow again. There are a few exceptions to this rule—you can regrow pea shoots and onion microgreens.
What is a micro carrot?
A micro carrot (sometimes called a tiny carrot) is different than a carrot microgreen. A micro carrot is just a much smaller carrot than the traditional carrots we are used to seeing (even smaller than baby carrots!). They are usually about the size of a pinky finger, or smaller, and have a sweet, crunchy texture.
👉 If you like this post, see our Complete Guide to Growing Microgreens at Home. 🌱
Would you like more timeless tips via email?
Fun tips to help you live an independent, self-sustaining lifestyle. Opt-out at any time.


References
- Cornell University, Carrots, http://www.gardening.cornell.edu/homegardening/scenea765.html. Accessed February 2023.
- Johnny’s Seeds, Guide to Profitable Year-Round Microgreens Production, https://www.johnnyseeds.com/growers-library/vegetables/microgreens/year-round-micro-greens-production.html. Accessed February 2023.
- Harvard Health, Listing of Vitamins, https://www.health.harvard.edu/staying-healthy/listing_of_vitamins. Accessed February 2023.

Author: Josh Tesolin
Josh is co-founder of RusticWise. When he’s not tinkering in the garden, or fixing something around the house, you can find him working on a vast array of random side projects.