Pumpkin Seed Germination: How To Sprout Pumpkin Seeds and Other Tips
RusticWise is supported by its readers. When you purchase through links on our site, we may earn an affiliate commission. As an Amazon Associate, we earn from qualifying purchases. Thank You!
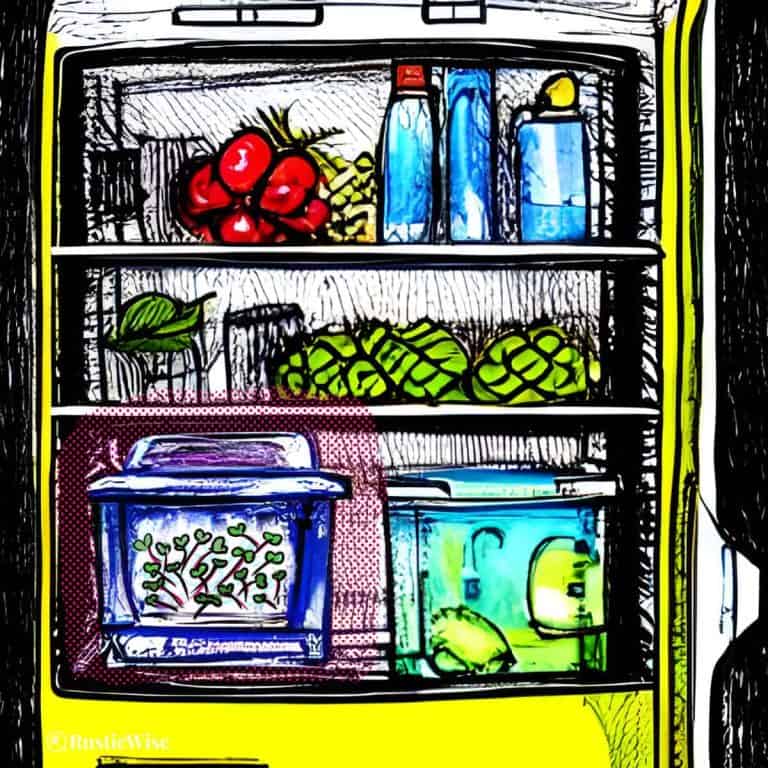
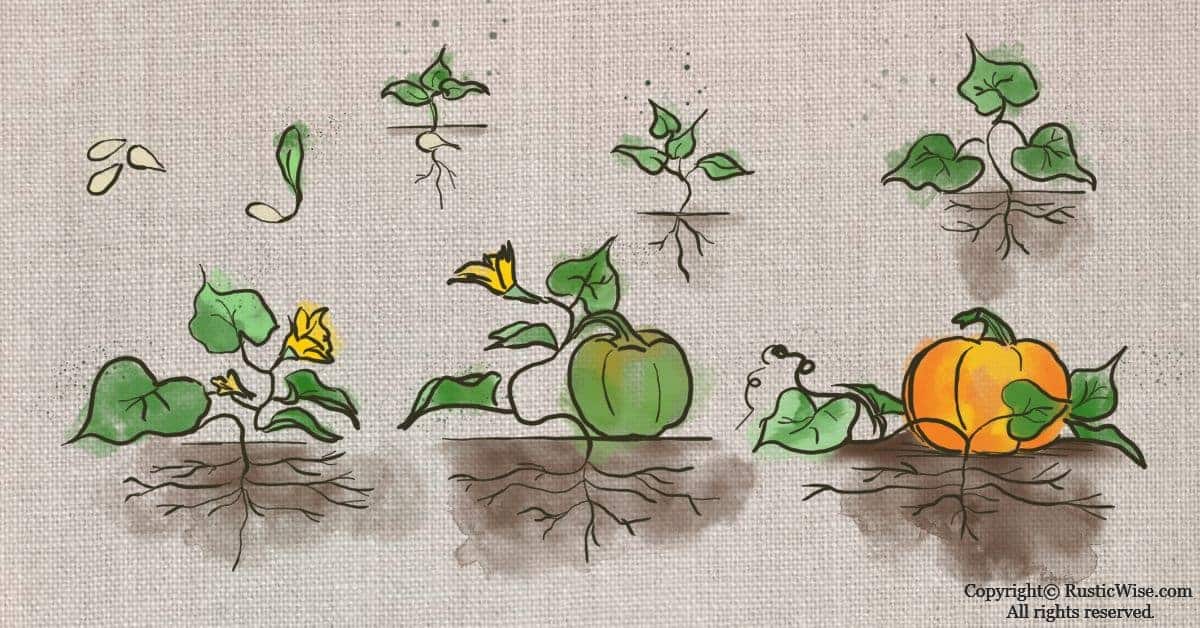
Growing pumpkins from pumpkin seeds is a fun and easy gardening project that anyone can do. Depending on conditions and varieties, pumpkin seed germination typically takes place within 5–10 days. There are three ways to germinate pumpkin seeds: 1) Direct seed outdoors; 2) Start indoors in pots; or, 3) Use the paper towel method. Once you have successfully started seedlings, you’ll need plenty of sun, nutrients, space, and some patience.
Pumpkins are a type of winter squash. While pumpkins produce a lot of food, they also require ample space, and a long growing period—most pumpkins are ready to harvest between 100 and 120 days after planting (1).
We’ll show you how to successfully start your pumpkin seedlings, plus a few tricks on how to get faster seed germination. We’ll also cover pumpkin growing tips, when to start your seedlings, ideal growing conditions, plus harvesting and storage too!
Choosing a pumpkin variety
When you think of pumpkins, the standard orange varieties used to carve jack-o’-lanterns come top-of-mind. But there are so many colors, shapes, and sizes of pumpkins to choose from. From orange to white, some that fit in the palm of your hand, to mammoth varieties like Howard Dill’s Atlantic Giant which have been known to clock in at over 2,000 pounds, there is no shortage of varieties to choose from.
When choosing a pumpkin variety, perhaps it’s best to begin with the purpose of the gourd. Are you planning on baking pumpkin pies, carving them for Halloween, decorating with them, or simply trying to grow the biggest gourd possible?
Pumpkins fall under the Cucurbitaceae family, also called “Cucurbits.” There are two main species: Cucurbita pepo (smaller pie and jack-o’-lantern varieties); and C. maxima (large pumpkins often used for decorative purposes, or in growing competitions).
Most pumpkins grown for carving taste bland and don’t make for tasty pie filling. Sugar pie pumpkins are specifically grown for their sweeter flavor, and are smaller than typical Halloween pumpkins.
Credit: Yay Images
Here are some good cultivars to choose from, according to the pumpkin’s purpose:
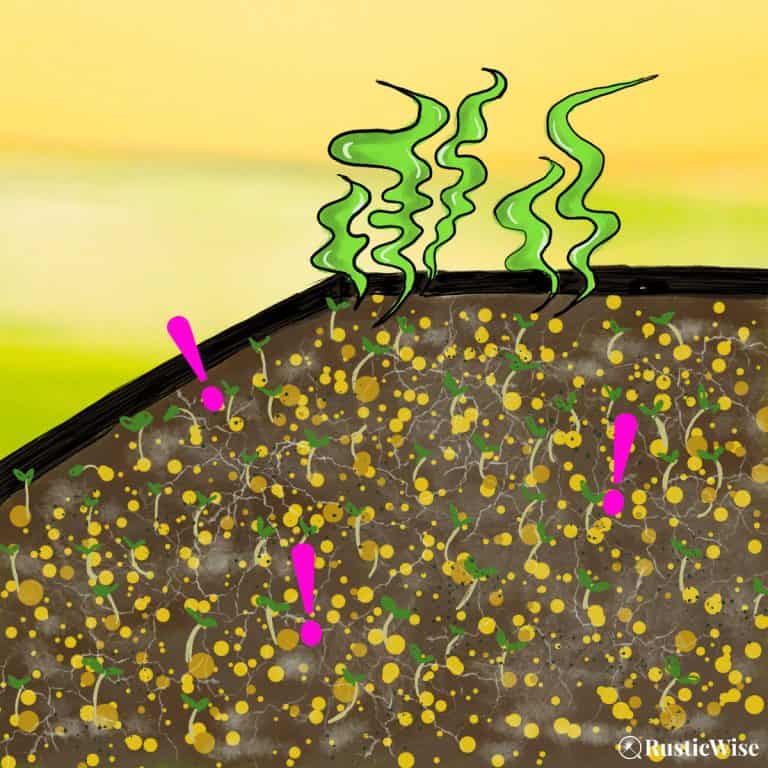
How long does it take for pumpkin seeds to germinate?
On average, most types of pumpkin seeds germinate within 5–10 days. Of course a few factors affect the speed of germination including the temperature, moisture, and overall growing conditions.
When to start pumpkin seed germination
Starting pumpkin seeds is the easy part; getting the timing right is trickier. If you start too early, your pumpkins may turn to mush before Halloween rolls around. If you start too late, your pumpkins may not be ready for Thanksgiving.
Pumpkins are a warm-season crop that love the sun and don’t handle frost well. It’s important to wait until outdoor soils have sufficiently warmed before planting.
The ideal time to start planting pumpkin seeds outside is when the soil temperature reaches at least 70 degrees Fahrenheit (21 degrees Celsius), preferably warmer, if possible.
This is typically sometime in late May to early July, depending on your region.
If it’s too cold in your region to start pumpkin seeds outdoors, consider starting them indoors or purchasing pumpkin plants from nurseries and planting these directly into the ground.
When starting pumpkin seed germination indoors, start them 2–4 weeks before transplanting them outdoors.
You’ll want to find out the last frost date. Once you have that, aim to plant seedlings or transplants outdoors about 2 weeks after the last frost.
For example, if your last expected frost date is May 15, you can start seeds indoors sometime between April 24 to May 8, and plant your seedlings outside between May 29 to June 12.
You can find out your frost dates here.
Pumpkin seed germination 3 ways
There are a few different ways to kickstart your pumpkin growing journey.
1) Direct seeding
If you live in a warm climate, it’s probably best to direct seed once soils warm up to a minimum soil temperature of 70 degrees Fahrenheit (21 degrees Celsius). If your soil is too cold, the seeds won’t germinate!
Depending on your available garden space, you can plant pumpkins either in rows or hills. Before you start planting, make sure you read the section below on Soil under Pumpkin care.
Rows
Create an elevated or raised row for your pumpkins. Rows should have shallow trenches on each side to retain water.
- Plant each seed 3/4 inch (1.9 centimeter) deep, and roughly 24–36 inches (61–91 centimeters) apart. This should leave enough room for vines to creep. Cover with dirt.
- Space each row 5–6 feet apart.
Hills
Planting in hills helps the soil to warm up. Make each hill roughly the size of a pitcher mound with a shallow trench around it to retain water.
- Plant four or five seeds on each hill, spaced 6–8 inches (15–20 centimeters) apart. Cover with dirt.
- Space each hill apart by 10 feet.
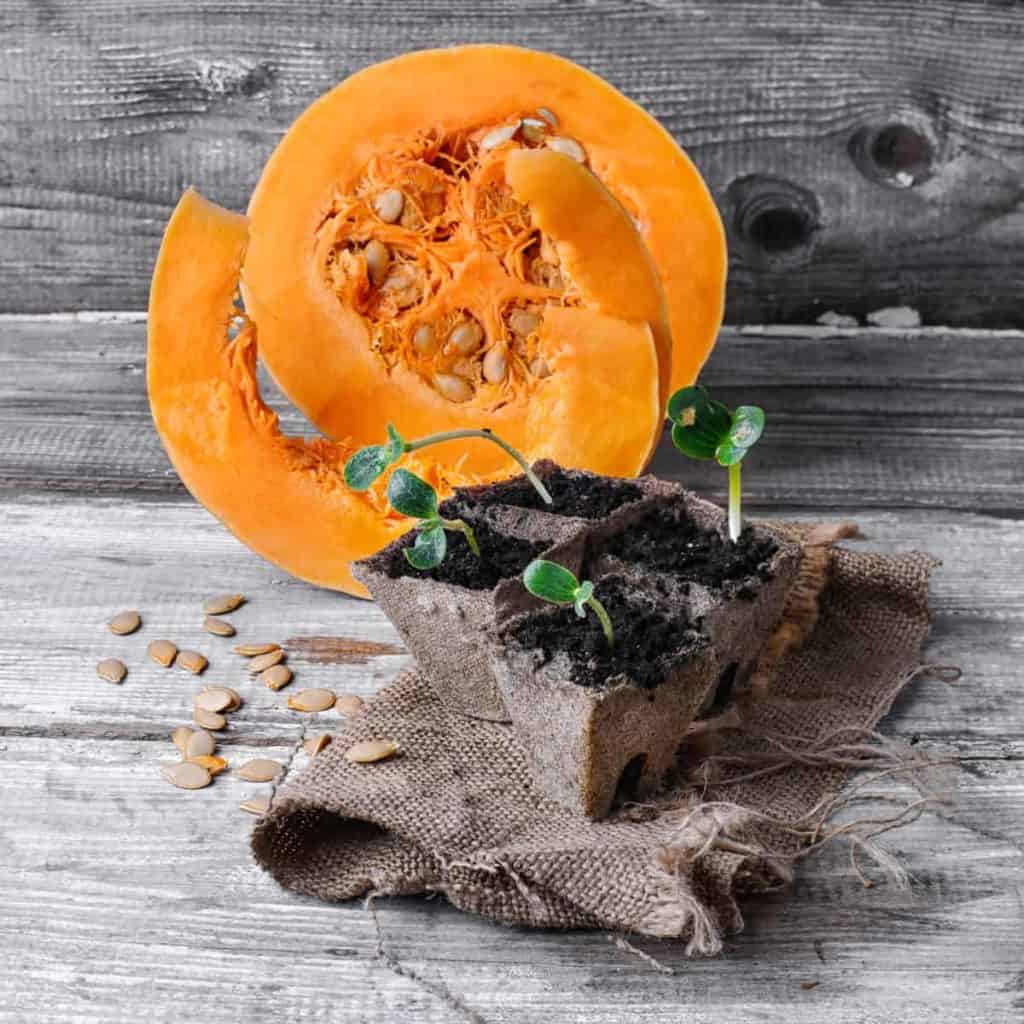
Indoors in pots
Starting your pumpkin seeds indoors in pots gives you a jump-start to the growing season—especially if you live in a colder climate with a shorter growing season.
Gather a few supplies:
- Several small pots, flats, or upcycled containers that are at least 2 inches (5 centimeters) deep and wide.
- Potting mix
Plant three or four seeds per pot. Pumpkin seeds should germinate within 5–10 days. Once seedling emerges, carefully thin out to one or two plants per pot, making sure not to damage the roots.
Once at least two or three true leaves appear (within 2–4 weeks), they’re ready for hardening (reduce temperature and water) and transplanting in the garden. Follow the instructions for planting above.
Tip: Pumpkin seedlings require a strong root system in place before transplanting outdoors. Don’t rush the process if you’re starting seeds indoors and allow at least 2 weeks for the seedlings to grow strong.
Paper towel germination
Germinating pumpkin seeds is fun using the paper towel method. While you’ll still need to transplant them into pots before planting outdoors, this method allows you to see a seed sprout—how cool is that?
This is also a good way to test out the viability of seeds if you have a packet of old seeds that you’re unsure about.
How long does it take to germinate pumpkin seeds using the paper towel method? Generally 4–7 days.
Gather a few supplies:
- Sandwich sized plastic ziploc bags
- Paper towels (or paper coffee filters, cone-shaped)
- Pumpkin seeds
- Spray bottle with water
Here’s what you do:
- On a single paper towel, place seeds onto bottom half of the towel. Fold the paper towel in half to cover the seeds.
- Mist the paper towel with the spray bottle to ensure the seeds are moist, but not dripping wet.
- Gently squeeze out any excess water by pressing the paper towel between your hands.
- Lay the moistened paper towel on a flat surface and roll the paper towel loosely like a tube.
- Place the wrapped seeds into a clean plastic bag. Ensure you leave the bag slightly open for sufficient airflow. Don’t forget to label each bag with the type of seed and the date!
Place the seeds in a warm place at room temperature away from direct sunlight. During the germination phase, the seeds don’t need any light. (If you’re looking for a warm spot, try placing on top of the fridge.)
If you can resist the urge, wait several days before checking on your seeds. Some may have germinated while others haven’t. If not all seeds have germinated, you can gently re-roll and and check back after several days.
Tip: Sprouted pumpkin seeds should be placed in a pot with soil before they become entangled in the paper towel.
Check out our article on How to Germinate Seeds in Paper Towel.
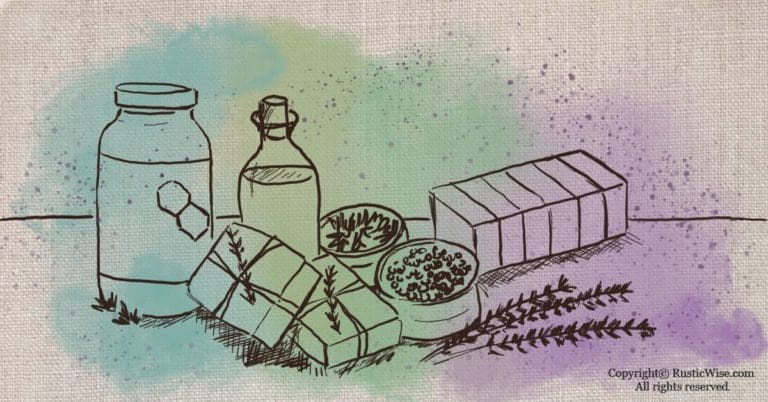
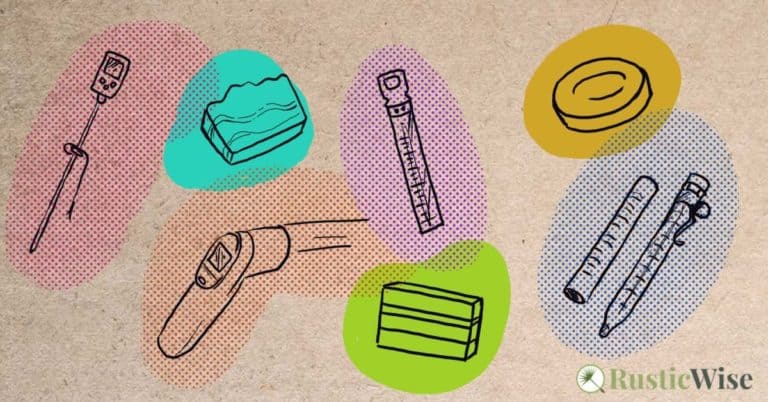
Tips on speeding up pumpkin seed germination
So, you want to get pumpkin seeds to sprout faster? Of course you do! While some gardeners use these methods to speed up germination, these steps are optional.
Your pumpkin patch should still be fine even if you skip these steps. For best results for growing, follow the steps on your seed packet!
Pumpkin care
Not surprisingly, pumpkins are heavy feeders—they need lots of sun, nutrients, and water. Sun makes them happy, frost makes them sad.
Here’s how to ensure your pumpkins grow nice and plump!
Soil and sun
Pumpkins need well-draining soil and prefer soil that’s slightly acidic. The ideal soil pH for pumpkins is between 5.8 to 6.8.
Pumpkins do well in soil amended with plenty of nutrients. Before planting pumpkin seeds or seedlings, add a layer of mature manure or fully decomposed compost to the top several inches of soil. Till.
When selecting an outdoor spot, find one where the pumpkins receive at least 6 hours of sunlight a day.
Once soil has warmed adequately, you can add a layer of mulch to help suppress weeds.
Water
Keep pumpkins well-watered and ensure the soil is thoroughly wet after watering. They need at least 1 inch (2.5 centimeters) of water each week, sometimes more when flowering.
Avoid wetting the leaves when watering (leaves are prone to mildew issues). Use a soaker or drip hose to water the base of the plant.
Fertilizer
Depending on your soil condition and whether or not you added compost or manure to soil prior to planting, your pumpkins would benefit from fertilizer.
Side-dress pumpkins with an organic balanced fertilizer once vines begin to stretch out every 2 weeks.
Diseases and pests
Pumpkins are susceptible to a number of diseases which impact crop yield and overall health:
- Viruses such as downy mildew and powdery mildew
- Bacterial wilt
- Scab
A few pests to keep an eye out for include:
- Squash bugs that feast on leaves
- Squash vine borers that dig tunnels in vines
- Striped cucumber beetles that damage the fruit, flowers, and stems
Credit: Yay Images
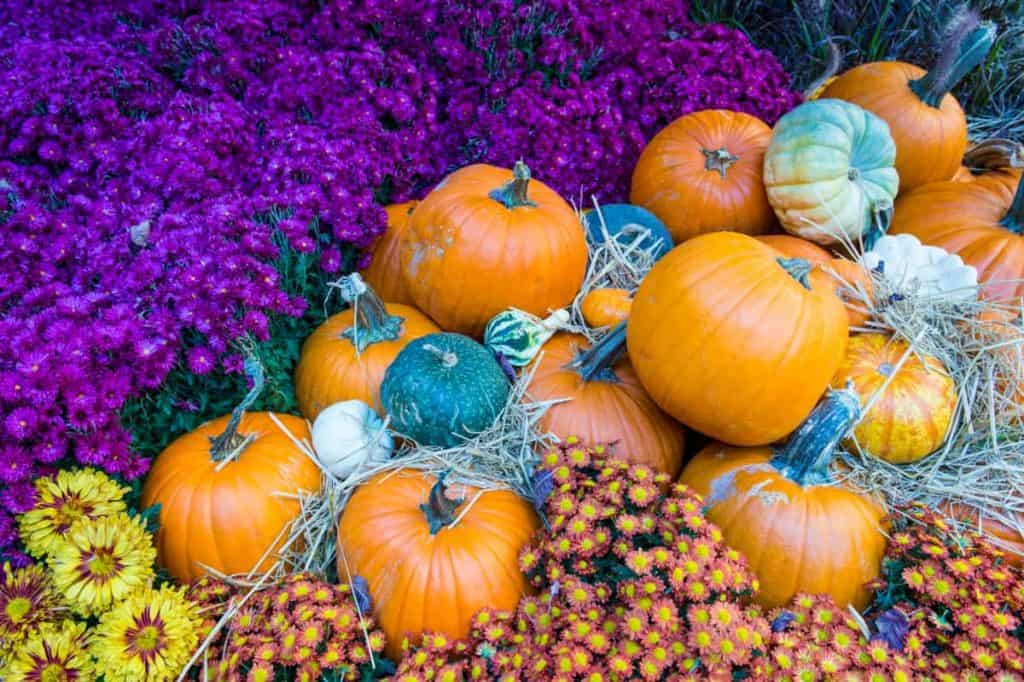
Harvesting, curing, and storing pumpkins
After several months your pumpkins are ready to harvest!
When to harvest pumpkins
You’ll know when to harvest pumpkins when the colors have turned from green to orange, or have reached the desired size. If you’re unsure about the color, you can also do a “feel” test—the rind should be hard.
Use a sharp knife to cut the pumpkin from the vine, leaving about 3–4 inches (8–10 centimeters) of stem. (The stem helps prolong the shelf life of the pumpkin; those harvested and cut without stems don’t last as long.)
Why you should cure your pumpkins
Curing your pumpkins helps to extend the shelf life of your harvest. Once cured, pumpkins have a hardened skin that’s less prone to bruising.
To cure your pumpkin, simply let it sit in the field anywhere for a few days up to 2 weeks to harden up. Don’t let your pumpkins freeze outside!
If your weather is too cold, bring the pumpkins indoors to cure in a warm place in a single layer.
Check out our article for more information about curing and freezing squashes and pumpkins.
How to properly store your pumpkins
Proper storage is key if you want to keep your pumpkins for up to 3 months. Place in a storage area with good air circulation at 50–55 degrees Fahrenheit (10–13 degrees Celsius). Keep the relative humidity at 50-70 percent, and you’re golden!
Related questions
Will old pumpkin seeds germinate?
Most pumpkin seeds are viable for up to 6 years if stored correctly. If you want to test out the viability of old seeds, use the paper towel test. Simply place 10 seeds onto a paper towel and moisten with water. Roll the seeds up in a tube and place in a plastic bag. Place the unsealed bag in a warm place away from direct sunlight for several days.
If after several days, only 2 seeds have germinated, this indicates an approximate 20 percent germination rate (which is not good by any standards). It may be time to toss those old seeds! You can try giving the seeds a few more days to germinate by carefully re-rolling the paper towel. See the section above on Paper towel germination.
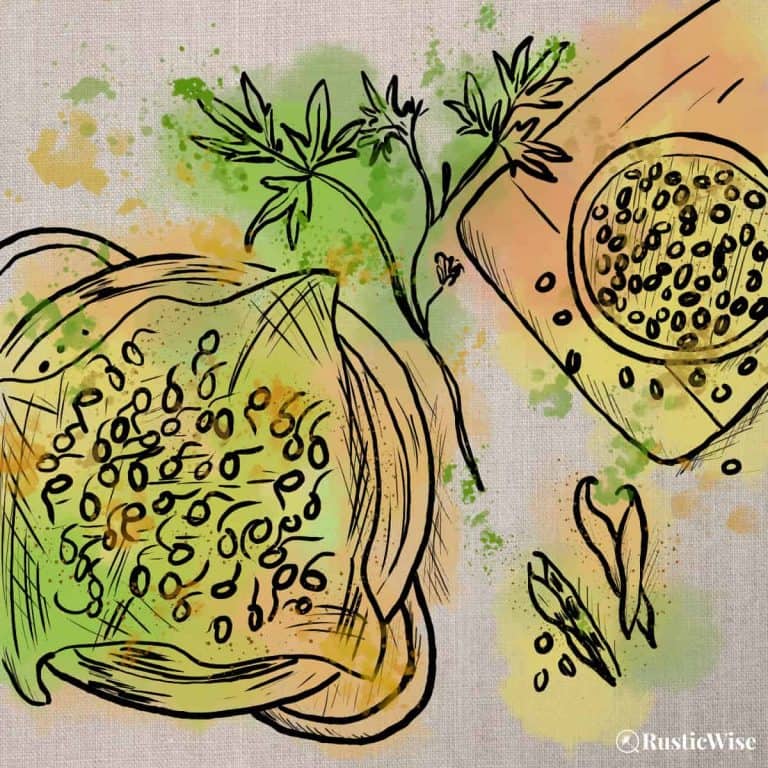
Can you plant seeds from fresh pumpkin?
If you’re planning on saving seeds from this year’s pumpkins, ensure you’re saving seeds from a true-to-type variety and not a hybrid.
Next, you’ll need to rinse and clean the seeds to remove any pulp. Once you’ve done this, spread the seeds out on a baking sheet in a single layer to air-dry.
Once the seeds are completely dry, you can try planting them!


References
- Emery, Carla (2012). The Encyclopedia of Country Living, 40th Anniversary Edition. Sasquatch Books. pp. 344–345. ISBN-13: 978-1-57061-840-6.
- Wei-Haas, Maya (30 October 2015). “The Secret to Growing the World’s Largest Pumpkin,” Smithsonian Magazine. Accessed July 2021.
- University of Minnesota Extension, Growing pumpkins and winter squash in home gardens, https://extension.umn.edu/vegetables/pumpkins-and-winter-squash#choosing-pumpkin-and-winter-squash-varieties-235460. Accessed July 2021.
- Ohio State Insights, Food and Agriculture, Get your gourd on, https://insights.osu.edu/food/how-plant-pumpkins. Accessed July 2021.
- Pennsylvania State University, College of Agricultural Sciences, Pumpkin Production, https://extension.psu.edu/pumpkin-production. Accessed July 2021.

Author: Theresa Tesolin
Theresa is co-founder of RusticWise. She helps people unleash their inner DIY spirit by encouraging them to get dirty and make or grow something from scratch.