Freezing Winter Squash: Tips for Prepping, Freezing and Storing
Hardy, versatile, and nutritious, winter squash is typically ready to harvest 80 to 120 days after planting. This is typically sometime between the end of summer to mid-winter. While winter squash has a long shelf life, freezing winter squash ensures your supply of this tasty fruit never runs out (yes, squash is technically a fruit, not a veggie!). So, set aside an afternoon to prep, cook, and freeze winter squash. Frozen squash makes meal prep so much quicker and easier.
Winter squash is a great source of fiber, vitamins A and C, potassium, magnesium, and folate. It’s also a good source of iron and calcium. By taking the time to freeze this nourishing food, your family will have access to squash all year long.
We’ll go over tips on freezing winter squash, why it’s important to cook squash prior to freezing, plus other handy tips on storing and curing, and thawing squash. Let’s dig in!
What exactly is winter squash?
There’s summer squash and there’s winter squash. As the names suggest, summer squashes such as zucchini and yellow crookneck are typically ready to harvest more quickly, typically during summertime. Winter squashes need time to mature on the vines before harvesting later in the year.
Winter squash is a type of gourd with a hard, tough skin, firm, and slightly sweet flesh—think of a sweet potato. These are great for adding to hearty winter soups, stews, or making pies. (Sugar pumpkin which is a type of winter squash, is commonly used to make pumpkin pie.)
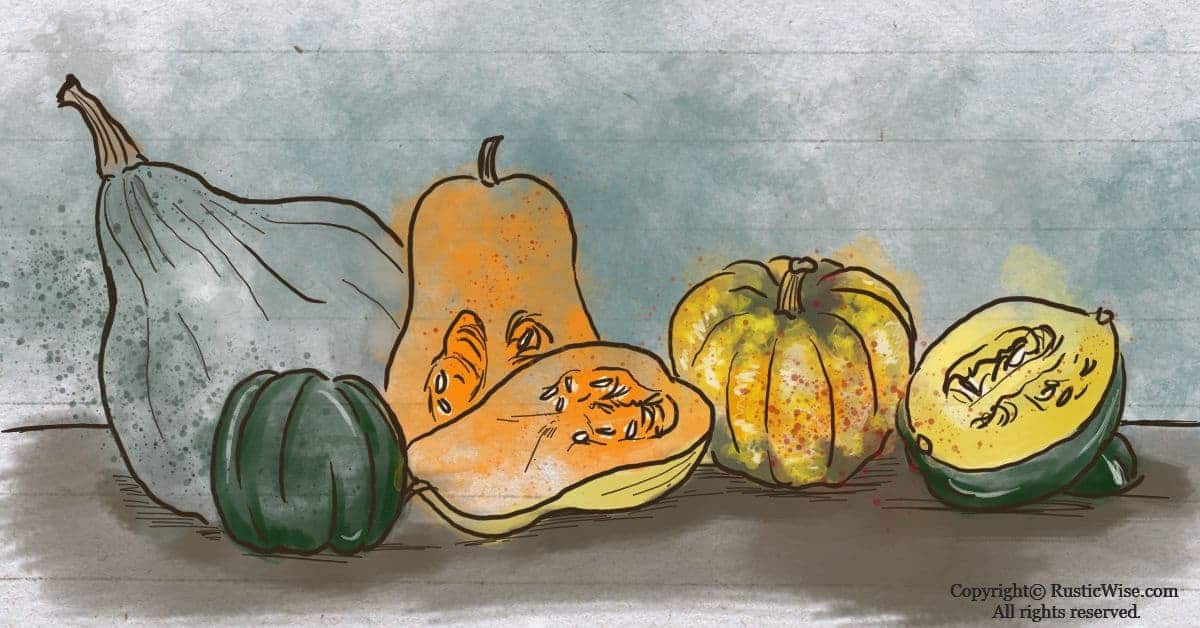
Varieties of winter squash
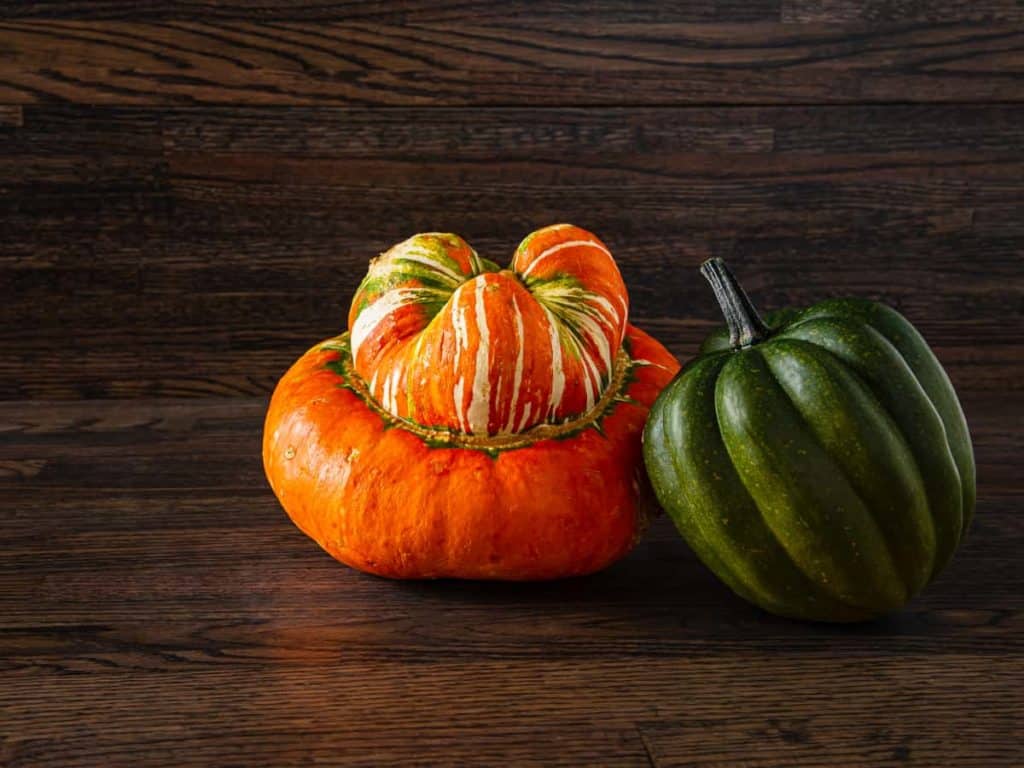
There are many types of winter squash, each with their own unique colors, flavors, textures, and sizes. While each variety is slightly different, they can be prepared and enjoyed in much the same ways: roasted, boiled, or mashed.
Credit: Yay Images
Tips on harvesting, curing, and storing winter squash
Unlike summer squashes which can be harvested when quite small, it’s best to leave winter squash on the vine to ripen—just don’t let them freeze!
When your winter squash has deepened in color and its rind is firm, it’s ready to harvest!
How to cure winter squash
Curing winter squash allows the outer skin to harden and extends storage time. This prevents the inner flesh from rotting and many varieties of winter squash can be stored for up to six months after cured!
This will give you plenty of time to freeze squash during the fall and winter months.
The handy tome, The Encyclopedia of Country Living by Carla Emery has some handy tips for harvesting, curing, and storing winter squash:
- When your winter squash is ready for picking, cut the stems leaving 1 inch (2.5 centimeters) on the fruit.
- Stage One: Allow the fruit to cure in the field anywhere from a few days to 2 weeks, as your weather allows. Do not let your squash freeze at this stage! Wipe off any excess dirt before bringing inside.
- Stage Two: Next, bring the harvested squash into the warmest spot in your house. When exposed to temperatures ranging from 80 to 85 degrees Fahrenheit (27–29 degrees Celsius), the squash hardens and will heal and nicks or cuts on its surface. Squashes must still be handled with care as they can’t withstand bruising. Lay flat in a single layer. Your winter squash should be cured when left for 1–2 weeks at these warmer temperatures.
How to store winter squash
The important thing to remember is to not let your winter squash freeze during storage.
- Store in a cool, dry place: Avoid storing in a root cellar as the dampness or humidity may cause squash to spoil quickly.
- Spread out in a single layer: If possible, don’t let the squash touch in storage. Lay flat either on newspapers on the floor, or on wooden shelves.
- Remove bad spots: Periodically check on your stored winter squash for any spots going bad. Bad spots typically appear on areas that have touched another squash. Remove any bad spots on the squash and cook it up.
Can you freeze raw winter squash?
While you’ll see many online websites saying it’s okay to freeze raw winter squash, it’s really not recommended for safe home food preservation. While some fruits are fine freezing in their raw state (such as berries, for example), many vegetables need to be either blanched or cooked prior to freezing.
According to the University of Minnesota Extension, “Blanching is a must for most vegetables to be frozen. It slows or stops the enzyme action which can cause loss of flavor, color and texture.”
The correct blanching time varies from veggie to veggie, but it’s important to get it right:
- Underblanching is actually worse than not blanching at all as it activates enzyme activity.
- Overblanching results in altered texture, flavor loss, and reduced vitamin and mineral content.
In the case of winter squash, it’s recommended to fully cook before freezing.
For more tips on preserving food, check out The Timeless Food Storage and Preservation Guide.
Freezing winter squash: step-by-step
Winter squash is one of those foods that are as versatile as they come. You can bake, boil or mash them and then enjoy the flavors throughout your mealtime. But what about freezing? Here’s how to prepare it for freezing, store it in the freezer, and thaw it when needed.
While you can try canning cubed winter squash, this is labor-intensive, and also requires the use of a pressure canner to safely preserve this low acid food.
Freezing is the easier food preservation method when it comes to winter squash.
Tip: Limit the amount of food your freeze each day to no more than 2 pounds of food per cubic foot of freezer capacity. This prevents your freezer from becoming overwhelmed.
Credit: Deposit Photos
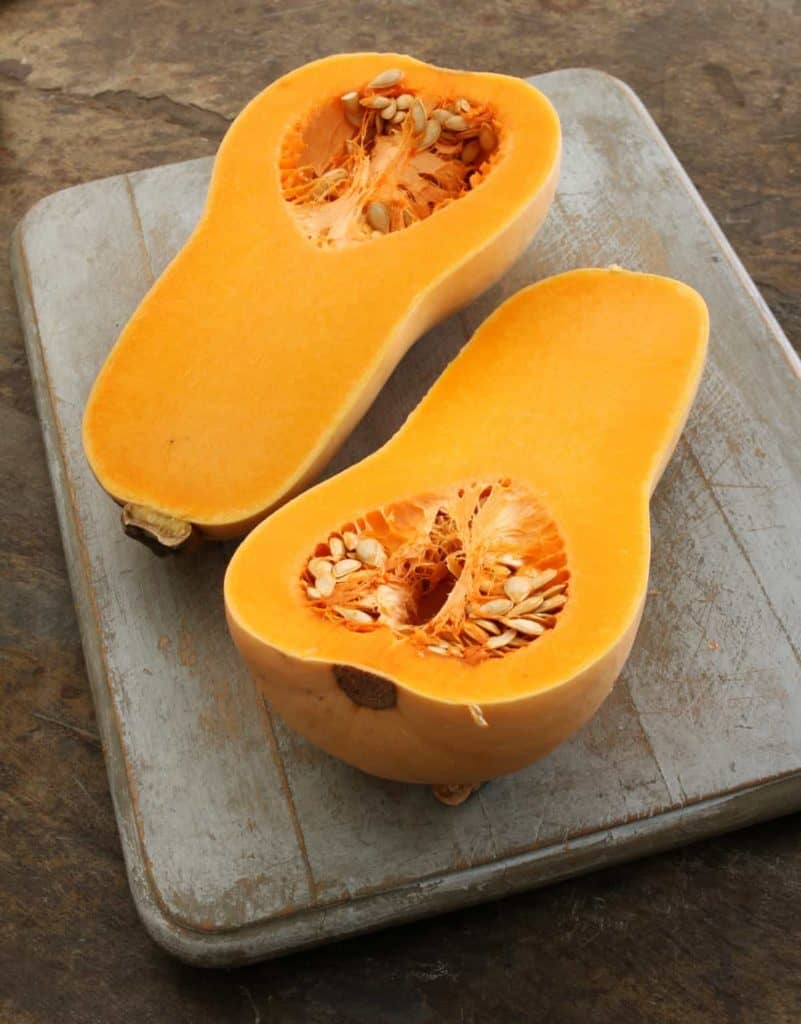
How to prep winter squash
- Select mature winter squash free of bruises and with a firm rind.
- Wash and cut the squash in half lengthwise.
- Remove pulp and seeds (you can either save the seeds for planting next year, or you can roast them for a tasty snack).
- Next, depending on the cooking method and the size of squash you’re working with, you can either leave in half, or cut into smaller pieces.
- To peel or not to peel: You can choose to peel before you cook, but this is up to you. The flesh comes off easily from the skin once cooked so some people leave the skins on.
How to cook winter squash for freezing
As we mentioned above, winter squash should be cooked before freezing. You can do this in various ways:
Oven
- Preheat oven to 400 degrees Fahrenheit (204 degrees Celsius).
- Place cut pieces face down on a parchment lined baking sheet. (Optional: rub the flesh with olive oil.)
- Bake for 30-60 minutes until tender. Smaller squashes such as acorn or butternut may cook for as little as 30 minutes, while larger varieties such as Hubbard can take a full hour or more.
Boil
- Cut squash into smaller pieces.
- Boil until tender (about 30 minutes).
Pressure cooker
- Cut squash into smaller pieces.
- Cook for 15 minutes at 15 lbs. pressure.
Steam
- Cut squash into smaller pieces.
- Place in a steamer basket and cook until tender (about 30 minutes).
Credit: Deposit Photos
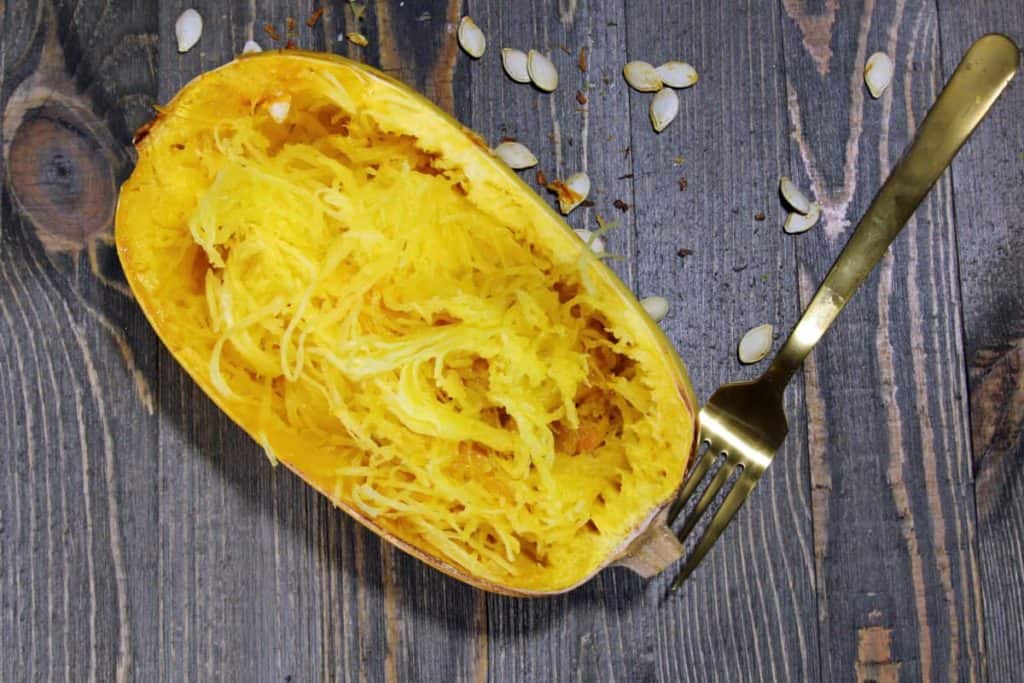
How to prepare the pulp
Once your squash is fully cooked, scoop out the tender flesh from the peel. In the case of spaghetti squash, you can leave as is.
- Mash: Most types of squash can be mashed or puréed. Dump scraped flesh into a food processor and blend until smooth. You can add a bit of water if you want, but often this isn’t necessary.
- Cool down: Allow the mashed or puréed squash to cool. You can place a bowl or container of hot squash into a basin filled with cold water to cool.
- Pack: Once the puréed squash is cool, pack into freezer safe containers with 1/2-inch of headspace to allow for expansion. Or, pack into freezer safe bags. Pack into a flat layer so multiple bags are stackable once frozen.
How long does winter squash last in the freezer?
If properly stored in an airtight container or freezer safe bag, your winter squash is good for up to 1 year.
How to thaw and use frozen squash
Once you’re ready to use some of your frozen squash, thaw in the fridge overnight (not on the counter).
If you’re making a savory dish, you can defrost slowly right on the stovetop on medium heat.
What to do with squash seeds?
While many people toss the seeds, it seems better to either oven roast them for a tasty snack, or save them for planting next year.
Roast them!
Both pumpkin and squash seeds are great for roasting.
- Wash seeds and remove stringy pulp.
- Boil in salted water for 15 minutes. Don’t skip this step! Boiling helps to soften the hard outer casing. Add 2–3 tablespoons salt per quart of water. Remove and strain.
- Season: add melted butter, salt and your choice of seasonings.
- Preheat oven to 350 degrees Fahrenheit (177 degrees Celsius).
- Place seeds onto a parchment lined baking sheet and roast until golden brown (about 15–20 minutes), making sure to turn about halfway.
Save them
Seed saving with squashes is a bit tricky as they tend to cross with one another, leading to mixed results.
However, you can always try, right?
It’s best to save seeds if you have ONE variety from the Cucurbita maxima, and ONE variety from Cucurbita pepo flowering at one time. If you have more than one variety of each group flowering at once, the seeds may have crossed.
Examples of winter squashes that belong to C. maxima include: hubbard, turban, and Japanese varieties.
A few winter squashes that belong to C. pepo include: acorn, delicata, spaghetti squash.
To save seeds of winter squash:
- Harvest ripe squash, and remove seeds.
- Remove pulp, and rinse the seeds.
- Lay in a single layer on a baking sheet. Place near a sunny window for a few days until thoroughly dry.
Once dried, your seeds may last up to 7 years. Avoid using heat from an oven to dry seeds as this may harm or kill them.


References
- Emery, Carla (2012). The Encyclopedia of Country Living, 40th Anniversary Edition. Sasquatch Books. pp. 340–347. ISBN-13: 978-1-57061-840-6.
- My Food Data, Winter Squash, All Varieties Raw, https://tools.myfooddata.com/nutrition-facts/170489/wt1/1. Accessed June 2021.
- Meredith, Dana (01 Deccember 2020). “12 Types of Winter Squash—and Tips for How to Use Them,” Taste of Home. Accessed June 2021.
- University of Minnesota Extension, Vegetable blanching directions and times for home freezer storage, https://extension.umn.edu/preserving-and-preparing/vegetable-blanching-directions-and-times-home-freezer-storage. Accessed June 2021.
- University of Minnesota Extension, Preserving winter squash and pumpkins, https://extension.umn.edu/preserving-and-preparing/preserving-winter-squash-and-pumpkins. Accessed June 2021.

Author: Theresa Tesolin
Theresa is co-founder of RusticWise. She helps people unleash their inner DIY spirit by encouraging them to get dirty and make or grow something from scratch.