Growing Microgreens Outdoors? Tips You Need To Know
If it’s spring or summer, or you enjoy a temperate climate all year round, you can try growing microgreens outside! Take advantage of the balmy weather, ample sunshine, and save your grow lights for the winter season.
Before you dig right in, there are important factors to consider when growing microgreens outdoors. Finding an ideal location where your seedlings receive around 6 to 8 hours of sunlight each day is crucial. It’s also important to select seeds that suit your climate. For example, arugula and broccoli are cool-season crops, whereas amaranth and basil prefer the warm season.
Let’s take a look at the 3 major ways to grow microgreens outside, plus everything you need to know when selecting a planting site, soil requirements, and how exactly to sow the seeds.
Why you should grow a microgreen garden
Growing microgreens at home is one of the easiest, most efficient ways to grow your own food. These tiny greens can be added to sandwiches, salads, your favorite savory dishes, or eaten alone as a tasty snack.
Microgreens are the young seedlings of a wide variety of plants. As you’ve probably already guessed, microgreens are much smaller than baby leafy greens such as kale or spinach, but larger than sprouts. When harvested, most microgreens are only between 1 and 3 inches tall (3 and 8 centimeters).
Microgreens are easy to grow, require little care and are a quick-growing crop. From seed to plate, you can enjoy your fresh greens in as little as 2-3 weeks.
With only a few simple supplies and a bit of effort, you can grow your own microgreens at home at a fraction of the cost of store-bought varieties.
Microgreens are packed with essential minerals, vitamins, and nutrients that help your body stay healthy. They’re also great for getting young ones involved in gardening and cooking!
Note: Depending on the growing conditions and the type of seeds you’re growing, outdoor microgreens may take longer to grow than their indoor counterparts.
What seeds can you grow as microgreens?
Virtually all edible plant seeds can be grown as microgreens (with the exception of those in the nightshade family, such as tomatoes, whose young seedlings are toxic).
These mini versions of vegetables, herbs, and legumes give you access to a wide variety of flavors. Their high nutritional content makes them a great addition to smoothies, soups, and salads!
Note: Only use quality seeds that are not treated with fungicides or pesticides. Stick with organic seeds if possible.
Here’s a list of some of the most common microgreens:
- Amaranth microgreens: Garnet red amaranth is a popular variety to grow as micros or sprouts.
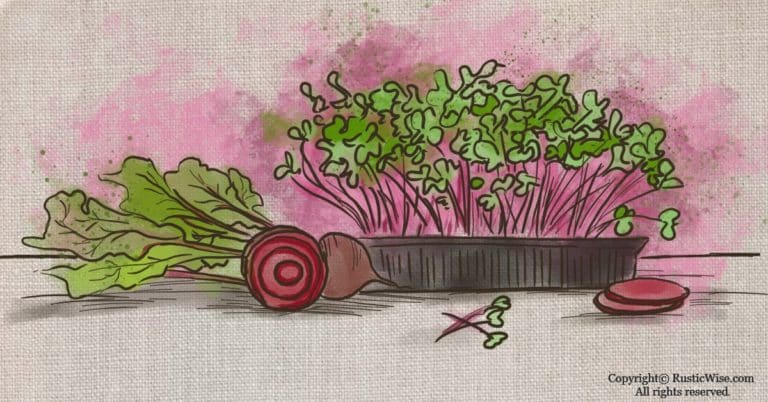
- Beet microgreens: Bull’s Blood beet seeds add a lovely splash of color to salads and sandwiches.
- Cabbage microgreens: Both green and red cabbage seeds grow great as micros.
- Kale microgreens: There are many varieties of kale to grow including Red Russian and Lacinato.
- Kohlrabi microgreens: An interesting type of Brassica that comes in white, purple, or light-green varieties.
- Lettuce greens: So many lettuce varieties to choose from to provide a mild flavor and delicate crunch.
- Pea microgreens: Don’t grow sweet peas (Lathyrus odoratus) which are toxic.
- Radish microgreens: Daikon (white), red, and purple radishes are all spicy.
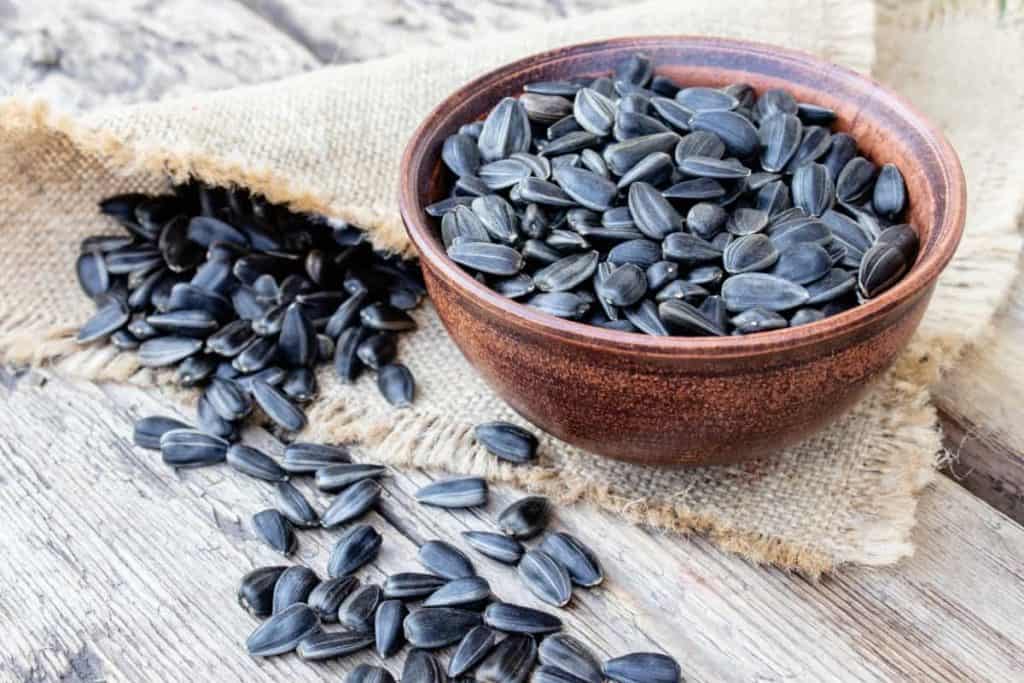
- Sunflower microgreens: Use black oil seeds for best results.
Credit: VectorState
Why grow micros outside?
Why grow microgreens outdoors? There are a number of reasons you may want to try growing these tiny greens in the great outdoors.
If you don’t have a lot of windows where you live (and don’t want to invest in grow lights), you will want to try growing microgreens outdoors to take advantage of the natural sunlight.
If you live in a warm climate year round (lucky you!), you can grow micros outside continually. This lets you save countertop or windowsill space, and skip any need for other supplies such as lighting.
Growing outdoors also exposes your tiny greens to natural outdoor conditions such as wind. Many gardeners will attest to their crops growing stronger as a result of airflow which encourages strong, vigorous stems and foliage.
Fresh air is a crucial factor in preventing mold or fungal growth. Many indoor growers have experienced mold issues on indoor micros. I have yet to hear of a similar problem with microgreens grown outside!
Downsides to growing micros outdoors
It’s not all sunshine and roses when you try growing micros outside. Here are a few common issues:
- Can’t control conditions: Unlike growing microgreens inside where you can control everything from humidity, lighting, and temperature, you leave much of the success of your crop in the hands of Mother Nature.
- Pests: Most micros inside don’t experience issues with pests. Outside, you’ll have to deal with common pests such as aphids, thrips, and whiteflies. Other common garden critters such as caterpillars, birds, or rabbits may also munch on your tiny seedlings.
- Weeds: Weeds are an issue if you’re planting directly in the ground; less so if you’re using a raised garden bed.
- Takes longer: You may find that your grow cycles are longer when growing outdoors, depending on the weather and other growing conditions.

Ideal temperature for microgreen growth
According to the University of Illinois Extension, most microgreen seeds thrive in an ideal temperature range between 70–75 degrees Fahrenheit (21–24 degrees Celsius). Soil temperatures should be between 73–75 degrees Fahrenheit (23–24 degrees Celsius), ideally.¹
Micros also like fairly high humidity levels between 40 to 60 percent.¹
So, if your outdoor growing conditions fall within, or several degrees close to this range, the conditions are right to start your micro garden.
Otherwise, you’ll want to wait until the outdoor temperatures and soil temperatures have warmed up before sowing seeds. Any touch of frost will kill delicate seedlings.
Selecting the right location for your microgreen garden
It’s all about location, location, location when finding a suitable site to start your micro garden.
And according to the University of California, that location can change according to the season. Choose an area with full sun in the springtime, but one with partial shade in the summer; this will protect fragile seedlings from intense heat.²
Finding a site outside that provides adequate sunlight and protection from harsh wind or other inclement weather is crucial to growing success.
Most microgreens need at least 6 to 8 hours of sunlight at a minimum. Some seeds such as sunflower micros, like plenty of sun, and would do better with longer hours of light.
On the other hand, if your micros receive too much sun, it’s also an issue. Signs your greens have too much sun are curled leaves, yellowing, or stunted growth.
Tip: The Master Gardener Program of Sonoma County suggests protecting outdoor micros with a floating cover to protect seedlings like kale or broccoli from cabbageworms.³
Selecting the right microgreen seeds to grow outside
When you can’t control the weather, you must carefully select seeds that can best suit the growing conditions you have. For this reason, it’s important to look into growing requirements of the vegetables and herbs you’re interested in growing.
Many cool-season crops have more moderate lighting and temperature requirements. Some of the best varieties of microgreens to grow outside belong to the Brassica family.⁴ A few quick-growing varieties include:
- Arugula
- Broccoli
- Pak Choy (also known as Bok Choy, or Pac Choi)
- Radish
Other cool-season veggies and herbs are slower growing, and may encounter more issues outdoors:⁴
- Basil
- Carrot
- Cilantro
- Dill
- Fennel
- Parsley
A few warm-season micros to grow outside include:
- Amaranth
- Sunflower
3 Ways to grow your microgreens outside
There are three main ways you can grow micros outdoors. You can grow micros in a raised garden bed, or directly in the ground. Or you can simply use the same shallow trays you use for indoor growing but keep it outdoors on a balcony or porch, or in a greenhouse.
Planting your microgreens in a garden bed is preferable to sowing directly in the ground. More on this below.
Let’s cover some of the basics.
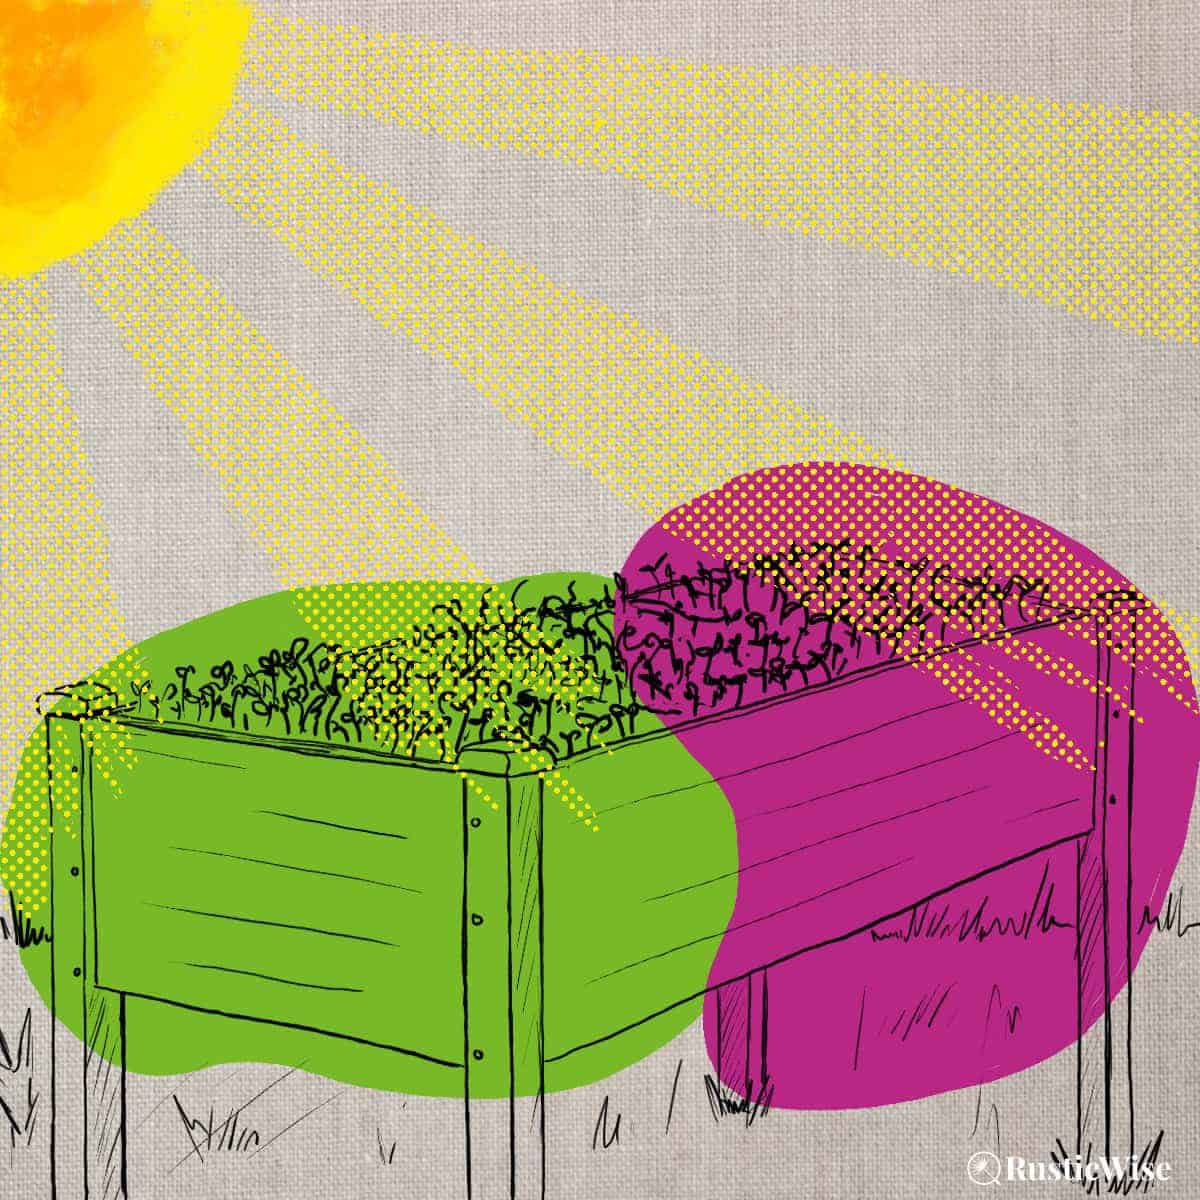
1. Growing microgreens in a raised garden bed
Planting microgreens in a raised garden bed is a great way to grow your own food.
What’s needed? A garden bed, some organic potting mix (or seedling mix), and some quality seeds. Most commercial seedling mixes contain a mixture of peat, perlite, or vermiculite which provides good aeration and moisture retention. Coconut coir mixes also work well.
It’s important to use a well-draining growing medium that provides plenty of room for healthy root development. Ideally, your garden bed would have some drainage.
Planting micros in a container is preferable to sowing directly in the ground for a few reasons. First, when microgreens are ready to harvest, it’s much easier getting the job done in a garden bed rather than directly on the ground.
Secondly, your garden bed will (hopefully) have fewer weeds, which is one less problem you need to worry about!
Once you have harvested the microgreens, dig up as much of the roots as possible and throw this into a compost bin.
2. Keeping microgreen trays outside
This next method of growing combines the best of both worlds: you get the great fresh air and sunshine outdoors, but have the ability to move indoors if needed.
To grow micros in this way, you essentially grow them the same way you would if you were indoors using shallow containers with drainage holes. Fill the trays with a growing medium of your choice and place them outside on a balcony, porch, or greenhouse once the they have germinated.
Strong wind, heavy rain, or cold weather? No problem! Simply bring them inside if needed.
Once you’ve harvested your tray, I recommend tossing the entire contents into the compost pile so you can have a clean slate for the next batch.
3. Sowing microgreens directly in the ground
Most seeds will grow directly in the ground, but micros don’t do well in the heavy, clay-rich topsoil that many have in their garden plots. It doesn’t provide good aeration which can hinder germination rates.
If you’re planning on growing microgreens in the ground, you must amend the top several inches of soil beforehand with fully mature compost. This will improve the texture of the soil, and provide some nutrients.
Watch out for weeds which can interfere with healthy growth. A definite downside to growing in the ground is the difficulty harvesting such tiny plants. I suggest using a kneeling pad to make the task a bit easier.
How to grow microgreens outside step-by-step
Many of the same principles apply to growing micros, whether inside or out:
- Use quality, untreated seeds
- Use well-draining soil
- Keep soil moist but not wet
Note: Many larger seeds like sunflowers or peas require pre-soaking or presprouting first.
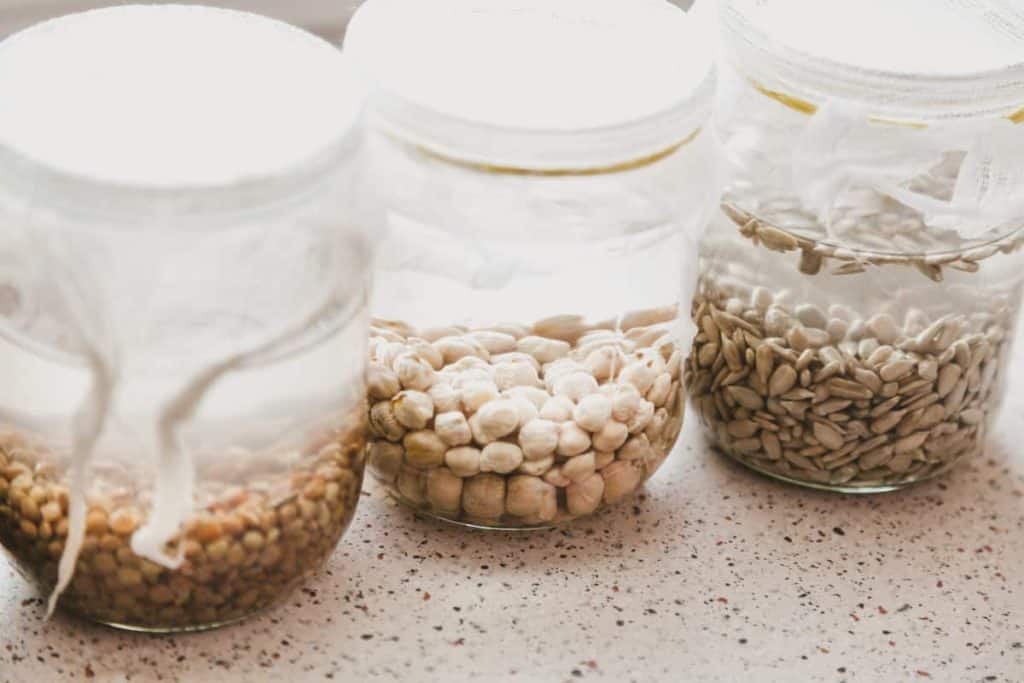
- Soak the seeds (optional). Many types of seeds benefit from a presoak before planting. This helps activate the seeds and speed up germination. Check your seed packet for instructions. Other larger seeds, or seeds with hard seed coatings require soaking in water overnight.
- Prepare the growing site. Use quality seedling mix or potting soil to prepare the garden bed. If sowing directly in the ground, amend soil with some full mature compost. Moisten the soil with water so that it feels damp, but not too wet.
- Sow seeds. Unlike regular crops which require more space to grow, microgreens grow quickly and are more densely seeded. Scatter seeds on soil surface about 1/8 inch deep (but avoid overlapping seeds). Press the seeds gently with your hands so they make firm contact with the soil. Cover the seeds with a very thin layer of soil. This top layer of soil protects the seeds from wind and provides warmth.
- Water as needed. Microgreens grown outdoors may require more watering depending on the weather. Ensure you keep your patch of soil moist. On hot days, you may need to water more than once.
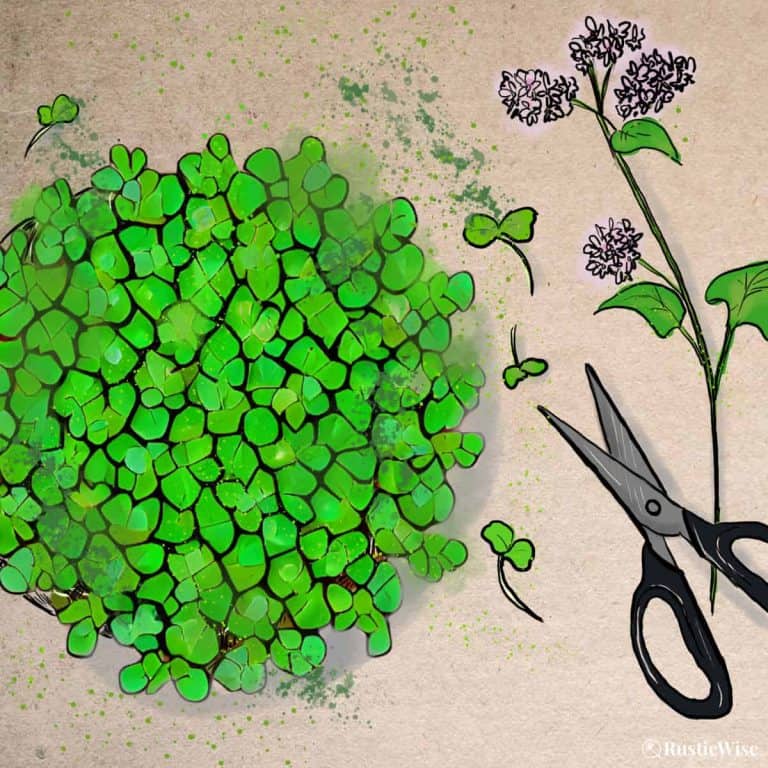
- Harvest. Your microgreens are ready to harvest when the cotyledons (seed leaves) are fully developed. Some prefer to grow micros until the first set of true leaves appear. Harvest your microgreens with a pair of sharp scissors or a knife to cut the shoots at their base, just above the soil.
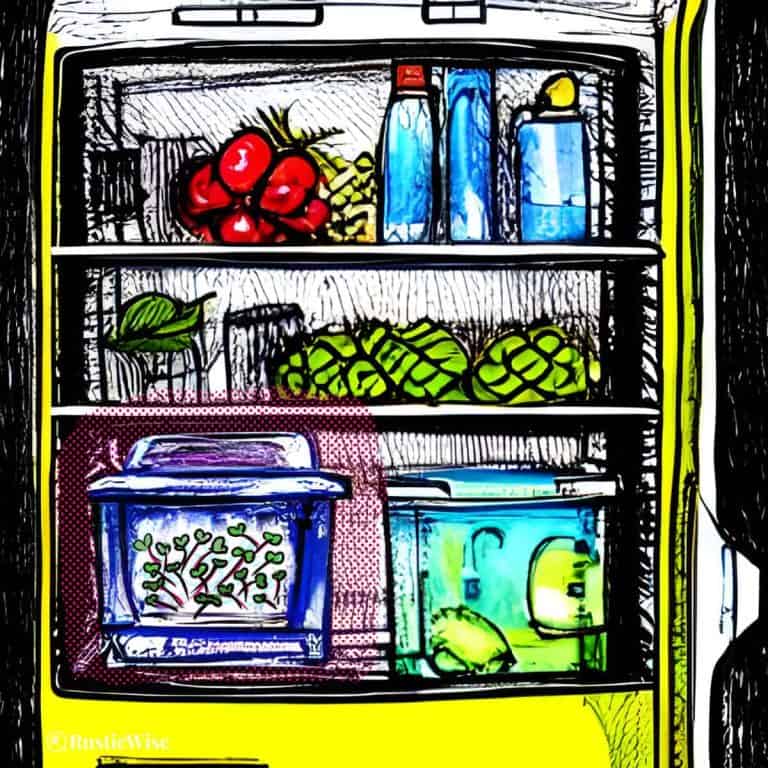
Store harvested microgreens in your refrigerator.
Growing microgreens indoors vs. outdoors
Is it better to grow micros indoors or outdoors? It really depends on your preferences and the space and lighting you have available. Growing indoors and outdoors each have their benefits, but growing inside is the more popular method.
Microgreens typically grow faster when grown indoors due to the controlled growing conditions.
Using natural sunlight is a great option, but it only works during the growing season, or if you have a sunny windowsills. If you live in a northern climate like I do, you probably need to supplement your indoor microgreens with grow lights in the winter.
But in the spring and summer months when outdoor weather is agreeable, it certainly doesn’t hurt to try growing your microgreens outdoors to take advantage of the warm sunshine and fresh air.
👉 If you like this post, see our Complete Guide to Growing Microgreens at Home. 🌱
Would you like more timeless tips via email?
Fun tips to help you live an independent, self-sustaining lifestyle. Opt-out at any time.


References
- University of Illinois Extension, Microgreens – year-round edible greens to grow at home, https://extension.illinois.edu/sites/default/files/dkk-mg-microgreens-tipsheet.pdf. Accessed January 2023.
- University of California, It’s Easy to Grow Microgreens Indoors, https://ucanr.edu/blogs/blogcore/postdetail.cfm?postnum=42533. Accessed January 2023.
- University of California UC Master Gardener Program of Sonoma County, Growing Microgreens, https://sonomamg.ucanr.edu/The_Kitchen_Garden/Feature_Vegetables/Growing_Microgreens/. Accessed January 2023.
- niversity of Tennessee Institute of Agriculture, Small-Scale Microgreen Production, https://extension.tennessee.edu/publications/Documents/W346-J.pdf. Accessed January 2023.

Author: Josh Tesolin
Josh is co-founder of RusticWise. When he’s not tinkering in the garden, or fixing something around the house, you can find him working on a vast array of random side projects.