How To Sprout Farro at Home: A Tasty and Nutty Ancient Grain
RusticWise is supported by its readers. When you purchase through links on our site, we may earn an affiliate commission. As an Amazon Associate, we earn from qualifying purchases. Thank You!
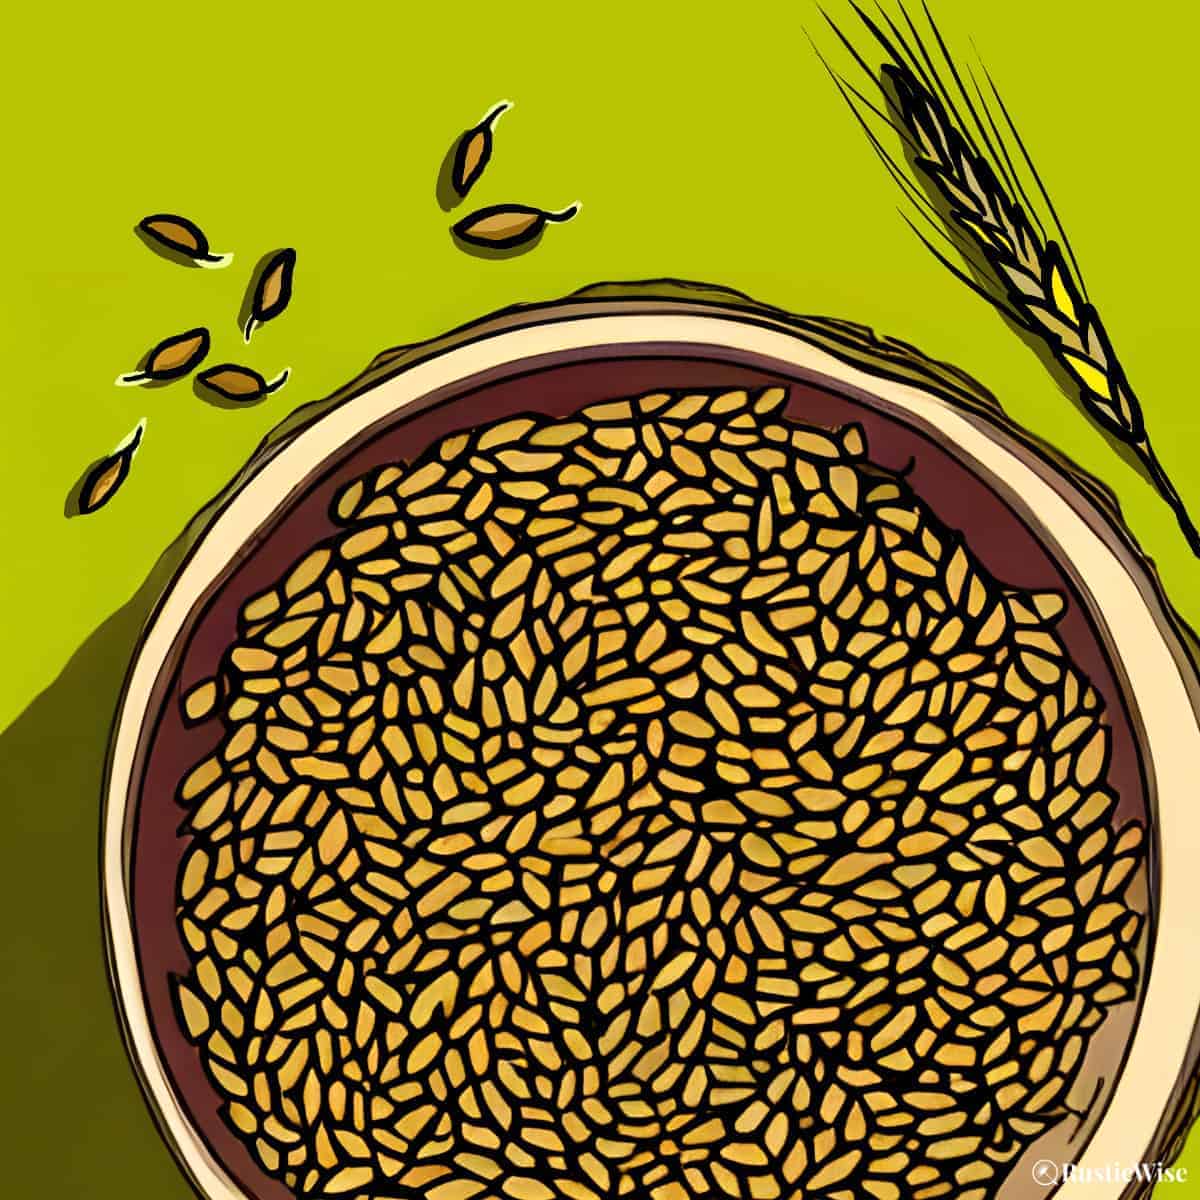
Farro, also known as emmer, is an ancient grain that’s making a resurgence. With a mild nutty and agreeable flavor and satisfying chewy texture, this whole grain has joined the ranks of barley, buckwheat, oat, and quinoa.
While you can cook farro in much the same way as other grains (boiling), many are turning to sprouting grains instead. I’ll show you how to sprout farro at home. Growing sprouts is a simple process that only requires whole quality seeds, a mason jar, and a sprouting lid or some cheesecloth. Your farro sprouts can be ready to eat in 1 to 5 days.
The sprouting process makes grains easier to digest by breaking down phytic acid, and increasing the amount of nutrients your body can absorb. You can eat them raw, cooked, or grind your dried sprouted grains into flour.
Ready to add this nutrient-dense food to your diet? Let’s get started.
(Note: The terms farro and emmer are used interchangeably in this article and refer to Triticum turgidum dicoccum.)
A closer look at farro
The term farro is a bit confusing, as it can refer to different strains of wheat. In North America, many people use the terms farro and emmer interchangeably, but they are referring to farro medio in particular.
There are three major strains of grain that fall under the term farro:¹
- Triticum monococcum L (commonly known as einkorn). The Italian term is farro piccolo.
- Triticum turgidum dicoccum (commonly known as emmer). The Italian term is farro medio.
- Triticum aestivum spelta (commonly known as spelt). In Italian, it’s called farro grande.
Farro was once a popular grain in ancient Roman times. But over time, durum wheat became more popular as it’s easier to harvest and hull.¹
Slowly emmer is regaining its foothold in the world of grains. It’s now a coveted health food in many foodie circles, and many believe that emmer/farro makes the best pasta.
Credit: Vector State
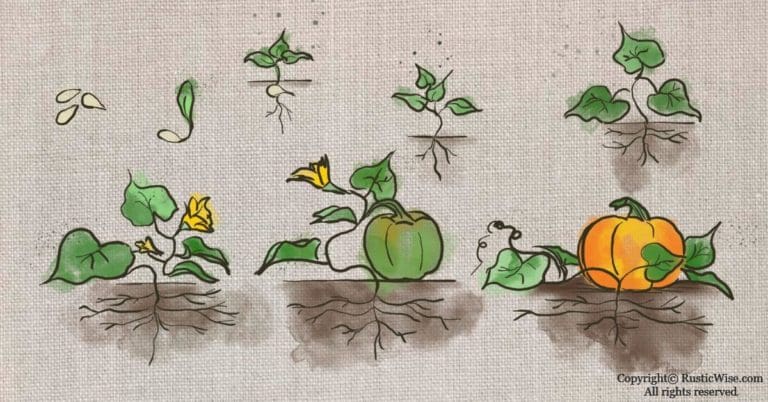
What are sprouted grains?
Simply put, sprouted grains are tiny shoots that have grown from whole grains, or edible seeds. With the right conditions (warmth and moisture), these whole grains can spring forth new life.
Most of us are accustomed to hearing about the benefits of whole grains. To better explain what sprouted grains are, it’s helpful to think of sprouting as the reverse of what traditional grain harvesting entails.
Whole grains are grown, harvested from mature plants, and then processed—often into refined flour products. This refining processing involves a few different methods, but most producers remove the husks, strip the bran and germ, and sometimes grind into smaller pieces for consumption.
In contrast, when you sprout whole grains, this process is reversed. Grains (with the bran and germ intact) are soaked in water and begin to grow a new plant. The germ and endosperm (which provides nutrients) within each seed work together to create a new shoot.
Sprouting allows the grain to be digested more easily, increasing the amount of nutrients you can get from your food. There are plenty of grains that you can sprout and eat. Examples of sprouted grains include amaranth, barley, oat, quinoa, and wheat berries.
Why sprout grains?
People have sprouted grains for thousands of years. The practice is gaining popularity across the gastronomy landscape, with many people choosing to sprout grains and veggies in order to make them easier to digest, and all along boosting their nutritional value.
Plus, the process of sprouting grains is easy, takes up little room, and is quick.
How long does it take to sprout emmer?
Your emmer sprouts are ready to eat between 1 and 5 days, depending on personal preference, and room temperature.
One of the great things about sprouting is that you can have fresh greens on your table in a few days!
Which grains can be sprouted?
Virtually all whole grains are sproutable so long as they have both bran and germ intact. Don’t buy grains labelled “pearled” as this is a refined grain and won’t sprout.
Nutritional benefits of farro and sprouted grains
Farro is a rich source of dietary fiber, protein, and iron. Just 50 grams (or a heaping ⅓ cup full) of whole grain farro provides 12 percent Daily Value protein.²
Here are a few benefits of sprouted grains:
- Easier to digest: With the hard outer shell softened, and phytic acid levels lowered from sprouting, grains that are normally hard to digest go down easier.
- Lower glycemic index (GI): Grains that are sprouted have a lower glycemic index (GI), which means they break down into glucose more slowly than non-sprouted grains. This makes them an excellent food for people who suffer from diabetes or are just trying to regulate their blood glucose levels.
- More readily absorbed nutrients: Phytic acid is an antinutrient which blocks absorption of nutrients and makes foods harder to digest. But the sprouting process lowers phytic acid levels. According to Harvard Health, this process helps increase the amount of nutrients the body can absorb. This includes vitamin C, folate, iron, magnesium, and protein.³
How to sprout farro at home
If you’re new to sprouting, I highly recommend you check out our essential sprouting guide.
When growing sprouts, it’s always important to work with clean equipment and use clean drinking water (preferably filtered) to rinse sprouts.
Tips: Don’t let grains grow too long. Harvest just as the tip emerges, or roughly ¼ inch long. Use ½ cup of grain per 1-quart mason jar.
Supplies you’ll need:
- 1-quart glass mason jar
- Sprouting lid or cheesecloth and rubber band
- ½ cup of whole farro/emmer seeds
- Clean water (filtered)
- Small bowl to catch water
- Measure seeds: Portion out roughly ½ cup of seeds per quart jar.
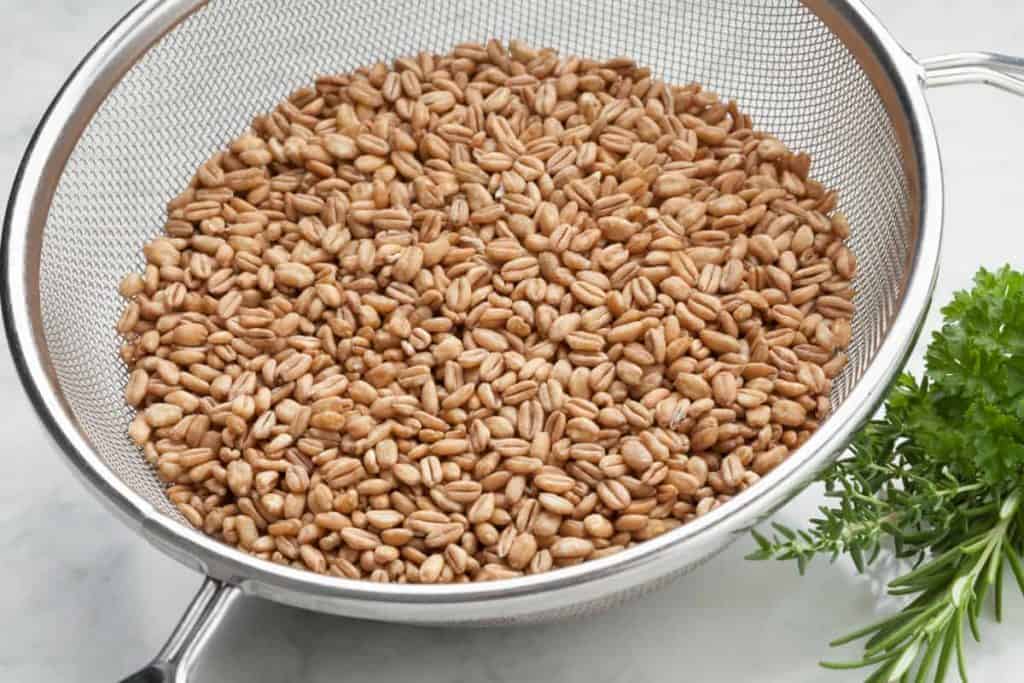
- Inspect and wash beans: Remove any debris or damaged grains. Place the grains in the jar and rinse with clean, cool water several times until water runs clear.
- Soak: Ensure the beans are fully submerged under water and let them soak overnight, or for 8 to 12 hours. This soaking period helps to activate the grains and soften the outer layer. Place a sprouting lid on, or fasten a piece of cheesecloth with an elastic band.
- Drain: Drain after soaking. Tip the jar upside down (with lid or cheesecloth on). Place jar upside down at a 45-degree angle in a bowl to encourage good drainage.
- Rinse and drain: After the initial soak, continue to rinse and drain the grain with cool water at least twice a day, or every 8–12 hours. Ensure you drain the jar well to prevent sitting water, which can cause sprouts to smell and grow mold or bacteria. Drain the bowl as well to get rid of excess water.
- Harvest: When growing farro sprouts, you can harvest as early as Day 1 or 2. Depending on how fast your sprouts are growing, you can wait until Day 4 or 5. There’s no guideline set in stone on when you have to harvest—it’s best to harvest according to your taste preferences! When harvesting, give your sprouts one last rinse under cold water in a colander to remove any residue. Allow to drain fully, and pat dry. Store in the refrigerator.
How to store your sprouted grains
Keep any harvested sprouts cool and stored in the refrigerator. Some people like to wrap a paper towel around the sprouts, then place it in a plastic bag or container.
Best consumed within 3 to 5 days. Toss those sprouts if they smell, or look slimy!
How to use sprouted farro
Now that you’ve grown your very own sprouted emmer, using sprouted grains in the kitchen provides you with countless ways to enhance your culinary dishes.
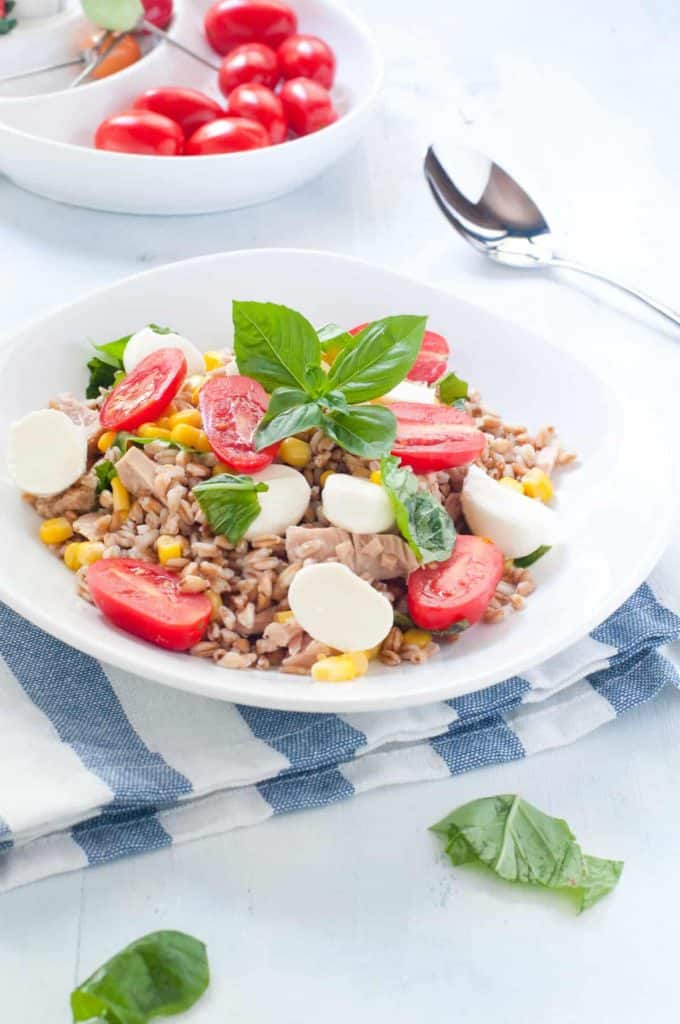
- Eat raw: Sprouted grains are a bit of a hybrid: part grain and part veggie. Uncooked farro has many uses. These slightly chewy sprouts are great raw when added to salads and wraps. When making cold salads, drizzle with a bit of virgin olive oil and season with salt and black pepper to taste.
- Lightly cook: You can also add your farro to soups, stews, or omelets.
- Dry and grind into flour: You can dry your homegrown food using the low, steady heat of a dehydrator. Afterwards, you can pulse and blend to turn it into finely ground flour. Incorporate into your favorite breads or baked goods.
Safety note: Vulnerable people should stay away from eating raw sprouts. This includes pregnant women, those with compromised immune systems, and the very young or elderly. You can still enjoy sprouts by cooking them before eating.
What does sprouted farro taste like?
The sprouts have a nutty, mild, and earthy flavor that’s versatile and blends well with many dishes.
Where to find farro seeds
You can find whole untreated grains at some health food stores, or in the bulk aisle of the grocery store. Stick with organic varieties. You can also find them online.
👉 If you like this post, see our Essential Sprouting Guide: How To Grow Sprouts at Home. 🌱
Would you like more timeless tips via email?
Fun tips to help you live an independent, self-sustaining lifestyle. Opt-out at any time.


References
- Whole Grains Council, Whole Grains A to Z, https://wholegrainscouncil.org/whole-grains-101/whole-grains-z. Accessed October 2022.
- My Food Data (USDA) Whole Farro Cereal Grain, https://tools.myfooddata.com/nutrition-facts/392604/wt1/1. Accessed October 2022.
- Harvard Health, Are sprouted grains more nutritious than regular whole grains?, https://www.health.harvard.edu/blog/sprouted-grains-nutritious-regular-whole-grains-2017110612692. Accessed October 2022.

Author: Theresa Tesolin
Theresa is co-founder of RusticWise. She helps people unleash their inner DIY spirit by encouraging them to get dirty and make or grow something from scratch.