What Is Chitting Potatoes: A Guide To Pre-Sprouting Those Taters
The world of gardening is full of odd terms (such as chitting, which sounds rather vulgar).
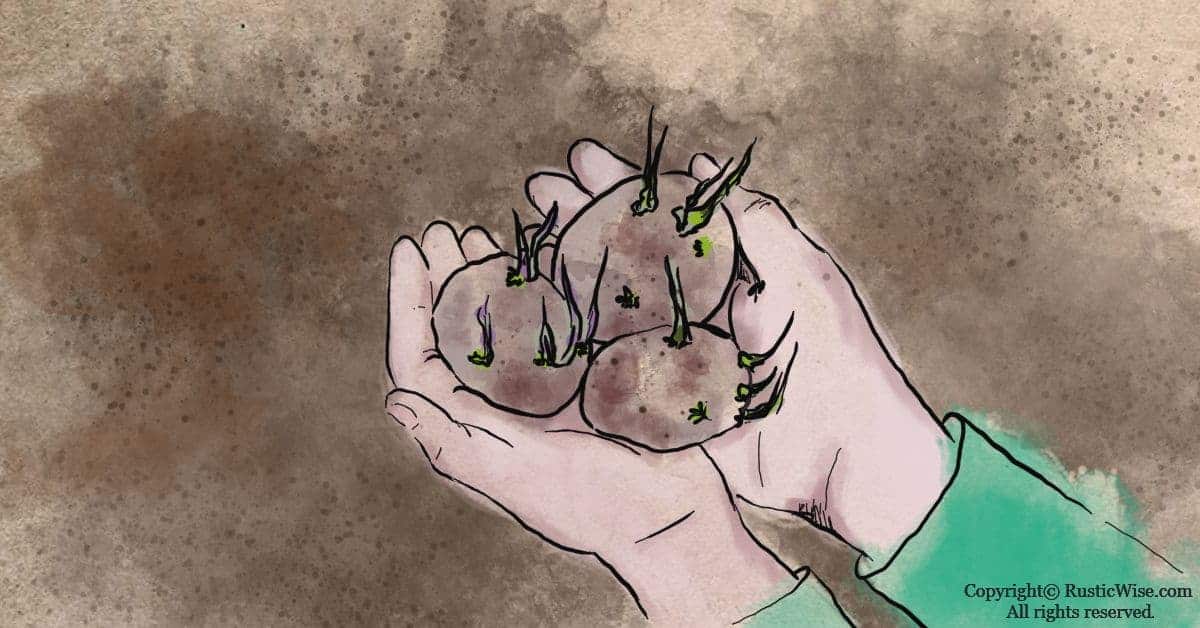
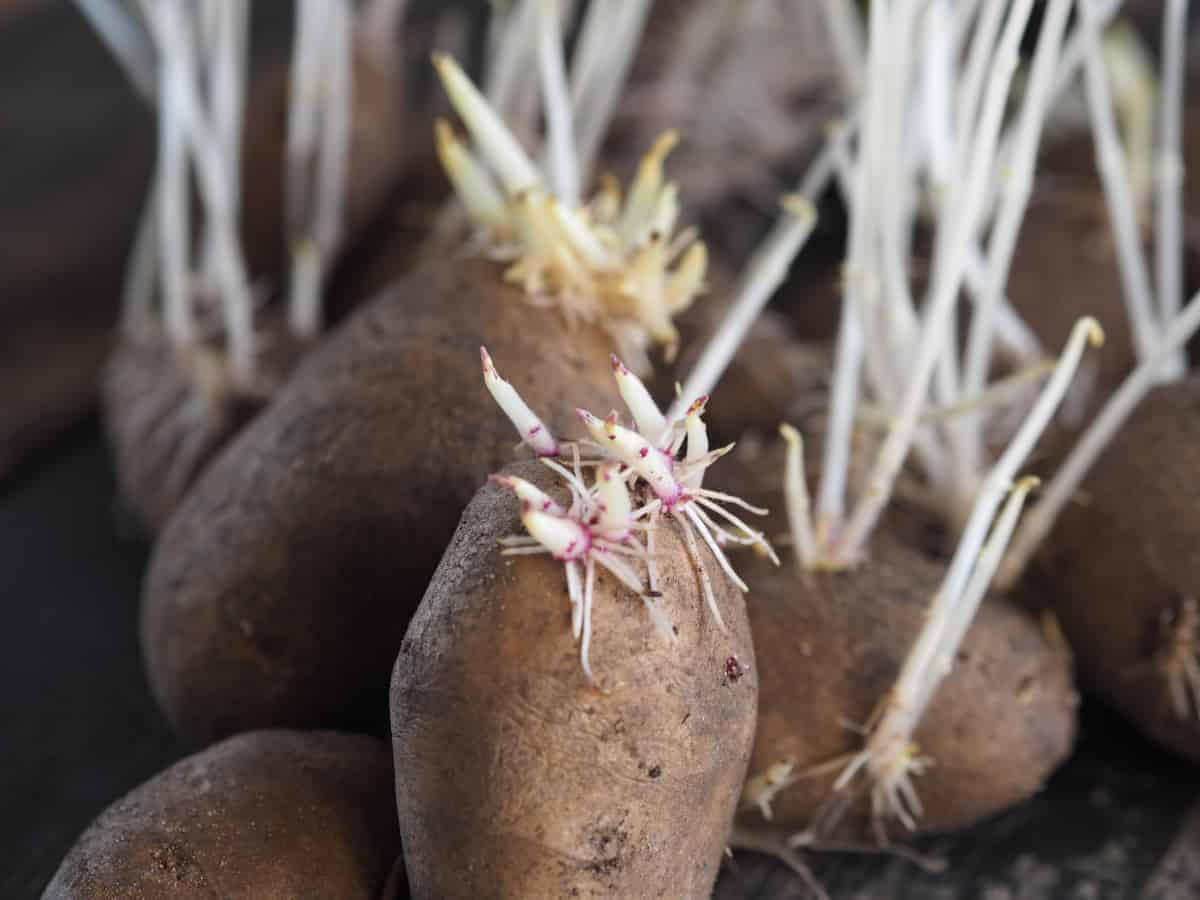
If you’re wondering, what is chitting potatoes all about, chitting simply refers to the process of allowing seed potatoes (or other tubers) to partially sprout before planting them. Sometimes this is also called pre-sprouting, “greening” or greensprouting. The best time to chit potatoes is 4–6 weeks before you plan on planting them.¹ While chitting potatoes isn’t necessary before planting, it provides a jump start to the growing season and can help to shorten the time from planting to harvest, and possibly increase yield for early varieties.
Potatoes are an easy crop to grow. Not only are they versatile in the kitchen (enjoy them mashed, scalloped, baked), they also keep for a long time. The biggest problem with potatoes is that they take a long time to grow.
Read on to see if greensprouting potatoes is right for you and your garden, and how to do it.
Benefits of chitting potatoes
Why go through all the bother of greening potatoes before planting?
Well, it’s not for everyone, but depending on your local climate and the type of potatoes you’re growing, you may reap a few benefits.
Chitting potatoes is common practice in Europe, and in certain U.S. states and Canadian provinces.
In the province of Ontario for example, new potatoes (or earlies) comprise a large part of their potato industry. They generally like to harvest earlies in the beginning of July.²
Here’s a few benefits of chitting potatoes, should you choose to do so:
- Quicker harvesting time: If taking advantage of early growing potatoes is important to you, chitting helps shorten the growing process by 10 to 14 days by some accounts.¹
- Improved disease resistance: Potatoes as you may know, are prone to many pests and diseases including slugs and scabs. The less time they’re in the ground, the less time they have to run into potential issues. One study shows that chitting potatoes leads to less incidence of rhizoctonia, or root rot.³
- Larger yields: By extending the time of harvest season, gardeners are able to enjoy larger yields.
- Take advantage of the cooler weather in early spring: Potatoes grow better in cooler weather, typical of northern states and provinces. If you live in a southern state, or an area with a warmer climate, get the most out of the cooler spring months before the heat strikes by getting your pre-sprouted potatoes into the ground earlier.
To chit or not to chit
No, you don’t have to chit your potatoes—many home gardeners don’t bother. You can plant them without any greensprouting and still enjoy a successful yield.
However, the practice of chitting comes in handy in certain climates, and particularly if you want to enjoy early potatoes.
While there are too many potato varieties to name here, gardeners classify potatoes according to their harvest times.
According to The Royal Horticultural Society, here are four main categories of taters according to their time of “lifting.”⁴
- Early potatoes: First early seed potatoes, or early sprouters, are ready to harvest within 100–110 days after planting. Early or “new” potatoes are smaller, have thinner skin, a sweeter flavor, and are generally used in salads as they hold their shape well.
- Second earlies: Enjoy this second batch in 110–120 days.
- Early maincrops: Harvest these after 120–125 days.
- Maincrops: The longest-lasting of the bunch, maincrops produce usable taters after 125–140 days.
Tip: There really isn’t much benefit of chitting potatoes if you’re planning on leaving them in the ground as a maincrop. However, if you’re looking for earlies, pre-sprouting your potatoes will give you a head start.
The best time to chit potatoes
When it comes to chitting potatoes, timing is everything (especially if you live in a warmer climate where springs are short, and summers are long and hot).
You’ll need to determine the last expected frost date in your neck-of-the-woods.
While there are a number of ways to find out the estimated last frost date in your area, an easy way to do so is to enter your postal code into the Old Farmer’s Almanac website.
Once you’ve found the last frost date, you’ll need to do a bit of math to figure out the planting date.
You want to plant potatoes about 2–4 weeks before the last frost date. Give yourself 4–6 weeks prior to the expected planting date to chit your potatoes.
Tip: According to Cornell University, the soil temperature should be warm, at least 40 degrees Fahrenheit (4 degrees Celsius).⁵ Avoid planting potatoes in the same spot where you’ve grown eggplant, peppers, potatoes, or tomatoes (essentially all members of the nightshade family) within the past 2 years. Planting the same type of crop in the same location leads to soil nutrient depletion, and possibly a buildup of pests and diseases.
While timelines vary according to the year and location, it typically goes something like this:
- Warm climate: Start chitting potatoes in January; plant in March.
- Cool climate: Start chitting potatoes in February; plant in April or May.
Where to get seed potatoes
The best place to get seed potatoes is from a trusted source such as a local greenhouse or seed supplier that sells seed potatoes. Ensure they are certified disease-free.
Or, better yet, if you have a gardener friend who has saved seed potatoes from a healthy known variety from last year’s harvest, this is the way to go.
It’s important to select a good starting batch of seed potatoes as you’re essentially growing “clones” of the parent potatoes.
Tip: After you grow your own batch of potatoes, save your own seed potatoes. Select the best, biggest potatoes from the bunch, or those which have already sprouted.
Can you use store-bought potatoes?
If your sack of store-bought potatoes has started to sprout eyes, you might be tempted to use these to start your new batch of potatoes. While you might have some luck growing these, chances are, they won’t grow well.
Commercial potatoes have been treated with chemicals to inhibit sprouting. They may also be prone to diseases.
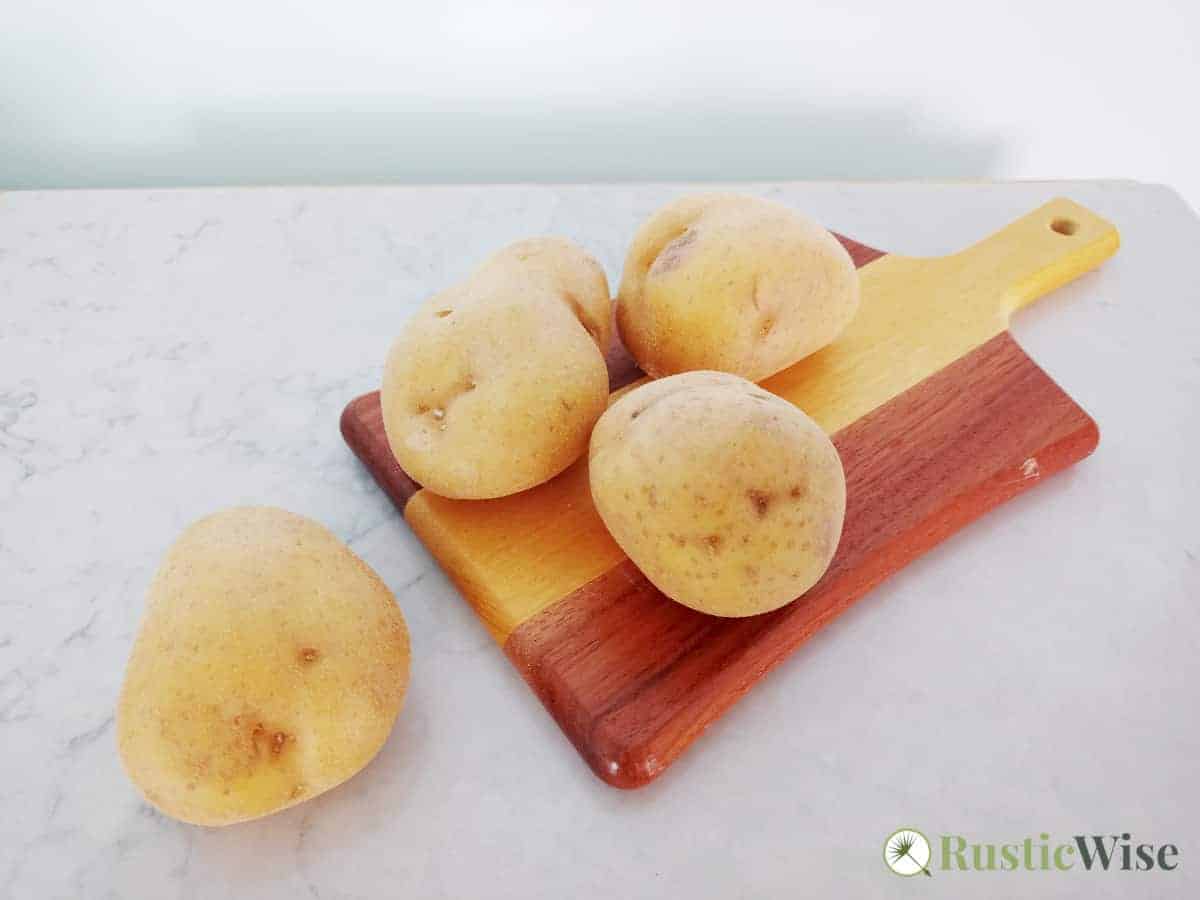
What is chitting potatoes all about: a step-by-step guide
Safety note: The green parts on potatoes (including green skin and any green sprouts) are poisonous and should not be consumed. A greenish tint on potatoes indicates the presence of solanine, a neurotoxin that may cause headaches, nausea, and in severe cases, death.⁶ Children are more susceptible to becoming ill from green potatoes. Always remove all green portion of potatoes before cooking. If in doubt, toss them!
If you’re ready to get started, gather your seed potatoes and let’s begin!
- Inspect potatoes: Every potato has what’s called a “rose” end: a side that has the most eyes or buds. Place this side facing up.
- Gather boxes or egg cartons: Place potatoes in a single layer in a shallow box, or egg carton container. If you shop at Costco, those shallow “flats” or boxes you get work well. Egg cartons also work great as they hold each individual spud in place.
- Place in a cool room away from direct sunlight: It’s important to select the right spot to place your potatoes to encourage sprouting. If temperatures are too warm and there’s not enough light, you’ll get lack-luster leggy, pale sprouts. Aim for a cool (but frost-free) room with moderate sunlight.
- Wait 4–6 weeks: After several weeks, you should have shoots that are around 2 inches (5 centimeters) long. If you’re planting earlies, you may want to select the four strongest roots and rub the rest off; there’s no need to do this however if you’re planting maincrop seed potatoes.
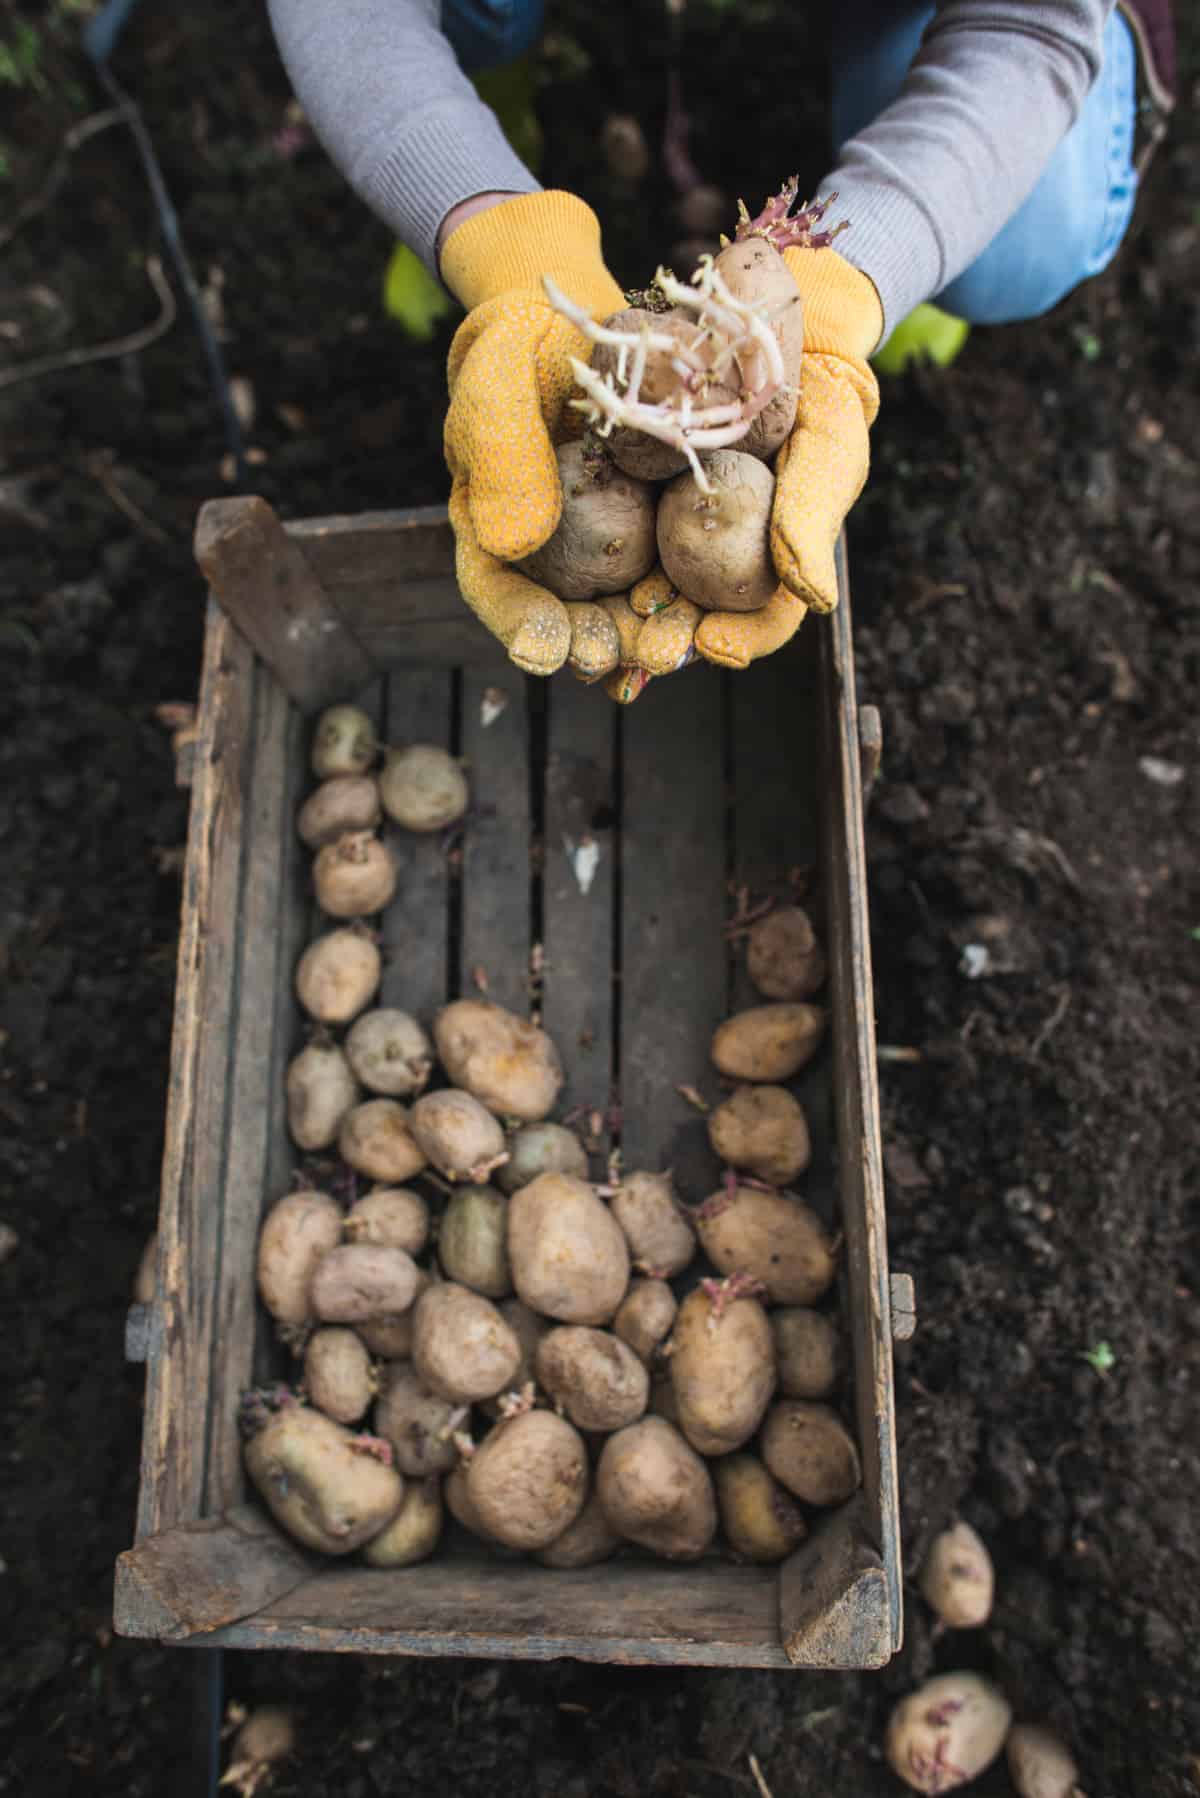
How to plant chitted potatoes
Now that you’ve successfully greensprouted your potatoes, you’ll want to plant them.
Whole vs. cut
Now the next step is to decide if you want to plant them whole vs. cut. If you have a batch of smaller potatoes (the size of an egg, for example), it’s best to plant whole.
If you have larger potatoes, you could get away with cutting into smaller chunks. Make sure each potato chunk contains at least one or two eyes.
Tip: Remember, each eye or sprout needs a sufficient size chunk of potato to promote healthy growth. If you cut your chitted potatoes into miniscule pieces, they won’t grow. Each potato piece should be at least the size of a chicken egg.
Curing seed potatoes
If you’ve cut your seed potatoes into chunks, you’ll want to cure them anywhere from several days to a week to allow them to harden and firm up before planting. This prevents them from rotting.
Curing cut seed potatoes is especially important if you live in an area prone to potato diseases.
However, if you generally have no problems with potato diseases, AND if you have well-draining soil, you can get away with not curing them.
To cure, there are several methods to try:
- Air-dry: Simply allow the cut pieces to harden in a warm area with plenty of air.
- Wood ash: Dip the cut pieces into wood ash. Shake off excess.
- Plastic bag: Place around 5 pounds of potatoes into a plastic grocery bag and fold the top down. Allow to sit for a couple of days. Shake the bag to loosen any pieces that have stuck together. Let sit for another two or three days before planting.
Planting chitted potatoes
As mentioned above, avoid planting potatoes in cool soil. Wait until soil temperatures reach at least 40 degrees Fahrenheit (4 degrees Celsius).
Potatoes like well-draining soil with plenty of nutrients. Once planted, keep well-watered.
- Dig a trench about 4 inches (10 centimeters) deep. Drop potatoes into trench with the eyes facing upwards; space each potato 8–12 inches (20–30 centimeters) apart. Space each trench 2–3 feet apart.
- Replace with soil.
- After 2–4 weeks, you should start to see shoots from new potato plants emerge from the soil.
Related questions
Is it okay if my chitted potatoes don’t get planted right away?
Yes, it’s perfectly fine if your pre-sprouted potatoes sit for a bit longer than expected. You can still plant them when you get the chance without any problems.
What type of soil acidity is good for potatoes?
Potatoes like soil on the acidic side, ideally with a soil pH of 4.8 to 5.5, according to Cornell University.⁵ This often isn’t achievable in the average garden though, especially if you’re growing other crops that prefer a more neutral soil range.
Certain varieties of potatoes that are resistant to scabs may do well in soil with a pH over 6.0.
👉 If you like this post, see our complete Indoor Growing Collection.
Would you like more timeless tips via email?
Fun tips to help you live an independent, self-sustaining lifestyle. Opt-out at any time.

References
- Maine Organic Farmers and Gardeners, Greensprouting Potatoes, https://www.mofga.org/resources/potatoes/greensprouting-potatoes/. Accessed July 2021.
- McKeown, Alan W. (23 September 1993), Evaluation of chitting to enhance earliness of potatoes grown in southern Ontario. Horticultural Research Institute of Ontario. Accessed July 2021. https://cdnsciencepub.com/doi/pdf/10.4141/cjps94-034
- Toosey, R. D. 1964a. The presprouting of seed potatoes: factors affecting sprout growth and subsequent yield. Part 1. Field Crops Abstr. 17.: 16l-168.
- The Royal Horticultural Society (RHS), Potatoes, https://www.rhs.org.uk/advice/profile?pid=716. Accessed July 2021.
- Cornell University, Potatoes, http://www.gardening.cornell.edu/homegardening/scenec6be.html. Accessed July 2021.
- Britannica, Are Green Potatoes Dangerous to Eat?, https://www.britannica.com/story/are-green-potatoes-dangerous-to-eat. Accessed July 2021.

Author: Josh Tesolin
Josh is co-founder of RusticWise. When he’s not tinkering in the garden, or fixing something around the house, you can find him working on a vast array of random side projects.

