How To Make Lye for Soap the Old-Fashioned Way
Looking to make your own homemade lye for soap? While you can buy lye at the store, learning how to make lye for soap involves just a few ingredients—wood ashes and water—plus a few supplies and of course, a bit of time. The type of homemade lye we’ll show you how to make is potassium hydroxide (KOH), also called caustic potash, or potash lye.
Caustic potash is the same compound homesteaders have created for generations. Combining hardwood ashes with water to make lye is an ancient practice dating back centuries. Some accounts date back to 3000 B.C. when the Sumerians made a slurry to clean raw wool and prepare the fabric for coloration.
The term “lye” applies to two similar but different compounds: potassium hydroxide (KOH), and sodium hydroxide (NaOH). Both compounds are essential to soapmaking.
If you’re looking to make hard bars of soap (like the lovely ones with flower petals and other natural ingredients filling your social feeds), you’ll need to use sodium hydroxide. Soaps made using potassium hydroxide are softer soaps, or liquid soaps.
If you want to learn more about NaOH and KOH, we’ve written a post outlining the differences between sodium hydroxide and potassium hydroxide.
Is lye dangerous when making soap?
Lye is a highly caustic alkali that can burn your skin and eyes, and do harm to your respiratory system.
When handling pure or high-concentration lye, you need to take the proper safety precautions.
Safety precautions:
- Keep small children and pets away from your work area.
- Protect yourself by wearing goggles, gloves, shoes, and long-sleeves.
- Work in a well-ventilated room, or outdoors as lye gives off strong fumes.
- Avoid using metal utensils or containers as lye is corrosive.
- Lye creates a strong exothermic reaction (it gets very hot!) when added to water.
- Lye is sensitive to humidity—keep in an airtight container in a dry, cool place.
- Store lye in a safe place with appropriate labels.
Do you have to put lye in homemade soap?
Natural homemade soap is made of only three ingredients: water, fat/oil, and lye.
As you recall, water and fat don’t like to mix. This is where lye works its magic. When you add lye to water and combine it with fat, the process known as saponification occurs. Saponification is just a fancy term for the process of making soap.
Without either sodium hydroxide or potassium hydroxide, you can’t make soap. You would just have a gross, sticky mess.
Sometimes you might hear about lye-free ways to make soap. This is a bit of a misnomer as technically all soap uses lye at one point or another.
However, if the thought of handling lye turns you off, you can still make your own homemade soap using the melt and pour method. This just involves heating a soap base that’s already undergone saponification, and adding in your own essential oils or other add-ins.
In other words, the melt and pour method relieves you from the trouble of handling pure lye—someone has already done it for you.
After homemade soap has undergone saponification and allowed time to properly cure, the lye is rendered harmless. That once caustic compound has been transformed into safe soap.
How to make lye for soap: step-by-step
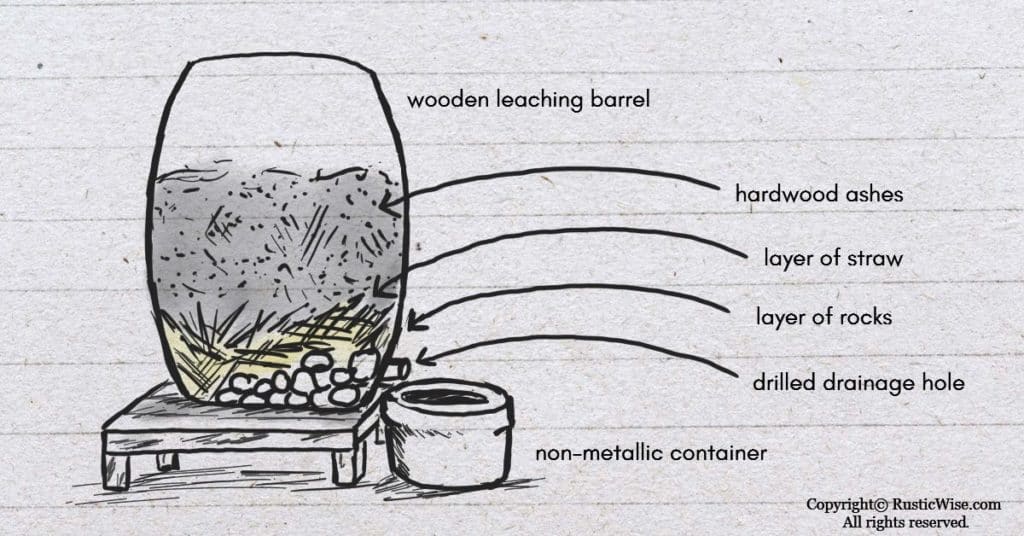
So, how exactly do you make homemade lye for soap? Here’s how to make soap the way old-timers did it—with a wooden barrel.
We found some useful information on how to make homemade lye like old-timers from the trusty Encyclopedia of Country Living by Carla Emery. If you’re not familiar with this book, it’s a treasure trove of useful information.
Others have had success using plastic or glass containers.
And others, like the Happy Money Saver shares her experience on how not to make lye. Her batch of homemade lye unfortunately didn’t turn out. (Our guess is she simply didn’t add enough ashes.)
Are you ready to learn how to make lye for soap? Let’s start by gathering a few supplies.
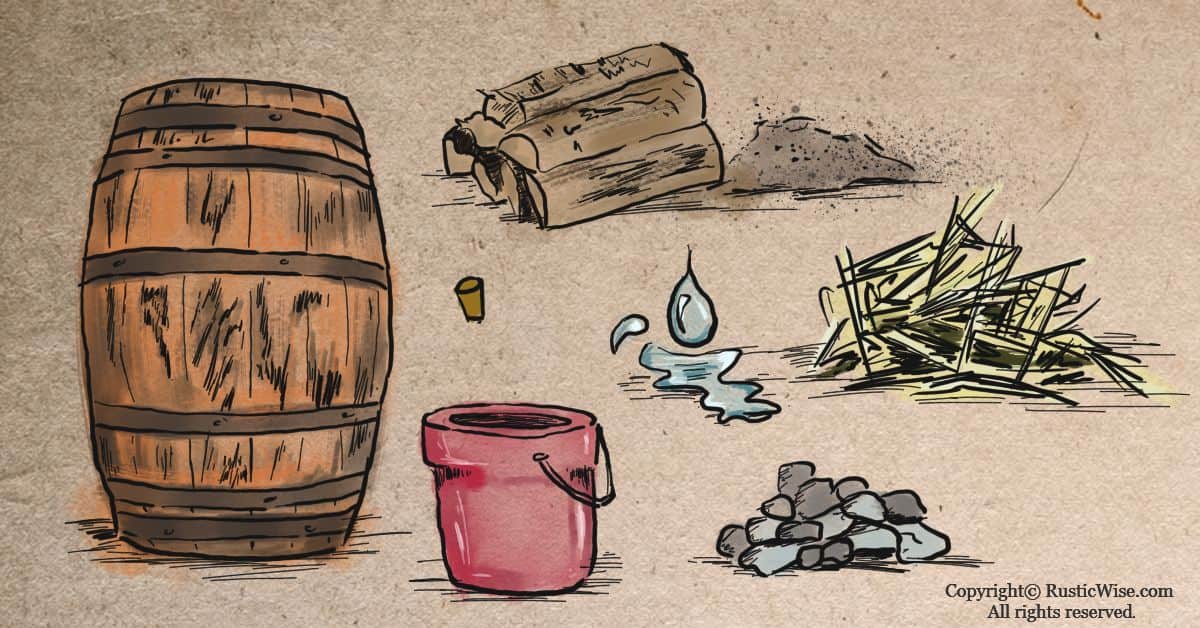
Supplies you’ll need
- A wooden barrel
- Hardwood ashes
- Soft water or rainwater
- A stand to place the barrel on (a few stacked wood pallets, for example)
- Non-metal bucket
- Rocks or bricks
- Straw (or grass or hay)
- A small drill
- Cork plug or wine cork
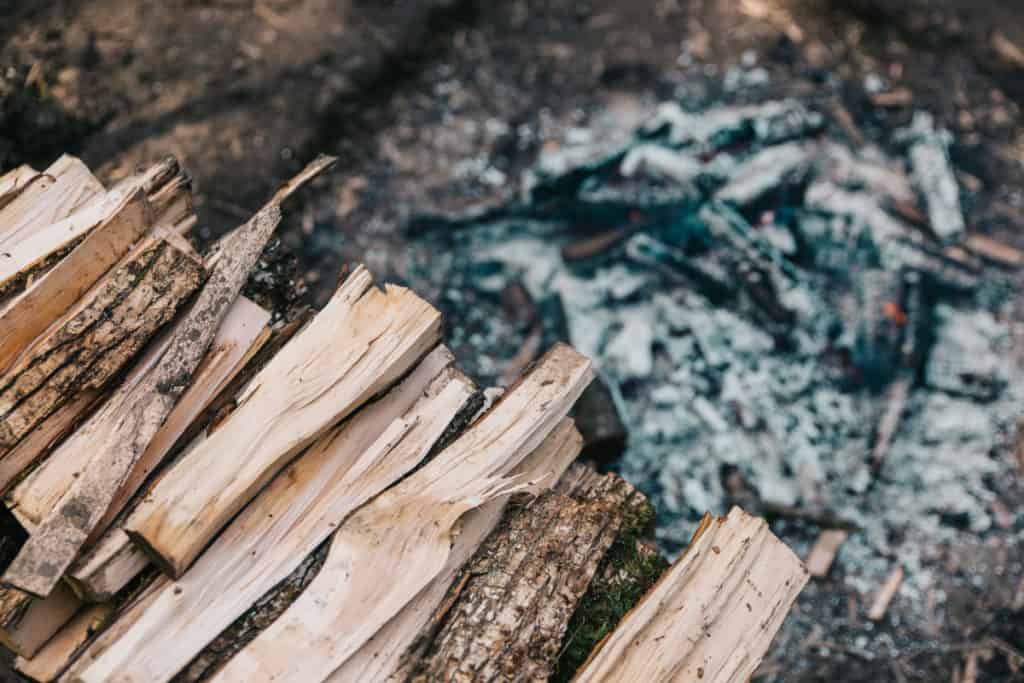
Step 1: Gather ashes
If there’s ever an excuse for having a bonfire…
You’ll need ashes to make homemade lye, and plenty of them. So break out the marshmallows! (Might as well enjoy the fire while you’re at it, right?)
Wood ashes from hardwoods work best, ideally walnut, oak, or fruit wood produce strong lye. Otherwise, other hardwoods work well too, including ash, aspen, birch, beech, cherry, elm, and hickory.
If you’re looking for more types of trees you can use, Treehugger lists a bunch of common hardwood trees in North America.
Avoid using softwood ashes from evergreens (fir or pine) as these don’t contain enough potassium to produce a strong lye.
If you don’t have any hardwood firewood at your disposal, consider looking into local online ads on Kijiji or Facebook Marketplace.
So burn that firewood until it’s all ashes! Let the ashes cool completely for several days before collecting. Aim to collect the white ashes and remove any large chunks. Collect the ashes in a container.
If you already have your barrel set up, you can keep dumping in your ashes each time you have a fire until you collect enough ashes.
Tip: Remember to avoid burning anything other than your hardwood during your bonfire. This keeps your hardwood ashes “pure.” You don’t want to accidentally drop in tissues, garbage or other stuff you wouldn’t want in your soap.
Step 2: Place the barrel on a stand
You’ll need a wooden barrel to make lye the old-fashioned way. You can find these at your local brewing supply store, or some hardware stores.
Elevate the barrel enough so that a container can fit below it to catch water. You could try using wooden pallets, cinder blocks, or a small low table to prop up your barrel.
Step 3: Drill a small hole at the base of the barrel
Drill a small hole on the side near the bottom. This hole allows water to drain or leach out. The size of the hole should be roughly the size of a wine cork.
Ensure the container you’re using to catch the water fits nicely underneath the hole.
Step 4: Place rocks or bricks in barrel
Place some clean, small to medium-sized rocks or bricks inside the barrel close to the hole. If you’re using rocks, the rocks should not be small enough to slip out the hole.
The rocks or bricks keep the ashes in while allowing water to leach out.
Step 5: Add straw
Add plenty of straw if you have it. If you don’t have straw, you can substitute grass or hay. You should have a layer of straw roughly between 3-6 inches (8-15 centimeters) thick.
Step 6: Add hardwood ashes
Add your hardwood ashes on top of the straw. How much ashes do you need?
Aim to fill your barrel almost to the top with ashes. Ensure you leave enough room to add your water.
Step 7: Add water
Add enough soft water until water begins to leak from the drilled hole. This may take up to several hours—keep your container under the barrel and keep an eye on it.
Why soft water? Because hard water, or water with lots of minerals in it interacts with the lye.
If you don’t have soft water handy, rainwater works fine too.
Just as you use hot water to make a cup of tea, using warm or hot water creates a stronger batch of lye.
It’s important to add water gradually as you don’t want your mixture to be too watery. Add just enough water to create a slurry of ashes.
Continue to add water until you see water begin to trickle out the drilled hole.
Step 8: Put a cork in it
Use a cork or some other plug to cover the hole.
Step 9: Wait
Let the water and ashes sit and percolate for three to seven days.
Step 10: Test the lye concentration
After about three days, you can begin to test the lye water concentration.
Back in the day, old-timers would place a chicken feather in the lye to see if it dissolved. Nowadays, not everyone has access to a chicken feather, so find an egg or potato.
Using an egg or potato, place it in the barrel.
Do you have a sinker or floater?
If your egg or potato sinks, this indicates that your lye concentration is not strong enough. You may need to add more fresh ashes and let it percolate or leach for a few more days, or boil the liquid until the concentration is strong enough.
If your egg or potato floats, you have a winner! Ideally, a small surface area of the object is exposed.
Now it’s time to unplug the barrel and let the lye water trickle out. Make sure you have a non-metal container ready to catch the leached lye water such as glass, ceramic, wood, or high-density polyethylene (HDPE) plastic.
Use protective shoes, gloves, and goggles as a safety precaution.
Tip: If you really want to get scientific, the pH of lye is 13. You can buy lye strips to test this out. For soapmaking, you’ll need a concentrated form of lye. To do this with your homemade liquid lye, you’ll need to boil it down in a glass pot.
How to turn your liquid lye into crystals
Lye comes in many forms: liquid, powder, pellets, flakes, and crystals. For storage purposes, storing lye is more convenient when it’s dried.
Luckily, converting your homemade lye solution into crystals isn’t hard.
Place your container of homemade liquid lye solution and place in the sun until all the water evaporates.
Storing your homemade lye
As we mentioned, lye is extremely caustic.
It’s important to store lye in an airtight container made of high-density polyethylene (HDPE) plastic. This type of material won’t interact with the lye.
Store in a dry, cool place out of reach of young children. Remember to label your homemade lye.
How do you make all natural soap
If you want to make old-fashioned, all natural soap, now you’ve got your homemade lye! Remember that the soaps made from caustic potash are softer, liquid soaps.
To make natural soap using your liquid lye, you just need three ingredients: lye, water, and some sort of fat/oil.
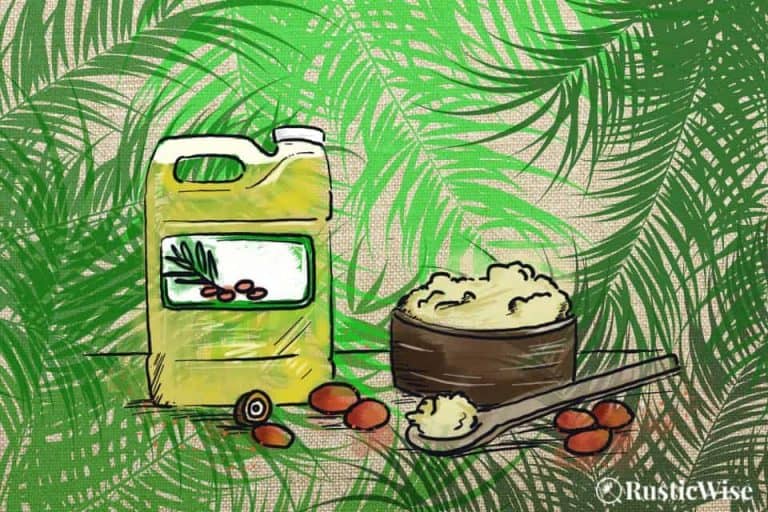
While oldtimers used lard or tallow, nowadays, you’ll find many soaps use coconut oil, palm oil, olive oil, or shea butter.
The following are basic instructions on how to create a simple, liquid soap using your homemade lye. Remember to use a pot that’s appropriate for handling lye such as glass, or enamel. Avoid using cast iron, or other metals. Use a wooden spoon for mixing.
Remember to take the appropriate safety precautions when handling lye.
- Render fat by heating.
- Add your lye water into the rendered fat and boil until thickened.
- Add a few drops of your favorite essential oils.
Getting the right proportions is tricky. This post doesn’t cover the entire “nitty-gritty” of the soapmaking process, but here’s a handy table of proportions to help you get started.
Tip: Check out this handy lye calculator from SoapCalc.
Table: Proportions of Lye, Fat and Water for Soapmaking
| Lye | Fat | Water |
| 2 tablespoons | 1 cup | ½ cup |
| ¼ cup | 2 cups | ¾ cup |
| ¼ cup + 2 tablespoons | 3 cups | 1 cup |
| ½ cup | 4 cups | 1 ½ cup |
| ½ cup + 2 tablespoons | 5 cups | 2 cups |
| ¾ cup | 6 cups | 2 ¼ cups |
| ¾ cup + 2 tablespoons | 7 cups | 2 ¾ cups |
| 1 cup | 8 cups | 3 cups |
| 1 cup + 2 tablespoons | 9 cups | 3 ½ cups |
| 1 ¼ cups | 10 cups | 3 ¾ cups |
| 1 ¼ cup + 2 tablespoons | 11 cups | 4 cups |
| 1 ½ cups | 12 cups | 4 ½ cups |
| 1 ½ cups + 2 tablespoons | 13 cups | 5 cups |


Author: Josh Tesolin
Josh is co-founder of RusticWise. When he’s not tinkering in the garden, or fixing something around the house, you can find him working on a vast array of random side projects.