A Comparison: Hot Process Soap vs Cold Process
If you’re confused about all the different ways to make homemade soap, you’re not alone. We’ll go over two popular made-from-scratch methods: hot process soap vs cold process. Each method has a few similarities plus key differences you should know. Hot process soap involves heating or ‘cooking’ your soap mixture until the lye neutralizes. Cold process soap doesn’t require any additional heat.
Both hot and cold process soaps allow for the greatest degree of customization. If you’re looking to control every oil, fragrance, color, and add-in along the way, these two methods are for you.
If you’re ready to clear the cobwebs, let’s begin!
Quick overview of 4 soapmaking methods
If you’re new to the world of soapmaking, there are four different ways to make homemade soap. Each of these methods has its own unique processes and quirks which you’ll get familiar with. Whichever method you use, ensure you follow all safety precautions (especially if you’re working with lye!).
If you’re completely new to soapmaking, make sure to check out our Guide to Soapmaking for Beginners.
Any of these methods can produce beautiful handcrafted soaps. Here’s a quick overview of each:
- Hot process method: A method which involves making soap from scratch by combining a lye mixture with oils/fats. This soap mixture is heated (typically in a slow cooker) to speed up the saponification process. The application of heat means bars of hot process soap are ready to use sooner.
- Cold process method: The second method of making soap from scratch which also involves working with lye and combining it with oils/fats. As the name suggests, no additional sources of heat are applied. The “cold” soap mixture must harden and cure for 4-6 weeks.
- Melt and pour method: A great way to get your feet wet so to speak is to try out melt and pour soap. This method does not require any handling of lye. It involves buying premade soap bases, cutting them up, melting it and combining oils, fragrances and colors. Soap is ready to use within several hours. You can have a lot of fun with this method by using embeds and layering—you’ll get soap with clean and crisp lines.
- Hand-milled method: Similar to melt and pour, this method also does not require handling lye. Simply grate premade soap bars, melt and reform them. The result is soap that looks perfectly imperfect—great if you love soap that looks handcrafted.

Similarities between hot and cold process soapmaking
Now that we’ve looked at the four different methods of making handmade soap, let’s take a deep dive into hot process soap vs cold process.
Here’s a few similarities that both cold and hot process soapmaking share:
- Both require handling lye: Lye (sodium hydroxide or potassium hydroxide) is a caustic alkali that requires extreme care when handling. It can eat through clothing, damage eyes and skin, and produces noxious fumes. Before making hot or cold process soap, ensure you read up on lye safety. You add lye flakes to water (never the other way around).
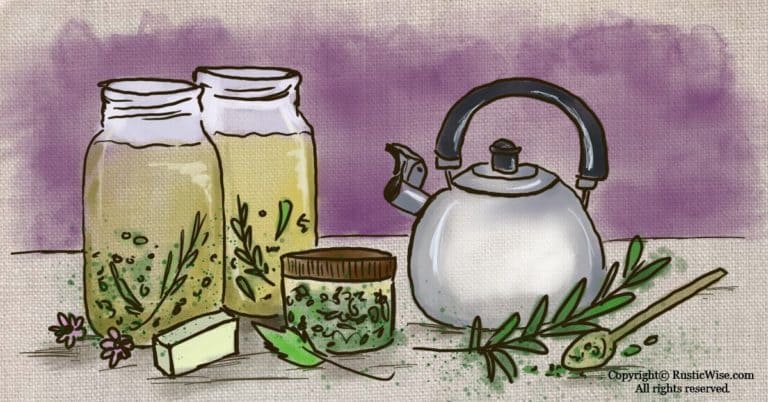
- Both require melting oils and fats: Both methods require you to melt together the various oils and fats you’ll be adding to your soap. (This is the only time you apply heat during cold process soapmaking.)
- Both require combining lye mixture with oils/fats: When both the lye mixtures and oil/fats are of similar temperature, they are combined and emulsified.
- Both require similar soapmaking tools and supplies: Since you’ll be working with lye, you’ll need proper safety equipment including goggles, gloves, long-sleeves, a mask, and a well-ventilated working area. You’ll also need various stainless steel, or plastic (which are materials that don’t react with lye) pots, containers, and utensils. A silicone spatula is handy. An accurate measuring scale and an immersion (stick) blender are also must-haves. With hot process soap, you’ll also require either a slow cooker or a double-boiler.
Key differences of hot process soap vs cold process
Now let’s get into more details about key differences between the hot process method and cold process method.
I’m a bit reluctant to label these differences as “pros and cons.” What’s seen as a con for one person may be deemed a good thing by another. For example, soaps that look have imperfections and look more handmade, or rustic, are wonderful to one person. Someone else might prefer soaps with cleaner lines.
We’ll explore the overall soapmaking process from start to finish. We’ll also look at the finished soap and how it looks and compares to one another.
The overall soapmaking process
Here’s a quick overview of the processes required for each. These are just general overviews—follow the instructions on your recipe carefully for best results.
Hot process method
- Measure and melt your oils in a slow cooker. Measure and prepare your lye mixture separately. Once both the oils and lye mixture are the right temperatures. This is roughly around 110 degrees Fahrenheit (43 degrees Celsius) depending on your recipe. Pour the lye into the oil mixture. Blend.
- The soap mixture is cooked and undergoes saponification in the slow cooker (typically 1-3 hours). Check in on the soap’s consistency every 30 minutes or so. Check the pH periodically and at the end of the cook time.
- Add any fragrances, colors, or add-ins after the cook time.
- Hot process soap batter is thick and often lumpy.
- Pour into molds once soap is fully saponified.
- Unmold and cut into bars.
Note: Since you need to periodically check in on your hot process soap mixture, this method requires more active cook time (it takes longer).
Cold process method
- Measure lye and water individually. Carefully add lye to water. It’s vital you add lye to water, and not the other way around! Allow to cool. Typically, you wait until the lye mixture cools to around 110 degrees Fahrenheit (43 degrees Celsius).
- Measure oils and fats. Melt together and let cool.
- Once both the lye mixture and the oil/fats mixture are roughly 110 degrees Fahrenheit, or within several degrees of each other, add lye mixture into oils. Blend until trace.
- Add essential oils, and other add-ins as desired.
- Cold process soap batter is thinner than hot process.
- Pour into soap molds and allow to harden.
- Unmold and cut into bars.
Note: Cold process doesn’t require any heating or cook time. The active prep time is shorter. Don’t touch cold process soap once it has been poured into the molds for at least 48 hours. During this time, the soap mixture is still going through saponification.
The curing time
Hot process curing: Soaps made using hot process have a shorter curing time. While technically safe to use once fully hardened (typically 24-48 hours), you’ll get a better soap bar if you allow it to cure for at least one week. During this time, your bars of soap harden up which make for a longer-lasting soap.
Cold process curing: Patience is a virtue as every soapmaker who’s ever made cold process soap knows. Cold process soaps require a curing time of 4-6 weeks. During this time, you’ll need a dedicated and well-ventilated space to allow your soaps to sit without being touched. If you’re making a large batch of soap at home, ensure you tell young kids not to touch the soaps.
Clean up
It’s much easier to clean up after hot process soapmaking. While cold process utensils still have lye on it which requires very careful washing, hot process soapmaking for the most part has neutralized much of the lye. The only time you’ll have active lye to clean up during hot process is right after you’ve mixed your lye flakes and water together.
Tip: If you’re able to do so safely (that is, if you have a work space where nobody will touch anything for several days), the best option is to wait several days before cleaning up. By that time, the leftover gunk on your supplies and utensils will have saponified. The leftover stuff will have turned to soap! Take care not to wash large chunks of soap down the sink as you’ll get clogged drains in no time.
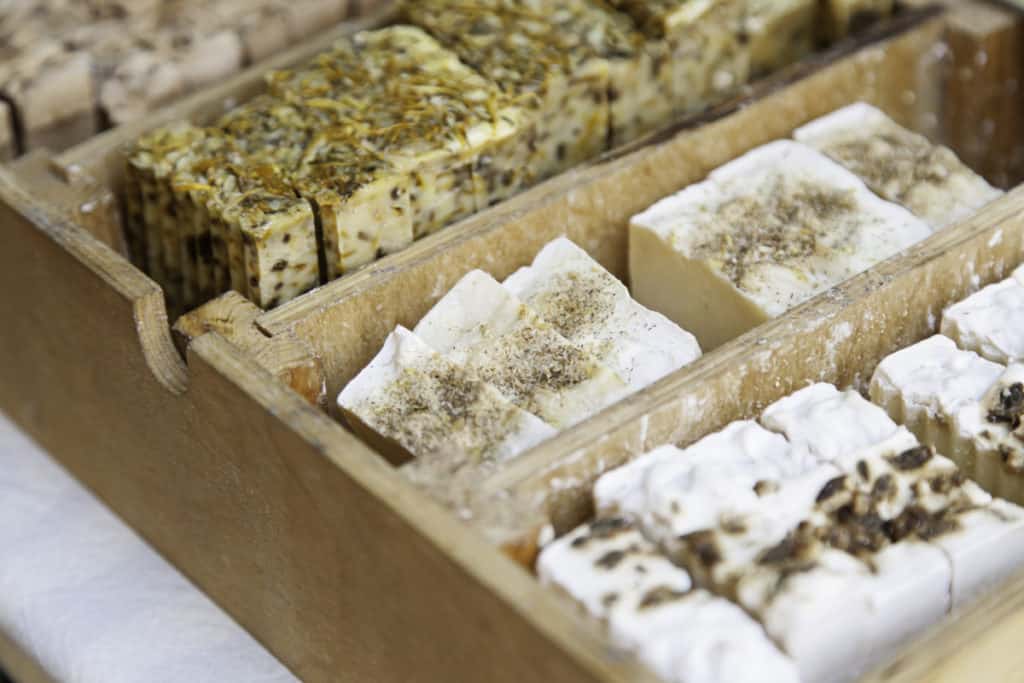
Credit: Yay Images
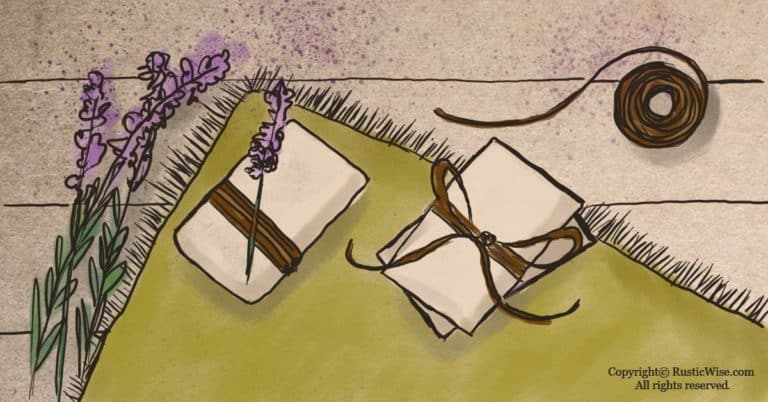
The finished product
Beauty is in the eye of the beholder. Depending on your personal preferences, you may love the handcrafted texture of hot process soaps. Or, smooth, refined cold process soaps may be more your jam.
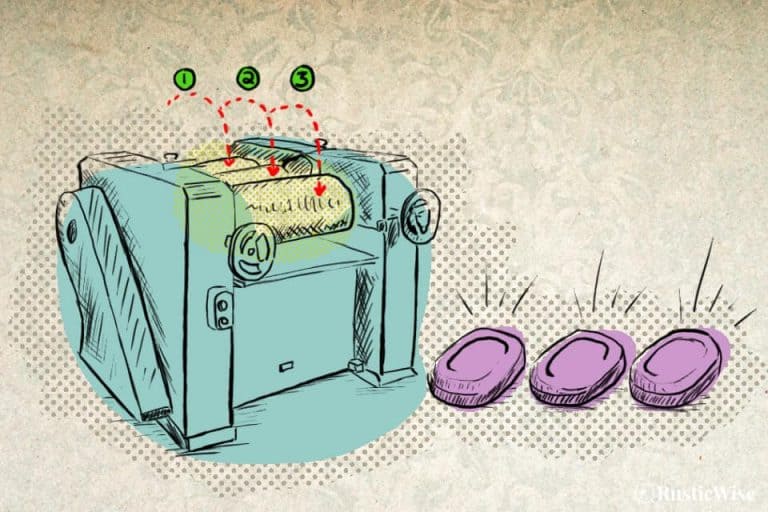
Design and texture
Hot process designs: Soaps made using the hot process method have a limited range of designs. Since you’re working with a thicker, lumpier soap mixture, you don’t have the luxury of making complex swirls or patterns. Soaps tend to look a bit rustic, or ‘rougher around the edges’ which may not be everyone’s cup of tea. The texture is coarser and slightly softer/spongier than cold process soaps.
Cold process designs: The benefit of cold process soaps shines through in the lovely smooth, firm, and opaque finish of soap. Since the soap mixture you’re working with is thinner, it’s easier to make patterns, play with layers, and make swirls.
Colors
Hot process colors: It’s generally easier to get consistent coloring with hot process soaps. Some colors that failed with cold process may work out better with hot process soapmaking. You also have the ability to make transparent/translucent bars of soap with hot process.
Cold process colors: Getting vibrant colors consistently is a bit trickier with cold process. Some colorants have a tendency to fade, discolor, or otherwise react unexpectedly with the lye. Cold process soaps are opaque which make it difficult for some add-ins like glitter to display nicely.
Soda ash: Some cold process soaps develop a white ashy layer called soda ash. This doesn’t often occur in hot process soaps, it’s more of a cold process thing. Soda ash occurs when lye reacts with carbon dioxide and/or is a result of minerals from the water collecting at the surface of the soap. A thin white layer is perfectly normal and safe to use. You can simply scrape off the layer.
Fragrance
Hot process fragrance: Fragrances are generally added after the soap mixture has cooked allowing you to get away with using less essential oil (bonus!).
Cold process fragrance: You’ll need to use more essential oils for cold process soaps in order for the fragrance to remain in the finished product. Some fragrance oils react poorly in cold process. Ensure you’re working with fragrance oils that are safe for soaps.
Can you use a cold process soap recipe for hot process?
In most cases yes, an opaque cold process soap recipe should work fine for hot process.
If you’re working with a good, reliable recipe, adding heat just speeds up the saponification process. The main difference between hot process and cold process is the water content. Hot process soaps usually require a lower lye concentration as more water is added to account for the evaporation during heating.
Before diving into soapmaking, it’s always a good idea to use a Soap Calculator to double check measurements.
Is hot process or cold process soap better?
If you came here expecting me to lean one way or another, sorry to disappoint, but I feel there’s value in both methods.
With cold process, you get a harder, smoother bar of soap. You can get fancier with the designs. There’s less active prep time, but a (much) longer curing time.
With hot process, you have a longer active cook time, but a shorter curing time. Your soaps have a handmade quality to them as they have a coarser texture.
In terms of the finished product, both hot process and cold process soaps are of equal quality (in my opinion).
So it all boils down to—what do you prefer?
It’s a good idea to try both methods to see which you like best. You may be a cold process fan, or a hot process one. Or you may prefer to dabble in both methods. In this day and age, do we always need to pick a side?


Author: Josh Tesolin
Josh is co-founder of RusticWise. When he’s not tinkering in the garden, or fixing something around the house, you can find him working on a vast array of random side projects.