Soap Making Supplies for Beginners: The Essential List
Just getting into the wonderful world of soap making? The soap making process can be intimidating at first with a long list of ingredients and supplies. We’ll go over the three main soap making processes plus an essential list of soap making supplies for beginners. When you’re just starting out, don’t blow your budget on getting stuff you don’t need yet. Start small and go from there.
The three main soap making processes
If you’re new to soapmaking, it’s important to know the three main methods of making soap. Each process involves slightly different supplies and materials. We’re not going to get into too much detail here, but here’s a quick overview:
- Melt and pour: This is the easiest method that many soapmakers begin with. It involves melting a premade soap base, adding in any essential oils or other add-ins, pouring into a mold, and allowing the soap to harden. You don’t need to worry about handling lye with this method as your premade soap base has already undergone saponification. Soap is ready to use in a matter of hours.
- Hot process: A method of making soap from scratch that involves handling lye. The application of heat speeds up the saponification process. Soap bars require a curing time of about 1 week.
- Cold process: A popular process of making soap from scratch that also involves handling lye. Cold process soaps allow for a great degree of customization. Soaps require 4-6 weeks to fully cure.
At its simplest, a natural bar of soap contains just three ingredients: lye + distilled water + oil/fat.
That’s it!
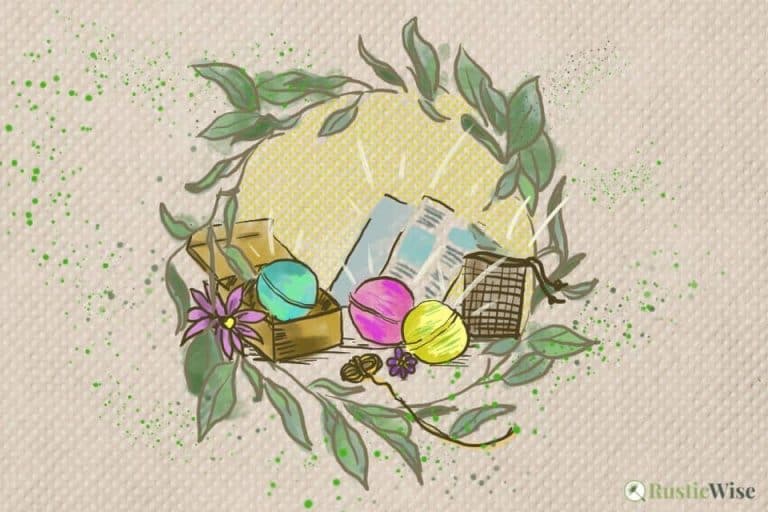
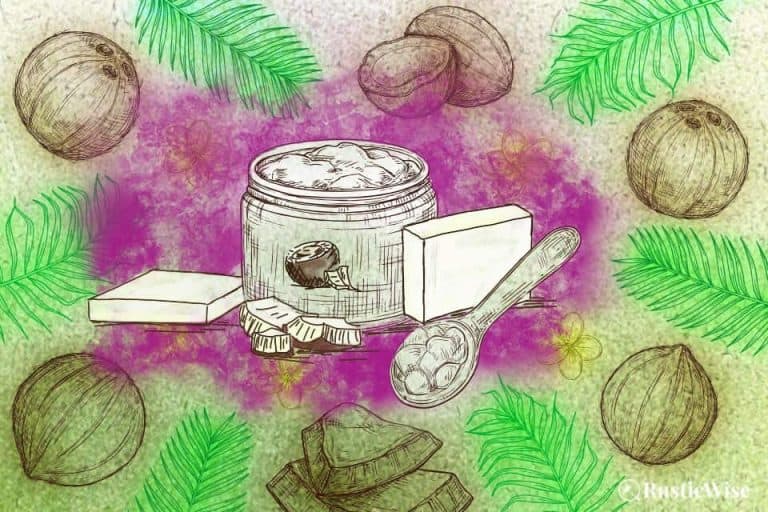
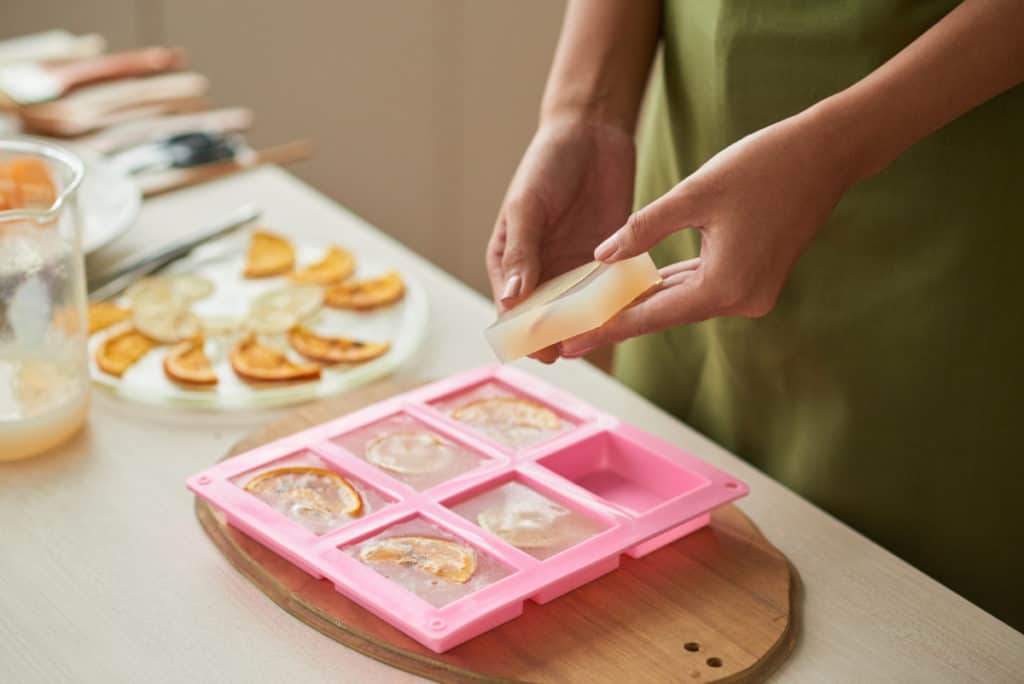
Melt and pour soap making supplies for beginners
If you’re planning on getting your “feet wet” so to speak, the melt and pour method is a great place to start.
You don’t need to worry about handling lye as this has already been done for you. This is a great method of soap making as it’s also safe for children to help with.
There are plenty of melt and pour kits you can buy that come with everything you need to get started. Or, you may prefer to buy your own items individually.
Here’s a basic melt and pour supplies list:
Easy melt and pour soap recipes
Here’s a few recipes to get you started on making your own natural soap using the melt and pour method.
Rosemary Lavender with Goat’s Milk Soap
Nourishing goat’s milk serves as the soap base along with dried rosemary and lavender for a soothing touch (via Growing Up Gabel).
Oatmeal Cinnamon Melt and Pour Soap Recipe
This oatmeal and cinnamon soap sounds almost good enough to eat (via Your Beauty Blog).
DIY Coffee Soap Recipe: Easy Melt and Pour Coffee Soap
Not only is the aroma of coffee invigorating, coffee grounds also serve as a natural exfoliant (via Beauty Crafter).
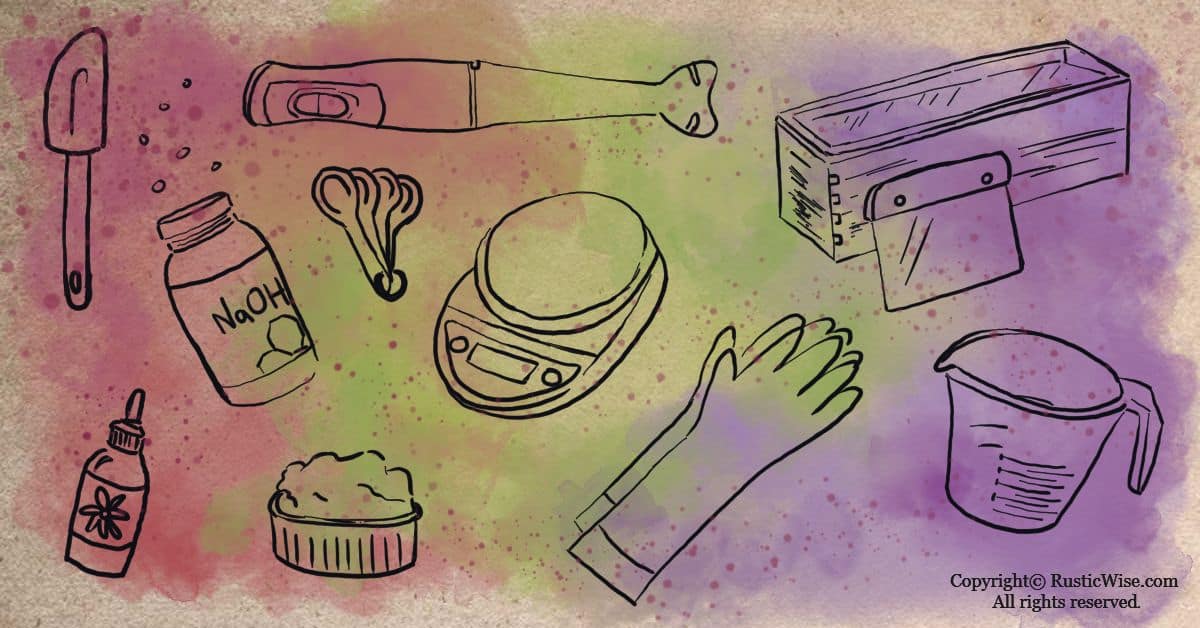
Safety equipment
If you’re planning on making any soaps using either hot process or cold process methods, you’ll need to invest in some basic safety equipment to protect yourself from lye.
Lye is a caustic alkali compound that can cause damage to eyes, skin, and the respiratory system if inhaled. Ensure you work in a well-ventilated room away from small children and pets.
Please read up on lye safety BEFORE diving into soap making. If you’re wondering if lye is safe to use in soap and cosmetics, check out our post here.
Safety equipment supplies list:
Cold process and hot process soap making supplies
For hot process soap making supplies, it’s essentially the same as cold process, except you would also need a slower cooker/crockpot.
Tip: Avoid using glass mixing bowls or measuring cups for your lye solution. Over time, lye corrodes and etches glass—you don’t want a dangerous lye spill from a broken glass container!
Wondering where to buy lye and other soapmaking supplies? We’ve compiled a list of online and local stores. Check out our post here.
How to store soap making supplies
As a general safety rule, it’s best to use your soap making supplies just for making soap. This includes any pots, blenders, spoons, whisks, bowls, etc.
Personally, I don’t even like the idea of lye touching the same utensils as something I would put in my mouth!
As for storing your soap ingredients, lye needs proper storage:
- Store lye in an airtight container.
- Store lye in a clearly labelled container (this is usually the original container typically made of HDPE plastic).
- Keep in a dry, dark, cool place out of reach of children and pets.
As for your other soap making supplies, try to:
- Keep an inventory of ingredients you currently have.
- Group similar items together (for example essential oils, or natural colorants) to stay organized.
- Label everything!
Other soapmaking FAQs
Is fragrance oil the same as essential oil?
No, they are different. Essential oils are extracted from natural flowers and botanicals. Fragrance oils are typically man-made, or synthetic. You won’t derive the same benefits from fragrance oils as you would with essential oils.
Some fragrance oils are labelled as “natural” meaning they are derived from natural components, however these are still made in a lab. Essential oils are pricier as they have more therapeutic effects. Fragrance oils often have a longer shelf life and are less expensive.
Can I melt down a bar of soap and remold?
Absolutely! Melting old bars, or leftover scraps of soap is a great way to reuse or upcycle the stuff in your home.
If you’re melting a new soap base, this would fall under the melt and pour method of soap making.
Is melt and pour soap considered handmade?
That really depends on who you ask. If you define “handmade” soap as something you make with your own two hands, then melt and pour would definitely fall under this category!
However, some soap purists would argue that since melt and pour soaps are made from premade soap bases, they’re not truly made-from-scratch as hot process or cold process soaps.
But really, who cares? If you go through the trouble of sourcing high quality, natural ingredients for your batch of soap, that finished product is still good in our humble opinion.
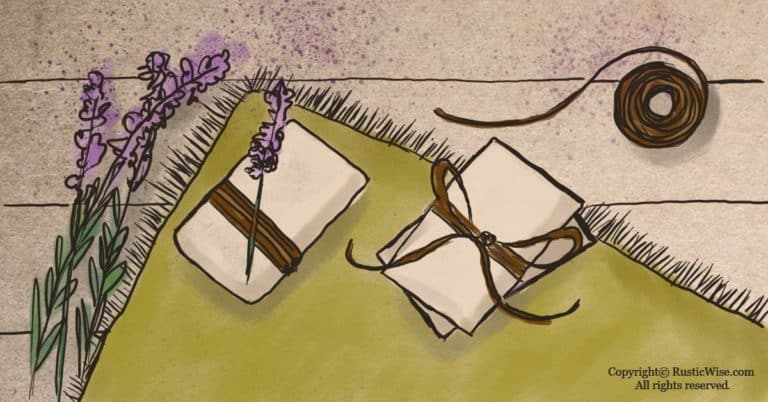
Have fun with soapmaking!


Author: Josh Tesolin
Josh is co-founder of RusticWise. When he’s not tinkering in the garden, or fixing something around the house, you can find him working on a vast array of random side projects.