When to Unmold Cold Process Soap and 7 Ways to Speed Up Unmolding Time
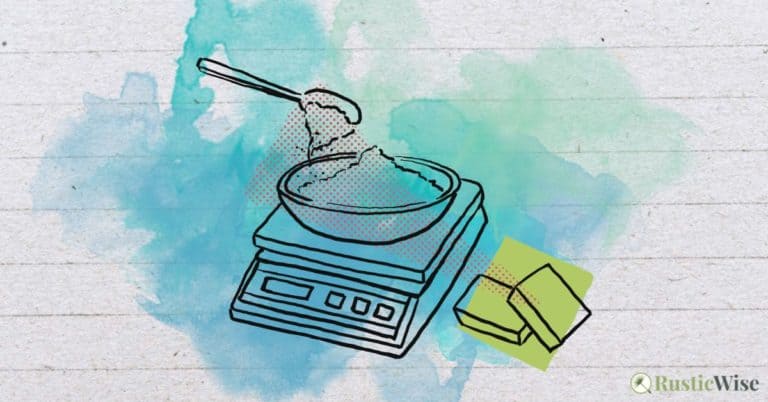
You’ve bought all the proper soap making supplies and ingredients. You carefully measured (and remeasured) ingredients, followed the recipe to a tee and have poured the soap batter into molds. Now comes the moment of truth—unmolding the soap.
While it sounds straightforward, knowing when to unmold cold process soap takes a bit of practice. Most cold process soaps are ready to unmold after 2–4 days. But creating a hard and releasable soap bar depends on several factors, including the type of oils used, the ratio of water used in the recipe, and the type of molds used. Unmolding soap too soon results in a mangled sticky mess!
I’ll go over tips and tricks to help you test soap for readiness before the moment of truth—the final reveal. If your soap isn’t releasing from the mold, we’ll cover common reasons why, and ways to harden up that soap.
Why timing is important when unmolding soap
Getting the timing juuuuust right takes some know-how.
When making cold process soap, patience is a virtue.
If you remove soap from molds too soon, it’s likely too soft. The soap may feel squishy. Unveiling soap before it has properly hardened may ruin the soap, and any soap with intricate designs will be damaged.
Saponification vs. cure time
Once you’ve poured cold process soap batter into a soap mold, it continues to undergo saponification. (Saponification is simply the scientific term for converting oil and lye into soap molecules.)
During this time, there is still active sodium hydroxide lye in the soap mixture, which means you should NOT be handling the soap without wearing gloves.
Most cold process soap is fully saponified within 24–48 hours.
After soap has fully saponified, it’s technically safe to use. But, it’s best to keep practicing your patience and allow soap to continue to cure anywhere from 4-6 weeks.
During the curing process, excess water continues to evaporate, which helps to firm up the bar.
The curing process is vital to creating a harder, longer lasting (and all around better) bar of soap. And that’s something we can all get behind!
When to unmold cold process soap: general guidelines
There are a number of factors which affect a soap’s readiness (which I’ll cover in the next several sections).
But first, let’s get to timelines.
Note: The following are general guidelines only. Each batch of soap will vary. Take note of your batch’s readiness so you’ll have a better understanding for next time.
| Type of Soap | Time to Unmold |
|---|---|
| Most soap recipes with a balanced ratio of hard and soft oils in wooden loaf molds or silicone molds | 2–4 days |
| Soap recipes with a high ratio of soft oils (such as olive oil soaps) | 1–2 weeks |
| Soaps in plastic cavity molds | Up to 2 weeks |
The bare minimum time to unmold is 24 hours, if you’re in a rush. But it’s best to wait at least 48 hours, if possible.
After roughly 48 hours, your bars of soap should be completely saponified. This simply means all lye has neutralized and has been safely turned into soap and should be safe to handle without gloves.
If you used a recipe with a high percentage of soft oils (such as an olive oil-based Castile soap), you can expect your batch to take longer to unveil—up to 1–2 weeks.
And, if you used plastic molds, expect to wait up to two weeks to unmold.
How to tell if your soap is ready
Once you’ve waited for the appropriate time, do a quick (and gentle) touch test. The soap should not feel “squishy” to the touch, nor should your finger leave a deep imprint. (If this is the case, let the soap continue to harden out in the open before trying again.)
If it has sufficiently hardened, it’s ready to unmold!
Tip: You can shave off imperfections such as dents, fingerprints, or drag marks on the surface with a soap shaver.
Credit: Yay Images
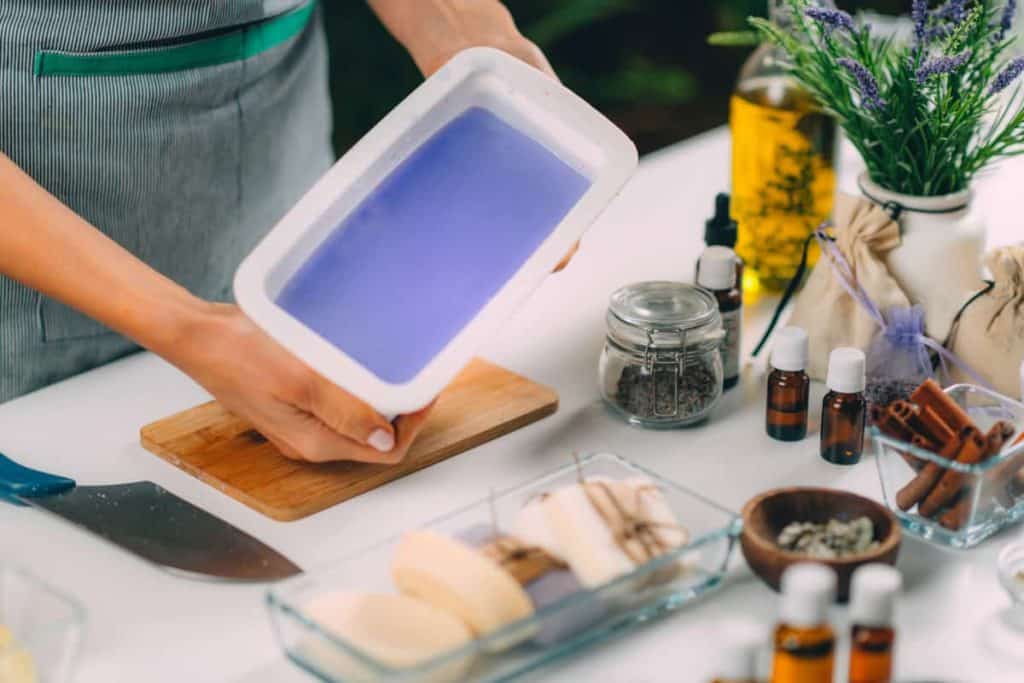
How to unmold and cure soap
With silicone molds, you can gently pull one side of the cavity mold away from the soap. If the soap pulls away from the mold (with all details intact), it’s ready! If parts of the soap cling to the mold, give it another several hours. Or, pop it in the freezer for about 2 hours.
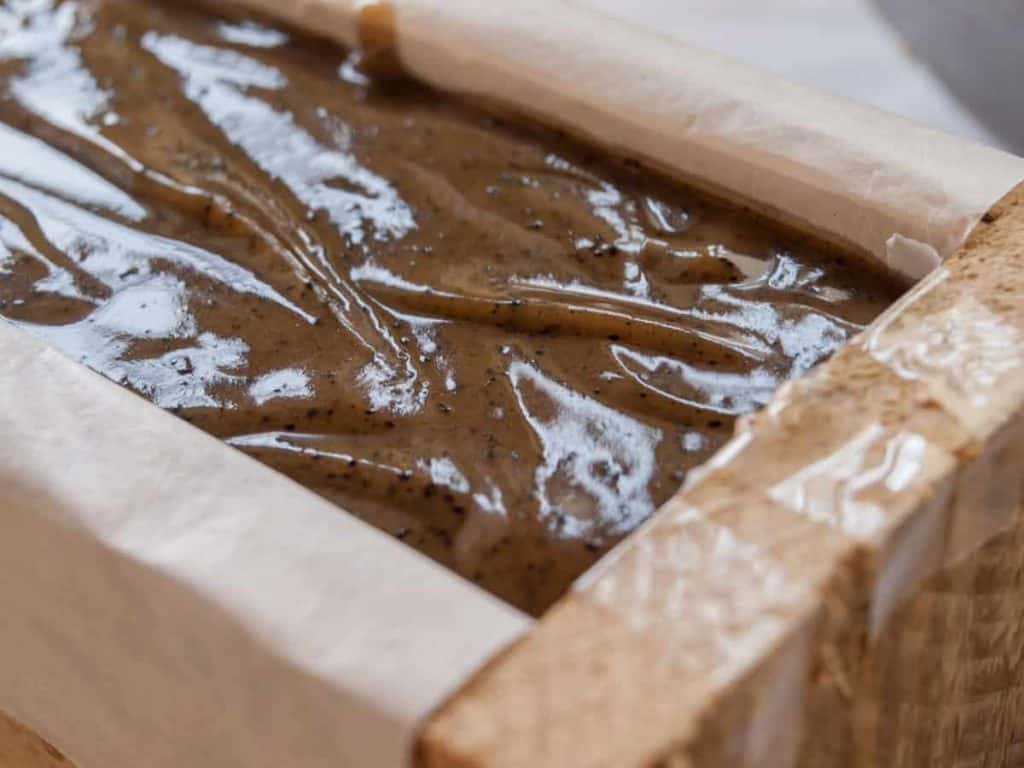
To unwrap wooden loaf molds, lay out a piece of wax paper on a flat surface and turn over your loaf mold.
Once you remove the soap loaf from the box, you can carefully peel away one side of paper. (One benefit of using silicone-lined loaf molds is that you can easily peel away a corner to check for readiness.)
Next, cut into pieces and let the individual soap bars cure and continue to harden. While technically safe to use at this point, it’s best to allow for a proper curing time.
This crucial (and often overlooked step) allows the water from the bars to evaporate. The result? Longer lasting, and harder soap bars. (After all, nobody wants soap bars that melt away at the first signs of water!)
Let bars cure in a well-ventilated room away from direct sunlight or heat. Preferably, the room would have low humidity.
You can either spread the bars out onto sheets of wax paper. Or, if you have coated wire racks, this works well too. Avoid curing soap on uncoated wire racks as this may lead to dreaded orange spots (DOS)! Or, let them cure on paper lined baking sheets.
Tip: Remember to let your cold process soaps cure for 4-6 weeks at a minimum. Some Castile soaps may cure for several months!
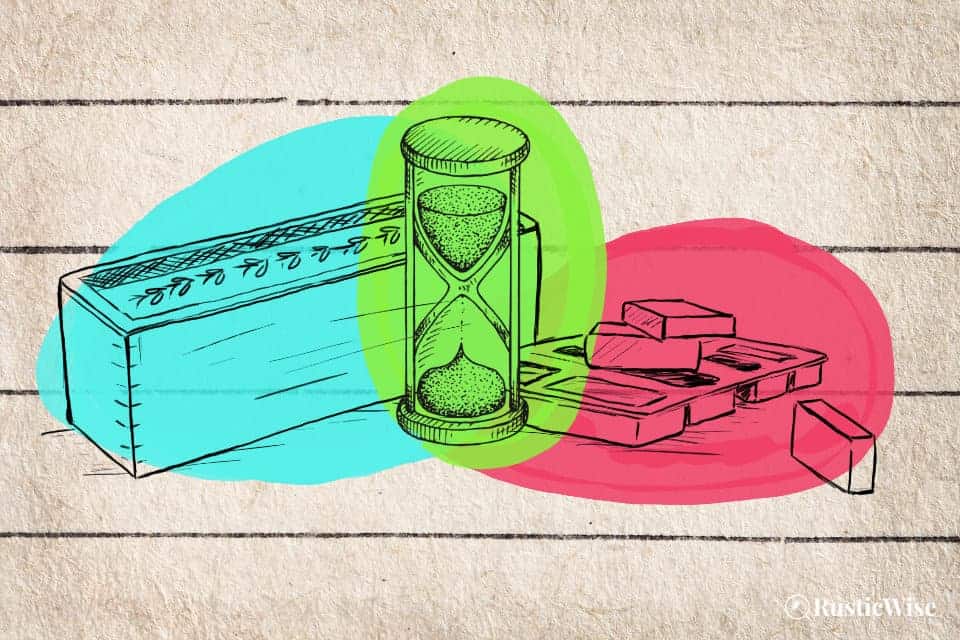
Types of soap molds and how they affect unmolding time
Lined wooden soap loaves (with freezer paper) are reasonably easy to unmold after two or three days. Loaf molds generate more heat which allows the mixture to go through gel phase more quickly, which creates harder bars.
Tip: If your soap loaf isn’t cooperating, try sticking it in the freezer for up to 8 hours to harden up. Pop out while frozen onto a clean dish cloth. Let the loaf acclimatize to room temperature before cutting.
Silicone cavity molds are also easy to unmold. Most soap bars (when hardened) will pop out with little effort. Individual cavity molds don’t retain heat as well as wooden loaf molds. This is why you may need to wait longer to unmold than loaf molds as they take more time to harden.
The most troublesome to unmold are hard plastic molds! Not only is the material of the mold more rigid than silicone, plastic cavity molds also don’t retain heat well.
If you have used this type of mold, you may need to practice patience and wait 1 or 2 weeks for soap to be ready to unmold.
7 ways to speed up umolding time
If you’ve experienced difficulties unmolding your latest batch of soap, here are some tips on how to harden those bars up!
- Sodium lactate: This is a type of liquid salt, most often derived from carbohydrate sugars and purified lactic acid. The salt content helps to firm up bars and make them easier to release from molds. Most soap suppliers sell a 60 percent solution. You can use between 1 and 4 percent. Add sodium lactate to your lye solution once it has cooled.
- Sea salt: If you don’t have sodium lactate handy, fine sea salt works in much the same way. A general guideline is to add about 1 teaspoon of sea salt per pound of oils to your lye solution and stir until well dissolved.
- Water discount/less water: Of course using less H₂0 can firm up bars more quickly. Run it through a soap calculator to double-check your numbers.
- Harder oils: Recipes which contain a higher ratio of “hard” oils will create firmer bars of soap. Hard oils include coconut oil, lard and tallow, palm oil, shea butter, and cocoa butter, to name a few.
- Insulation and gel phase: When soaps go through gel phase, the soaps become harder faster, and it makes for more vibrant colors. (But, not everyone is a fan of gelled soaps.) To coax along the saponification process and enter gel phase, insulate the molds. For block molds, you can place a piece of cardboard on top, then wrap with towels. With individual cavity molds, you can carefully stack them into a box with a lid, and wrap towels to insulate.¹
- Soaping at higher temperatures: Soaping at lower temperatures or room temperature can sometimes cause your soap to develop soda ash, or not go through gel phase. Soaping at higher temps can make the soap easier and quicker to unmold.
- Beeswax: When added in small quantities, beeswax can help harden soap, reduce the possibility of soda ash, and make smoother bars. You can use up to 3 percent in some recipes. However, working with beeswax can be tricky and isn’t recommended for beginners. Adding too much can also affect the texture of your bars.
Tip: Be mindful of the ambient temperature in the room you’re soaping in. Depending on the season or indoor temperature, the room temperature can affect the finished product. Soaping in winter may require a heating pad or more insulation. Or, you may need to try cold process oven process soap.
Related questions
How long does melt and pour soap take to harden?
Unlike cold process or hot process soaps, melt and pour batches can harden within several hours. Once the M & P soap has cooled completely and hardened, you can remove them from the molds.
Is it safe to use melt and pour soap right away?
Yes! Once you have removed M & P soap from molds, it’s perfectly safe to use. Unlike cold process or hot process batches, M & P involves melting down fully saponified soap bases. You don’t need to wait for the saponification process to work, nor do you need to handle lye!
New to making soap? 🧼❓
👉We have a fantastic overview on the whole soapmaking process here: read our Timeless Guide To Soapmaking.
If you would like to see our soapmaking posts organized by topic type, see our Soapmaking Collection.
Would you like more timeless tips via email?
Fun tips to help you live an independent, self-sustaining lifestyle. Opt-out at any time.


References
- Grosso, Alicia (2013). The Everything Soapmaking Book, 3rd Edition. Adams Media. ISBN 13: 978-1-4405-5013-3.

Author: Theresa Tesolin
Theresa is co-founder of RusticWise. She helps people unleash their inner DIY spirit by encouraging them to get dirty and make or grow something from scratch.