Room Temperature Soap Making (AKA the Heat Transfer Method)
There’s cold process, hot process, and melt and pour soap making. Add another method of DIY soaping to your arsenal: room temperature soap making (sometimes called the heat transfer method). These two terms are often used interchangeably.
At its most basic, room temperature soaping involves allowing lye and oils to cool to roughly room temperature. Some people prefer to soap at cooler temperatures to prevent additives like milk or honey from scorching.
The heat transfer method is a variation of the cold process method with a twist: it relies on the heat from the lye mixture to melt hard oils instead of using a traditional heat source (such as a stovetop).
Read on to learn more about how temperature affects your finished soap, along with a step-by-step guide to using the heat transfer method.
What is room temperature?
Seeing as this article is about room temperature soap making, I thought it best if we define what room temperature actually is. It turns out there’s no clear-and-cut answer. However, most people agree that room temperature is roughly 68 degrees Fahrenheit (20 degrees Celsius), give or take a few degrees.¹
In reality, the actual temperature of various rooms within the same house may vary according to a variety of factors. Outdoor temperature and thermostat settings all play a role in the actual temperature of a room, fluctuating by time of day and season.
(Compare a kitchen in Canada during an ice storm vs. a home in Florida during summer, for instance.)
What does this mean for making soap?
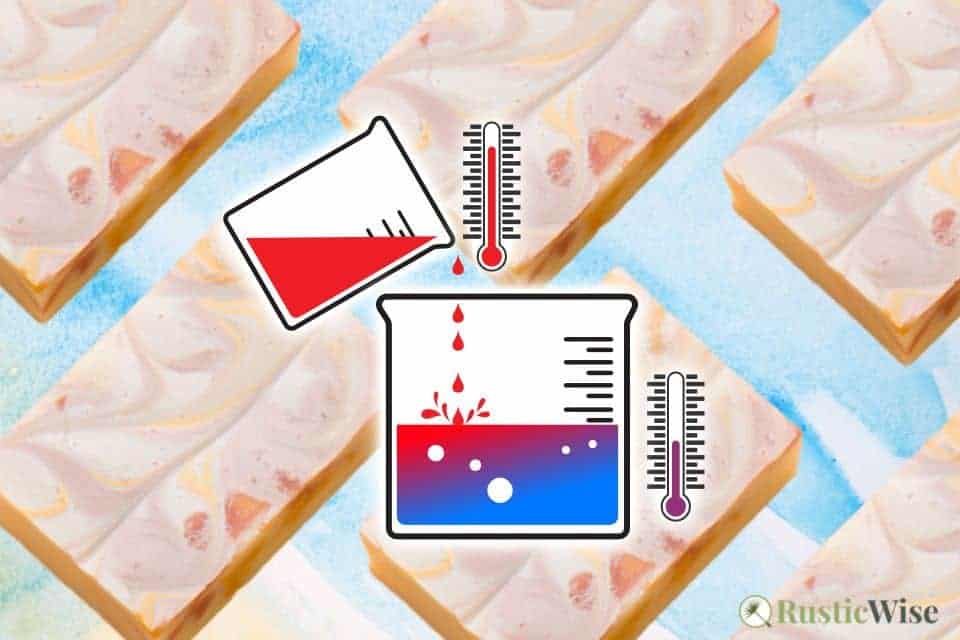
It’s important to keep your ambient room temperature in mind when making your next batch of homemade soap. The room temperature affects whether your soap goes through gel phase, and how fast or slowly liquids cool.
And when you use the room temperature soap making method, there’s no hard-and-fast rule to the exact temperature of your lye or oils… which brings us to the next section.
Room temperature soap making breaks the rules
They say rules are meant to be broken, and the heat transfer or room temperature method does just that. You’ve been conditioned since your first batch to follow a few basic soap making rules:
- Keep a careful eye on temperatures of oils and lye: With this method, there’s really no need to do this. What temperature do you normally make soap at? Around 110 degrees Fahrenheit (43 degrees Celsius) is a good temperature to combine the lye and oils. The temperature varies depending on the recipe and types of special ingredients you may use, along with personal preferences.
- Combine oils and lye when within 10 degrees of each other: Again, this rule doesn’t apply.
- Carefully melt hard oils on the stovetop: You can save yourself this extra step!
Tip: The heat transfer method is a variation of the cold process method. It’s recommended you make a few batches of cold process soap first to get the hang of things before trying this method.
Credit: 123RF.com
Can you use room temperature lye?
Yes, many soap makers allow their lye solutions to cool completely before using. In fact, some soapers prefer to make the lye water solution the night before they actually plan to soap. (If this is you, just make sure it’s placed in a safe spot and clearly labelled!)
There are some potential issues when working with cooler lye. The main issue is the potential for oils/fats and butters to turn hard and solid when cool lye comes in contact.
Not everyone likes to work with room temperature lye. With the heat transfer method, you actually add the lye mixture to the oils when it is freshly mixed and still hot. (We’ll cover the steps to this process below.)
Why you sometimes want to soap at lower temperatures
There’s a range of temperatures that are acceptable within soap making, and everyone has their own preferences. The longer you’ve been making soap, the more knowledgeable you become about how various oils, butters, and other additives come together. You can tweak and adjust temperatures as you see fit.
The temperature of your oils and lye have a huge impact on your finished product. There are a few instances when you may choose to work at lower temperatures:
- Working with heat-sensitive ingredients such as milk and other liquids like juice, wine, tea, or beer. Milk especially is prone to scorching when liquids are too warm.
- You want to make soap with a matte finish and muted colors. Vibrant colors in your soaps may not be your cup of tea. If this is the case, working at lower temperatures may prevent your soap from reaching gel phase which produces brighter colors.
- Your room temperature is on the warm side. If you are making soap in the middle of summer, you may choose to work at lower temperatures.
- Working with additives like honey. The sugars in honey make your soap batter get hot super fast! For this reason, you might not want to insulate your molds, and also work with a cooler temperature. Certain fragrance oils may also bump up the temperature.²
- You want some extra time to create designs. You’ll get a bit more leeway before you reach trace when soaping at cooler temperatures. This gives you some time if you want to try more advanced techniques like swirling.
Benefits of room temperature soaping (or heat transfer method)
Once you’ve made a few cold process soap recipes, give the heat transfer method a try for straightforward recipes with basic ingredients.
Credit: Yay Images
Heat transfer method: step-by-step
The heat transfer method is just a variation of cold process soaping.³ If you’re new to the world of soap making, please read up on soap basics and lye safety first!
Gather your soap making supplies:
- Digital kitchen scale
- Thermometer (digital, infrared, or candy thermometer)
- Immersion blender (stick blender)
- A large heat-safe and non-reactive bowl for mixing the hard oils
- A large bowl for the liquid oils
- Heat-safe jug for the lye solution
- Rubber spatula or small non-reactive whisk for stirring and scraping the hard oils and lye mixture
- Soap mold
- Safety gear (goggles and gloves)
- Prepare your soap mold and gather all necessary ingredients. If you’re planning to use any colorants, essential oils/fragrance oils, or botanicals, measure these out beforehand.
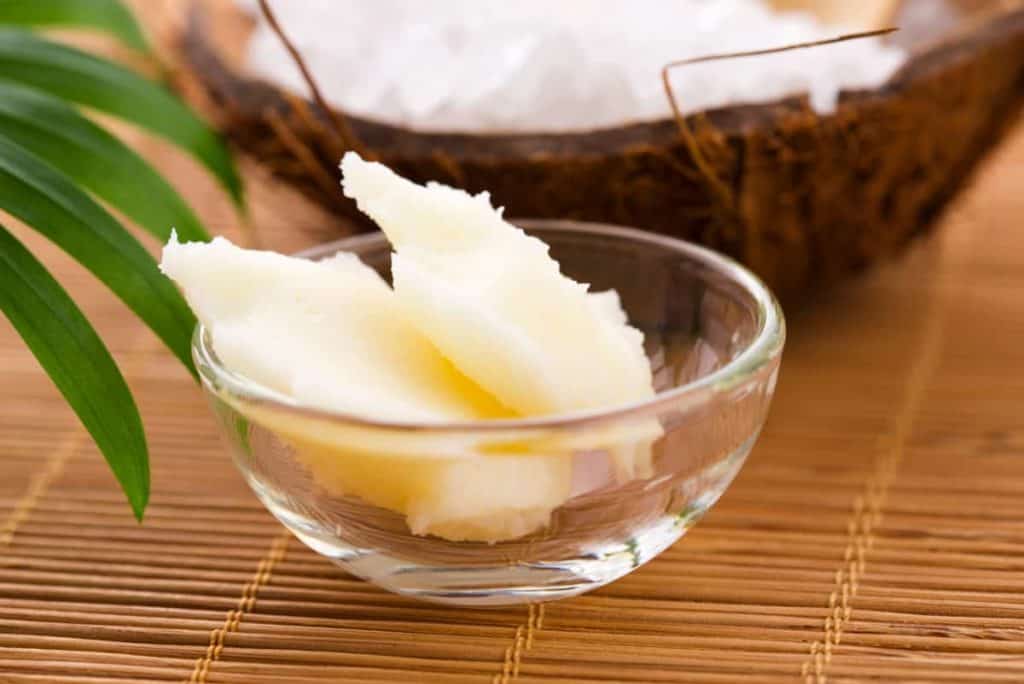
- Measure out hard oils. Measure all hard oils and place into a large heat-safe bowl. This includes lard, tallow, coconut oil, shea butter, etc.
- Measure liquid/soft oils. Measure all liquid oils into a separate bowl.
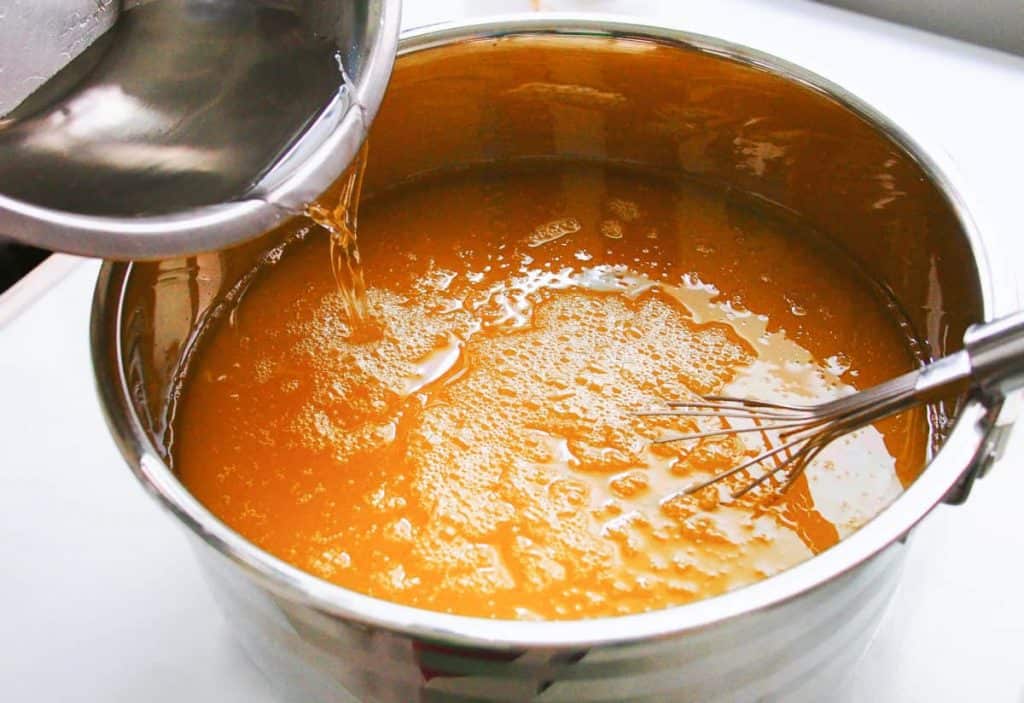
- Make your lye solution. Using your heat-safe jug, weigh water, followed by sodium hydroxide lye. Add the lye flakes to the water (never the other way around!). Your lye solution becomes very hot! Mix carefully with a spatula or whisk. Allow the lye mixture to become clear before adding to the hard oils.
- Pour the lye solution over hard oils and mix until melted. Once the lye mixture has become clear (no longer cloudy), it’s time to let the hot lye mixture do its magic. Carefully pour the lye mixture over the hard oils which are solid at room temperature. You’ll see the oils slowly melt while a few chunks remain. Use your spatula or whisk to carefully mix the hard oils until completely melted.
- Add liquid oils. Pour your liquid oils and combine with the melted hard oils. Use your immersion blender to reach trace. (It’s a good idea to alternate between manually mixing with a spatula or whisk, and using the stick blender.)
- Add colorants, fragrances, and other additives. Customize your soap batch by adding in the pre-measured additives. Blend in.
- Pour into soap molds. Once soap has hardened, unmold and cut your bars as usual. Allow to cure for 4–6 weeks.
Possible pitfalls of room temperature soaping (or heat transfer method)
It’s not all sunshine and rainbows in soap making (if you’ve ever had a failed batch of soap, you know what I mean). But this is all part of the fun and the learning process. This method of making a batch of soap from scratch isn’t foolproof. Instead, think of it as another method of making soap you can add to your toolkit and break out as needed.
- Soda ash: Sometimes your finished soap develops a layer of white, powdery stuff—this is soda ash. It occurs when soaping at cooler temperatures and develops as a result of unsaponified lye reacting to carbon dioxide in the air.
- False trace: Sometimes when oils cool down too much, they turn solid and reach what soap makers call “false trace.” It appears like the soap batter has thickened and saponified, when it reality, it hasn’t. Use your immersion blender to remix as needed.
Tips for success when using the heat transfer method
- Consider the recipe and the ratio of hard or brittle oils vs. soft oils. For example, palm kernel flakes are an especially brittle oil that may take a bit of elbow grease and patience to melt.
- Beware of recipes with beeswax. As beeswax has a higher melting point, you may need to use the traditional cold process method to fully melt this ingredient.
- Ensure hard oils have completely melted and are clear before adding liquid oils.


References
- Koop, Fermin, “Not too hot, not too cold. What’s the ideal room temperature?“, ZME Science. Accessed November 2021.
- Wholesale Supplies Plus, Cold Process Soap Making – Frequently Asked Questions, https://www.wholesalesuppliesplus.com/handmade101/learn-to-make-articles/cold-process-soapmaking-faqs.aspx. Accessed November 2021.
- Echo McKelvie, Heat Transfer Method – Cold Process Soap, https://youtu.be/gP4jTLFokMY. Accessed November 2021.

Author: Josh Tesolin
Josh is co-founder of RusticWise. When he’s not tinkering in the garden, or fixing something around the house, you can find him working on a vast array of random side projects.