Basic Cold Process Soap Recipe With Just Two Oils
RusticWise is supported by its readers. When you purchase through links on our site, we may earn an affiliate commission. As an Amazon Associate, we earn from qualifying purchases. Thank You!
If you’re new to soap making, working with lye and different oils can seem a tad intimidating. I’ll walk you through the steps you’ll need to take in order to make your own basic cold process soap recipe. Along the way, we’ll talk about lye safety, the supplies you’ll need, plus the steps from start to finish.
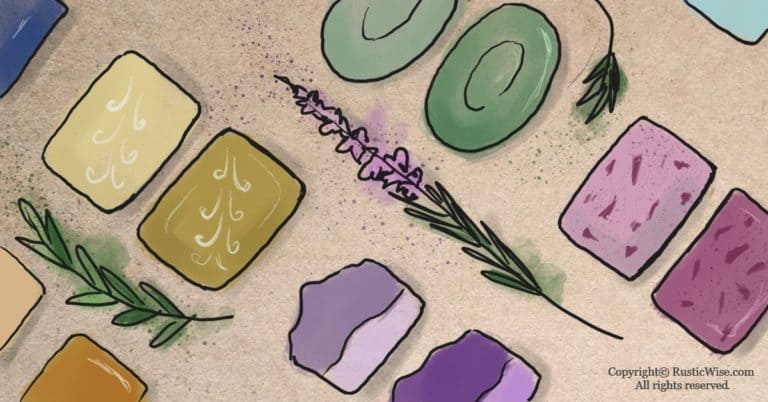
Soap making is a rewarding craft that lets you get creative while also making something practical for yourself and your friends and family. Are you ready to make natural bars of soap without nasty chemicals? The recipe below is for basic Bastille soap using just two oils: coconut oil and olive oil.
Let’s get back to basics.
What ingredients do you need for cold process soap?
If you strip soap down to the basics, a homemade batch of soap requires just three main ingredients: lye + distilled water + oils/fats.
If you want to get creative with your soap once you’ve made a basic cold process soap recipe first, you can add essential oils, colorants, and other additives such as dried botanicals. You can also experiment with alternative liquids such as juice, beer, or milk to add a unique twist to basic soap.
But first, it’s a good idea to work with a simple recipe to get comfortable and gain confidence.
If you’re wondering whether you really, really need to use lye to make soap from scratch, the answer is yes!
Without lye, the soap making oils and water just wouldn’t combine (or emulsify). Lye kick starts a chemical reaction known as saponification, which is just a fancy term for the process of making soap.
If everything goes according to plan, the finished soap will be completely safe to use on your skin. The lye will have saponified the oils in the recipe, leaving you with oodles and oodles of natural, skin nourishing glycerin.
Glycerin is a natural byproduct of any basic cold process soap recipe. Most commercially produced soaps remove glycerin and replace it with synthetic detergents and cleansers.
Credit: Deposit Photos
Lye basics and safety
For generations, homesteaders have been making their own lye from scratch using hardwood ashes and rainwater. The type of lye they produced was potash lye, also known as potassium hydroxide lye. This type of lye produces softer soaps, or liquid soaps.
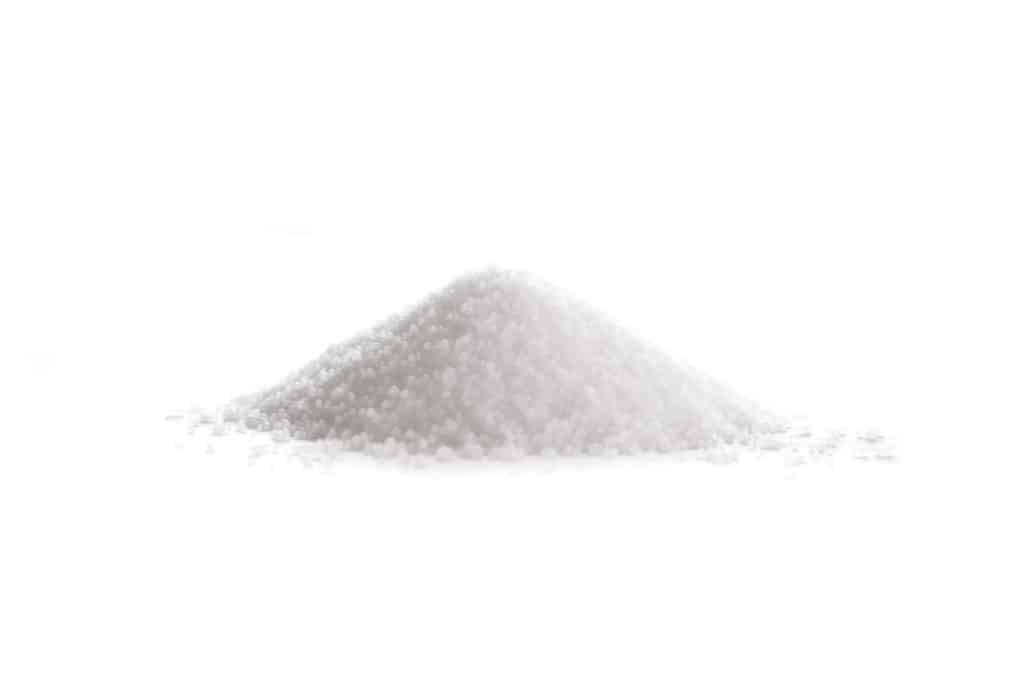
Today, soapers can pick up a bottle of commercially produced lye at the store (or online). The type of lye used to make hard bars of soap is sodium hydroxide (not to be confused with potassium hydroxide).
Sometimes sodium hydroxide is also called caustic soda.
Tip: Ensure your sodium hydroxide lye is 100 percent pure with no additional additives. You can find sodium hydroxide at the hardware store with drain cleaners. Check the label. Ensure your bottle of lye doesn’t contain other drain cleaning chemicals!
Lye safety
As you may have heard, lye is not to be messed with, or used carelessly.
Treat lye like your unpredictable and volatile great uncle—with caution (and respect).
Sodium hydroxide is a white and odorless alkali. It’s a super caustic compound that can burn skin and eyes, and is poisonous when ingested.
Please protect yourself when working with lye. Wear gloves, safety goggles, a mask, and long-sleeves.
Here are a few things you should know about lye safety:¹
- It gets very hot when added to water: Lye water solutions can reach temperatures up to 200 degrees Fahrenheit (93 degrees Celsius).
- Lye releases fumes: It’s a good idea to wear a protective mask, or at the very least work in a well-ventilated room. If the weather permits, you could make your lye solution outside.
- Lye reacts with aluminum: Stick with utensils, pots, and bowls made of stainless steel (or other non-reactive materials such as silicone, high-grade plastic, wood, or ceramic).
- Store it properly with clear labelling: Sodium hydroxide absorbs moisture, so proper storage in an air-tight container is a must.
What’s SAP value?
SAP value stands for saponification value, or the amount of lye required to convert or saponify a measurement of oil or fat into soap.
Every oil, butter, or fat has a unique SAP value. Some oils require more lye to turn into soap than others. This is why it’s so important to use an accurate digital scale to get proportions just right.
Properties of oils
The type of oils, fats, or butters you choose to use, along with the ratio of each, affects the qualities of the finished soap.
Every oil has varying levels of the following soap bar qualities:
- Hardness: Hard oils are solid at room temperature and include palm oil and coconut oil. Soft oils are liquid at room temperature. Examples include avocado oil, olive oil, safflower oil, and soybean oil.
- Cleansing: Some oils are great at cleaning the skin like coconut oil—others, less so.
- Conditioning: Oils with moisturizing properties help to nourish the skin, such as olive oil.
- Bubbly lather: Some oils bring on the big bubbles! Coconut oil and castor oil are two such oils.
- Creamy lather: Some oils produce low stable lather rather than big bubbles such as lard and tallow.
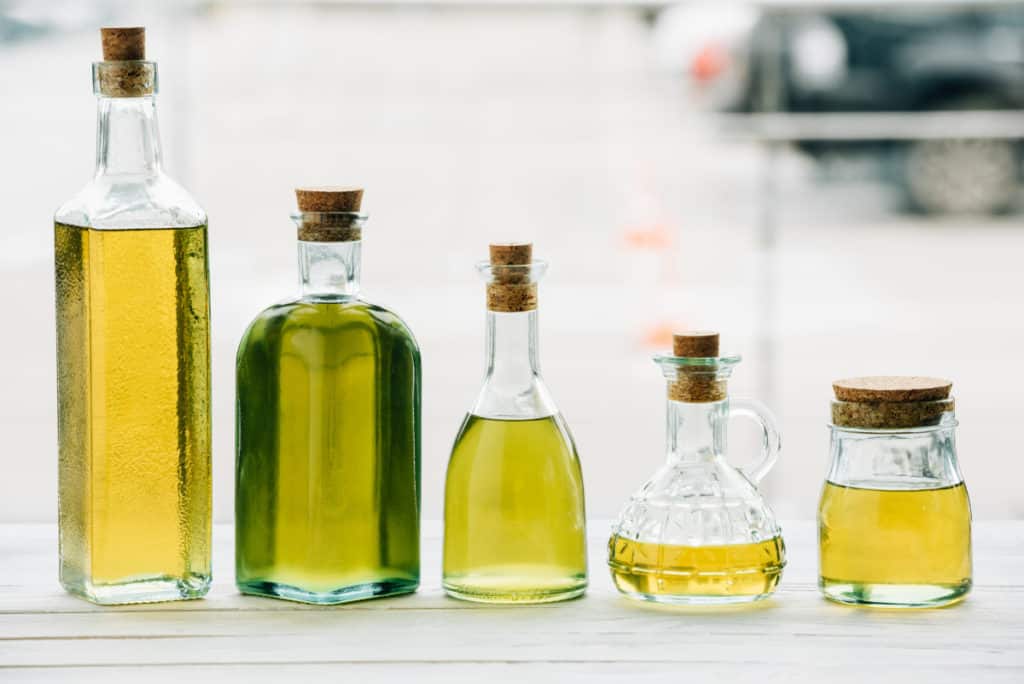
The two oils used in the recipe below are very common soap making oils that are readily available:
- Coconut oil: A hard oil with high cleansing properties that produces a hard bar of soap. Coconut oil produces a nice bubbly lather. Look for unrefined 76 degree coconut oil.
- Olive oil: A great oil to use for sensitive or dry skin. Olive oil produces a soft soap with creamy lather.
Check out our article on vegetable oils for soap making for more details.
Basic cold process soap making supplies
You don’t need to spend a fortune, but you should keep your soap making supplies separate from your cooking stuff.
Round up a few supplies:
- Digital kitchen scale
- Thermometer (digital, infrared, or candy thermometer)
- Immersion blender (stick blender)
- Stainless steel saucepan for melting the solid oils
- A bowl for measuring the liquid oils into
- Heat-safe jug for the lye solution. Avoid using glass as it may shatter over time. Look for plastic containers with #5 on the bottom, or a stainless steel container.
- Rubber/silicon spatula for stirring and scraping
- Loaf mold (approximately 3.5″ X 8″ X 2.5″)
- Safety gear (goggles and gloves)
- An old towel or cloth to insulate the mold
- A piece of cardboard to cover the loaf mold
- Freezer paper if you need to cover the wooden mold (no need if you’re using silicone mold)
👉 Check out our article on beginner soap making supplies for a more in-depth look of equipment you’ll need.
Basic cold process soap recipe: beginner’s Bastille soap
Bastille soap is a term for using olive oil at a high ratio, along with another type of oil to balance it out. Here, we’re adding coconut oil to harden the soap, and up the cleansing and bubbly factor.
I adapted the following recipe from the super-handy book, Simple & Natural Soapmaking by Jan Berry (aka the Nerdy Farmwife).²
Notes: This recipe uses a water discount to reduce the time normally required to reach trace and to make the soap easier to unmold. If you wish to make this recipe extra creamy, try adding 1 tablespoon (7 grams) of powdered milk to combined oils just before mixing with lye solution.
Yield: Roughly 7 to 8 bars of soap (2.5 pounds/1.13 kilograms)

Ingredients:
Lye solution:
- 8 ounces (227 grams) distilled water
- 3.8 ounces (108 grams) sodium hydroxide lye
Hard oil:
- 5 ounces (142 grams) coconut oil (18 percent)
Liquid oil:
- 23 ounces (652 grams) olive oil (82 percent)
- Optional: 1.23 ounces (35 grams) lavender essential oil
Step 1: Prep work
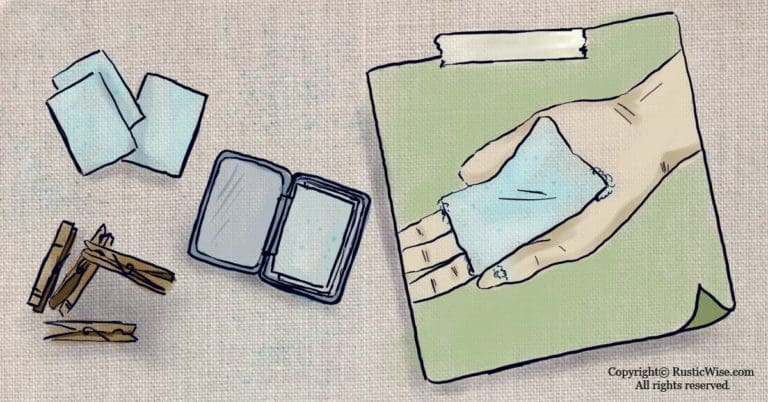
Get your workspace ready and gather all required ingredients and supplies. If you’re using a wooden loaf mold, you’ll need to line it with freezer paper.
It’s handy to keep a bottle of white vinegar around to neutralize any spills with lye, plus a few extra dish rags.
Step 2: Prepare the lye solution
Put your safety gear on (eye protection and gloves)! Since you’ll need to allow the lye mixture to cool, it’s important to do this step first.
For best results, use distilled water. Regular tap water contains impurities which may affect your batch of soap.
Always use water that’s at room temperature or cooler. Using hot water will cause your lye mixture to become dangerously hot!
Measure the distilled water and add to heat-safe jug. It’s a good idea to place the jug or vessel in the sink in case of spilling. Remember to avoid breathing in fumes and ensure the room is ventilated.
Measure the sodium hydroxide and slowly add to water. Allow the lye mixture to cool.
Always add the lye flakes to the water and NOT the other way around. Pouring water onto lye may cause a volcanic eruption.
Stir the lye mixture until lye crystals are fully dissolved. Set aside in a safe area to cool down to between 100 and 110 degrees Fahrenheit (38–43 degrees Celsius). This may take between 30–60 minutes depending on your room temperature.
Step 3: Melt and combine oils
Measure and add the coconut oil to a non-reactive saucepan or pot. Heat on low until melted. Next, measure and add olive oil into a saucepan and stir until well combined.
It’s a good time now to measure out your essential oil (if you’re planning to use any) and set it aside.
Credit: 123RF.com
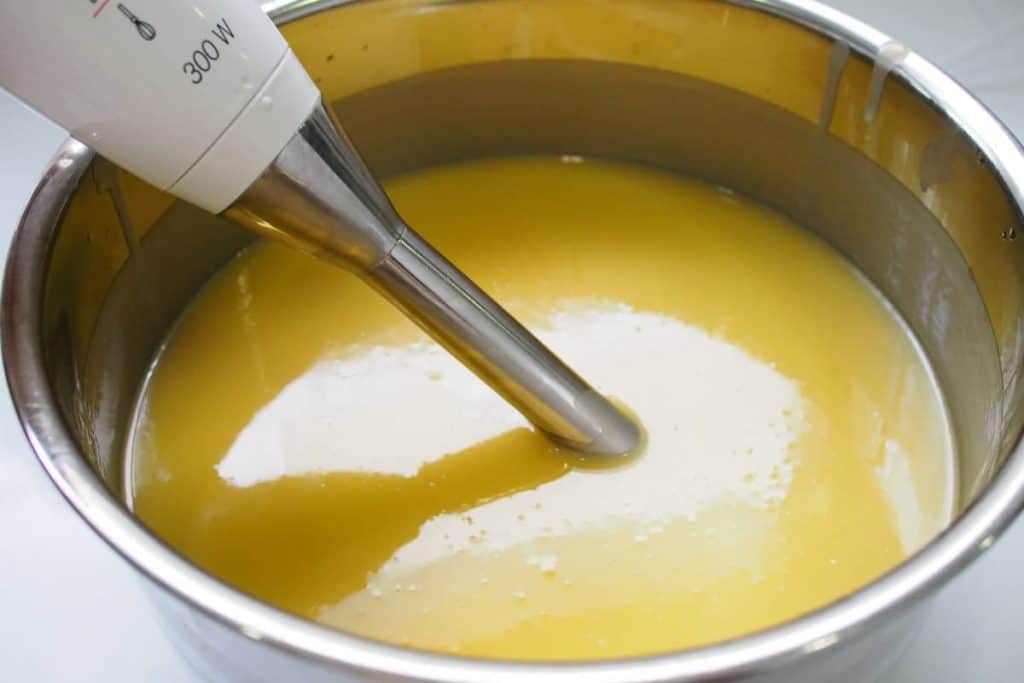
Step 4: Combine lye with oils and bring to trace
Use your thermometer to check on the temperature of both the lye and the oils. Once the lye mixture has cooled and is of similar temperature to the combined oils, carefully add the lye to the oils.
When using an immersion blender, tilt it sideways at a slight angle to allow any air bubbles to release. Next, straighten the stick blender and turn it on once the bell is fully submerged in the soap batter.
Use immersion blender for 30 seconds. Then use a spatula/spoon/whisk to stir the soap batter by hand. Continue alternating between using the blender and hand stirring until the soap batter thickens and turns opaque.
Trace refers to the state when the soap batter has fully emulsified.
Do a trace test: If you scoop some of the mixture out and drizzle it on top, does it hold its shape for a few seconds, or leave a trace? If yes, then your soap batter is ready for the next step.
Step 5: Add essential oil
Once soap has reached trace, add the essential oils and hand stir to combine.
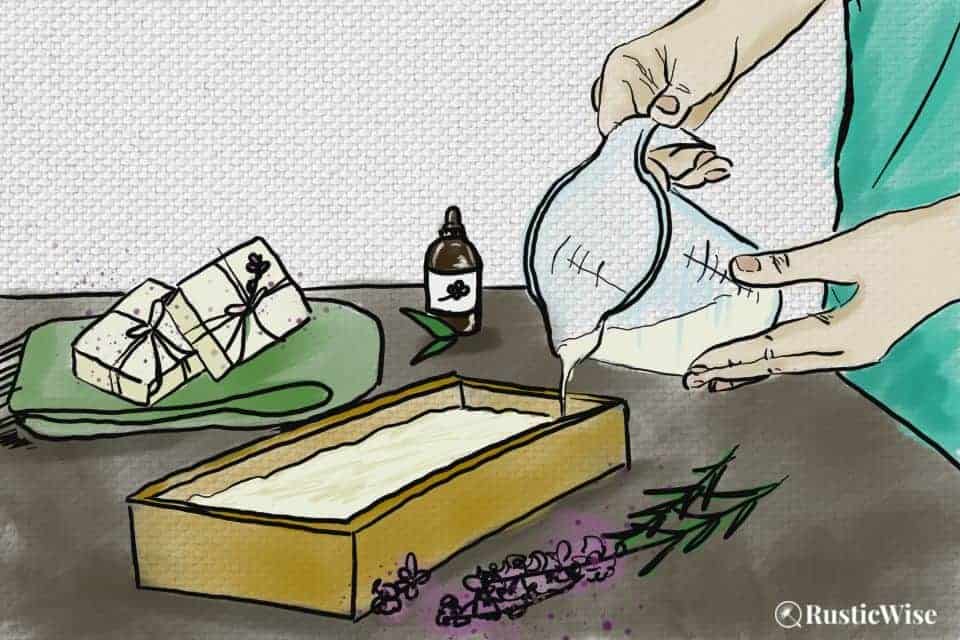
Step 6: Pour into mold
Pour the soap mixture into a prepared mold. Place a small piece of cardboard on top of the soap mold to cover (or you could use a piece of wax paper or freezer paper).
Wrap the soap mold with an old towel to insulate it.
Check in on the soap periodically. If you see a crack develop at the top, it’s a sign of overheating (unwrap and place in a cooler place).
Allow the soap batter to harden for 2–3 days.
Step 7: Unmold and cut
Your soap is ready to unmold when it has hardened and doesn’t stick to your cutting tool. After roughly 48 hours, your cold process soap should be completely saponified (no more active lye).
Slice into bars. You can use a simple unserrated knife and cutting board, special soap cutters, or a wire soap cutting box.
Step 8: Cure
Curing the soap is an important part of the cold process (as well as hot process) methods. During curing, excess water evaporates, leaving you with a harder and longer lasting bar of soap.
It’s especially important to allow plenty of time to cure soaps made with a high percentage of olive oil, like this Bastille soap.
Place cut soap bars in a well-ventilated room either on wax paper or coated wire racks. Try to rotate the bars every once in a while. Let bars to cure for at least 6 weeks.
Step 9: Store soap and enjoy
Store soap in a cool, dry place away from heat sources, or direct sunlight. Cold process soaps like air circulation so if you’re not gifting your soaps, there’s no need to wrap each bar individually.
Instead, store soap bars in loosely covered shoe boxes, or in a cabinet.
Enjoy your new Bastille soap!
Related questions
What makes cold process soap creamy?
To get a luscious creamy bar of soap, you could try a few different options.
Adding some butters such as cocoa butter, kokum butter, or mango butter will make your bar feel creamier.
You could also try adding milk which lends creaminess and more lather to soap.
Lard or tallow also make for creamy soaps if you don’t mind using animal-based products.
When making substitutions, remember to run everything through a lye calculator first!
How do I get more lather in cold process soap?
Most people really like the bubbly lather that castor oil brings. If used in high quantities, castor oil may create a sticky soap. A low percentage like 5 percent is enough to boost bubbly lather.
Can you make pure olive oil soap?
Yes, a pure olive oil soap is known as Castile soap. A soap bar made of 100 percent olive oil requires a longer time to cure. Check out our olive oil soap recipe here.
New to making soap? 🧼❓
👉We have a fantastic overview on the whole soapmaking process here: read our Timeless Guide To Soapmaking.
If you would like to see our soapmaking posts organized by topic type, see our Soapmaking Collection.


References
- Berry, Jan (2017). Simple & Natural Soap Making. Page Street Publishing Co. ISBN-13: 978-1-62414-384-7.
- Emery, Carla (2012). The Encyclopedia of Country Living, 40th Anniversary Edition. Sasquatch Books. ISBN-13: 978-1-57061-840-6.

Author: Theresa Tesolin
Theresa is co-founder of RusticWise. She helps people unleash their inner DIY spirit by encouraging them to get dirty and make or grow something from scratch.