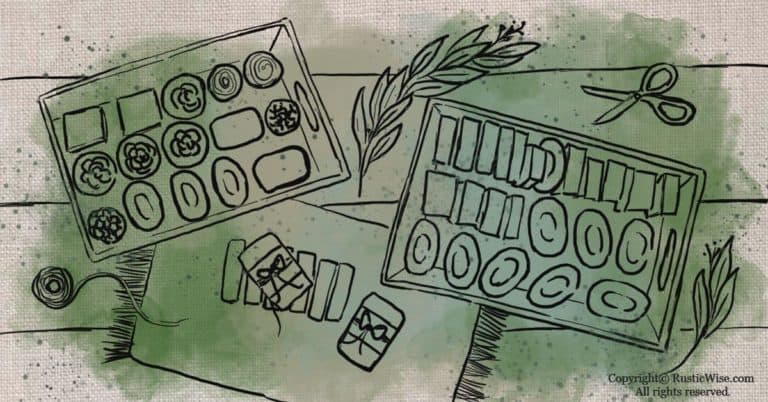
3 Easy Ways of Infusing Oils for Soap Making
One of the best parts of homemade natural soap is getting creative and using your own favorite scents and ingredients. An easy way to add subtle fragrance, healing properties, and perhaps a bit of color, is infusing oils for soap making. All you need are a few basic supplies, your favorite natural herbs and flowers, plus a bit of spare time.
What’s the difference between infused oil and essential oil?
If subtlety is your thing, you’ll love the concept of infusing oils for soapmaking, and other natural beauty products.
Infused oils may not be as noticeable as essential oils (many barely carry over any fragrance in cold process soaps), but I believe they add depth and nourishing properties associated with the particular oil and herb/flower you choose to infuse.
Unlike essential oils which are highly concentrated, infused oils are lightly scented. I like to think of infused oils as adding a little dash of something extra to your bar of soap.
While there are many types of essential oils available, it’s not always easy to find a nettle or plantain essential oil for example. By learning the art of infusing oils for soap making, you’ll expand the range of natural ingredients in your soaps.
Bonus—a side benefit of using an oil infusion is that sometimes it can add a touch of color to your finished soap. Flowers like marigold (aka calendula) may add a lovely golden color to your soap.
What oils are best for infusing herbs?
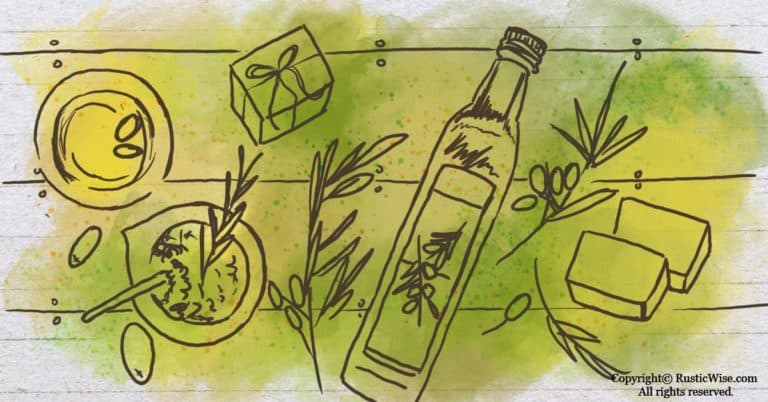
Any lightweight oil is fine for infusing oil. Personally, we have plenty of olive oil around the house, so that’s what we use.
Keep in mind that the shelf life of your homemade oil infusion is roughly the same as the shelf life of the type of oil you use as a carrier. A few oils with longer shelf lives include olive oil, fractionated coconut oil, and jojoba oil.
Here’s a list of oils suitable for herb and flower infusions:
- Avocado oil: Rich in vitamins A, B, D, and E along with healthy fats, avocado oil is a great conditioning agent and creates a nice, creamy lather in soap.
- Chia seed oil: A light, yet deeply moisturizing oil that’s filled with healthy fatty acids.
- Grapeseed oil: Light and easily absorbed by skin, this is a non-greasy, conditioning oil that’s a favorite among many DIYers. It’s packed with antioxidants and healthy fatty acids. It creates a creamy lather in soap.
- Jojoba oil: Often used as a carrier oil, jojoba oil is a great natural moisturizing and conditioning ingredient and produces a strong lather in soaps.
- Olive oil: Rich in vitamin E, olive oil creates a mild and gentle lather in soaps.
- Sweet almond oil: With vitamins A and E plus oleic and linoleic acid, sweet almond oil produces a medium lather in soap and lends a nutty aroma.
- Sunflower or safflower oil: these two oils are very similar and are lightweight and gentle on skin.
Tip: You can also infuse coconut oil when it’s in a liquid state. You might have better luck with fractionated coconut oil which is liquid even at room temperature and is lighter than other regular coconut oil.
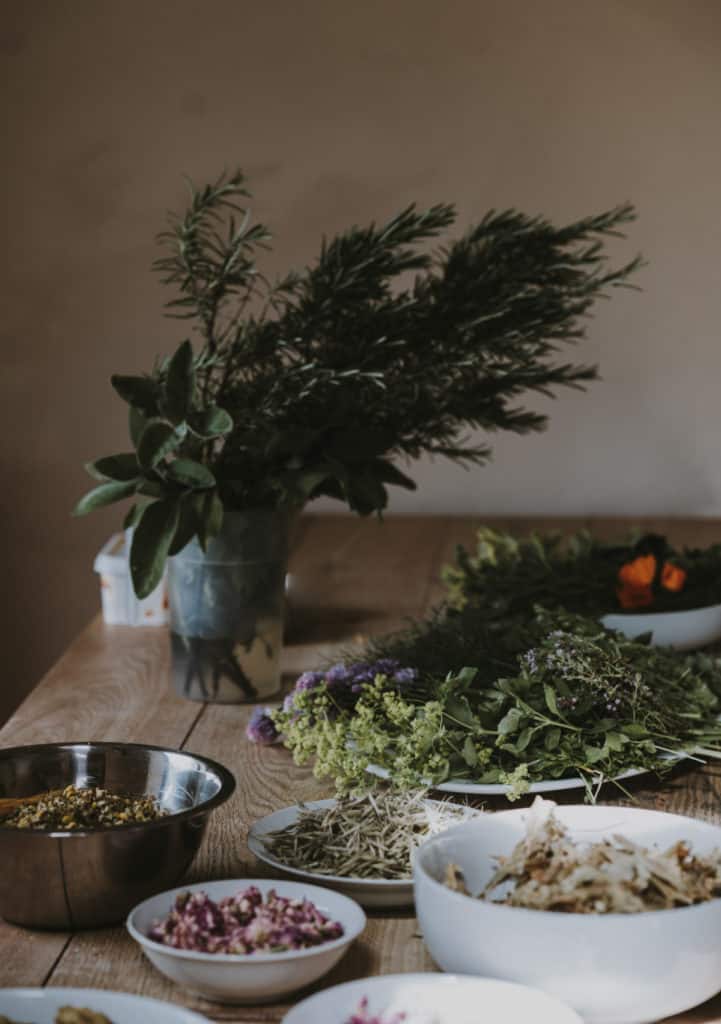
Types of herbs and flowers to infuse
The sky’s the limit when it comes to selecting herbs and botanicals for your homemade oil infusions.
Once you’re familiar with the basic properties of some popular herbs and flowers, you can get creative and try combining a few.
Tip: Experimenting with different oils and herbs/botanicals is part of the fun. You might have some batches that work out wonderfully, while others…not so much. Keep track of the herbs/oil combinations that you like best.
Fresh or dried herbs?
If you’re itching to use your own freshly harvested herbs and flowers from your garden, (and who can blame you?), just ensure your herbs and botanicals are 100 percent dried before adding them to your homemade oil infusion.
Any hint of moisture in your oil infusion may cause issues with mold, and your once lovely infusion can turn quickly rancid.
Sometimes it’s easier to skip the foraging/harvesting/drying process (unless it’s really your jam), and go right ahead to purchasing your dried herbs.
Where to buy dried herbs
There are many places online you can check out, including Amazon, of course.
In Canada, you can buy dried herbs from Harmonic Arts Botanical Dispensary, Organic Matters, and Richters Herbs.
For a few sites that ship internationally, check out Bulk Apothecary, Starwest Botanicals, and Penn Herb Co.
Herbs and botanicals for oil infusions
Here are a few good herbs and botanicals to try infusing for soapmaking.
Chamomile: The ultimate “chill out” herb used for its calming, soothing properties. It’s packed with antioxidants, and also has anti-inflammatory and antibacterial properties. Try sprinkling the petals on top of soaps. When infused with oil, it produces a slight golden color.
Dandelion: The entire dandelion plant is usable and edible. Packed with many vitamins including vitamins A and C, dandelions are used in soaps for their soothing and anti-aging properties. The yellow blossoms are great for making oil infusions.
Forsythia: Known for its antiviral properties, forsythia’s yellow petals may add a gentle golden touch to your soap.
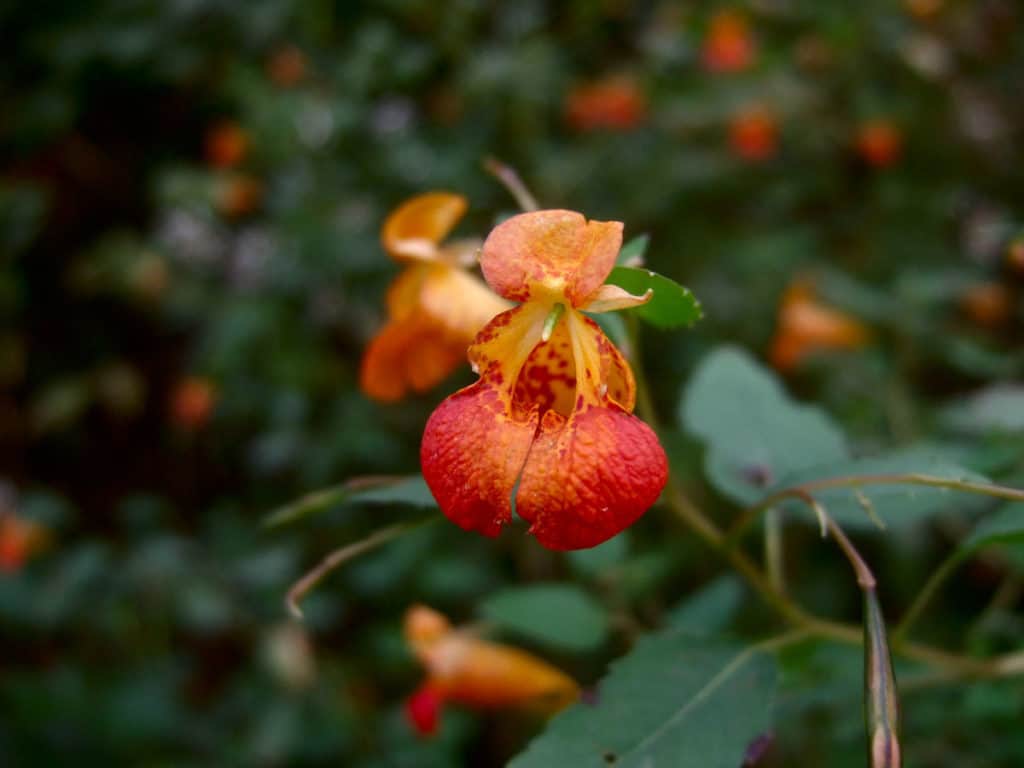
Jewelweed: Great for making soap for soothing poison ivy rashes.
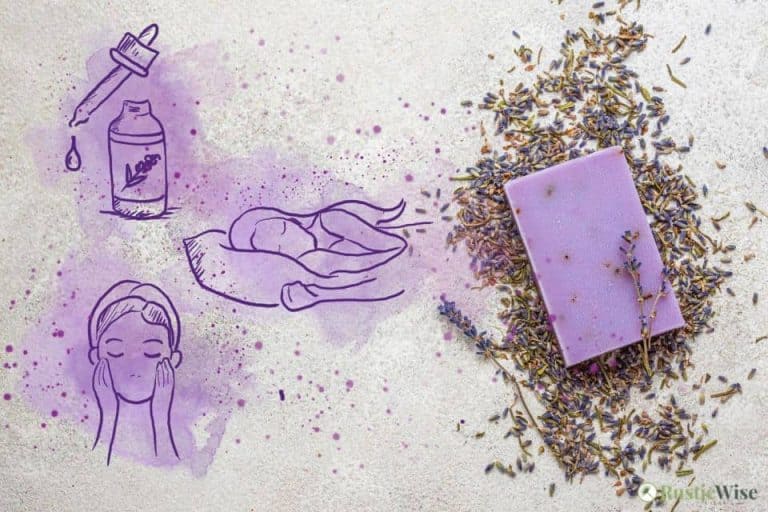
lavender: A perennial favorite in soapmaking, lavender offers many soothing and relaxing properties. Its petals are also great for incorporating in soaps.
Lemon balm: This plant looks similar to mint. Lemon balm is great for its calming and soothing properties.
Marigold (aka Calendula): With its brightly colored orange or yellow petals, marigold has calming and anti-inflammatory properties. Its petals lend a golden color to your infusion and soap.
Nettle: Infuse the leaves of nettle for a green color. Nettle has many benefits including anti-inflammatory properties for the skin making it a soothing addition to a bar of soap.
Peppermint: Cooling and refreshing—peppermint is a herb we can all get behind!
Plantain: While considered a “weed” to many, plantain has many amazing benefits. It tones and smoothes the skin, while also providing soothing agents for skin ailments like insect bites, poison ivy, and sunburn.
Rosemary: An invigorating scent with anti-inflammatory properties great for healing skin conditions like eczema, acne, and reducing swelling.
Rose: Used for its conditioning and softening properties, rose petals also help restore skin’s natural pH levels. Don’t expect your soap to smell like a bouquet of roses, however, if you’re making an oil infusion. The natural fragrance of rose petals doesn’t carry over much in the finished soap.
Violet: Coveted for its calming and soothing properties that also gently softens skin.
Yarrow: With its antibacterial and antiseptic properties, yarrow is great for adding to soaps to help with skin ailments like eczema. Both the leaves and flowers can be used for oil infusions. Bonus—its little white flowers are also nice for sprinkling on top of, or incorporating in soap.
Three ways of infusing oils for soap making
There are three main ways of infusing oils:
- Cold infusion: This old-school method involves a mason jar, the power of the sun, plus plenty of time.
- Hot infusion with a slow cooker: If you want to speed things up, the easiest way is to use a crock pot to add heat.
- Hot infusion with a stovetop: If you don’t have a slow cooker, you can still apply heat using your stove. You’ll just need to keep any eye on it.
Tip: If you don’t want to bother straining your infused oils after they’re done, you can place your herbs and botanicals into empty sealable tea bags. You can find these online or at specialty tea stores. Sealable tea bags work for both cold and hot infusions.
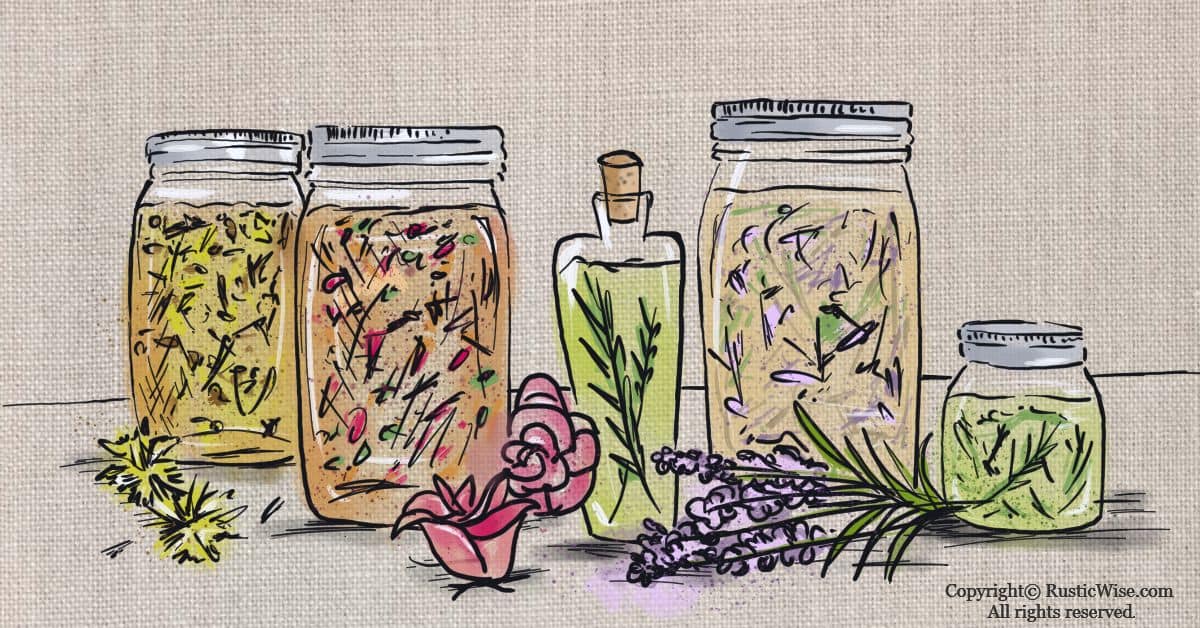
Cold infusion
This is the method that homesteaders have used for generations. This is a simple and easy method that doesn’t require much effort, but you’ll need to practice patience. Your homemade oil infusion may take several weeks until it’s ready to use.
You’ll need:
- Clean mason jars and lids
- Oil of your choice
- Dried herbs or botanicals
- Coffee filter or fine sieve for straining
Tip: If you’re using dried powdered herbs, you would use less than you would using dried whole herbals. Use roughly 2 tablespoons of powdered herbs per each 5 ounce (148 milliliters) of oil. For dried whole herbs, use roughly 1 tablespoon per 1 ounce (30 milliliters) of oil.
- Fill a clean glass jar with the herbs or botanicals of your choice, leaving a bit of room at the top.
- Pour the oil over the dried herbs until completely submerged. Pour enough oil to allow it to sit about 1 inch above the top of the herbs.
- Place on a warm sunny windowsill. It’s important to place in a sunny area as the infusion needs the heat of the sun to coax out the properties of your herbs and botanicals.
- Periodically shake and swirl your cold infusion jar. It should be ready in about 4-6 weeks.
- Once you’re satisfied with the infusion, strain it into a clean jar using either a fine sieve or coffee filter. You may need to strain more than once.
- Remember to label the contents!
- Store in a dry, dark, cool place.
Sun infusions are prone to mold growth if you’re planning on using fresh herbs and botanicals. To stay on the safe side, stick with the dried stuff!
Hot infusion (using slow cooker)
The easiest way to make a quick oil infusion is to use a good ol’ slow cooker.
If you’re planning on making a large batch of one type of oil infusion, you can place your herbs and botanicals directly into the crock pot.
This isn’t an exact science, but a general guideline is to use roughly one tablespoon of herbs/botanicals per each ounce of oil.
- Place your dried herbs into a slow cooker.
- Add your oil and use a spoon to mix.
- Place the lid on the slow cooker.
- Set the heat to “low” or “warm.”
- Depending on your preference, you may choose to let it cook for 4-8 hours.
- Once your infusion is ready, strain (if needed) and pour into a heat-safe container to allow it to completely cool.
- Pour into an airtight glass container for storage.
- Remember to label your homemade infusion with the contents and date!
- Store in a dark, cool, place.
BUT, if you’re planning on making different types of oil infusions in one go, add your dried herbs and botanicals into individual glass jars as per the cold infusion method.
- Fill your individual jars filled with their herbs/botanicals and oil.
- Screw on each jar lid snugly and place into a slow cooker.
- Fill the slow cooker with about 2 inches of water.
- Place the lid on the slow cooker.
- Set heat to “low” or “warm.”
- Depending on your preference, you may choose to let it cook for 4-8 hours.
- Carefully remove each jar when done using a jar lifter or oven mitts. To prevent hot jars from cracking, set hot jars onto several layers of newspaper, cardboard, or dishcloths.
- Once your infusion is ready, strain (if needed) and pour into a heat-safe container to allow it to completely cool.
- Pour into an airtight glass container for storage.
- Remember to label your homemade infusion with the contents and date!
- Store in a dark, cool, place.
Hot infusion (using stovetop)
If you don’t have a slow cooker, you can still do a heat infusion with a double boiler or large pot. This method is kind of like water bathing in canning as you can heat up your individual jars of infusions all at once.
- Fill your individual jars filled with their herbs/botanicals and oil.
- Screw on each jar lid snugly and place into a large pot.
- Fill the pot with water until it reaches the bottom of each lid.
- Set heat to low and let it heat for about 2 hours. Unlike the slow cooker method where you can set it and leave, you’ll need to keep a careful eye on your stovetop infusions.
- Carefully remove each jar when done using a jar lifter or oven mitts. To prevent hot jars from cracking, set hot jars onto several layers of newspaper, cardboard, or dishcloths.
- Once your infusion is ready, strain (if needed) and pour into a heat-safe container to allow it to completely cool.
- Pour into an airtight glass container for storage.
- Remember to label your homemade infusion with the contents and date!
- Store in a dark, cool, place.
How to use your infused oil in making soap
To use your infused oil in soapmaking, measure according to the soap recipe. For example, if the recipe calls for 170 grams of olive oil, replace your regular olive oil with your newly infused olive oil concoction.
When doing a cold process soap, add oils as normal. When doing a hot process, add your infused oil after it is heated.
You can also use your infused oils in other personal care products like ointments, balms, and lotions.
How long do infused oils last?
If stored properly in a dry, dark, cool place, longer lasting oils such as olive oil can last up to 2-3 years. Other oils like grapeseed have a shorter shelf life. Homemade oil infusions typically have a shelf life consistent with the type of oil carrier you used.
You can also try storing your oils in the fridge.
Discard your oil when you notice any strange discolorations, or aromas.


Author: Theresa Tesolin
Theresa is co-founder of RusticWise. She helps people unleash their inner DIY spirit by encouraging them to get dirty and make or grow something from scratch.