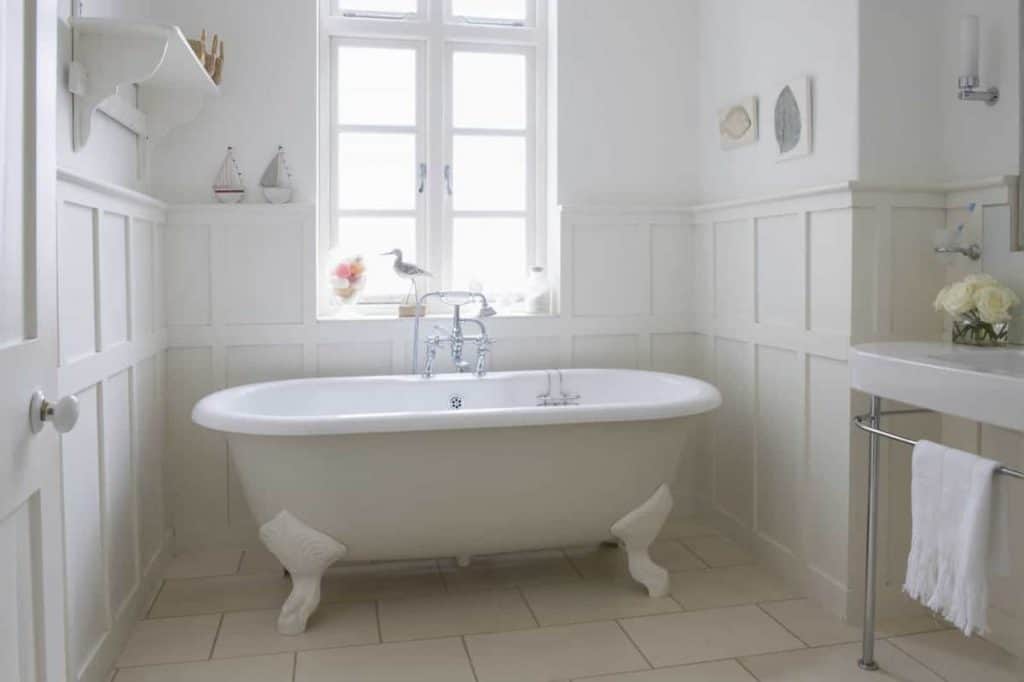
Easiest Way To Clean a Bathtub Using Vinegar, Baking Soda, and Soap
Enjoying a warm relaxing soak in the tub is one of life’s simple pleasures. But there’s nothing relaxing about grime and soap scum lining your bathtub. Don’t worry, we have a simple way to clean your tub with minimal elbow grease using simple ingredients you have at home.
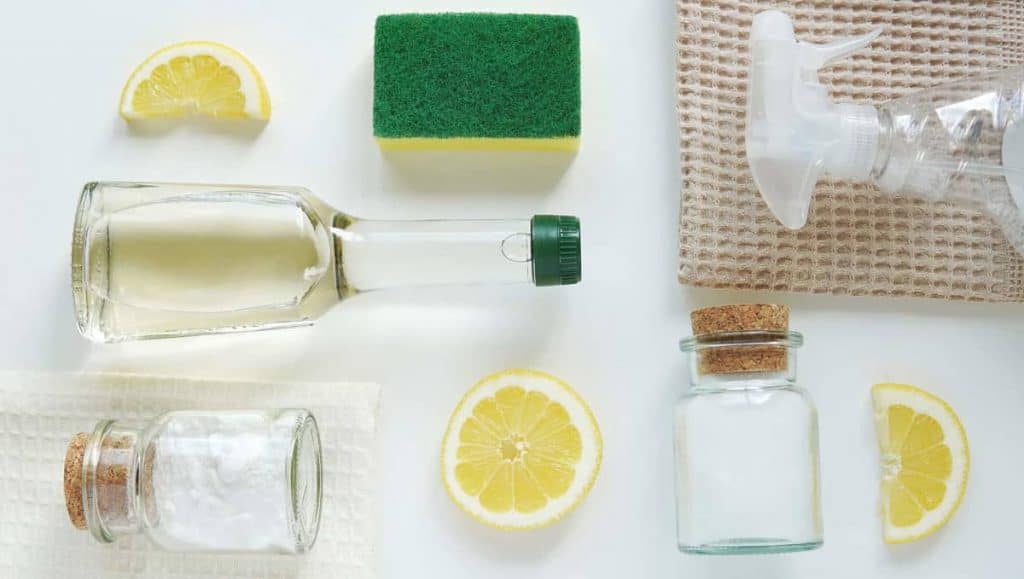
Before you roll your eyes at yet another online tutorial telling you to use vinegar and baking soda to clean bathtub stains, I’ll show you how to use these two cleaning agents properly. (Yes, there is a right way to do it!).
The easiest way to clean a bathtub is to use a diluted white vinegar spray. Let the cleaning solution sit for at least 30 minutes. Next, sprinkle baking soda directly onto the tub and let it sit with the vinegar for a few minutes. (Or you could sprinkle directly onto a damp sponge or cleaning cloth.) Scrub the tub. Rinse well. If any grime or greasy areas remain, follow with a dish soap or Castile soap spray.
Ready for a few simple steps to a sparkling clean tub? Let’s begin!
How these natural ingredients clean
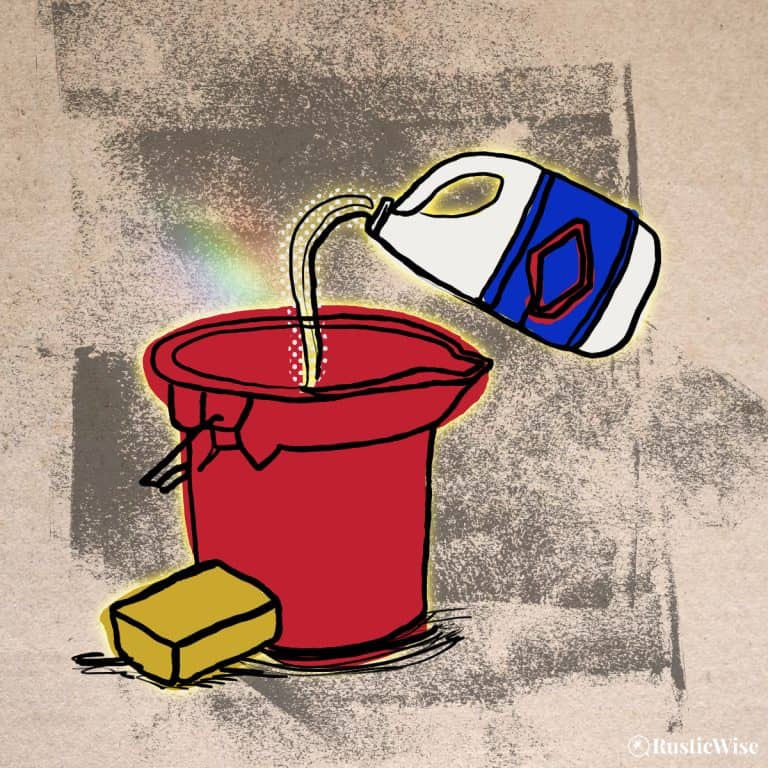
Sure, you could easily pick up a bottle of bathtub cleaner. But most commercial cleaners are full of harsh chemicals that you don’t want to get too cozy with.
Many commercial cleaners are abrasive, which can damage delicate surfaces, particularly acrylic bathtubs.
Besides, why waste money on a new cleaning product when you already have the cleaning ingredients in your pantry?
Baking soda: a mild abrasive
Sodium bicarbonate, commonly known as baking soda, is a “scratchless” abrasive that’s suitable for most surfaces.¹
If you’re wondering how to clean a dirty bathtub without scrubbing too much, baking soda is the answer to your prayers.
More than just a baking ingredient that makes your baked goods light and fluffy, it also is a natural alkaline cleaner. Here’s how this white natural salt works to clean:
- Removes dirt and grease.
- Neutralizes odors.
- Removes stains and brightens surfaces.
- Provides mild scrubbing action.
Vinegar: removes hard water stains and gently disinfects
Just so we’re on the same page, a simple bottle of white distilled vinegar is all that’s needed. (You can save your fancy apple cider vinegar or wine vinegar for cooking, pickling , or other DIY projects.)
The main cleaning component in vinegar is acetic acid. Most bottles of white vinegar you’ll find at the grocery store contain around 5 percent acetic acid.
As a natural acidic cleaner, vinegar helps clean in the following ways:
- Cuts through grease.
- Removes sticky buildup (from shampoo, shower gel, or soap residue).
- Removes hard mineral buildup (such as calcium and magnesium) and soap scum.
- Removes dirt.
- Removes rust.
- Gently disinfects.
While vinegar doesn’t kill all bacteria like bleach, it still removes most bacteria. It’s the preferred disinfectant cleaner for its non-toxic properties.
Tip: To get the most out of vinegar when cleaning hard surfaces such as bathtubs, let the vinegar sit for at least 30 minutes. This time is crucial to allow the acetic acid to work its magic and do the heavy lifting for you. Don’t skimp on the sitting time!²
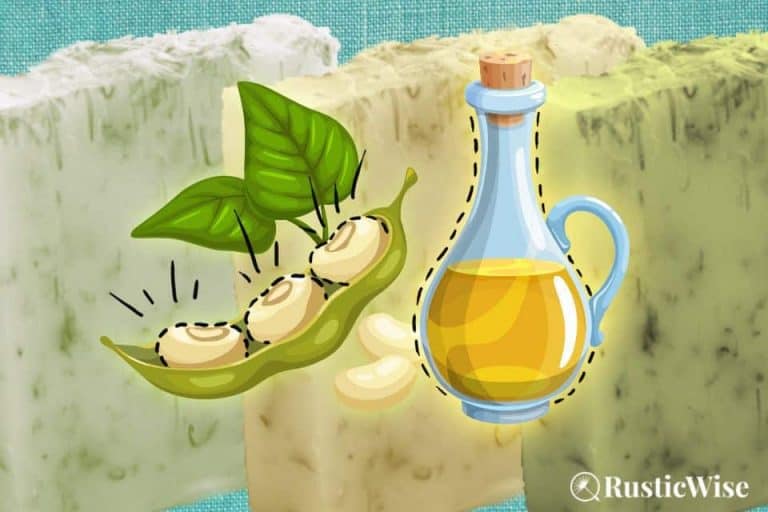
Castile soap: great for removing grime and grease
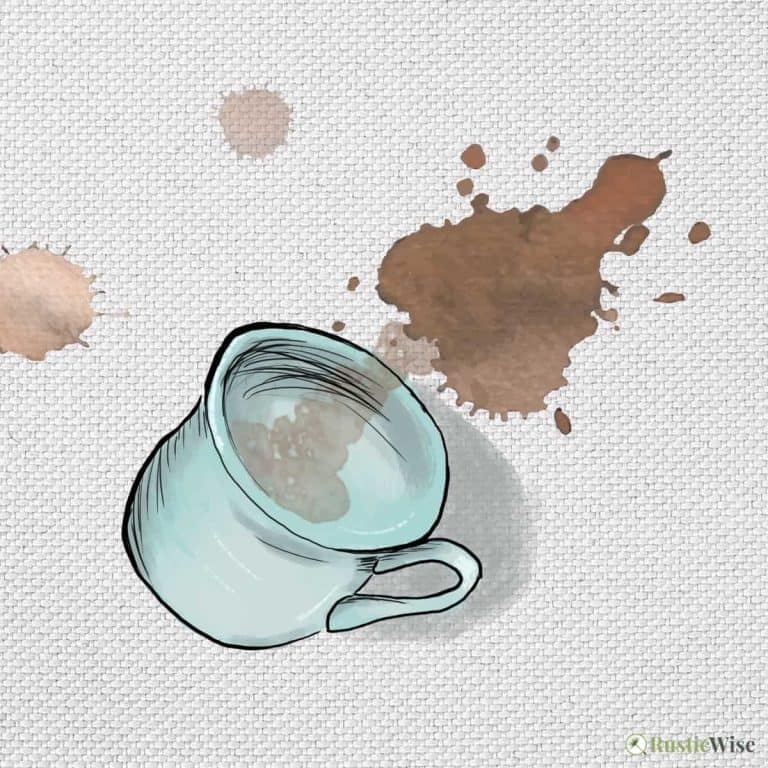
Depending on your bathtub (and the types of products you use), you may notice a dark, greasy film along the rim, or along the bottom near the drain.
Castile soap is a vegetable-based natural soap that’s great for lifting dirt and cutting through grease. If after using your baking soda and vinegar solution, you still notice some stubborn stains, make a simple soapy solution with Castile soap and water (see below for more details).
If you don’t have Castile soap, liquid dish soap such as Dawn also works. While some could argue that commercial liquid detergents contain chemicals (true), they are considered “mild soaps” in the cleaning world, and are certainly gentler than most bathroom cleaners.
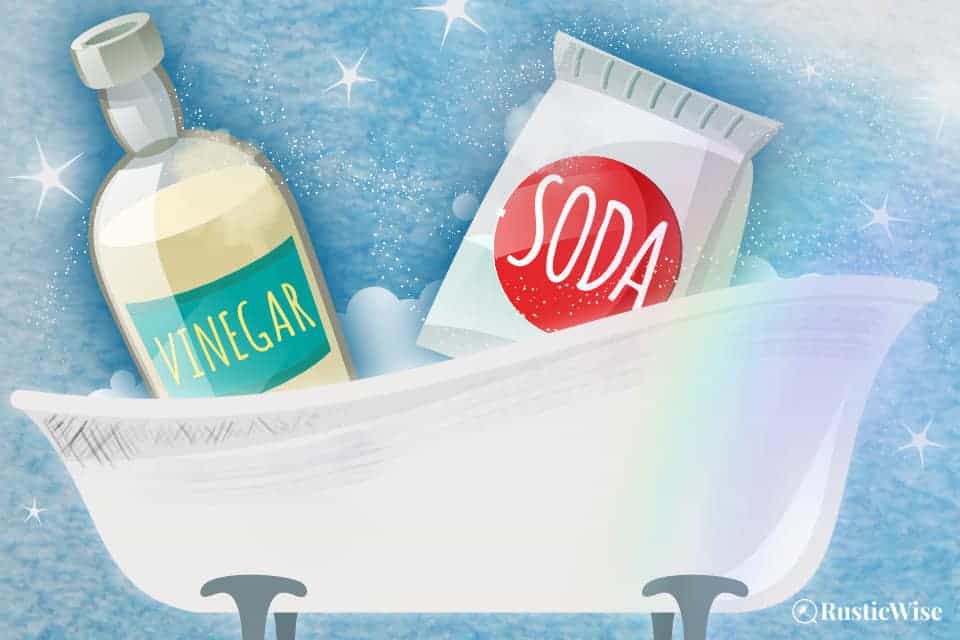
The proper way to use vinegar and baking soda
These two natural cleaning properties go together like peanut butter and jam. While these two ingredients are widely cited, there’s a lot of misinformation out there on how to properly use them together.
So, let’s set the record straight.
I’ll show you how to clean a tub with baking soda and vinegar properly.
Without going too much into the science of it, when you combine an acid (such as vinegar) with a base (like baking soda), a chemical reaction occurs—fizzing!
This fizzing and bubbling reaction boosts cleaning power. You want this fizzing to happen directly on the surface you’re trying to clean (in this case, a dirty bathtub).
If you pre-mix baking soda + vinegar beforehand, the reaction occurs in a bottle or bowl, rather than the soiled surface. When you pour a premixed baking soda and vinegar solution, it is essentially salt water and has lost much of its cleaning action.
So, it’s simple. Use sodium bicarbonate and vinegar one after another—don’t premix them together! In this case, we’re going to spray a vinegar solution first, followed by baking soda.
A few precautions with vinegar
Just because a cleaning solution is natural, doesn’t mean it can’t damage some surfaces. Although vinegar is a fairly mild acid, we will dilute it with water. So, what should we not clean with vinegar?
In general, do NOT use vinegar to clean the following surfaces:
- Porous stone surfaces such as marble.
- Sealed or painted wood surfaces.
- Unsealed grout may (or may not) get damaged. As the compounds in grout differ, always do a patch test first before applying vinegar.
- Cast iron or aluminum surfaces.²
What common materials are bathtubs made of?
There’s a wide range of materials used to make bath tubs. Here are a few common bath types:
- Acrylic tub: Plastic tubs are most commonly acrylic or fiberglass.
- Enamel tub: Cast iron coated with enamel (these are often classic clawfoot tubs). You’ll also find steel coated enamel bathtubs. Sometimes these are also referred to as porcelain tubs, as the bathtub is coated with porcelain enamel.
- Fiberglass tub: Lightweight and often less expensive than an acrylic bathtub or a porcelain one, fiberglass tubs are a popular choice.
- Cast polymer tub: These often are made to look like stone or marble and have a sealed coating.
Tip: Baking soda, vinegar, and dish soap or Castile soap should be safe to use on all the above tubs. Double-check your manufacturer’s instructions for more details on how to properly clean and care for your tub.
Bathtub cleaning tips
Before you jump right in, here are a few cleaning tips:
- Avoid overly abrasive cleaning tools (such as coarse wool scouring pads or pumice stones) which can scratch the surface of the bathtub. Stick with a soft sponge or cleaning cloth.
- Avoid harsh chemical cleaners, which can also damage bathtub finishes or seals.
- Let your vinegar solution sit for at least 30 minutes. This not only lets the solution break down dirt particles, it means using less elbow grease!
- Double-check your manufacturer’s manual to ensure baking soda and vinegar are safe to use!
The easiest way to clean a bathtub in 5 simple steps
Tailor your cleaning solution to your unique needs.
Supplies you’ll need:
- Vinegar solution (equal parts white vinegar and water) in spray bottle
- Baking soda
- Sponge or cleaning cloth
- Microfiber cloth (or similar)
- Soap solution (see below) in spray bottle
Step 1: Declutter tub
You can’t do a good job cleaning if there’s clutter everywhere! The first step is removing all shampoo bottles, bath toys, and other bath accessories aside. If it’s been awhile since your last cleaning, it’s a good idea to quickly dust the rim with a microfiber cloth.
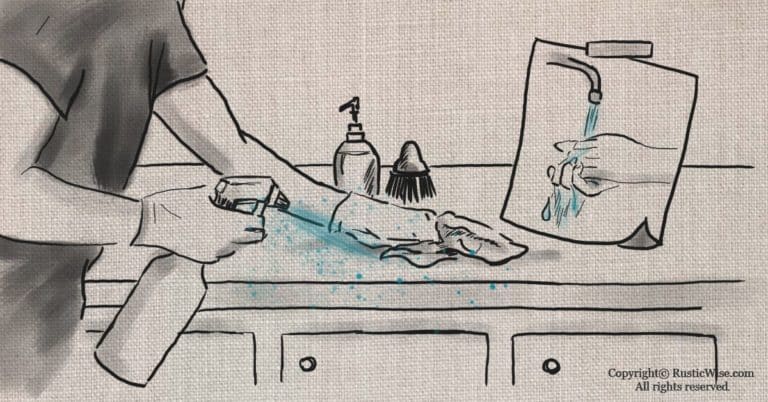
Step 2: Spray vinegar solution
Ventilate the bathroom. While vinegar isn’t toxic, some people are sensitive to its smell. Don’t worry about your bathroom smelling like vinegar—the smell soon dissipates.
Make a diluted white vinegar solution using equal parts vinegar and distilled water. Pour in a spray bottle and apply all over the tub, concentrating on areas with hard mineral buildup.
Vinegar is safe to use on stainless steel faucets, so go ahead and spray. (Avoid using on any aluminum or cast iron surfaces.)
Let the vinegar solution sit for at least 30 minutes. This allows the acetic acid to break down any oil or dirt compounds. This is important, so don’t skimp on this sitting time! Go read a book, or relax. If you’re feeling ambitious, you can clean other areas of the bathroom.
Cleaning tip: For mild stains 30 minutes of sitting should be enough. However, if you notice a stubborn stain, feel free to let the vinegar sit for a bit longer.
Step 3: Apply baking soda
Liberally sprinkle baking soda onto a damp cleaning cloth or sponge. Alternatively, you can apply baking soda directly around the tub.
Let the baking soda and vinegar sit for several minutes. Scrub gently to remove any soap scum, or mineral deposits.
If you prefer to use a scouring spray, we have an easy recipe for you.
Easy DIY Multi-Purpose Scouring Cleaner
You’ll need:
- 1½ cups baking soda (sodium bicarbonate)
- ½ cup liquid Castile soap (or liquid dish soap)
- ½ cup warm distilled, filtered, or boiled water
- Spray bottle, storage jar, or sealed container
Note: This cleaner is a bit on the thicker side, so I like to apply it directly to a damp cleaning cloth or sponge. But you could also use a spray bottle if you like.
- Combine the baking soda and warm water. Stir until all baking soda dissolves.
- Add liquid dish soap or Castile soap. Stir until well combined.
Step 4: Rinse well
Baking soda is notorious for leaving streaks behind. Use warm clean water to rinse the tub thoroughly. Avoid using cold water which doesn’t clean as well as warm or hot water..
Step 5: Follow up with a soapy spray (if needed)
To remove any lingering grease or soap film, make the following Castile soap solution. If you don’t have Castile soap, you can always use Dawn dish soap to clean your tub.
All-Purpose Cleaning Spray
- ¼ cup (60 milliliters) liquid Castile soap (or dish soap)
- 1 quart (1 liter) distilled water
- Optional: ¼ teaspoon of your favorite essential oil
Combine all ingredients in a spray bottle. Swirl to mix.³
This spray is safe for virtually all surfaces. Spray liberally around the bathtub and remember to rinse well!
Why I don’t recommend cleaning your bathtub with bleach
While chlorine bleach is an effective disinfectant that kills bacteria, it’s unnecessary to use it with routine cleaning of the tub. Bleach is a highly corrosive substance which can harm skin, eyes, and the mucous membranes.
As a harsh cleaner, bleach may also damage some tub materials and scratch surfaces with regular use. Some materials such as acrylic tubs are especially sensitive to chemical cleaners.
Plastic, metal, and rubber components in your tub are susceptible to bleach damage. For example, some bathtub drains or plugs are made of materials that may deteriorate with regular bleach use.
While cleaning a tub with baking soda and vinegar is the preferred method, sometimes, you might use bleach to combat mold.
If you’re going to use bleach, it’s important to remember a few bleach safety tips:
- Never mix bleach with ammonia or other acid-based cleaners! It creates a chemical reaction and releases toxic fumes.
- Always wear gloves and eye protection.
- Work in a well-ventilated bathroom.
- Dilute the bleach. A good dilution of household bleach is 4 teaspoons bleach to 1 quart of water. For larger batches, use 5 tablespoons of bleach to 1 gallon of water.
Related questions
How often should you clean your bathtub?
How often you clean your bathtub depends on how often it’s used and how quickly it gets dirty. Generally, if you use your bathtub daily, try to clean it at least once a week. However, if you use it less frequently, you can clean it every two weeks or once a month. At a bare minimum, you should give the tub a quick rinse with hot water after you’ve drained the tub to remove any bubbles or other residues.
To keep your tub in good condition, it’s important to remove any soap scum, mildew, or hard water stains as soon as possible to prevent them from building up and becoming tough stains. Regular cleaning not only keeps your bathtub looking clean and fresh but also helps prevent the growth of harmful bacteria and germs.
What’s the best way to clean a shower curtain?
If your curtains are machine washable, remove the curtains and toss them into your washer on a warm cycle along with your regular laundry detergent and ½ cup baking soda. Adding a couple of clean white towels to the cycle helps to balance the load and prevent the curtains from snagging. Add ½ cup of vinegar during the rinse cycle.
Check out our article on cleaning mildew off of shower curtains.
Can you use vinegar to clean a jetted tub?
Yes, you can use vinegar to clean a jetted tub. It’s a natural and non-toxic cleaning solution that can effectively remove dirt, grime, and soap scum from the tub’s surface and jets.
To clean a jetted tub with vinegar, fill the tub with hot water so that the jets are covered by several inches of water. Add 2 cups of white vinegar. Turn on the jets and let them run for 15-20 minutes to allow the vinegar to circulate through the system.
Afterward, drain the tub and rinse it thoroughly with clean water. Repeat the process if necessary until the tub is clean and free of residue. This is a simple way to clean your jacuzzi and keep it running smoothly.
👉 If you like this post, see other Timeless Cleaning Tips You Need To Know. 🌟
Would you like more timeless tips via email?
Fun tips to help you live an independent, self-sustaining lifestyle. Opt-out at any time.


References
- University of Arkansas, Clean and Green Homemade Cleaners, https://www.uaex.uada.edu/environment-nature/water/quality/clean-green-homemade-cleaners.aspx. Accessed May 2023.
- National Sanitation Foundation (NSF), Reliable and Scientific Tips for Cleaning With Vinegar, https://www.nsf.org/blog/consumer/reliable-scientific-tips-cleaning-with-vinegar. Accessed May 2023.
- Dr. Bronner’s, Dilutions Cheat Sheet for Dr. Bronner’s Pure-Castile Soap, https://www.drbronner.com/all-one-blog/2017/06/dilutions-cheat-sheet-dr-bronners-pure-castile-soap/. Accessed May 2023.

Author: Theresa Tesolin
Theresa is co-founder of RusticWise. She helps people unleash their inner DIY spirit by encouraging them to get dirty and make or grow something from scratch.