Basic Hot Process Soap Recipe (With Moisturizing Properties)
Maybe the word “basic” has negative connotations nowadays. But to me, basic soap doesn’t mean boring. This basic hot process soap recipe is reliable and simple. It uses natural ingredients. Use this recipe as a base recipe which you can customize with your own favorite scents, additives, and colors.
Use this recipe as a stand-by and timeless classic you can return to again and again. Think of this basic hot process soap recipe as the plain, white t-shirt of your soapmaking arsenal. Or, the little black dress.
If you’re new to the world of soapmaking, this recipe gives you a good idea of how different oils work together. This recipe calls for olive oil, palm kernel oil (PKO), coconut oil (and castor oil as a superfat).
The combination of olive, PKO, and coconut oils creates a hard, shelf stable bar of soap with oodles of glycerin. Glycerin…oh yessss. If you have dry skin, this glycerin-rich soap recipe is for you. You’ll get natural soap with nourishing properties.
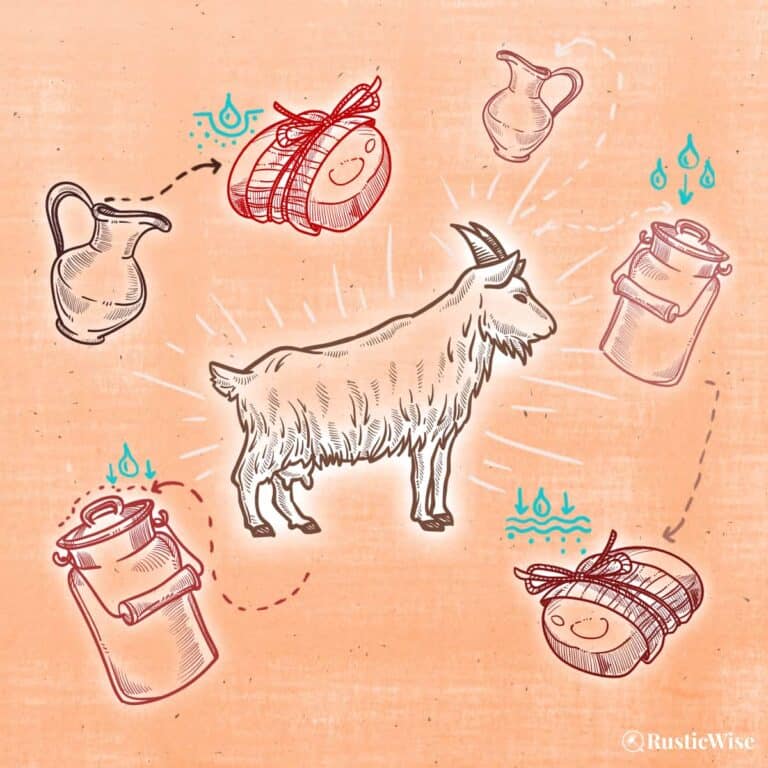
What’s the difference between hot process and cold process?
If you want to truly make a bar of homemade soap from-scratch, you’ll need to use either the hot process method, or cold process. Both methods require handling lye.
If the thought of handling lye frightens you, you could start off with melt and pour recipes which don’t require handling lye.
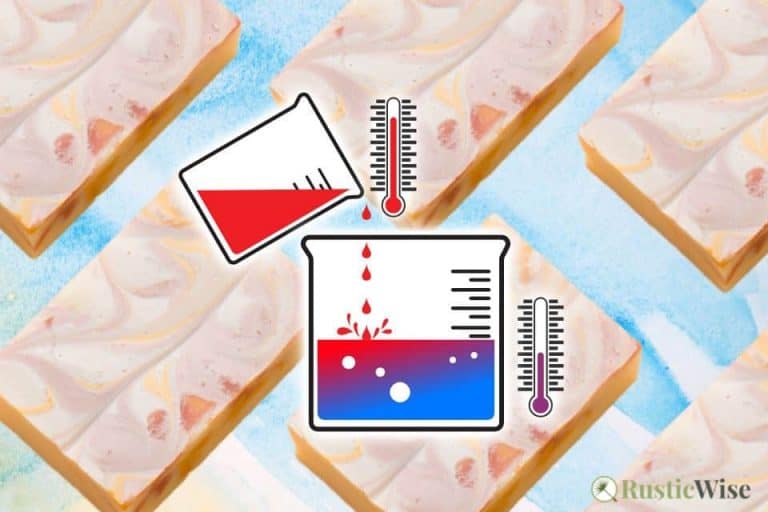
While there are a few differences between hot process and cold process soapmaking, the main one is the application of heat. Hot process soapmaking speeds up the saponification process by heating the soap mixture. This means you’ll heat the soap mixture until it’s neutralized before pouring into a soap mold.
The benefit of hot process soap recipes is quicker curing time. Technically, a bar of hot process soap can be used once it’s hardened (great for impatient people like me!). BUT, if you give it a week, your bar of soap hardens resulting in a better, longer lasting soap.
Cold process on the other hand doesn’t use heat. Soap batter is poured into molds and requires a curing time of 4-6 weeks to harden.
Supplies and ingredients
If you’re ready to get started, let’s round up a few supplies and ingredients.
Supplies
- An old crockpot or slow cooker: While there are many different sizes, for this recipe, it’s best to use a 3 1/2-quart slow cooker. Don’t use anything smaller for this recipe as you’ll need to allow for at least 2 inches of headspace at the top to account for any puffing, as is common with hot process soapmaking. Nobody wants an overflow of hot, caustic soap batter!
- Scale: An accurate scale that measures in ounces and grams is a must-have.
- Immersion (stick) blender: This makes mixing your soap batter so much easier. Ensure the blades are 100 percent stainless steel.
- Silicon spatula: Great for scraping out soap batter.
- Lye-safe mixing container: While some people like to use glass when making their lye solution, over time, the lye etches the surface leading to potential breakage. To be safe, stick with stainless steel, or heat-safe plastic.
- Safety equipment: Protective goggles, gloves, oven mitt, long-sleeves.
- Loaf molds (three 1-pound loaf molds, or something similar)
- Heat-safe glass measuring cup (Pyrex)
- Stainless steel or plastic spoons and mixing utensils
- An assortment of measuring spoons and cups
- Glass bowls to hold oils
- Old towels and rags for cleaning up any spills
- A bottle of white vinegar to neutralize any lye spills
If you’re new to soapmaking, check out our list of essential soapmaking supplies.
Ingredients
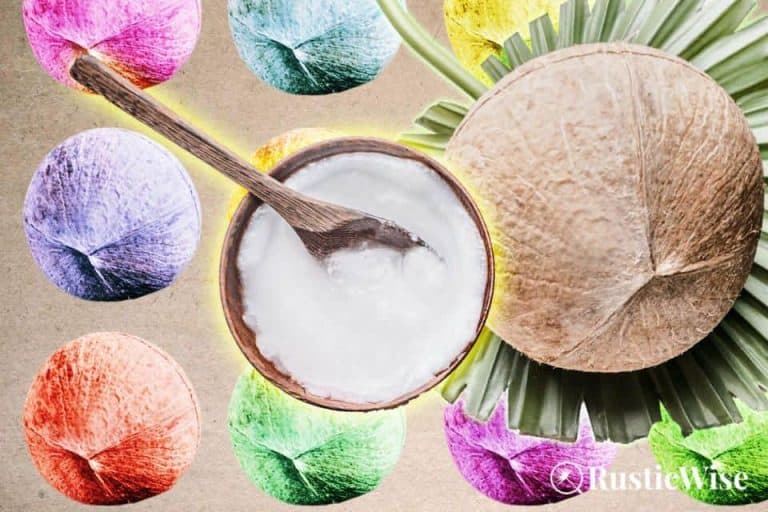
As we mentioned above, the unique combination of olive oil, PKO, and coconut oil creates a long-lasting, hard bar of soap with glycerin to spare.
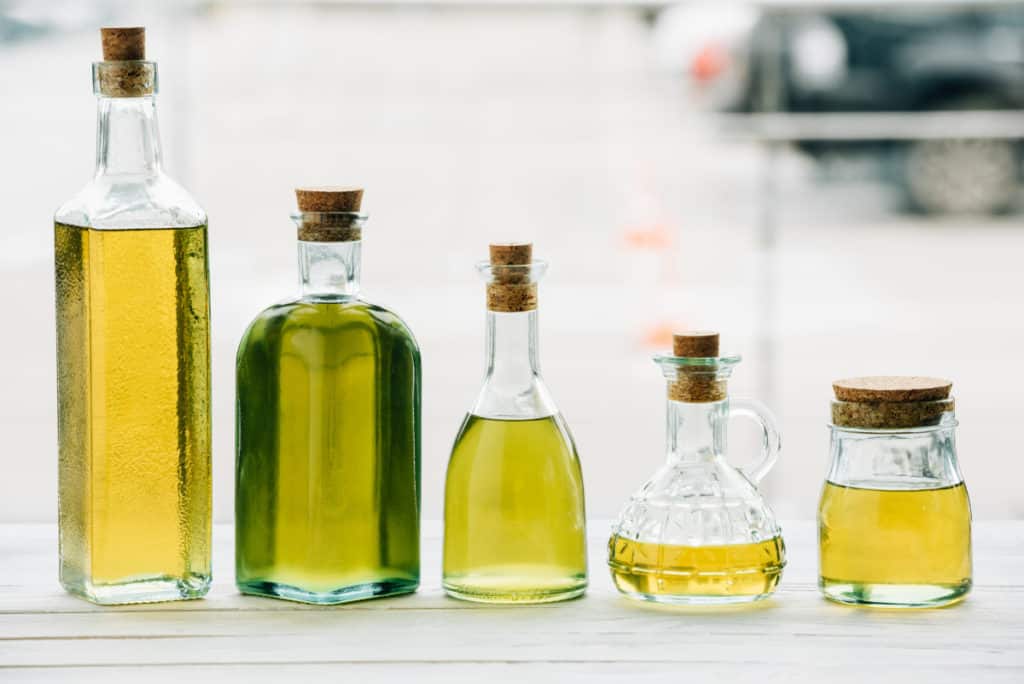
Credit: Deposit Photos
- Olive oil: A mild, moisturizing, and gentle oil high in vitamin E. Note that different grades of olive oil affect the finished soap. Higher grades of olive oil (such as extra virgin) result in a softer soap which takes longer to harden. Pomace olive oil may give your soap a slight tint of green, and makes for harder soap.
- Palm kernel oil (PKO): Adds hardness and when paired with coconut oil, adds a lovely, full lather to the soap. There’s some controversy with using palm kernel oil. Look for PKO that’s RSPO-certified to ensure it’s made from sustainable and ethical sources. If you don’t want to use palm kernel oil, you can try substituting it with a similar oil such as babassu oil.
- Coconut oil: Adds hardness with great cleansing properties, and produces a strong lather. Look for “pure” or “refined” on the label. Most coconut oils are 76 degree (the melting point) which works fine for this recipe.
- Castor oil: Adds a stable , bubbly and creamy lather with cleansing properties.
- Lye: This recipe uses sodium hydroxide (NaOH). If you’re new to soapmaking, ensure you read up on lye safety first. Lye is a caustic alkali that can eat through clothes, and cause damage to eyes, skin, and the respiratory system. Ensure you work in a well-ventilated room.
- Distilled water: For best results in your batch of soap, use distilled water. While some people may have high quality tap water that works, others may not be so lucky. Using hard water to make soap leads to impurities in your soap.
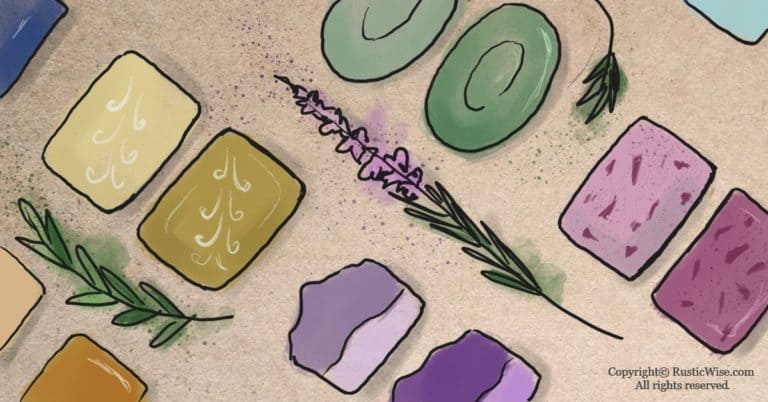
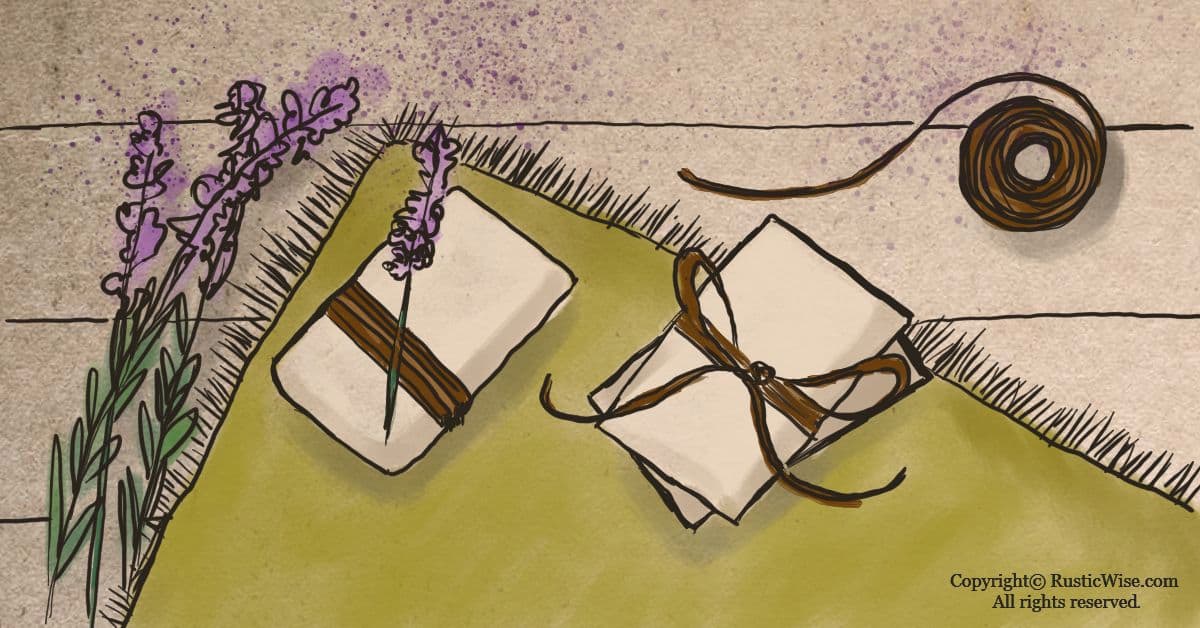
A note about colors, scents, and additives
Feel free to make this recipe plain and simple as is, or add a few drops of your favorite essential oil, or other add-ins.
If you’re planning on adding any additives, do so after the cook time. Generally, you would add any colors first, then add scents afterwards.
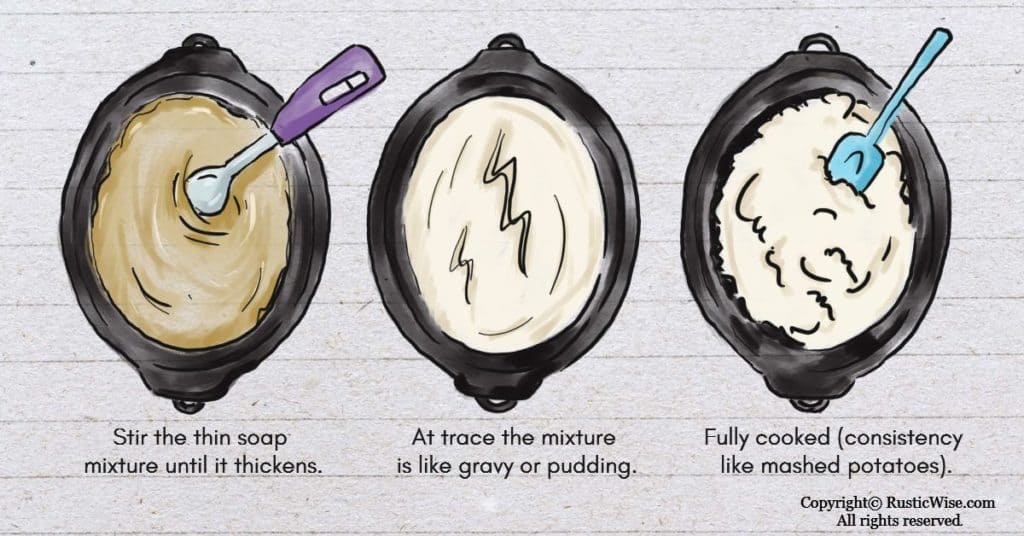
When adding colors, do so when the batter has reached a mashed potatoes consistency.
With hot process, it’s important to let the soap batter cool to under 180 degrees Fahrenheit (82 degrees Celsius) before adding your essential oils or fragrances. This helps retain the scent in the finished soap. Adding scents when it’s too hot makes the fragrance dissipate.
To double-check everything, it’s a good idea to run your numbers through a Soap Calculator first.
Basic hot process soap recipe with natural ingredients
This recipe is adapted from the book “DIY Artisanal Soaps: Make Your Own Custom, Handcrafted Soaps!” by Alicia Grosso.
This is a 2-pound batch recipe. It’s called a 2-pound recipe because it uses 2 pounds of oils. The 2-pound recipe actually yields roughly 3 pounds of soap.
Yield: 3 pounds (or around 12, 4-ounce bars)
Cook time: 3 hours
Oils:
- 21.3 ounces olive oil (1.33 pounds)
- 3 ounces palm kernel oil
- 10 ounces coconut oil
Lye mixture:
- 12 ounces water
- 4.5 ounces lye
After trace:
- 1 ounce castor oil (2 tablespoons)
- Optional add-ins (color, essential/fragrance oils, additives)
Tip: Before starting, prepare your work area. Keep the area well-ventilated. Cover your work surface, gather together all necessary ingredients and supplies. Keep small children and pets away!
- Measure olive oil, palm kernel oil, and coconut oil. Combine and melt in a slow cooker.
- Put your safety gear on! Prepare your lye solution by measuring water in a heat and lye-safe container. Measure lye. Slowly and carefully add lye to water (never add it the other way around!). The lye solution will get very hot.
- Allow the lye solution to cool while heating your oil mixture to 110 degrees Fahrenheit (43 degrees Celsius). When both lye and oils are 110 degrees, slowly add the lye mixture to the oils.
- Use a stick blender to stir to trace. Add castor oil.
- Set your heat setting to low, and cook for 3 hours in a slow cooker. Check on the soap mixture every 30 minutes or so. Check the pH periodically. When the soap batter is neutral, you can either leave as is, or allow the mixture to cool before adding fragrance and/or color.
- Pour into loaf molds. Allow soap to harden for at least 24 hours. Unmold, cut into bars, and store.
Note: While it’s safe to use hot process soap when it’s hardened, it’s best to cure it for at least one week. Curing makes for a harder, longer lasting bar of soap.
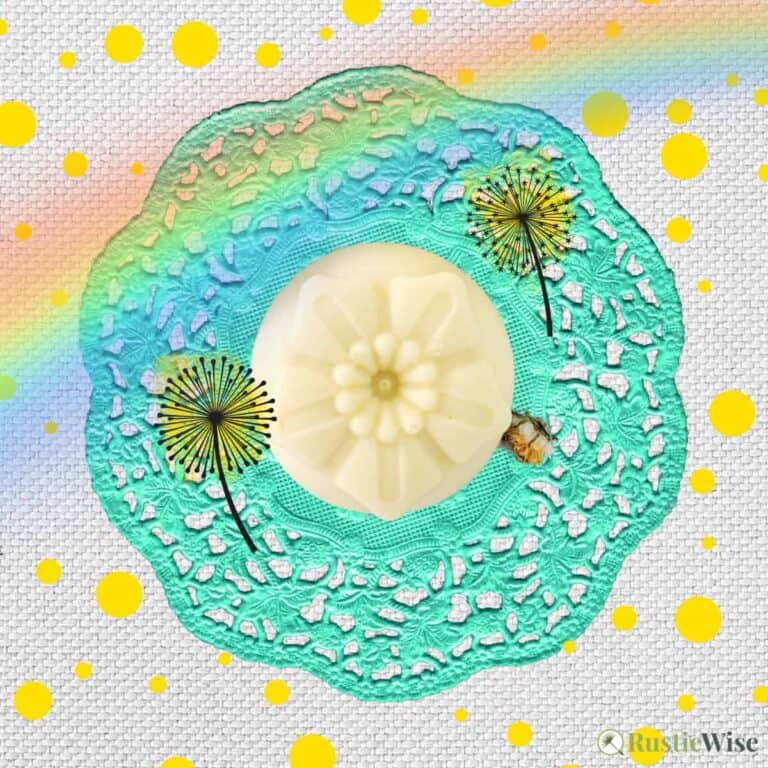
Enjoy your moisturizing natural soap!


Author: Theresa Tesolin
Theresa is co-founder of RusticWise. She helps people unleash their inner DIY spirit by encouraging them to get dirty and make or grow something from scratch.