17 Essential Soap Making Hacks and Tips for Beginners
There are a lot of viral videos out there about hacks for making cute soaps. This post is not about making cute soap. This is a roundup of soap making hacks and tips for beginner soapmakers to improve their craft. We’ve collected 17 tips on how to make your first few handmade soap making experiences smoother.
New to soap making? Start here.
Welcome to the wonderful world of soap making where you can add your own personal touch and creative flair to your own soap bars. You can kiss plain soap goodbye (unless you like plain soap, that is).
It’s important that you read up on lye (aka sodium hydroxide) safety if you’re doing cold process or hot process.
You might find a few of these posts helpful when starting out:
Is Homemade Soap Better For Your Skin?
What’s the Difference Between Sodium Hydroxide and Potassium Hydroxide for Soapmaking?
The Shelf Life Of Sodium Hydroxide Pellets (AKA Lye)
Is Sodium Hydroxide Safe To Use in Soap and Cosmetics?
Where To Buy Sodium Hydroxide for Soapmaking
Soap Making Supplies for Beginners: The Essential List
An Introduction To Melt and Pour Soap Making Techniques
A roundup of 17 soap making hacks for beginners
Ready to dive right in? Let’s do this! Here’s a list of soap making hacks we hope you’ll find useful as you begin your soap making journey.
Preparations and methods
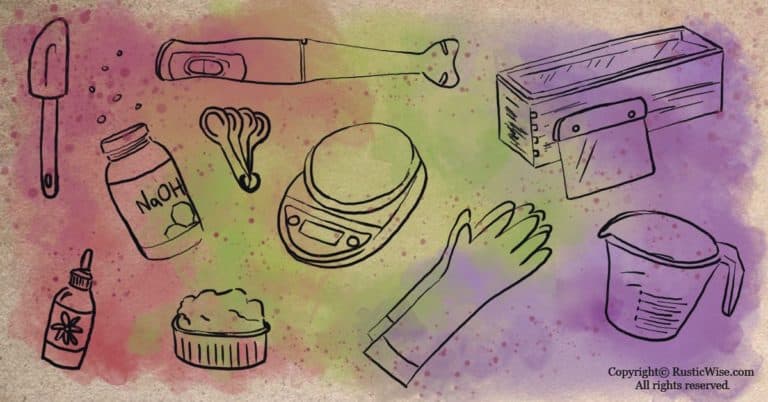
#1: Prep properly
An essential part of successful soap making is doing the necessary prep work. This includes:
#2: No cutting corners, measure precisely
Making handmade soap is part science, part art. Don’t undervalue the importance of accurate measurements of all ingredients. When soap making, an accurate scale is essential. While you don’t need to have the fanciest scale on the block, having a decent one that measures in both ounces and grams helps a lot. Preferably, your scale can measure to 1/10th of an ounce.
Remember to measure out any add-ins, colorants, and fragrances before you start soap making. Once you’ve mixed your lye, you’ve got to work fast!
Check out online lye calculators that help you determine the proper amount of lye based on the type and amount of oils you’re using:
Handcrafter Soap & Cosmetic Guild (HSCG) Lye Calculator
Brambleberry Lye Calculator
#3: It’s handy having either two thermometers or a temperature gun
Getting the temperature just right is an important step. It really helps if you have two thermometers: one for monitoring the temperature of your lye solution; the other for your oils/fats. Or, you could invest in a temperature gun.
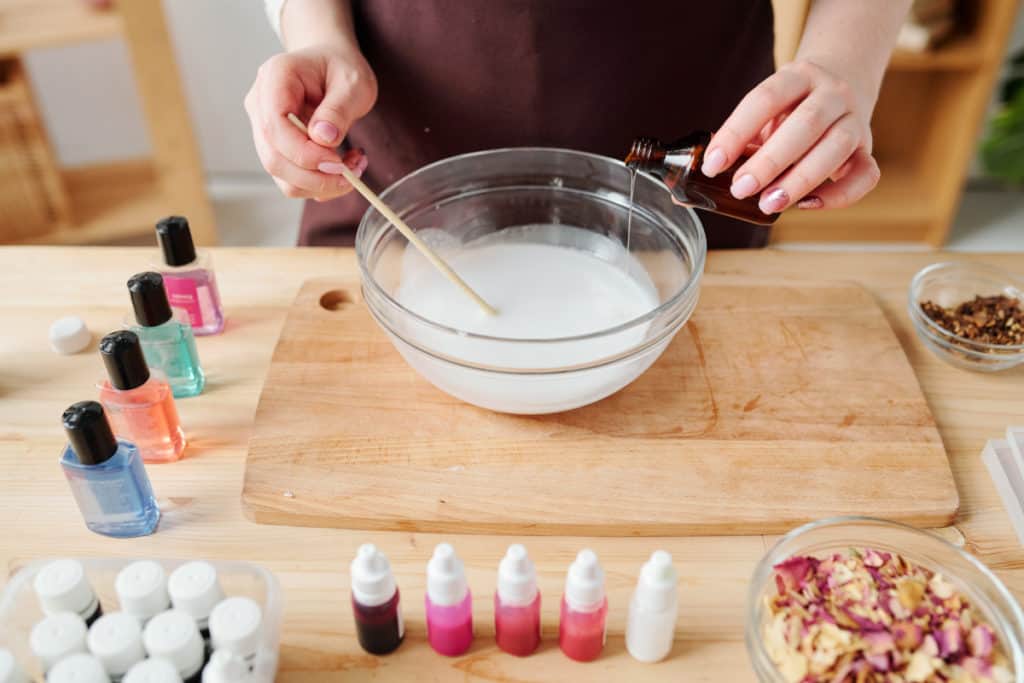
#4: Test out fragrances and colorants beforehand
While it’s tempting to dive right into soap making, it’s best to test out your ingredients before making a big batch of soap. Experiment with a few drops of colorants. Smell your essential oils. And remember that some fragrance oils or essential oils may add a slight coloring to your soap.
Molds
#5: Remember to prep your loaf molds
If you’re using a wooden loaf mold, remember to prep it beforehand by lining it with a freezer-safe paper, also called grease-proof paper. You can also find some silicone liners online. Silicone molds don’t require any prepping—easy!
#6: DIY molds
If you don’t want to buy soap molds, you can make your own by reusing, or repurposing old containers around the home.
- Silicone baking molds: Silicone molds are great as they make it easy to unmold soap.
- Clean milk cartons: The wax interior is perfect. No lining required, and you can rip away the paper carton once your soap is hardened.
- Pringles can: Same concept as the milk carton.
- Juice boxes: No lining required here either.
- A variety of plastic tubs, containers: You might have some old fast food takeout boxes lying around that can be repurposed into soap molds by lining them first with freezer paper.
Lye safety and handling
Lye is a corrosive alkali that can eat through clothing, harm your skin, eyes, and respiratory system. It is SO important to familiarize yourself with lye safety before you attempt to make your first batch of soap.
Always wear the appropriate safety equipment when handling lye, and work in a well-ventilated room. Keep all small children and pets away.
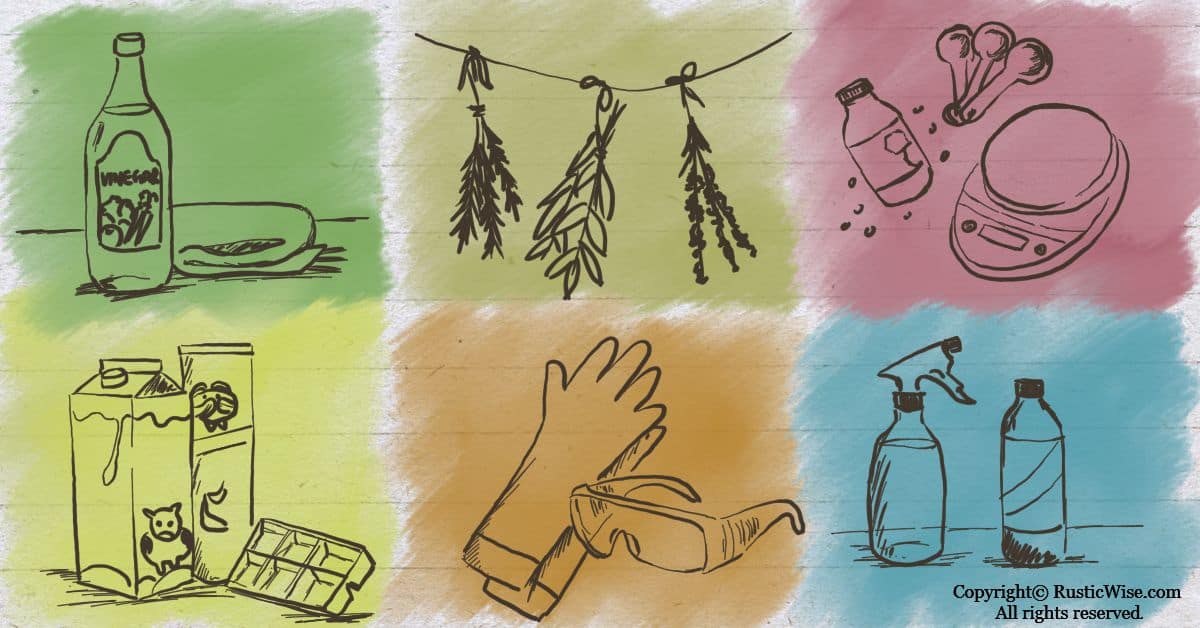
#7: Use vinegar to neutralize lye on surfaces (NOT skin)
During cleanup, it’s handy to keep an old cloth and a bottle of vinegar to do a quick wipe on your tabletop to neutralize any lye that may have gotten on it.
BUT…if you get lye on your skin, don’t apply vinegar to it. There’s some debate amongst soapmakers whether vinegar is safe to apply to skin to neutralize lye.
I would stick to the advice of medical professionals. Just use water, and plenty of it to treat lye burns on skin.
On a sodium hydroxide (lye) safety sheet from The New Jersey Department of Health, it says, “Quickly remove contaminated clothing. Immediately blot or brush off excess chemical and wash gently with large amounts water for at least 30 minutes. Seek medical attention immediately.”
#8: Add lye to water (never the other way around)
Yes, the order matters here. Always remember to add your lye flakes/pellets to water, and never the other way around. Mixing lye and water improperly causes an “eruption” and you’ll have a dangerous overflow of lye water all over the place.
Add your lye flakes slowly and carefully as it’ll create an exothermic reaction. Remember to have a mask on to prevent inhalation.
#9: Use heat-safe containers for your lye mixture
When mixing lye, don’t use glass (as this may break), or aluminum (this metal reacts poorly with lye). Use a silicone spatula as a mixing utensil. Use either a heat-safe plastic or 100 percent stainless steel container to mix your lye.
#10: Use pure lye only
Lye, or sodium hydroxide comes in many forms. One popular form of sodium hydroxide comes as a drain cleaner. Only use pure lye (with no extra additives) for soapmaking.
#11: Avoid touching your soap bars for at least 2 days
Cold process soap requires a long curing time, typically 4-6 weeks. For the first 48 hours after making your soap, avoid touching it as it’s still saponifying. Touching your bars of soap with bare skin may result in burns.
Ingredients and materials
#12: Use only skin-safe ingredients
Sometimes we get so wrapped up about a cool soap idea that we forget to consider whether it’s skin safe. That bar of handmade soap is going to go on your bare skin. This makes it so important that we only use ingredients that won’t irritate skin.
Avoid using colorants or add-ins that aren’t body-safe. This includes food coloring as dyes (have you seen how red food coloring stains your skin?!). Read up on the different properties of herbs, spices, and botanicals beforehand.
#13: Use fresh ingredients with caution
It’s a sad fact that many once-vibrant fresh flower petals, or citrus peels discolor or turn brown over time. And this is something nobody wants.
Any fresh herbs and botanicals in soap making may turn moldy or brown over time. It’s safer to stick with dried ingredients instead.
However, if you insist on using fresh ingredients, try puréeing, or making an oil infusion with botanicals which you can then add to your soap (cold process).
However, if you’re making melt and pour soap, it’s best to avoid using fresh purées altogether as it’ll drastically shorten the shelf life of your soap.
Tip: One rockstar flower that retains its color even in cold process soap making is calendula. Its bright yellow petals seem to retain their color even after undergoing saponification.
#14: Rubbing alcohol is your friend
Isopropyl alcohol, or rubbing alcohol is super helpful during soap making. Pick up a bottle of 99 percent isopropyl alcohol, and pour some into a spray bottle. Here’s a few ways to use rubbing alcohol during soap making:
- Spray the tops of soap after pouring in molds to prevent soda ash buildup in cold process.
- Spray between layers of soap when making layered soap using melt and pour. This helps ensure they adhere properly together.
- Spray a stir stick before using to create swirls in soap (melt and pour).
- Use rubbing alcohol to clean up.
Troubleshooting
#15: How to prevent soda ash
Some soaps develop a white, powdery coating on top. This is called soda ash. This is a natural and normal occurrence when lye in soap reacts with carbon dioxide. It doesn’t affect the safety of the soap, but it definitely affects the look of the finished soap.
This often occurs when soap is poured at thin trace. To prevent soda ash, ensure your lye mixture and oils are on the warmer side, above 100 degrees Fahrenheit (38 degrees Celsius).
Also, spray the top of your soap with rubbing alcohol to prevent soda ash from forming.
#16: Prevent soap sweating
Does your soap look kinda…sweaty? Soap sweating is pretty common, actually, especially when using a glycerin soap base. Glycerin is a humectant which means it absorbs and attracts moisture. Your bar of soap may develop beads of moisture.
The easiest way to prevent this is to wrap your soap in plastic wrap. However, we know that not everyone is a fan of plastic.
So, if you don’t want to use plastic wrap, try this:
- Put your soap bars in an airtight container with rice or silica beads for a few hours. This helps absorb any moisture. Remember to remove your soap after a few hours, or it’ll dry out.
- Try using a dehumidifier if you have one handy. This is really handy if you live in a humid area.
- Use a fan to blow over your finished soaps.
And finally…
#17: It’s okay to procrastinate when it comes to soap clean up
If you tend to procrastinate like me, you’ll be happy to know that you can put off the clean up process for a few days after you’ve finished making your soap. (That is, if you have a designated soap making area, and can safely leave your soap making gear in the open). This lag time allows the lye and oils to saponify. What you’re left with is actual soap on your equipment making it a cinch to clean. Wait between 3-5 days for cleanup if possible.
New to making soap? 🧼❓
👉We have a fantastic overview on the whole soapmaking process here: read our Timeless Guide To Soapmaking.
If you would like to see our soapmaking posts organized by topic type, see our Soapmaking Collection.
Would you like more timeless tips via email?
Fun tips to help you live an independent, self-sustaining lifestyle. Opt-out at any time.


References
- Handcrafted Soap & Cosmetic Guild (HSCG), Lye Safety,https://www.soapguild.org/how-to/make-soap/lye-safety.php. Accessed February 2021.
- New Jersey Department of Health, Hazardous Substance Fact Sheet, Sodium Hydroxide, https://nj.gov/health/eoh/rtkweb/documents/fs/1706.pdf. Accessed February 2021.
- Soap Queen, Explaining and Preventing Soda Ash, https://www.soapqueen.com/bath-and-body-tutorials/tips-and-tricks/explaining-and-preventing-soda-ash/. Accessed February 2021.

Author: Theresa Tesolin
Theresa is co-founder of RusticWise. She helps people unleash their inner DIY spirit by encouraging them to get dirty and make or grow something from scratch.