How To Rinse Sprout Seeds
When it comes to sprouting seeds, rinsing is a vital part of the sprouting process. There are three main times when you rinse: the initial pre-rinse, the regular twice daily rinsing, and the final rinse before storage. We’ll show you how to rinse sprout seeds to ensure your sprouts grow healthy and stay free of harmful bacteria.
Sprouting seeds is a great and easy way to add a dose of healthy greens to your diet. You don’t need a bunch of space or fancy equipment to get started. Best of all, you can go from seed germination to eating your fresh sprouts in 5 days or less.
Why you need to rinse your sprout seeds
Rinsing (and rinsing well) is key to removing any harmful pathogens and bacteria, as well as unwanted debris. Just like other plants, sprouted seeds need moisture to grow. Rinsing regularly infuses your sprouts with water to grow healthy and tasty.
According to the Horticulture Department at Oregon State University, not only does rinsing provide much needed moisture for sprouts, it also helps to flush out “accumulated carbon dioxide and metabolic wastes and to provide adequate aeration and oxygen flow.”
The key to growing healthy sprouts is to keep them moist.
Too much water (or poor drainage) and the sprouts “drown” and may develop mold, or turn slimy.
Too little water and the sprouts dry out and die.
Aim for a Goldilocks ratio of not too wet, and not too dry, but just right.
When you need to rinse sprouts
There are three main instances when you need to rinse your sprout seeds:
- The initial pre-rinse: Prior to soaking your seeds, it’s important to rinse seeds thoroughly to remove any dirt, debris, and potential pathogens.
- The regular rinsing: This is perhaps the most important job to growing healthy sprouts—regular rinsing (and draining). Most sprouts require rinsing twice a day. Different sprouts require more three times a day, so follow the instructions on your seed packages carefully. Aim to give your sprouts a rinse in the morning and at night.
- The final rinse: When your sprouts are ready for harvesting, rinse well and remove any hulls.
What type of water to use when rinsing sprout seeds
When it comes to sprouting, not any old water will do. The quality of water you use to rinse your seeds should be of drinking quality.
For some, your local tap water may be fresh and clean enough. For others with hard tap water, you may need to use filtered or bottled water.
Just ensure that whatever water you choose to use is free of chlorine and other harsh chemicals.
We’re sprouting seeds here (and eventually eating them). Using poor quality water affects the health and taste of your sprouts. So give your sprout babies a healthy start by using clean water.
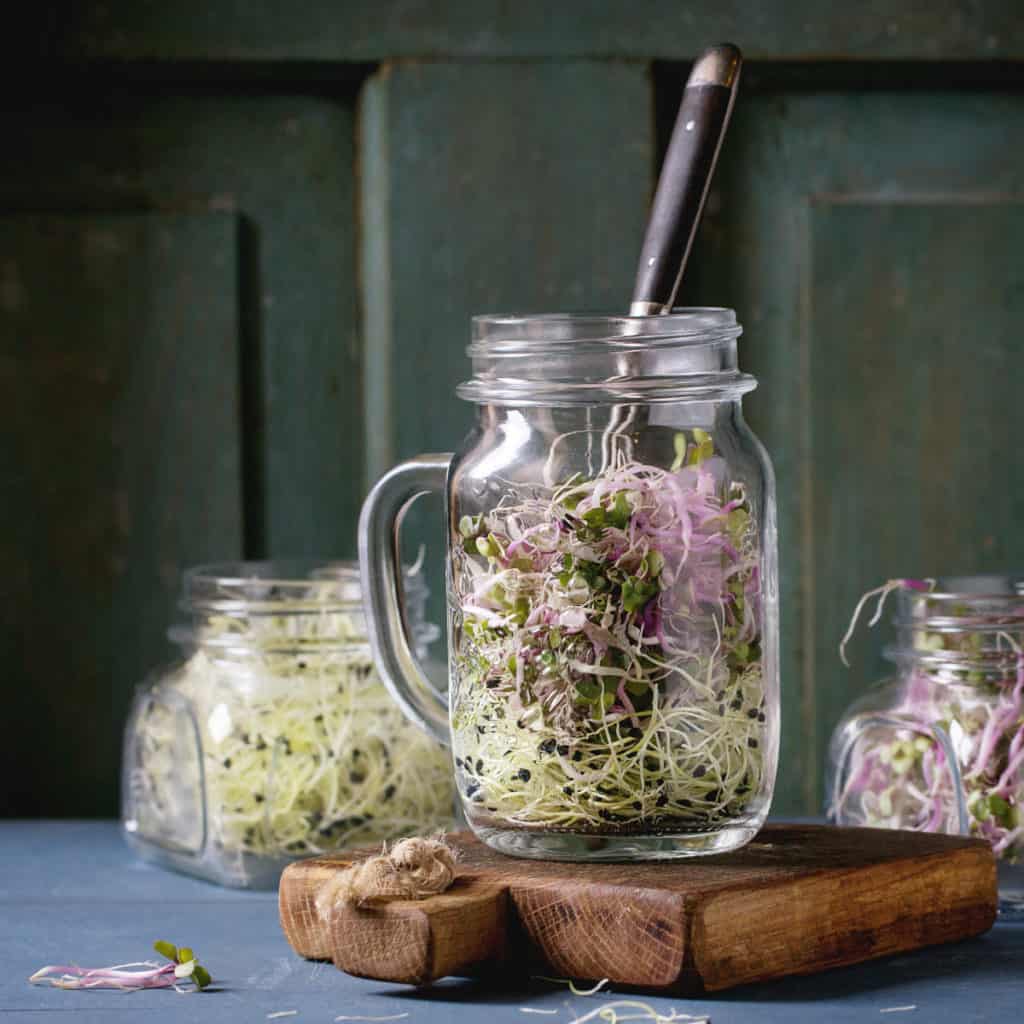
How to rinse sprout seeds: two different methods
There are two schools of thought we’ve heard from sprouters when it comes to rinsing: to rinse gently, or to rinse with abandon!
The sprouters who say it’s better to rinse gently believe it’s especially important to tread lightly during the first two days when sprouts are more delicate and forming to prevent damaging the young sprouts.
On the other hand, other sprouters think it’s better to have at’er! The more water the better!
We personally haven’t had any problems with sprouts breaking when rinsing, and we’re not particularly careful about it. But to each their own!
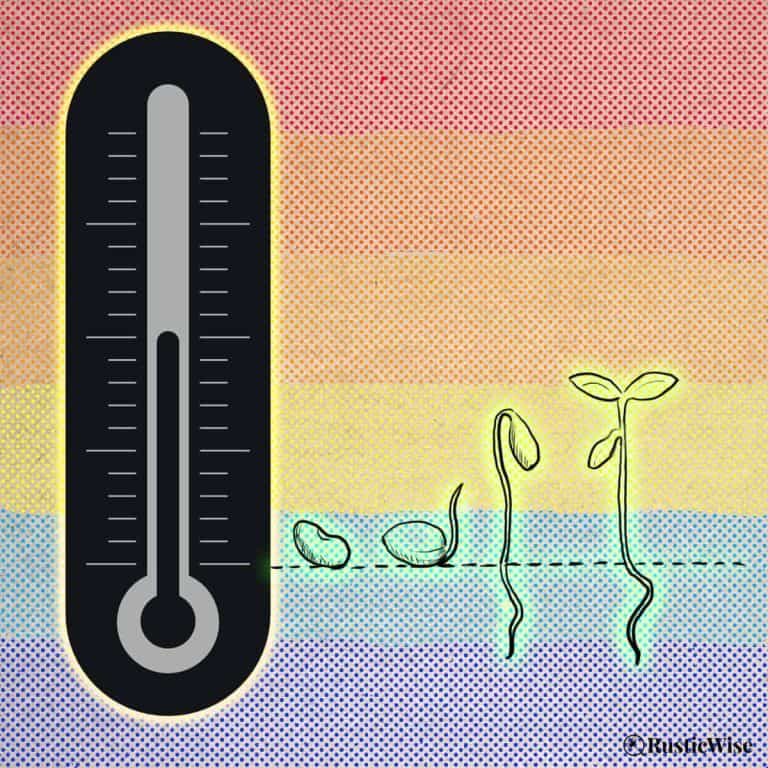
Tip: The main thing to remember is to rinse your sprouts thoroughly at least twice a day (or more depending on the type of sprout). Use cool water that’s between 60-70 degrees Fahrenheit (16-21 degrees Celsius). If you live in a warm climate, or if the temperature is above 77 degrees Fahrenheit (25 degrees Celsius), you may need to rinse three times a day. Or remove to a cooler room.
Sprayhead method
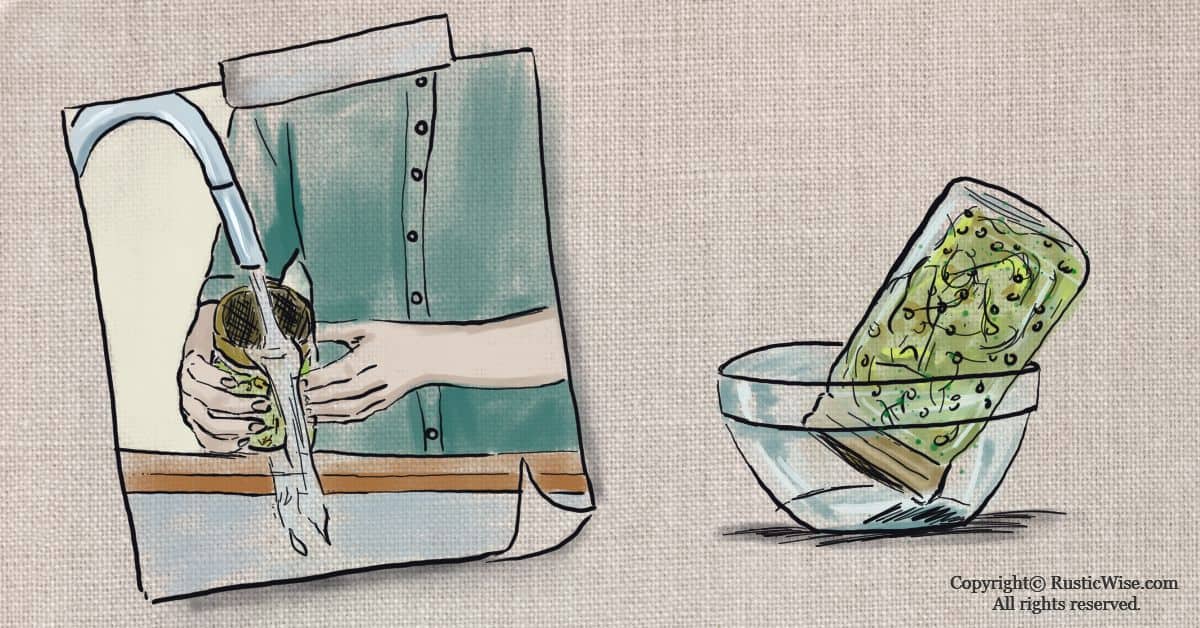
Probably the most common way to rinse your sprouts is using a sprayhead on your kitchen faucet if your tap water is suitable for use.
A sprayer works well to evenly disperse water and apply the right amount of water pressure. If you don’t have a sprayhead, no worries.
If you’re sprouting in a jar, there’s no need to remove the mesh covering or lid—you can rinse with it on so long as enough water is getting through.
Move your jar or sprouter around to ensure all sprouts get a good rinsing. This helps to rinse away any bacteria and also provides much-needed oxygen and moisture. Remember to properly drain.
Water immersion or “dunking” method
Depending on the type of sprouter you’re using, you may like to immerse or dunk your sprouts in water. Some people who grow sprouts in a hemp bag like to take the whole bag and submerge it in cool water.
Water passes easily through this type of bag. Just fill a clean basin with water and dunk several times. Allow the hemp bag to drain thoroughly by hanging the bag over the sink.
Why fill a small basin rather than a sink? Sinks are notorious for harboring germs, no matter how clean you like to think you keep it.
How to rinse gelatinous sprouting seeds
Some types of plants such as chia and flax have seeds which turn gelatinous during the sprouting process. This is normal. These are called mucilaginous seeds.
The mucilage, or gel-like substance, serves as a protective barrier around each seed and helps retain moisture. This is why they don’t require as much rinsing as other sprouting seeds.
Definition of mucilage
1: a gelatinous substance of various plants (such as legumes or seaweeds) that contains protein and polysaccharides and is similar to plant gums
2: an aqueous usually viscid solution (as of a gum) used especially as an adhesive

—Merriam-Webster
These types of seeds are a bit more difficult to grow. As the seeds absorb water, they form a gel “bubble” around each seed. Often, chia and flax aren’t grown in the same manner as other sprouting seeds—many home growers prefer to grow them on a paper towel, vermiculite, or on a terracotta tray.
Tip: Unlike other sprouting seeds, chia and flax seeds don’t require the twice or thrice regular rinsing. It’s recommended you give them a light mist of water instead. Sprouts are ready for harvesting in 2-3 days.
How to do the final rinse before storage
After a few days, your sprouts are ready for harvesting! Now to do the final rinse.
You’ll need:
- A colander
- A basin
- A large bowl to place the colander in
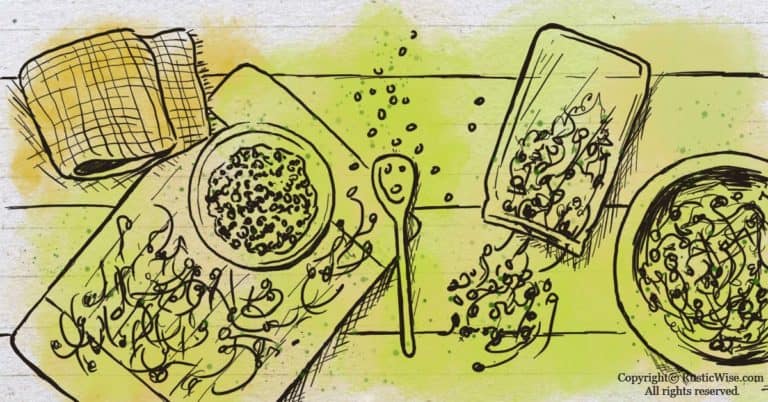
Fill a clean basin with cool water. Take a few handfuls of sprouts and gently swirl around in the water. This helps loosen and remove any hulls (the hulls float to the surface).
While hulls are edible, most people prefer to remove them from the sprouts.
Remove the clean sprouts and give them a rinse under running water. Place clean sprouts in the colander to drain further. Place a bowl under the colander to catch the dripping water.
Repeat until you finish cleaning your entire batch of sprouts.
Allow your clean sprouts to sit in the colander for several hours. You’ll be surprised at how much water continues to drain. To speed up the draining, try removing excess water in a salad spinner.
It’s important to allow sprouts to thoroughly dry before refrigerating as this extends shelf life.
Keep sprouts in a perforated plastic bag, or a container with air holes. Most homegrown sprouts keep well for a week or so.
The importance of proper drainage
We can’t forget to mention how important it is to thoroughly drain your sprouts after each rinse.
Sitting water becomes a breeding ground for harmful bacteria. If your sprouts are sitting in excess water, this leads to spoilage and possible mold growth. Your seeds may die or drown.
Which are all bad things, right?
So spin, tilt, or tip your sprouting device until your sprouts are thoroughly drained after EVERY rinse. Don’t get lazy with draining.
Happy sprouting!

Author: Josh Tesolin
Josh is co-founder of RusticWise. When he’s not tinkering in the garden, or fixing something around the house, you can find him working on a vast array of random side projects.

