How To Sprout Moth Beans 2 Simple Ways
This tiny, unassuming legume is surprisingly packed with protein. If you’re looking to add another source of plant-based protein to your diet, look no further than the humble moth bean, also called matki.
By sprouting this legume, you enhance the flavor, make it easier to digest, and help unlock the nutrients available. I’ll show you how to sprout moth beans two ways: using a sprouting jar or a colander. Either way will provide a nutritious source of homegrown food that’s ready to eat within 1–4 days.
Keep reading for step-by-step instructions on sprouting this bean, nutrition benefits, and how to eat them.
(Note: The terms moth bean and matki bean are used interchangeably in the article and refer to the same plant.)
A closer look at the moth bean plant
The moth bean plant (Vigna aconitifolia) belongs to the Fabaceae family, which includes many beans, legumes, and peas.
This low-growing plant that hugs the earth goes by many names, including muth beans, matki, Turkish gram, dew bean, or simply mat bean. The term “moth” comes from a Hindi word which is pronounced “mote” or “mat.”¹
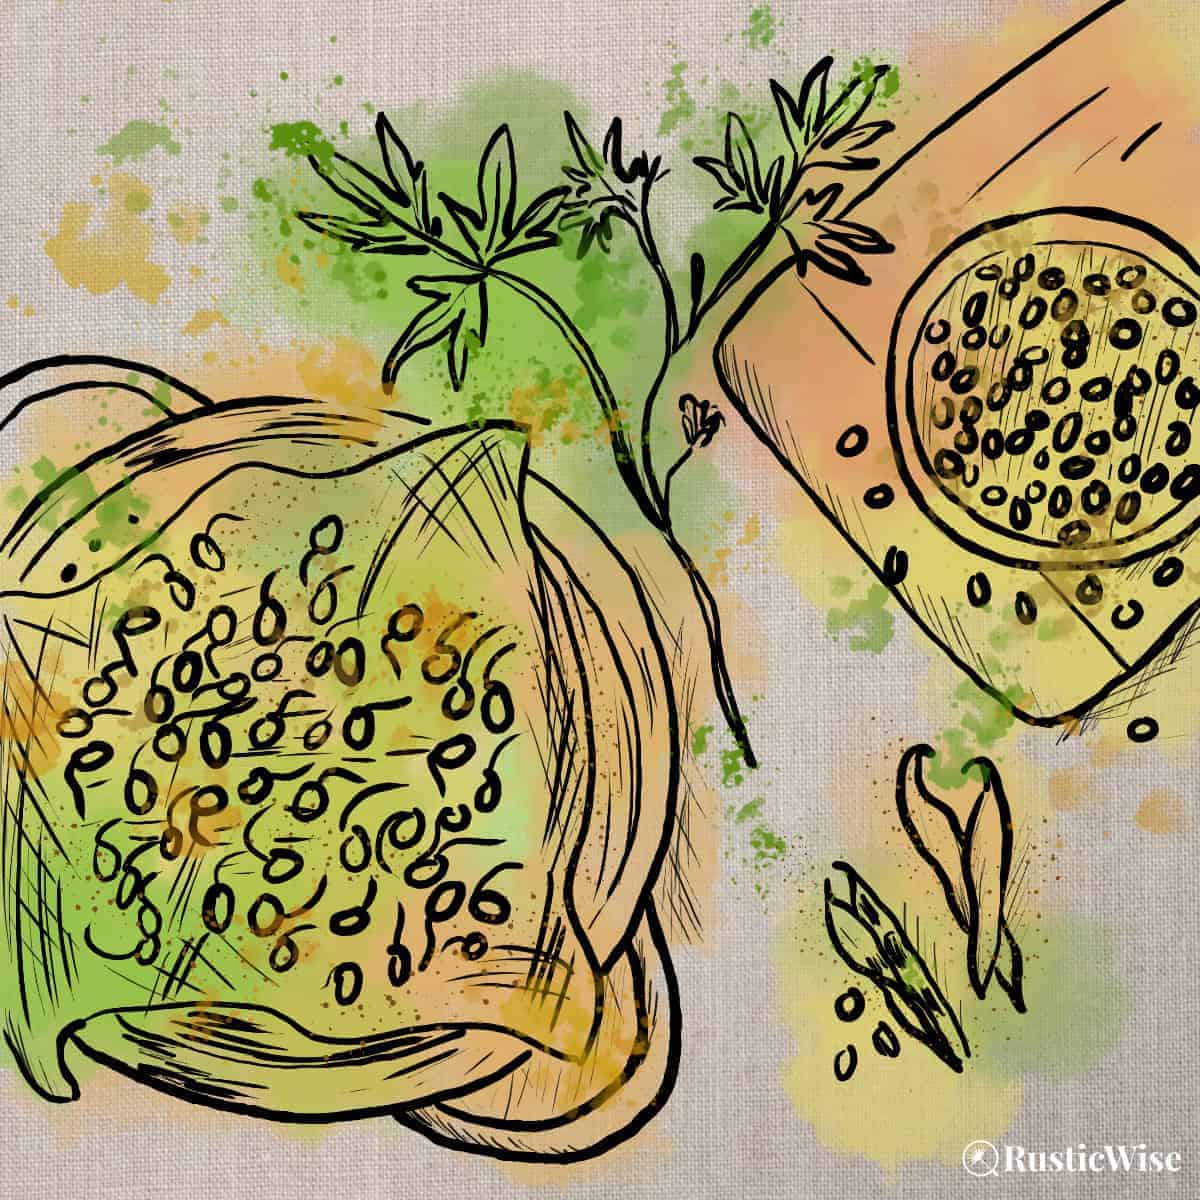
The drought-tolerant bean plant with yellow flowers thrives in hot, arid (and semi-arid) regions of South Asia, particularly India. Plants produce pods which contain anywhere from four to nine seeds, each roughly the size of a big grain of rice. The tiny edible seeds are light to dark, reddish brown.
Matki beans are considered a sustainable food crop and vital in combating malnutrition and hunger in underprivileged nations. The year 2016 was called the International Year of Pulses by the Food and Agriculture Organization (FAO) of the United Nations.²

Credit: Yay Images
What exactly is a pulse?
According to Harvard Health, there are differences between the terms beans, legumes, and pulses (even though many of us use these words interchangeably).²
A pulse refers to the edible seed from a legume plant. So technically, the moth plant is a legume, and the edible seeds are pulses. Other examples of pulses are lentils and peas.
A legume is any plant that falls under the Fabaceae family, which includes the foliage and pods. Many parts of legume plants are used to feed livestock, while the pulses are used to feed people.
What are sprouted matki beans?
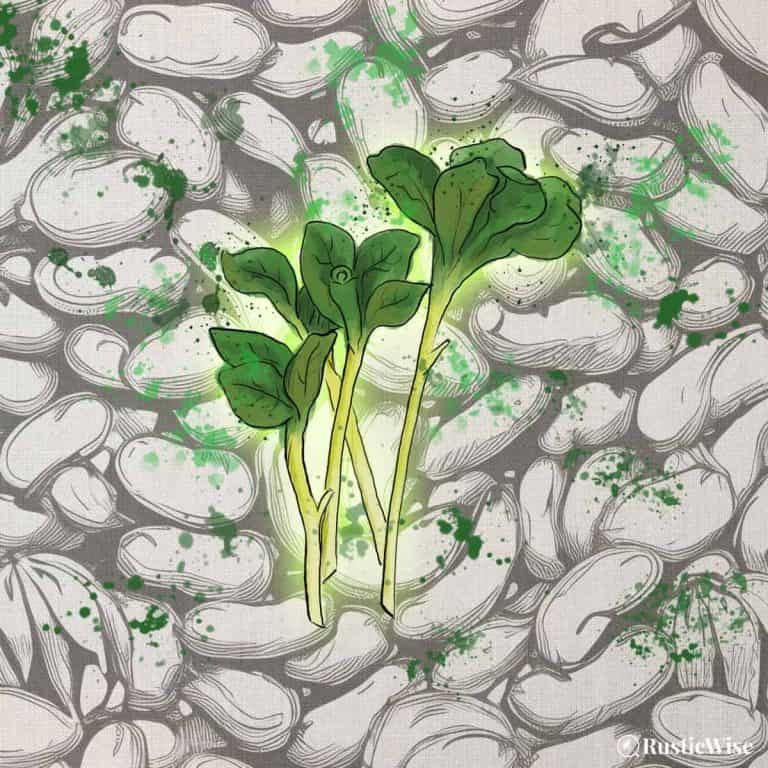
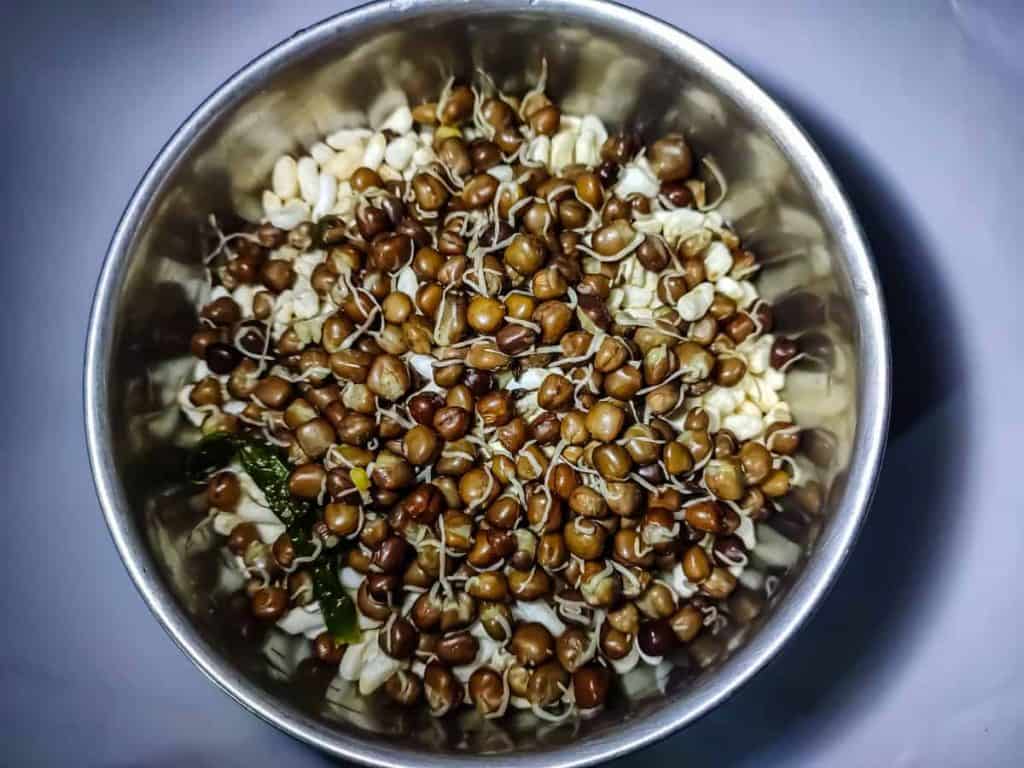
Matki sprouts are the edible seeds or pulses of the matki plant that have produced a young, short shoot. Many beans, peas, grains, and other vegetable seeds can be sprouted.
The sprouting process involves soaking whole, untreated seeds in water to coax the seeds from dormancy. They are kept moist under controlled conditions to produce tiny shoots. The moth sprouts can be eaten in as little as 1 to 5 days.
You can eat the sprouts raw, cooked, boiled, or parboiled.
Why sprout seeds?
There are many benefits to sprouting seeds. One of the main reasons people sprout is to make foods more easy to digest. Many grains and legumes are especially difficult for some people with digestive issues to eat.
When beans are soaked and sprouted, it helps to soften the outer layer of the seed. Seeds also contain phytic acid, an antinutrient that blocks absorption. The sprouting process helps to lower phytic acid levels which allows nutrients to be more easily absorbed.
With moth beans, sprouting helps enhance the flavor. It creates a more crunchy texture and adds a touch of sweetness.
This pulse is also a wonderful source of plant-based protein. If you’re not a huge fan of meat, you might be looking for ways to get more protein into your diet. You could turn to sources like tofu to get the protein you need, but beans are an excellent alternative.
Beans, including lentils and beans, are packed with protein and are incredibly easy to sprout.
Easy ways to sprout beans
There are two main (and easy) ways to sprout beans such as mung, or moth: in a jar, or in a colander.
Both methods produce tasty food using supplies most of us already have at home.
I’ve also heard of people using an InstaPot to sprout, but I haven’t tried this method yet (and not everyone has access to an InstaPot).
Here are a few tips to get you started:
If you’re new to sprouting, please check out our essential guide to sprouting at home for key safety and how-to tips.
- Get the moisture levels right: Seeds need moisture to grow, but not too much of it. The key is getting the rinsing and draining right (if using a jar), or ensuring the sprouts don’t dry out (if using a colander).
- Use fresh clean water: When growing something with such a short germination period, it’s important that you use clean water that’s of drinking quality, filtered water if possible. Using fresh clean water can make for tastier greens.
- Keep at room temperature away from direct sunlight: When sprouting, ensure you keep the sprouts somewhere at room temp. away from a sunny window. We often keep ours on a countertop in a dark corner.
- Air flow: Give your sprouts plenty of air circulation. These living seeds need air to breathe. Fresh air also prevents mold or bacteria from growing.
How to sprout moth beans 2 simple ways
Tip: Short sprouts taste sweeter, longer sprouts tend to taste more bitter with a tougher texture. Harvest when the taste suits your palate!
Credit: Deposit Photos
Method 1: Sprouting moth beans in a jar
Supplies you’ll need:
- 1-quart glass mason jar
- Sprouting lid or cheesecloth and rubber band
- ⅓ cup of raw, organic, untreated moth bean seeds
- Clean water (filtered)
- Small bowl to catch water
- Measuring spoons or cups
- Measure seeds: Portion out roughly ⅓ cup of seeds per quart jar.
- Inspect and wash seeds: Remove any debris or damaged seeds. Place the seeds in the jar and rinse with clean, cool water several times until the water runs clear.
- Soak: Ensure the seeds are fully submerged under water and let them soak for 8 to 12 hours, or overnight. This soaking period helps to activate the seed and soften the outer layer. Place a sprouting lid on, or fasten a piece of cheesecloth with an elastic band.
- Drain: Drain after soaking. Tip the jar upside down (with lid or cheesecloth on). Place jar upside down at a 45-degree angle in a bowl to encourage good drainage.
- Rinse and drain: After the initial soak, continue to rinse and drain the seeds with cool water at least twice a day, or every 8–12 hours. Keep sprouts at room temperature out of direct sunlight. Ensure you drain the jar well to prevent sitting water, which can cause sprouts to smell and grow mold or bacteria. Drain the bowl as well to get rid of excess water.
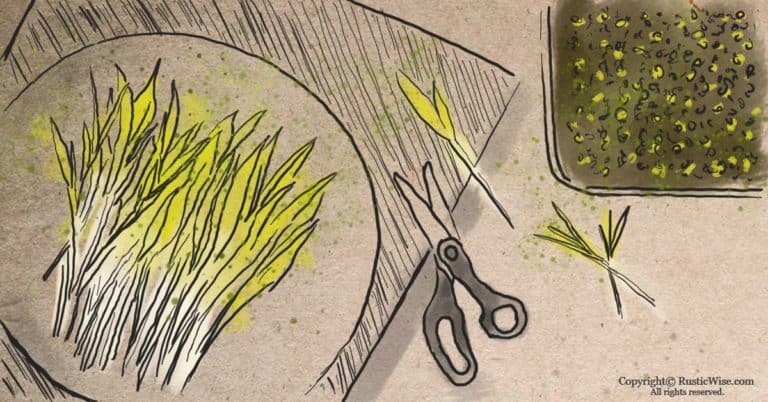
- Harvest: When growing moth sprouts, you can harvest as early as Day 1. Depending on how fast your sprouts are growing, you could also wait until Day 3 or 4. There’s no guideline set in stone on when you have to harvest—it’s best to harvest according to your taste preferences! When harvesting, give your sprouts one last rinse under cold water in a colander to remove any residue. Allow to drain fully, and pat dry.
Method 2: Sprouting in a colander
Supplies you’ll need:
- Colander or strainer
- ⅓ cup of raw, organic, untreated moth bean seeds
- Bowl or shallow dish to catch water drips
- Something that creates a gap between the two containers, such as an inverted dish (if your colander doesn’t have a stand on the bottom)
- Cheesecloth or muslin cloth
- A glass jar for soaking the seeds and a piece of cheesecloth and elastic
- Clean water (filtered)
- Measure seeds: Portion out roughly ⅓ cup of seeds. This is just a general guideline depending on the size of your colander. Adjust as needed so that you have enough seeds to lie in a single layer and have a bit of room to grow.
- Inspect and wash beans: It’s important to do a quick inspection and toss out any damaged beans and other debris. Place the beans in the jar and rinse with clean cool water several times until the water runs clear.
- Soak: Ensure the beans are fully submerged under water. Soak the beans overnight, or for 8 to 12 hours. This soaking period helps to coax the seeds from dormancy. Place sprouting lid or fasten cheesecloth on with an elastic band.
- Drain: The next morning, drain the soaked water by tipping the jar upside down. You can also rest it at a 45-degree angle inside a bowl for more thorough draining.
- Set up growing vessels: Place a small inverted dish between the strainer and the bowl. This allows for good air circulation. Moisten the cheesecloth or muslin with a bit of water (it should feel like a damp sponge). Line the colander with the dampened cloth. Spread a thin layer of soaked seeds on the cheesecloth or paper towel.
- Wrap seeds: Cover the seeds by folding loose ends of cheesecloth over them. Some people prefer to tie a knot. The seeds should be loosely enveloped in a “cocoon.” Add just enough cool water over the seeds to moisten them evenly. Allow excess water to drain (empty the bottom bowl).
- Water and drain: Continue to rinse the beans and drain twice daily. Feel free to have a peek at the seeds as they begin to sprout! If the room is warm, it’s important that the cloth be kept wet at all times so the sprouts don’t dry out. If the cloth is dry the sprouts should be soaked again in water.
- Harvest: Sprouts will be ready to harvest between Days 1 and 4.
How to store your sprouted matki
Refrigerate your harvested sprouts in a plastic bag or container until you’re ready to cook or eat.
Sprouts are best when consumed fresh, but with proper storage, moth bean sprouts can last up to 1 week. The key to storing sprouts is to give it some airflow, but not so much that it dries out. Some people like to wrap a paper towel loosely around the shoots.
I like to store my sprouted seeds in a yogurt container with a few small holes drilled in.
Moth Beans Health Benefits
Say hello to moth bean sprouts. They’re healthy, they’re tasty, they’re packed with protein, they’re easy to sprout, and they’re perfect for your salads, sandwiches, or snack time.
Here are a few nutritional facts of matki beans.
One cup of raw mature moth bean pulses contains a rich source of both soluble and insoluble dietary fiber:³
- Protein (45 grams) 90 percent DV
- Iron: 118 percent DV
- Calcium: 23 percent DV
- Potassium: 50 percent DV
- Phosphorous: 77 percent DV
- Vitamin C: 9 percent DV
When you include legumes as part of a healthy and balanced diet, they may help prevent various cardiovascular diseases, cancer, diabetes, and obesity. Eating legumes also promotes a healthy digestive system.²
Where to buy whole matki seeds for sprouting?
You can find matki at most local Asian or Indian grocery stores, as well as health food stores. You can also find them online. Look for organic, untreated whole moth beans for sprouting.
Using moth bean sprouts in the kitchen
This tiny and tasty bean is a mainstay in Indian and middle Eastern cuisine. You can eat them fresh, blanched, boiled, parboiled, or sautéed.
Here are a few ways to use these sprouted seeds to enhance your culinary dishes:
- Cold salads: You can sprout moth beans to add crunch and texture to salads or other dishes. Try using fresh cilantro (coriander) leaves.
- Curries: A few spices are all you need to make your own homemade curry dishes. Some good spices to have on hand are cumin, garam masala, garlic powder, tumeric, and chili powder.
- Soups: Savory soups and stews pair nicely with this legume’s nutty and earthy flavor.
- Stir-fries: Cooked with sautéed onions, these beans make a heavenly stir-fry companion.
- Dried and ground: Beans can be dried in a dehydrator and finely ground into flour.
👉 If you like this post, see our Essential Sprouting Guide: How To Grow Sprouts at Home. 🌱
Would you like more timeless tips via email?
Fun tips to help you live an independent, self-sustaining lifestyle. Opt-out at any time.


References
- University of Florida, BEAN, MOTH—VIGNA ACONITIFOLIA, https://edis.ifas.ufl.edu/publication/MV021. Accessed October 2022.
- Harvard Health, Legumes and Pulses, https://www.hsph.harvard.edu/nutritionsource/legumes-pulses/. Accessed October 2022.
- My Food Data (USDA), Mothbeans Mature Seeds Raw, https://tools.myfooddata.com/nutrition-facts/172425/. Accessed October 2022.

Author: Josh Tesolin
Josh is co-founder of RusticWise. When he’s not tinkering in the garden, or fixing something around the house, you can find him working on a vast array of random side projects.

