10 Ways To Make Soap Last Longer + Dry Out a Mushy Soap Bar
Whether you have a bar of homemade soap or a store-bought variety, soap bars have the tendency to wither away much too quickly. The good news is there are easy ways you can make soap last longer and keep bar soap dry. And if you have a bar of mushy soap, we’ll provide a handy hack on drying that sad, pitiful soap bar out.
Sales of bar soaps are on the rise, which is good news for those who care about reducing plastic packaging associated with liquid soaps.
The Bar Soap global market size was USD 2917.8 million in 2020 and is expected to grow to USD 3150 million by 2027 year-end, a compound annual growth rate (CAGR) of 1.1 percent.¹
Since it looks as if the humble bar soap is back and here to stay, we’ve rounded up several ways to make it longer lasting.
10 simple tips to make soap last longer
Tired of having your precious soap last only a few washes? Whether you use commercial soaps or make your own handmade soaps, read up on these tips.
1. Get it out of the water
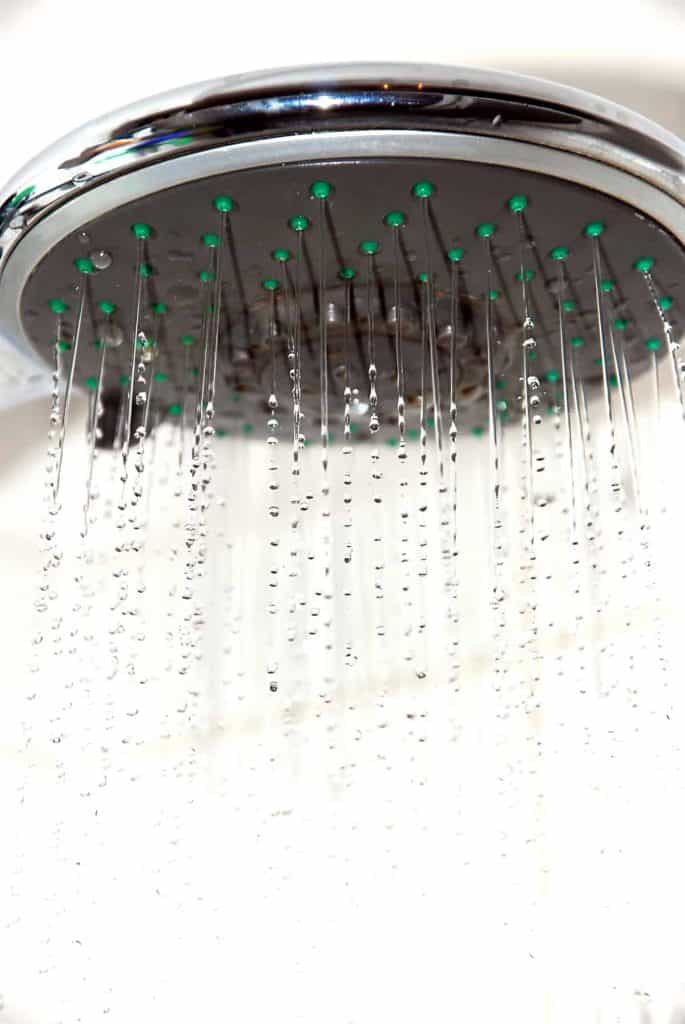
It goes without saying that if you’re storing your bar soap in the shower where it’s getting directly hit by a stream of hot water, it’s a bad spot.
Your soap is literally getting washed away and wasted every time you shower. The best place to store your soap is above your shower head (if you have a shelf handy, or a shower caddy), out of the direct shower stream, but still accessible.
2. Wipe dry after use
I use shampoo bars, and they last much longer when you give them a quick wipe after you use them. A washcloth works well to remove excess water. Just wipe the surface of the soap bar and you’re golden.
3. Allow to dry between uses
Most bathrooms are hot and humid—conditions that don’t make soap last longer. For better longevity, consider removing bars of soap from the bathroom to keep them dry between uses. By allowing the soap to dry fully, you’re maintaining a harder, longer lasting bar of soap.
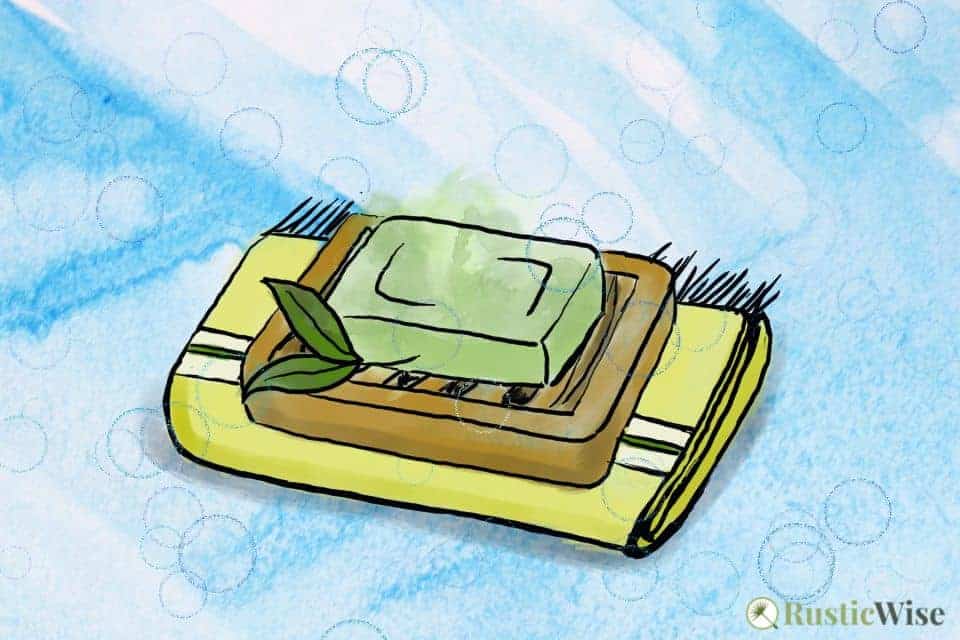
4. Get a better soap dish
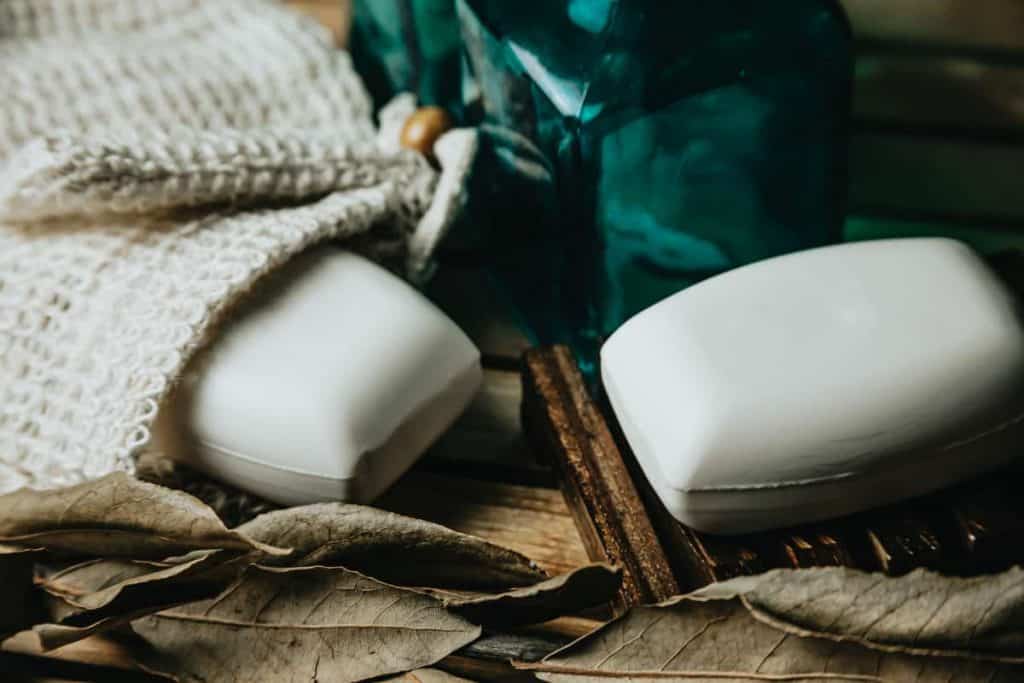
Don’t let your bar soap is sit in a puddle of water! Look for a soap dish that allows for decent air circulation so the bar can dry after each use. Some soap dishes have raised textured beds. Others may have a removable top rack that allows for drainage.
They don’t make soap dishes like they used to. I recently went on the hunt for a new soap dish with drainage, or at least one with a textured surface. After scouring several stores, I found a decent one that had a removable draining rack. I should have taken my search online first.
You might like
Strong Vacuum Suction Cup Bathroom Soap Dish Holder for Shower, Tub and Kitchen Sink
- Made of 304 rustproof stainless steel.
- Powerful suction cup allows for easy removal or readjustment without leaving marks or sticky residue.
- Suitable for smooth, flat, and non-porous surfaces.
Found on Amazon
Check Current Price
Those in Canada and the UK should be taken to the product listing in your region.
5. Divide it up
The plan is to divide and conquer (the bar of soap, that is). Instead of using the entire bar of soap in one go, cut the bar into smaller chunks to make soap last longer. This stretches each bar of soap by minimizing exposure to excess water.
If you’ve had bad luck with crumbly soap while cutting, check out our article for tips on how to cut a bar of soap without it crumbling.
6. Store small slivers in a pouch
Don’t toss those old soap slivers! If you have a small fabric pouch, you can use it as a soap-saving pouch. Preferably, the pouch will be made of a skin-friendly material such as hemp, linen or cotton, or another natural material. (You can easily DIY one, or buy one online.)
Use the pouch to store soap and lather up with the soap pouch. Hang to dry between uses.
You might like
5-Piece Soap Saver Bag, Natural Sisal Exfoliating Soap Pouch (13.5 x 9 cm, Beige)
- Made of natural sisal, suitable for producing foam and lathering soap, further releasing the fragrance of the soap.
- Great way to prolong soap life: Helps dry soap after each use. Simply close the drawstring, and hang to dry.
Found on Amazon
Check Current Price
Those in Canada and the UK should be taken to the product listing in your region.
7. Use a washcloth or loofah
To get more bang-for-your-buck (and to stretch those suds), lather up with a washcloth or a loofah instead of using your hands. The larger surface area of a washcloth or loofah helps to cover more surface area while retaining a sudsy lather.
8. Rebatch slivers of soap
For the ultimate frugal move, you can rebatch or melt old soap slivers and make new soap bars.²
You’ll need:
- A double boiler (if you don’t have one, you can use a glass Pyrex measuring cup, or another similar heat-safe container)
- Old bits of soap you’ve collected
- Distilled water (distilled water works best, as it doesn’t contain any impurities from tap water)
- Soap molds
- A wooden spoon (to stir with)
- Spatula (to scrape melted soap)
- Fill the bottom portion of the double boiler about half full with water.
- Place your soap slivers in the top portion of the double boiler. Add just enough distilled water to moisten the soap.
- Heat until water boils, then reduce heat to a simmer. Monitor the water at the bottom to ensure it doesn’t run dry. Stir the soap pieces occassionally.
- Once the soap pieces are fully melted, remove pot from heat. Pour mixture into prepared soap molds (use a spatula to scrap out the sides).
- Allow the soap to cool and fully harden (at least 24 hours).
- Unmold and cut (if desired).
- Allow the soap to cure in a well-ventilated room for at least one week. Rotate the soap occasionally. Curing rebatched soap is a vital step: this allows excess water to evaporate, providing for a harder, longer lasting bar.
You might like
Soap Saver | Soap Lifting Pads for Soap Dish | Multi-Directional Weave, Efficient Draining Soap Bar Holder for Shower | 6 Piece Set – 3 Beige, 3 Gray
- Made from safe PE material that is durable and easy to clean.
- Keeps soap dry so soap lasts longer! Allows water to drain easily, keeping your soap dry and its shape intact.
- Can be trimmed to fit any soap dish.
Found on Amazon
Check Current Price
Those in Canada and the UK should be taken to the product listing in your region.
9. Cure those homemade soap bars for longer
The curing process is key to producing a harder bar of soap that doesn’t simply melt away upon contact with water. During curing, excess water evaporates from your handcrafted soap, leaving you with a harder, more resilient bar of soap.
Both cold process and hot process soaps benefit from curing time. (While hot process soaps are technically “safe” to use after the cook, they might be soft.)
Allow soaps to cure for at least 4–6 weeks before using. Place soap onto a coated wire rack, or wax paper and try to rotate them regularly.
For soaps that are made of softer oils, allow for a longer curing time. Those that make 100 percent olive oil bars sometimes cure their bars anywhere from 6 months to a year!
10. Choose soaps made of harder oils for a longer lasting bar
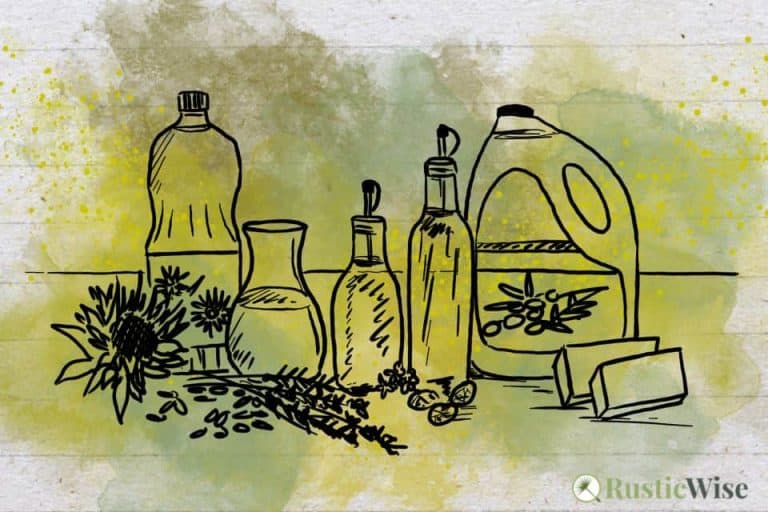
As much as you may love a bar of pure olive oil soap, it probably won’t last as long as a soap made of a hard oil, such as coconut oil. So, if you’re buying a bar of natural soap, check the ingredients label for the types of oils used.
Unsaturated fats are liquid at room temperature and make softer soaps. Examples of liquid oils include avocado oil, olive oil, safflower oil, and grapeseed oil. Soaps made with a higher concentration of liquid oils will make for softer soap.
In contrast, soap made with a greater ratio of hard oils will produce a harder and more durable bar. A few hard oils include:
- Coconut oil
- Palm oil (and palm kernel oil)
- Lard or tallow
- Butters such as cocoa butter, shea butter, and mango butter
How to dry out mushy soap
If you have a pitiful, slimy bar of soap that has seen better days, there’s an easy way to dry it out.
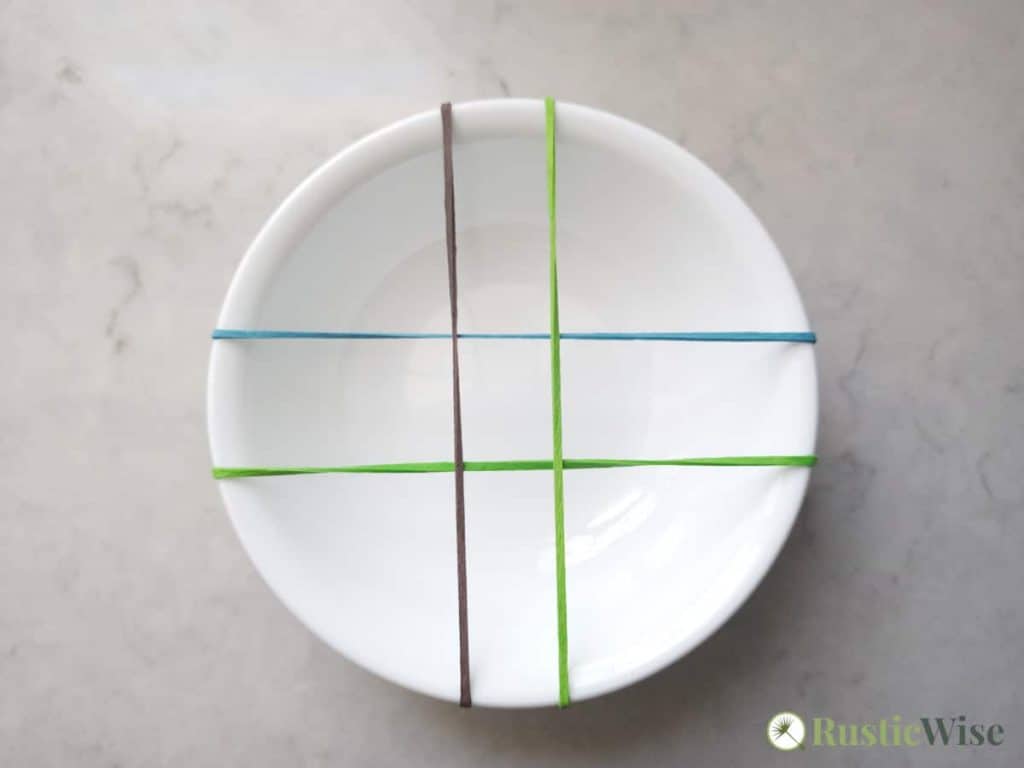
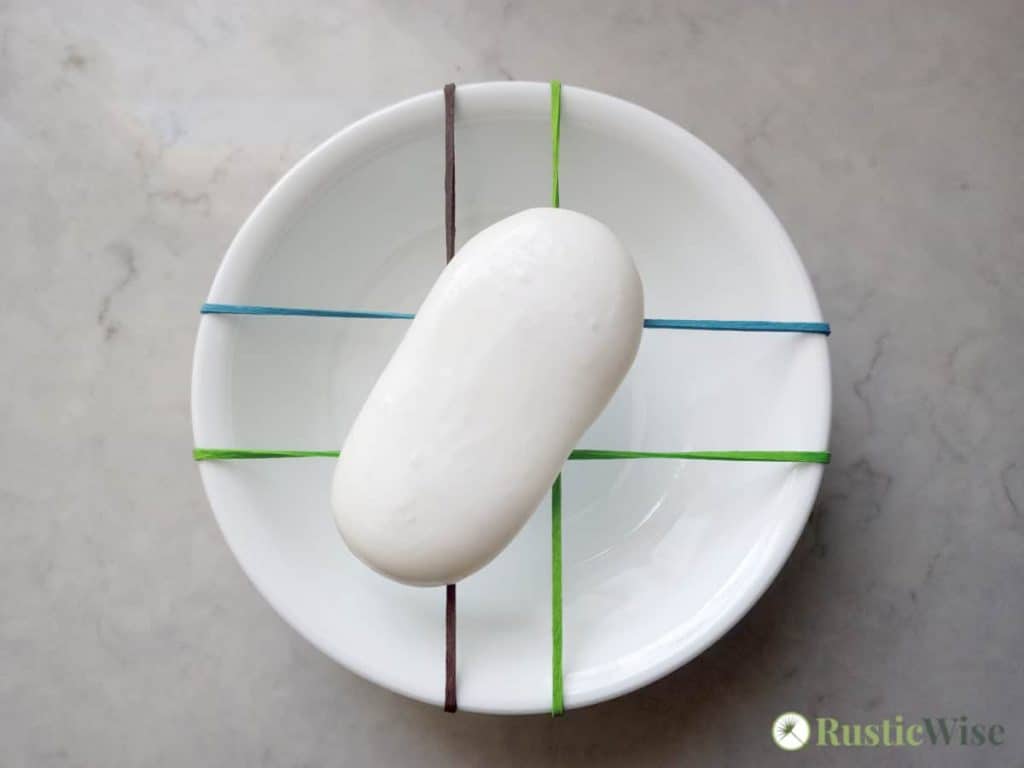
A user on reddit mentioned the brilliant idea of using rubber bands to create a DIY grid or drying rack.
You’ll need:
- 4–6 rubber bands
- A small shallow dish, or a soap dish
- Arrange the rubber bands in a grid format (vertically and horizontally) so that they stretch across the surface of the dish.
- Place your mushy soap bar on the elastic bands in a well-ventilated room. Allow it to dry for several days or weeks.
How to store soap
Just like other shelf stable foods, soap also requires proper storage to extend its shelf life. Store your soap bars in a dry area away from direct sunlight or other heat sources.
And if you’re wondering how to store homemade cold process soap (or hot process soap), it’s best to give it some air circulation. A great way to store homemade soap is in cardboard shoe boxes.
Check out our article for more tips on storing homemade soap.
Related questions
How do you make soap scent last longer?
With homemade soaps, the lovely scents don’t last forever. One way to make the scent last longer is to bump up the amount of essential oils or fragrance oils used. (Run it through a soap calculator first!)
Another way is to store similarly scented soaps together in one box.
New to making soap? 🧼❓
👉We have a fantastic overview on the whole soapmaking process here: read our Timeless Guide To Soapmaking.
If you would like to see our soapmaking posts organized by topic type, see our Soapmaking Collection.
Would you like more timeless tips via email?
Fun tips to help you live an independent, self-sustaining lifestyle. Opt-out at any time.

References
- WBOC-TV, Bar Soap Market Size 2021 – Growth Opportunities of Top Players with Impact of Covid-19, Latest Trends, Demand Overview and Market Drivers Forecast to 2027, https://www.wboc.com/story/44553194/bar-soap-market-size-2021-growth-opportunities-of-top-players-with-impact-of-covid-19-latest-trends-demand-overview-and-market-drivers-forecast-to. Acccessed December 2021.
- Grosso, Alicia (2013). The Everything Soapmaking Book, 3rd Edition. Adams Media. pp. 182–183. ISBN 13: 978-1-4405-5013-3.

Author: Theresa Tesolin
Theresa is co-founder of RusticWise. She helps people unleash their inner DIY spirit by encouraging them to get dirty and make or grow something from scratch.

