Microgreen Fertilizer: When and How To Use It for Home Growing
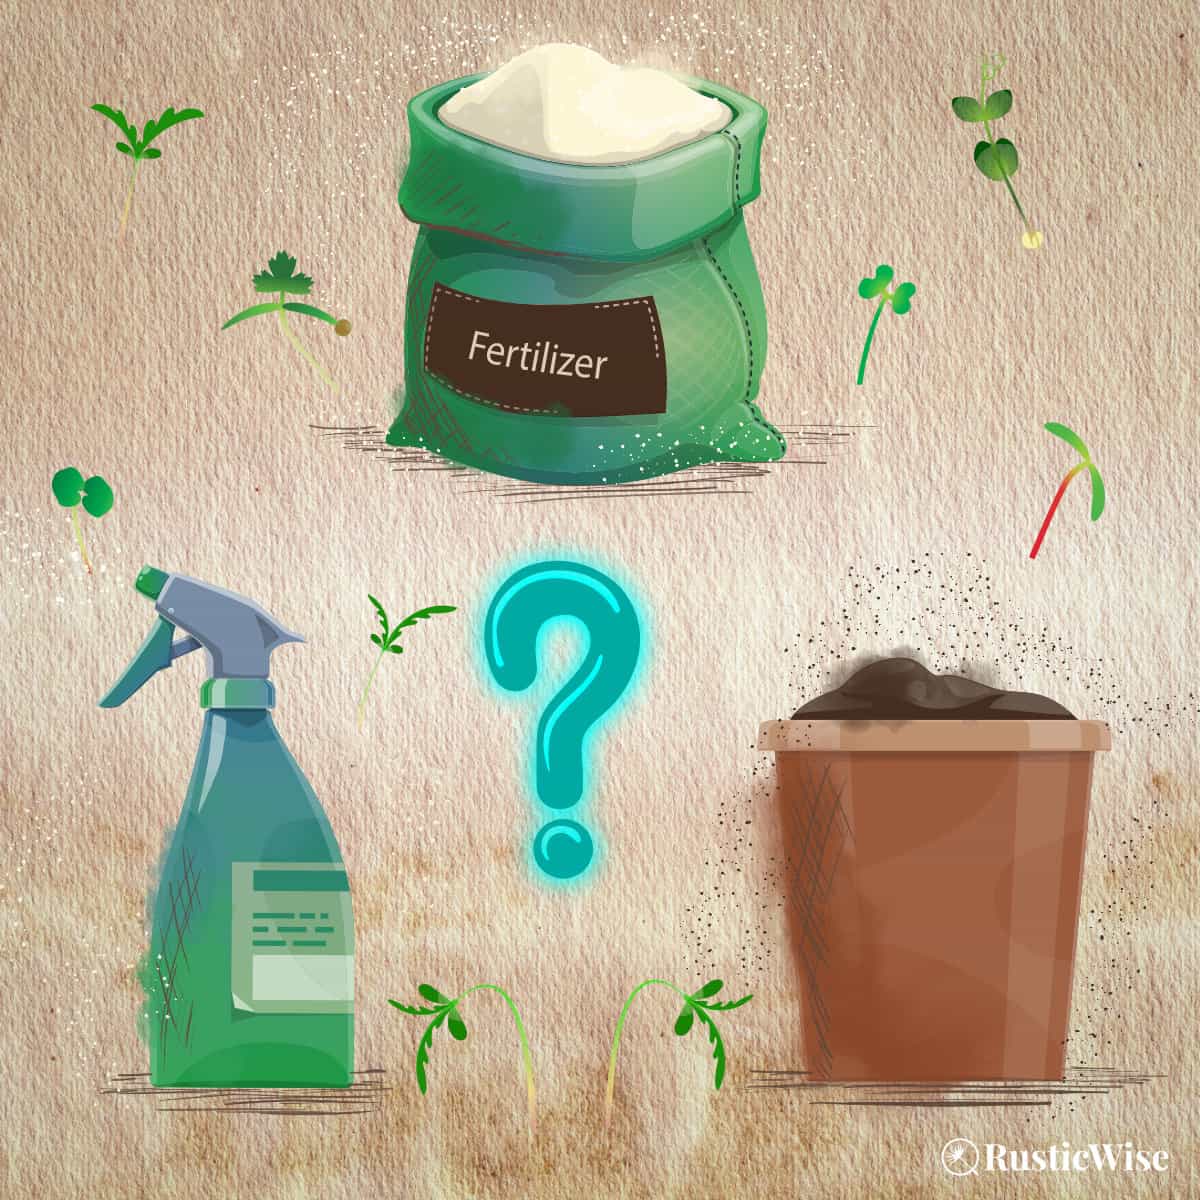
Plants, herbs, and vegetables all benefit from a boost in nutrients. But what about microgreen plants, tiny crops with short grow cycles? Do micros need fertilizer? The answer really depends on the type of microgreen seed you’re growing, and the type of growing medium you’re using.
The general guideline is you don’t need microgreen fertilizer if growing in quality soil. This is because microgreens, with a short grow cycle, will receive all the nutrients they need from the soil and the seed itself for the first week or so. But, if you’re using a soilless medium like coconut coir, or a grow mat, you’ll need to add a water-soluble fertilizer such as liquid kelp. You might also want to boost growth by using fertilizer for microgreens grown to the true leaf stage, or for larger varieties (like sunflower seeds), or for micros with longer growth cycles.
Please note that this article is intended for home growers who are growing their own food. If you’re growing for profit, then you would obviously want to boost production and yield in the shortest amount of time by using a quick-release fertilizer.
But, if you simply grow your microgreens at home on a sunny windowsill, this article is for you. Let’s go over when and how to use a nutrient amendment, and our favorite microgreen fertilizer: liquid kelp.
Do you really need to use microgreen fertilizer?
The short answer is no, you don’t need special fertilizer if you’re growing in quality soil and growing micros with short grow cycles. The long answer is a bit more complicated.
While you don’t need to add fertilizer to your batch of micros, a dash of proper nutrients can help promote quicker growth, lusher greens, and bring about more vibrant colors.
Keep in mind that using fertilizers can affect the taste of the finished product. (Heck, even the type and quality of water can affect the taste and health of your greens!)
So choose your fertilizer wisely (more on this below).
When to use microgreen fertilizer
Simply put, home microgreens need fertilizer in the following situations:
- When growing in soilless medium of any kind such as coconut coir. This is an absolute MUST.
- When growing hydroponic microgreens with grow mats, or other substrates. Another absolute MUST.
- When growing microgreens with longer grow cycles of 3 to 4 weeks or longer. Even if you’re using quality potting soil, your micros would still benefit with a shot of extra nutrients.¹
- When growing larger micros such as sunflower microgreens or pea shoots. With larger leaves and taller stems, these types of greens are more substantial than the average micro. Therefore, a bit of fertilizer can promote healthy growth and improve the taste.
Even though micros are tiny seedlings with rapid growth cycles, it’s incorrect to say that they don’t require any additional nutrients to grow.
Seeds by design have built-in food stores neatly packed within a seed coat with all the nutrients required to germinate. With the correct temperature and soil moisture, seeds will wake up. With proper growing conditions, the root and radicle emerge from each seed.
A seed’s food reserves will provide it with enough nutrients for about a week. After this, it will begin searching for nutrients in soil or grow media.
So, if you’re growing micros using soilless mediums or mixes like coconut coir, vermiculite, perlite, peat moss, you’ll definitely need to provide your seedlings with a boost of nourishment. Ditto if you’re growing hydroponically with a burlap, jute, or hemp mat.
Signs of unhealthy microgreens
Sometimes your batch of micros just doesn’t work out. If your tray of microgreens has the following characteristics, you may need to add some nutrients.
- Limp stems, or microgreens falling over.
- Pale color.
- Low germination rates.
Without essential nutrients and the right amount of water, microgreens may wither and wilt. Leaves may lose their vibrant colors.
Of course, a lack of nutrients is not the only potential issue. Other common issues include fungal or mold issues, inadequate lighting, temperatures that are too cool, or poor ventilation.
Avoid slow-release fertilizers for microgreens
To maximize microgreen growth in a short timeframe, it’s essential to stay clear of slow-release fertilizers. This includes fertilizers in chunk-form such as powdered kelp, ground eggshells, or ground minerals. These take time to release their nutrients.
Many types of micros are ready to harvest within 2 weeks and won’t be able to reap the benefits of added nutrients.
The idea is to give just enough to the roots to promote healthy growth while avoiding over-fertilization, which can harm your microgreens rather than helping them. For best results, use a quick-release fertilizer.
A quick look at organic vs. synthetic fertilizers
There is a vast range of options out there when it comes to fertilizers. There are two broad categories, or types of fertilizer: organic (derived from plant or animal-based ingredients), or synthetic (chemical-based compounds).
For fertilizing microgreens, use an organic water-soluble liquid fertilizer for best results.
Organic and synthetic fertilizers both have their pros and cons, but if you’re growing microgreens, then you can’t go wrong with organic fertilizer. Many home growers grow microgreens specifically for health, and using organic fertilizer contains no harmful chemicals.
This is NOT to say that all synthetic fertilizers are necessarily bad, just that in general, most people will want to avoid any unnecessary chemicals on their food source. If you choose to use a commercial fertilizer, stick with ones labelled organic and non-GMO. I would NOT recommend using common plant fertilizers such as MiracleGro.
Tip: Go easy when applying fertilizers to your tray of micros and be sure to follow the instructions carefully. Using too much can harm or burn delicate stems and foliage.
Best types of fertilizers for organic options
Our top choice is liquid kelp, with earthworm castings a close second. One benefit of using naturally derived nutrients over synthetic ones is they contain a wider range of trace or micronutrients.
- Liquid sea kelp: This is our preferred option, as it’s plant-based and provides great results. We’ll look at this solution in more detail in the next section. Great for soil, soilless mediums, or grow mats.
- Earthworm castings: Another solid choice for soilless or soil mediums. Earthworm castings are essentially the “poop” or excrement of worms after ingesting and digesting organic material. Yes, there’s a definite “ick” factor involved here, so I understand if people choose to stay clear of this. But in my opinion, if earthworm castings are safe to use in your outdoor vegetable garden, the same goes for indoor micros. It’s rich in nutrients, improves soil texture, and provides a shot of nitrogen. To use, just add a bit to your soilless medium as you’re preparing your trays. Don’t use more than 25 percent of castings to soil content as the high nitrogen content can burn your seedlings.
- Azomite: A nutrient amendment derived from volcanic ash along with natural trace minerals. To use, blend into your soilless medium as you’re preparing your tray. Follow the directions for the correct ratio.
There are many other types of slow-releasing organic dressings on the market. But they aren’t the best bets for providing essential nutrients to indoor greens for a variety of reasons.²
- Corn gluten meal: Contains a very high ratio of nitrogen. It’s supposed to decompose in the soil for up to 4 months before seeding.
- Cottonseed meal: Mainly for acid-loving plants. Micros generally like more neutral conditions.
- Blood meal: Very high in nitrogen. And because of its contents (dried blood), may contain pathogens.
- Bone meal: Very slow releaser of phosphorous. As an animal-based product, it may be unappealing to many microgreens growers.
- Feather meal: High levels of nitrogen that are very slow to release.
- Fish emulsion or fish meal: Very smelly for indoor use!
Tip: Look for OMRI certified natural fertilizer, which is completely food safe.
Credit: Yay Images
What’s so good about liquid kelp fertilizer?
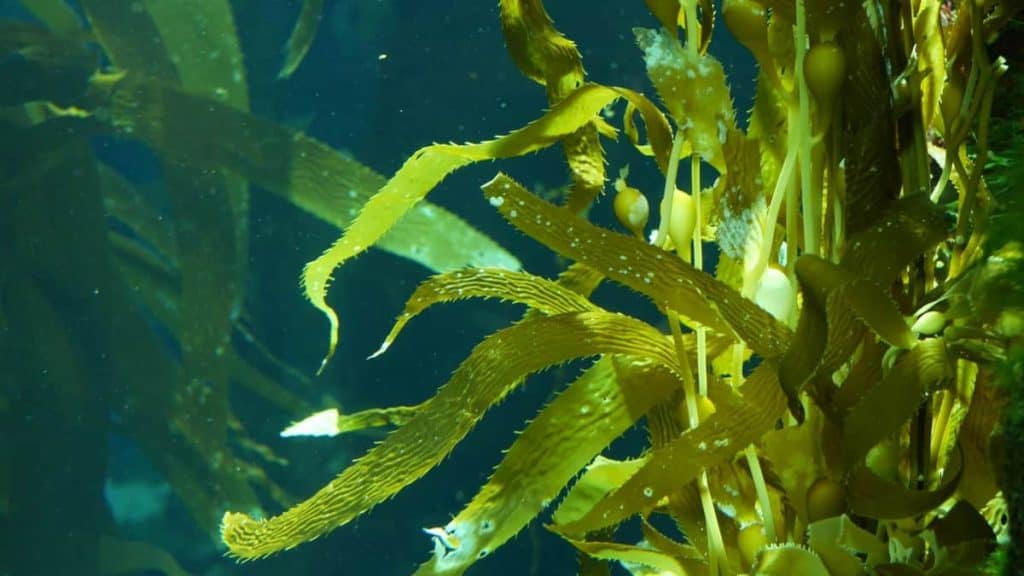
Kelp contains ample trace micronutrients, as well as macronutrients (nitrogen, phosphorus, and potassium), and amino acids. It contains more than 70 minerals and vitamins.³
Seaweed extract contains cytokinin, a natural plant-based growth hormone that promotes healthy plant cell division.² This results in larger, lusher greens.
The great thing about kelp is that it’s a sustainable and renewable form of nutrients.
Often used together with fish meal for outdoor use (but as mentioned earlier, fish meal is rather smelly, and we don’t want to use it indoors!).
So what exactly is in liquid kelp fertilizer?
It’s made of collected seaweed from the ocean that’s rinsed (to remove most of the salt). The seaweed then ferments or decomposes until it becomes a liquid.
Note: There’s a distinct smell of seaweed when you open a bottle of liquid kelp. But this won’t affect the taste of your micros. And I prefer this smell over the stench of fish meal any day!
This seaweed extract comes in several forms, but liquid kelp is ideal for microgreen growth:²
- Liquid kelp: The preferred form of seaweed extract for microgreens. The nutrient solution is cold-processed, leaving intact higher levels of growth hormones than other forms. Some types of liquids are also enzymatically digested which makes the available nutrients more absorbable by plants.
- Kelp powder: More finely ground than kelp meal, and therefore easier to use as a foliar spray.
- Kelp meal: Often used in tangent with fish meal to boost macronutrients. The larger size of the meal makes it less ideal for microgreen growth.
Seaweed extract is a great fertilizer to use for plants. It has everything your microgreens need to flourish and grow.
How to use liquid kelp for micros
Depending on the growing medium you’re using, you can use kelp liquid fertilizer in different ways and in different stages of growth.
Add before you sow seeds
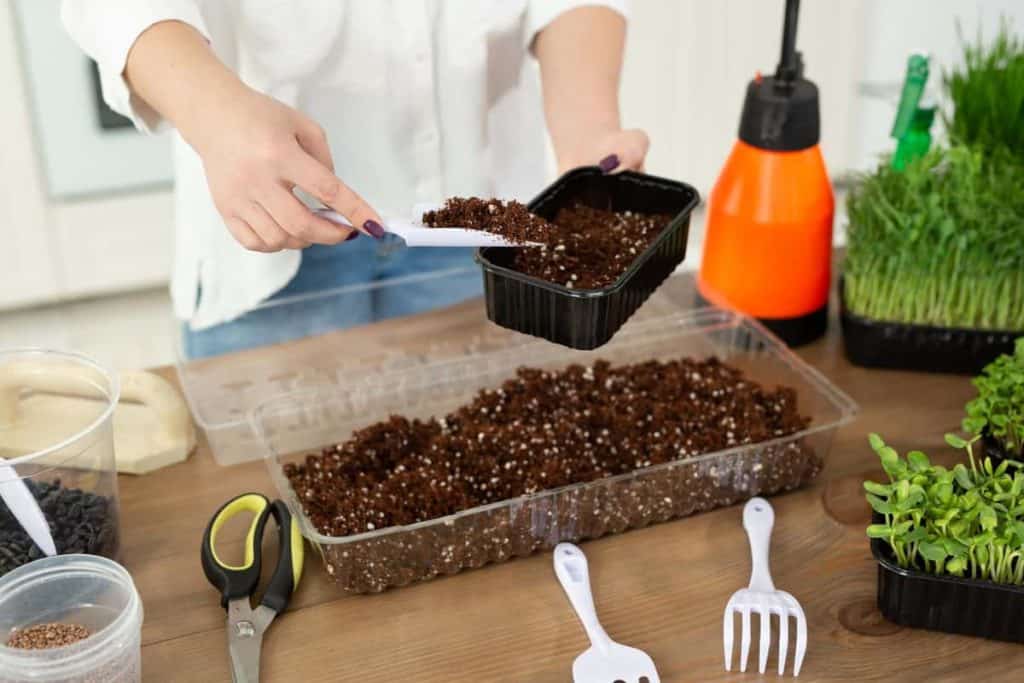
The easiest way to add this shot of nutrients is to add it to your grow medium before you sow the seeds. You can do this by moistening your grow mat, or diluting a solution and mixing into your potting soil, or soilless medium.
Add during growth
If you’re growing micros with longer cycles, or if you’re using a hydroponic grow method, you may need to add a boost of nutrients during the growth stage.
The University of Florida recommends bottom watering each tray of greens for 30 seconds in a prepared liquid fertilizer solution. You can use liquid kelp, or a special solution of roughly 80 ppm nitrogen.⁴
Tip: Be sure to follow the directions on the container of fertilizer. Many growers will apply too much fertilizer to microgreens, which can cause burning and stunted growth.
Use as a foliar spray
With regular plants and crops, we typically use liquid kelp as a foliar spray (spraying the undersides of leaves). But with the tiny size of microgreen leaves, this can get tedious.
If you want to give this method a shot, simply mix a solution of liquid kelp according to the directions on the bottle, add to a spray bottle, and have at ‘er!
👉 If you like this post, see our Complete Guide to Growing Microgreens at Home. 🌱
Would you like more timeless tips via email?
Fun tips to help you live an independent, self-sustaining lifestyle. Opt-out at any time.

References
- Braunstein, Mark Matthew (2013). Microgreen Garden: Indoor Grower’s Guide to Gourmet Greens. Book Publishing Company. ISBN 13: 978-1-57067-294-1.
- Washington State University, Organic Fertilizers, https://s3.wp.wsu.edu/uploads/sites/2076/2021/06/C180-Organic-Fertilizers-21.pdf. Accessed December 2022.
- Wisconsin Pollinators, Gardening — Liquid Kelp, Kelp Meal and Seaweed, https://wisconsinpollinators.com/Garden/G_KelpSeaweed.aspx. Accessed December 2022.
- The University of Florida, Microgreens: A New Specialty Crop, https://edis.ifas.ufl.edu/publication/HS1164. Accessed December 2022.

Author: Josh Tesolin
Josh is co-founder of RusticWise. When he’s not tinkering in the garden, or fixing something around the house, you can find him working on a vast array of random side projects.

