Nasturtium Microgreens: A Beautiful Spicy Shoot To Grow
Add the nasturtium microgreen to your list of spicy micros to grow (along with mustard, radish, and many Brassicas).
Nasturtium microgreens are edible greens that make for a delicious and beautiful garnish. With a spicy taste that some liken to watercress or arugula, they’re great when added to salads for a peppery flavor. Their large seeds require presoaking, and the shoots are ready to harvest in about 14 to 16 days.
Want to elevate your everyday dishes? Here’s how to grow nasturtiums yourself and how to use them. Plus, I’ll also cover a few health benefits of these spicy greens.
A quick look at the nasturtium plant
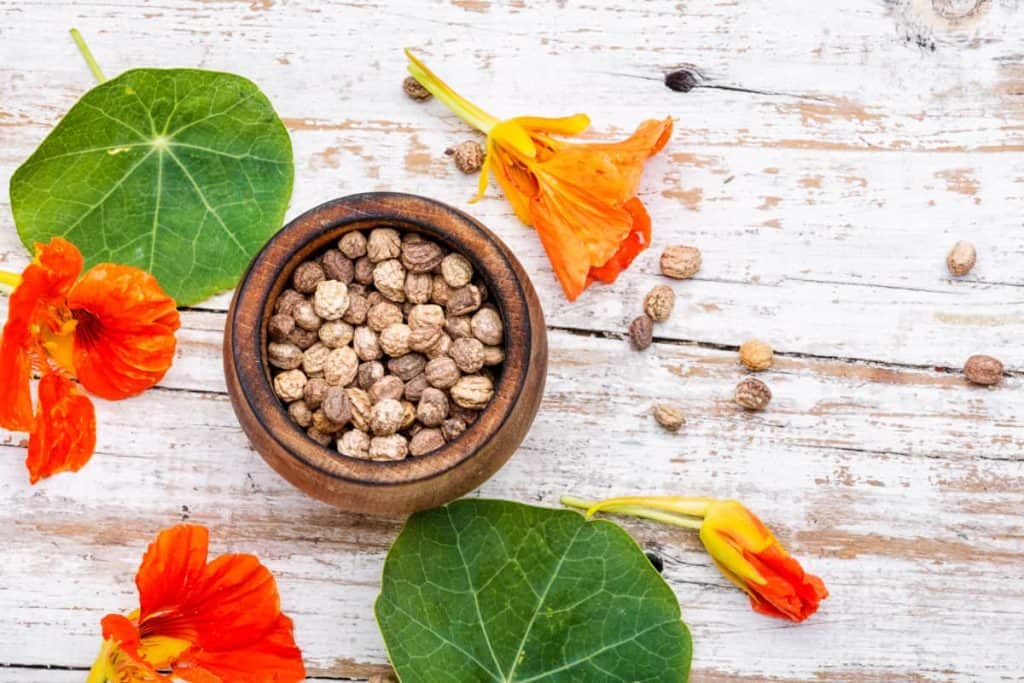
The nasturtium plant, also known as Tropaeolum majus is a flowering annual plant with orange, red, or yellow flowers. The plant has edible leaves, stems, seeds, and flowers.
Beautiful? Check. Edible? Check. Tasty? Check. It’s a wonder that more people don’t have this beauty growing at home as a source of food and adornment (it makes a great hanging plant!).
👉If you’re interested in learning more about how to eat the adult nasturtium plant, we have an article all about it.
Note: Don’t confuse this lovely edible flower and plant with watercress, also called Nasturtium officinale. Watercress belongs to the mustard family and has a similar spicy flavor as nasturtium.¹
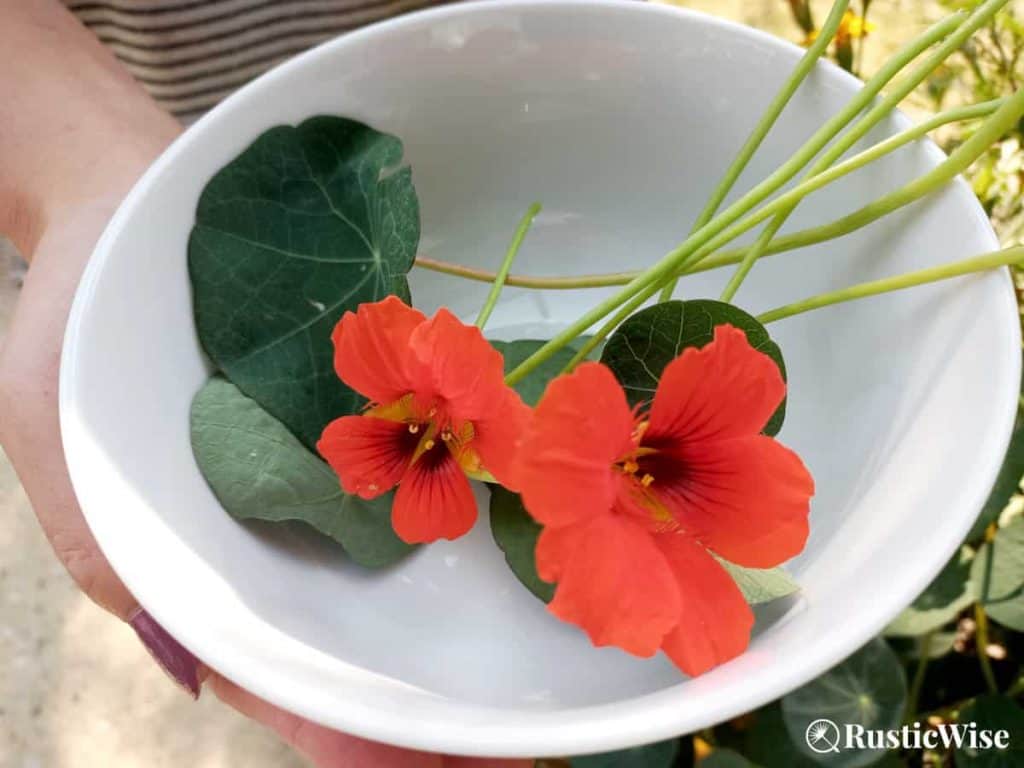
Credit: RusticWise
What are nasturtium microgreens, exactly?
Simply put, nasturtium microgreens are the young shoots and leaves of Tropaeolum majus, harvested when only 2 to 3 weeks old. When grown to the microgreen stage, you harvest this plant before it flowers.
Growing microgreens is a great way to grow your own food indoors. All you need are some nasturtium seeds, a shallow tray, quality potting soil (or other growing medium), plus a sunny windowsill (or grow light).
The nasturtium microgreen is packed with antioxidants and minerals, which can help boost your immune system and reduce inflammation, making them perfect for your diet and health routine.
Growing nasturtium microgreens: quick facts
In terms of rate of growth compared to other types of microgreens, nasturtiums are one of the slower growing varieties. While you’ll need to practice some patience, the wait is definitely worth it.
Here’s a quick look at growing your own nasturtium shoots:
- Nasturtium seeds: You can choose from a variety of Tropaeolum cultivars including red, emerald, or jewel mixes. The best types are dwarf nasturtium varieties which produce compact crops, perfect as a microgreen. Choose only organic, untreated microgreen seeds.
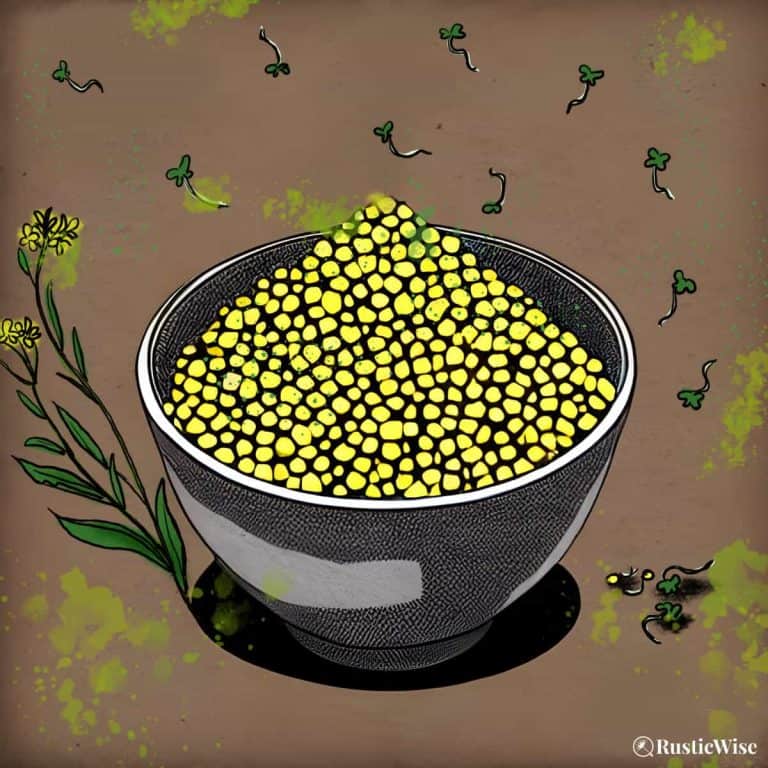
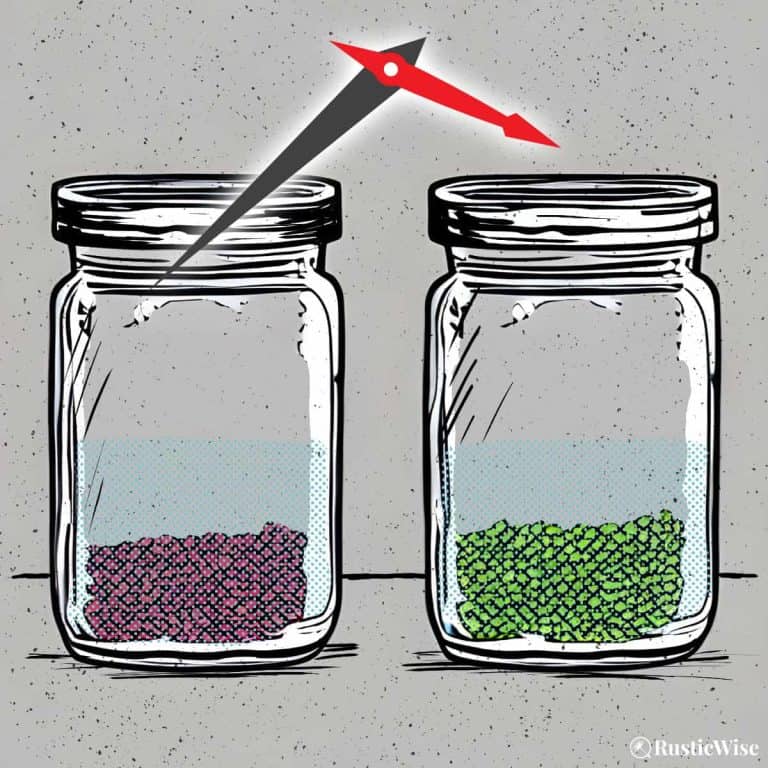
- Presoak seeds: Yes, soak seeds before planting in lukewarm water for 4 to 8 hours. These seed pods are larger and have a hard outer layer. Soaking the seeds helps to kickstart germination.
- Cover seeds with soil: Yes, larger seeds like these often benefit from a thin layer of soil on top.
- Germination: Seeds will germinate in about 6 days, depending on conditions.
- Time to harvest: Roughly 14 to 16 days. You can harvest anytime the shoots have between 2 and 4 microgreen leaves. It’s best to harvest to taste as nasturtium leaves can have a strong, potent taste when left to grow too long.
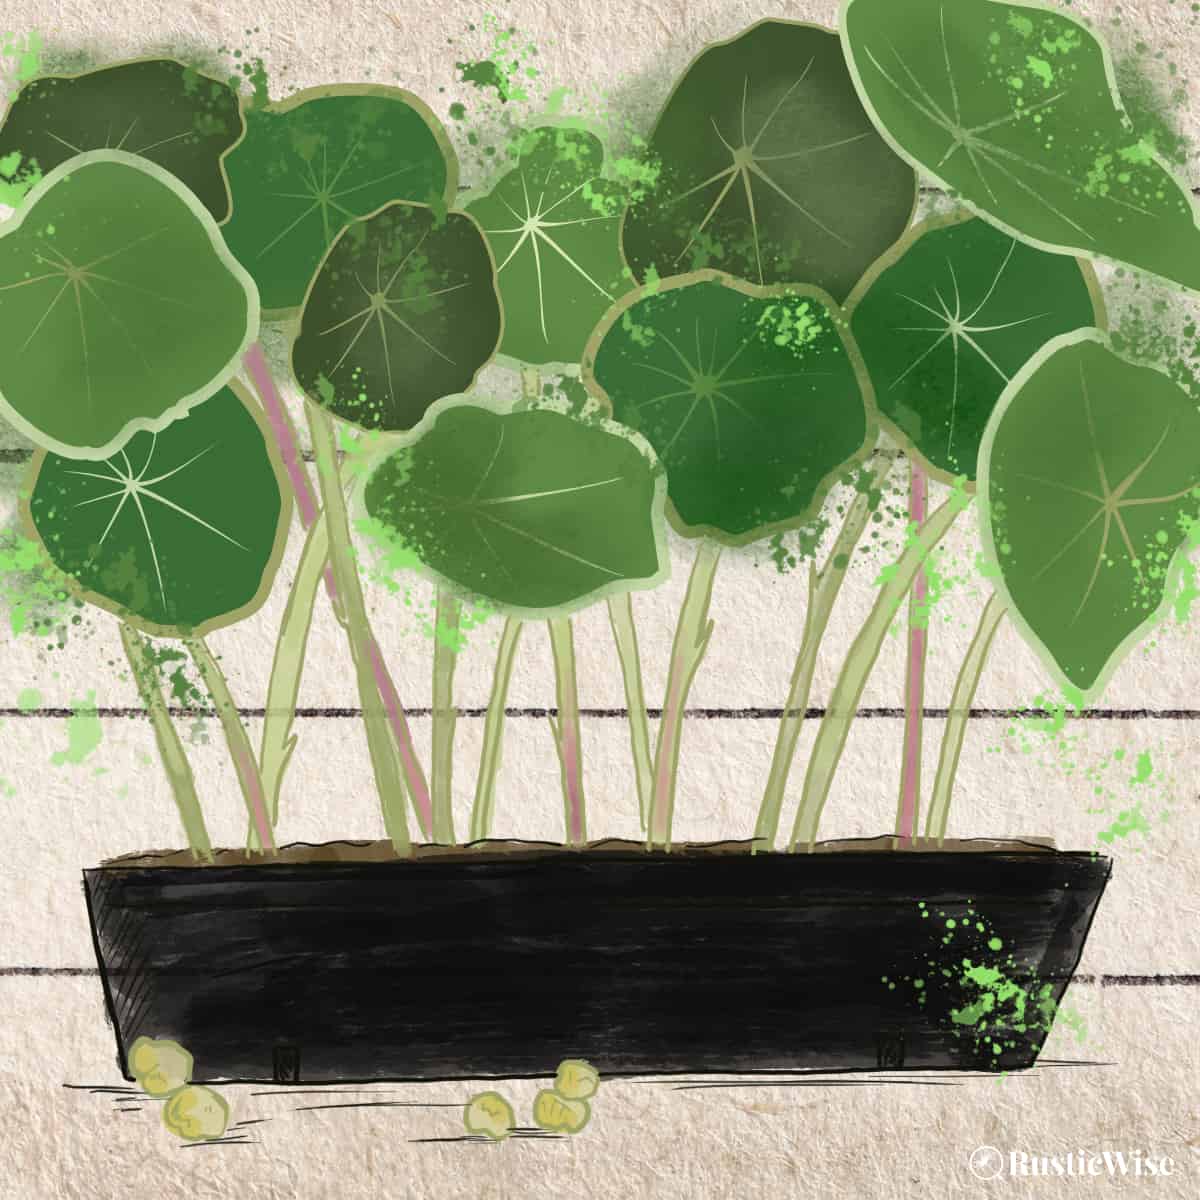
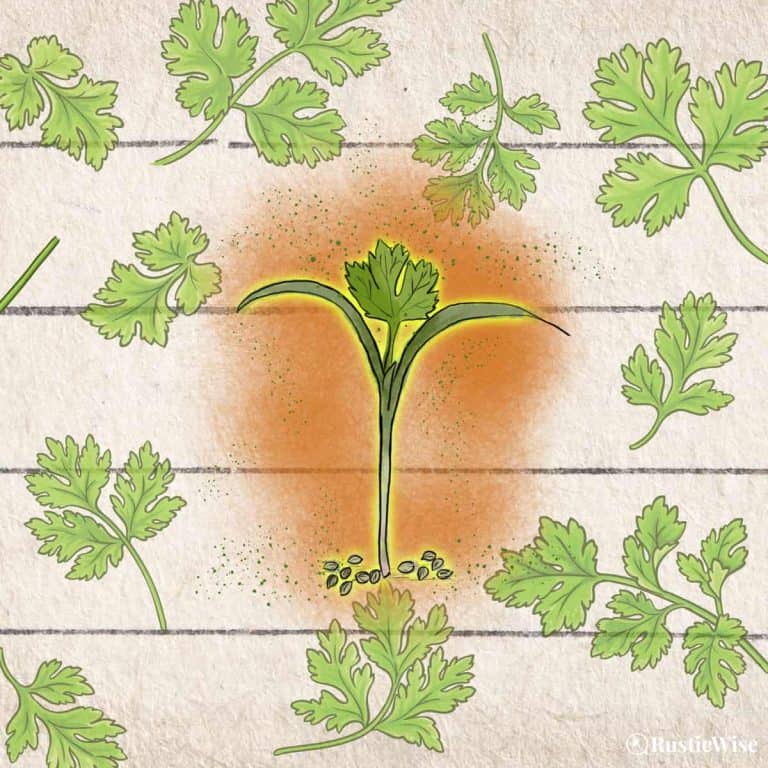
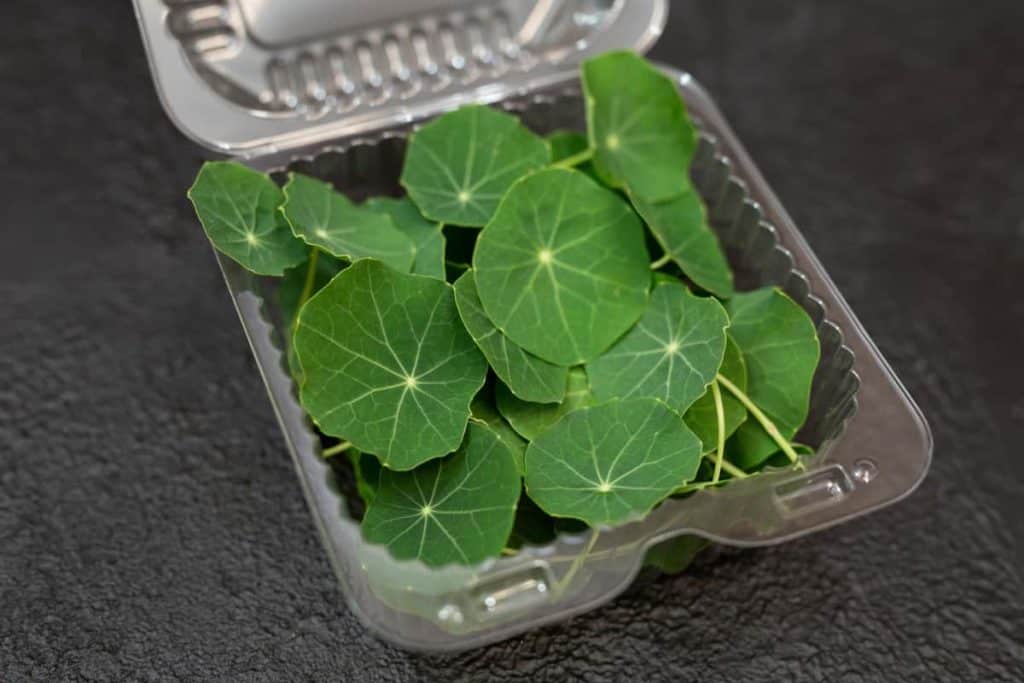
- Appearance: A microgreen with larger leaves. The foliage is round with variegation, and reminds me of mini lily pads!
Credit: Vector State
Supplies you’ll need to grow nasturtium microgreens
Growing nasturtium microgreens is not only easy, but fun as well! They don’t require as much space as you might think, and they’re packed with antioxidants that can help you fight off diseases like cancer and boost your immune system.
Let’s gather a few supplies:
- Quality nasturtium seeds: You’ll need roughly 2 ounces (57 grams) of seeds per 10 X 20 grow tray. This equates to roughly 6–8 seeds per square-inch.
- Organic potting soil: While other microgreens grow fine with a hydroponic system, slower growing micros like nasturtium prefer a nutrient-rich potting soil. Feel free to add a bit of coconut coir for moisture retention.
- Grow trays (one with holes and one without): The top grow tray is the one with drainage holes, and the one you’ll be planting the seeds in. You’ll find them in different sizes such as 5 X 5, 10 X 10, and 10 X 20 inches. You can also repurpose food-safe containers you have around the house such as an aluminum pie tin, plastic clamshell containers (from fruit), or something similar. The second microgreen tray without holes fits below the top one, and catches water drippings.
- Cover: Something to retain moisture and warmth during germination. This can be another tray, a humidity dome, or something such like newspaper, or a piece of breathable cotton fabric.
- Water mister: To mist soil and seeds during planting/germination. The water you use should be of drinking quality at a minimum. If your water is heavily chlorinated, fill up a large, clean bucket with water and let it sit for 24 hours; this allows the chlorine to dissipate. The quality of water used when growing micros affects the taste and the health of the shoots.
- Glass jar (wide-mouth mason) or bowl for soaking seeds.
- Colander (or sprouting lid) for draining seeds
- Optional: Small piece of cardboard for tamping down soil and seeds.
How to grow nasturtium microgreens, step by step
- Measure seeds: Measure out your seeds. You’ll need about 2 ounces (57 grams) of seeds per 10 X 20 tray.
- Presoak seeds: Place the seeds in a mason jar or small bowl. Fill with lukewarm water so the seeds are completely submerged with several inches of water on top. Let soak for 4 to 8 hours. Don’t let them soak for longer than this! Don’t skip this crucial step. Soaking these seeds provides the much-needed moisture each tiny pod needs to begin germination.
- Drain seeds: Place soaked seeds in a colander to drain.
- Prepare the growing tray: Fill a shallow tray with 1–2 inches (2.5–5 centimeters) of moistened potting soil. The soil should feel damp like a moist sponge, but not overly wet. Gently tamp down with hands or a piece of cardboard.
- Broadcast seeds: Spread the nasturtium seeds evenly across the soil surface. Ensure seeds are not overlapping and there’s a bit of space between each one. Ensure seeds are making good contact with soil by gently tamping down with your hands, or a piece of cardboard.
- Cover seeds with soil and mist: Spread a very thin layer of soil over the large seeds. This keeps them nice and cozy. Lightly mist the tops of the seeds and soil.
- Cover grow tray: Cover with a lid (ensure there’s ventilation on the lid for good airflow). Place in the dark at room temperature. This keeps sunlight out, while still allowing for fresh air circulation. Mist once a day if needed. Remember to replace the cover! Nasturtium seeds can take around 6 days to germinate.
- Give them light: Once your tray of seedlings is showing steady growth, it’s time to uncover them and bring them into the light. Place them on a sunny south-facing windowsill, or use artificial grow lights if needed.
- Water regularly: Once seedlings are exposed to sunlight, you’ll need to regularly water them. Bottom watering is the preferred method. Keep soil moist during this growth phase.
- Harvest time: Sometime between 14 and 16 days, your nasturtium microgreens should be ready to harvest. Each shoot should have 2 to 4 leaves. Use a sharp knife or pair of scissors to carefully snip just above the soil line.
Your gorgeous nasturtium stems and leaves are ready to eat! You can rinse before eating. Or, store them in the fridge dry for longer shelf life.
Health benefits of nasturtium shoots
Micro nasturtium is a great alternative to plain ol’ lettuce. They have a peppery taste and can be added to sandwiches, salads, and other savory dishes.
Plus, the plant is packed with nutrients.
- Rich in nutrients and antioxidants: You’ll find these tiny stems and leaves chock-full of vitamins A and C, which are powerful antioxidants that fight off free radicals. You’ll also find plenty of dietary fiber and folate.
- Rich in lutein: This edible plant contains high levels of lutein, a carotenoid that promotes eye health and may slow down macular degeneration associated with aging.¹
- Contains mustard oil: That sharp, peppery bite you taste when you nibble on this plant comes from mustard oil, a beneficial compound found in many types of Brassicas such as broccoli. Mustard oil may have anti-diabetic properties.¹
- Antibacterial and healing properties: The leaves have antibacterial and antifungal properties. The Tropaeolum plant has long been used in Andean herbal medicine as a healing herb to disinfect and treat wounds. Nasturtium has been used to strengthen the immune system and is considered good for treating skin diseases. It has also been used as a diuretic and a laxative.²
Ideas for using nasturtium shoots
These green, peppery-tasting little shoots can be added to almost any dish and bring a fresh, flavorful zing. Eat them fresh, or lightly cooked.
- Spice up salads: Incorporate these beautiful leaves into a healthy salad complete with other milder microgreens, leafy greens, tomatoes, and cucumbers for a tasty fresh lunch.
- Make a tasty sandwich: I’ve used the full-grown leaves to make a sandwich with mayo and cucumbers. You can do the same with the microgreens!
- Use as a garnish: It’s a no-brainer to take advantage of the attractive foliage to enhance savory dishes. The sharp, peppery notes make it a perfect pairing for Asian or Italian cuisine.
- Make a spicy pesto: Add some pep to your step with a handful of these spicy micros to your favorite pesto recipe.
- Incorporate into pasta dishes: Spice up lasagna, pasta, or tomato sauce.
👉 If you like this post, see our Complete Guide to Growing Microgreens at Home. 🌱
Would you like more timeless tips via email?
Fun tips to help you live an independent, self-sustaining lifestyle. Opt-out at any time.

References
- Rutgers, The State University of New Jersey, Nasturtiums–Great for the Garden and Table, https://njaes.rutgers.edu/plant-of-the-month/tropaeolum-majus.php. Accessed February 2023.
- Plants For a Future (PFAF), Tropaeolum majus – L., https://pfaf.org/user/plant.aspx?LatinName=Tropaeolum+majus. Accessed February 2023.

Author: Josh Tesolin
Josh is co-founder of RusticWise. When he’s not tinkering in the garden, or fixing something around the house, you can find him working on a vast array of random side projects.

