How to Harvest Microgreens: Tips and Strategies for Success
Microgreens are one of the most popular items on menus today. You can see them in upscale restaurants, at your local grocery store, or farmers’ market. But have you ever wondered how they get from farm to table? Well, it all starts with harvesting microgreens! Learning how to harvest microgreens is an important step in getting a clean cut that prolongs the shelf life of these tiny, fragile greens. It all hinges on a proper harvesting tool, typically sharp scissors or a knife.
Harvesting is a process that many people ask about when starting out as home growers, so we’re going to break down some tips and strategies for success.
Microgreens are tiny edible plants, so you can put away your full-sized gardening shears and think small. Especially if you’re growing for yourself at home, small, hand-sized harvesting tools work best.
Microgreens are a nutrient dense food, because you harvest them at a very young stage. Unlike sprouts which are eaten in their entirety (seeds, root, and shoot), you harvest microgreens above soil level.
Microgreens are a great way to add some zest to your meals. Let’s take a closer look at how to harvest microgreens.
When to harvest microgreens
With microgreens, timing is fairly important. You don’t want to harvest too soon and risk the chance of missing the fully formed cotyledons. (In case you’re not familiar, cotyledons are the seed leaves, or the very first set of leaves of the plant). These seed leaves are chock-full of nutrients.
On the other hand, waiting too long often results in leaves that are tough and stringy rather than tender and sweet. A batch of microgreens that are left growing for too long tend to look more stringy, less vibrant, and overall—less appetizing. You may also begin to encounter issues with mold or disease (sometime we all wish to avoid!).
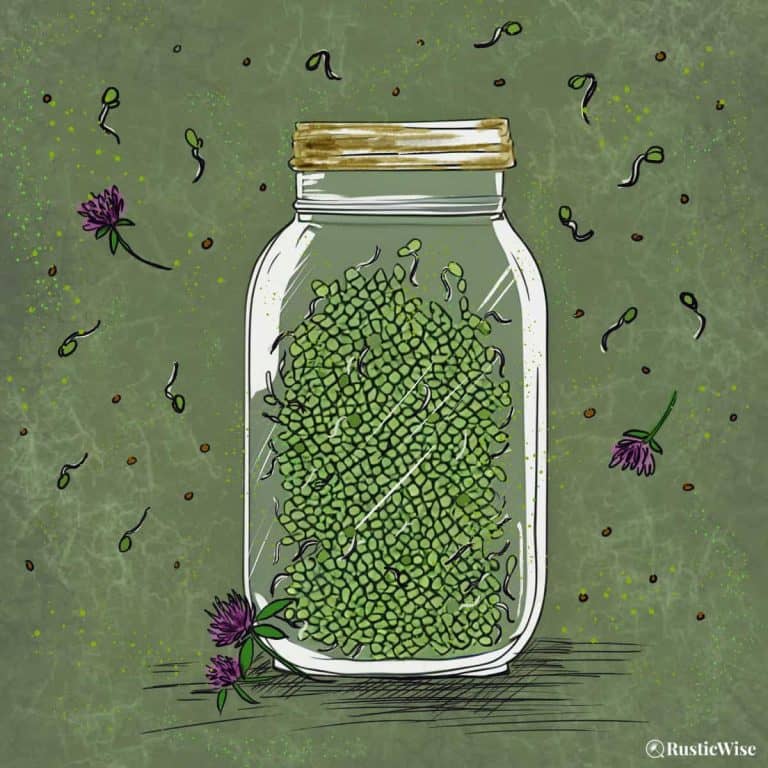
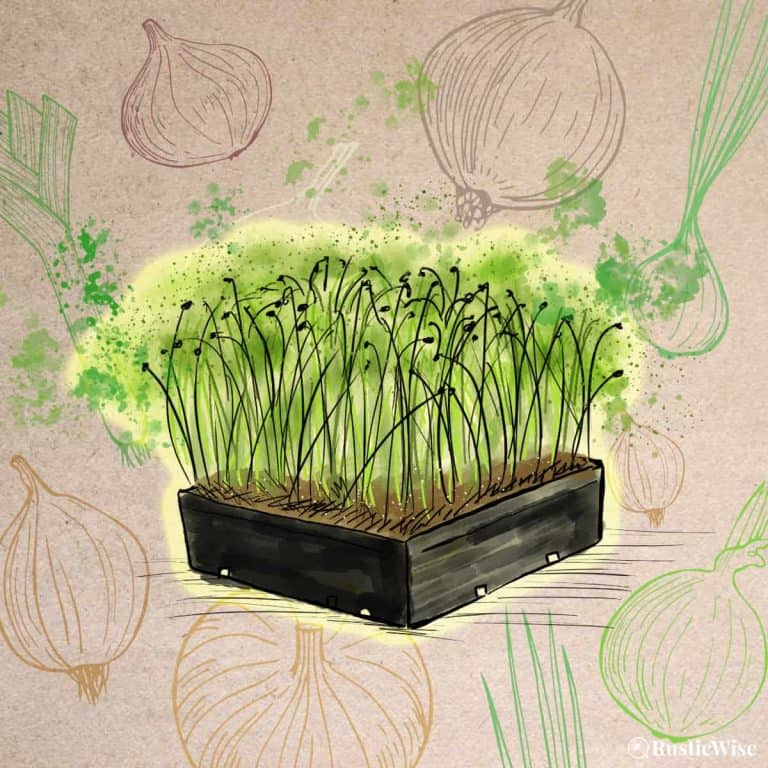
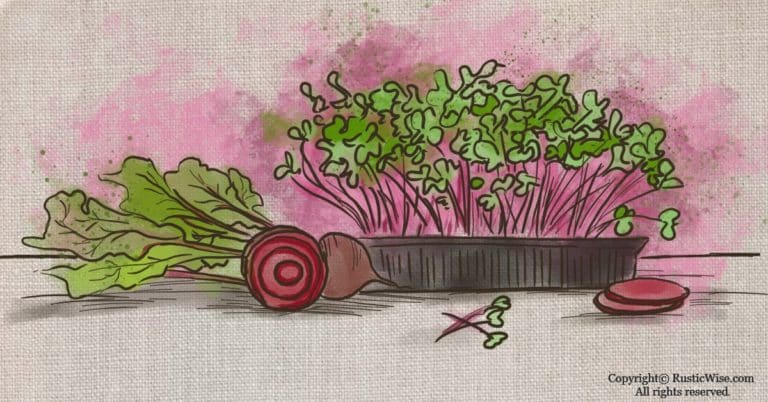
While different types of microgreens have different recommended harvesting times, most microgreens are ready to harvest between 7–14 days from sowing. Microgreens generally reach a height between 2–3 inches (5–8 centimeters).
There are some slow-pokes in the crowd. Some slower growing varieties of microgreens include: amaranth, basil, beets, carrots, chard, cilantro, dill, lemon balm, and orach to name a few. Johnny’s Seeds has put together a handy chart which outlines various slow growing microgreens varieties. Slow growing microgreens may be harvested between 16–25 days.
The cotyledons (first seed leaves) should be nice and green. The first pair of true leaves (these are technically the second set of leaves), may or may not be fully developed depending on your preference. Some growers prefer to harvest when the first true leaves are just appearing. Others prefer to harvest when the first true leaves are fully formed. Some people prefer to harvest some types of microgreens, like pea shoots for example, later when more leaves have appeared.
Harvest according to taste
The information we’ve just provided are general guidelines. The best way to harvest (especially if you’re growing for yourself or family) is to harvest to your taste preference.
Take a pair of scissors or a knife, and taste throughout the growing process. Take a bite of fresh, organic greens! Remember to take a few notes to improve your growing game for next time.
Harvesting tools for microgreens
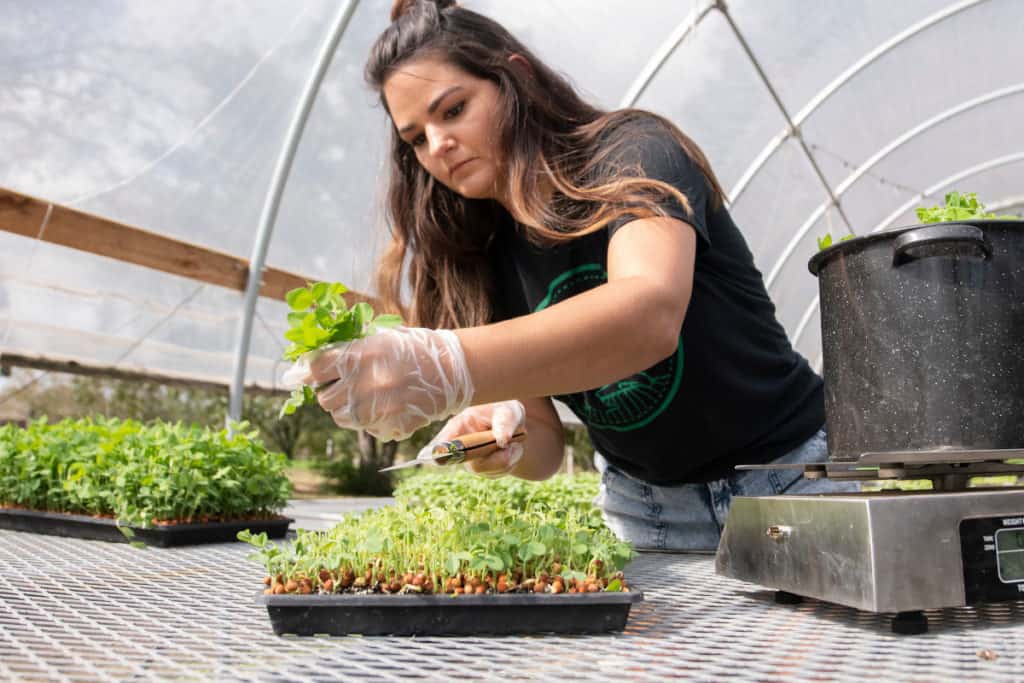
Now, let’s talk about harvesting tools. There are many different types of harvesting tools for both home growers and large-scale microgreens businesses. However, most home growers (and even some smaller-scale producers) do fine with either a sharp pair of scissors or a sharp knife.
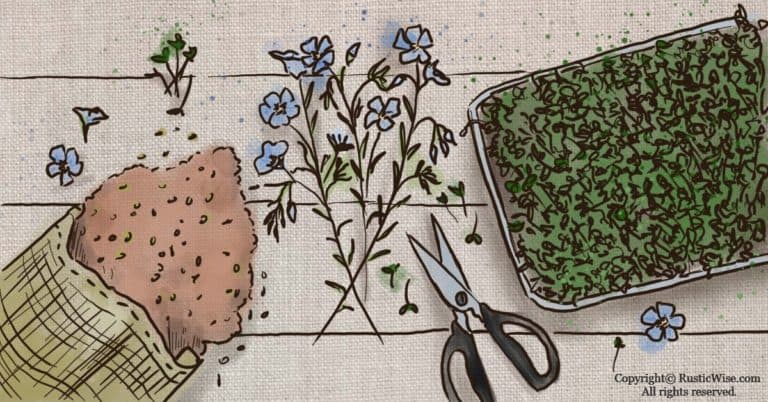
Besides sharp scissors, or a sharp knife, you could also try using herb snippers, or small gardening shears. Look for scissors that are stainless steel for easy cleanup. There are also scissors with antibacterial properties.
Forget the plastic-coated types of scissors which make cleanup more difficult. Bacteria can get trapped between or underneath the ridges of the plastic components.
Some larger-scale growers prefer to use electric clippers or electric knives.
Pennsylvania State University notes that farmers who used electric clippers and knives to harvest their microgreens reported shorter shelf life of microgreens. While the electric tools helped to harvest more quickly, the cuts were less precise and more jagged. The farmers noted more damage to the plant tissue. This contributed to the shorter shelf life of the microgreens.
Keep it sharp and clean
Microgreens, these tiny little plants, are truly delicate things.
The type of harvesting tool you use ultimately doesn’t matter; what matters more is keeping your tool sharp and clean. The importance of using a clean, sharp harvesting tool can’t be overstated. This is key for a clean, healthy cut that prevents rot and bacteria from growing on your microgreens.
Remember to properly clean your harvesting tool after each use! Cleaning the scissors after harvesting your microgreens is an important step to ensure healthy greens, and prevents cross-contamination.
Credit: Lance Cheung, U.S. Department of Agriculture / Flickr
Tips on how to harvest microgreens
You’ve put in the time and effort. Now, you get to reap the rewards of your hard work (although it really wasn’t that much work, was it?). It’s harvesting time!
You’ll need:
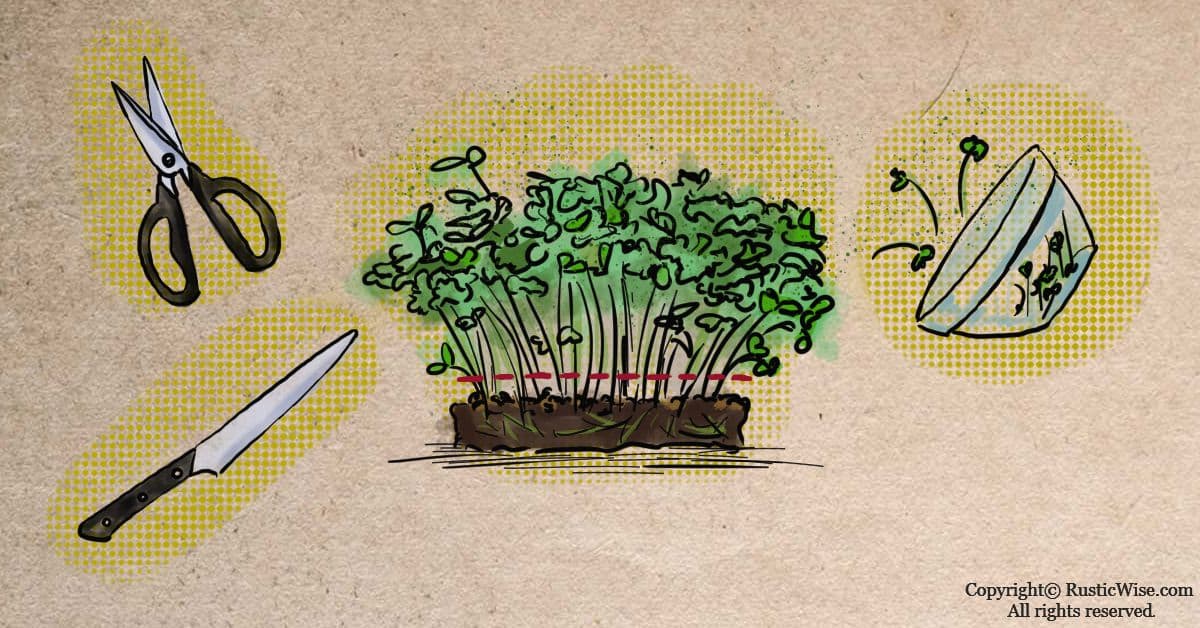
- A sharp knife, or a pair of scissors (or other harvesting tool of your choice)
- A clean paper towel or dish cloth (to wipe off your harvesting tool as needed)
- A clean container or plastic bag to store your microgreens
Tip: Always start with clean hands and a clean working surface. If you’re growing microgreens for profit, you may choose to wear gloves. Wipe down the table or countertop you’ll be harvesting on.
- Avoid watering your microgreens up to 12 hours before harvesting. This prevents excess moisture on your greens. Moist harvested microgreens tend to have a shorter shelf life.
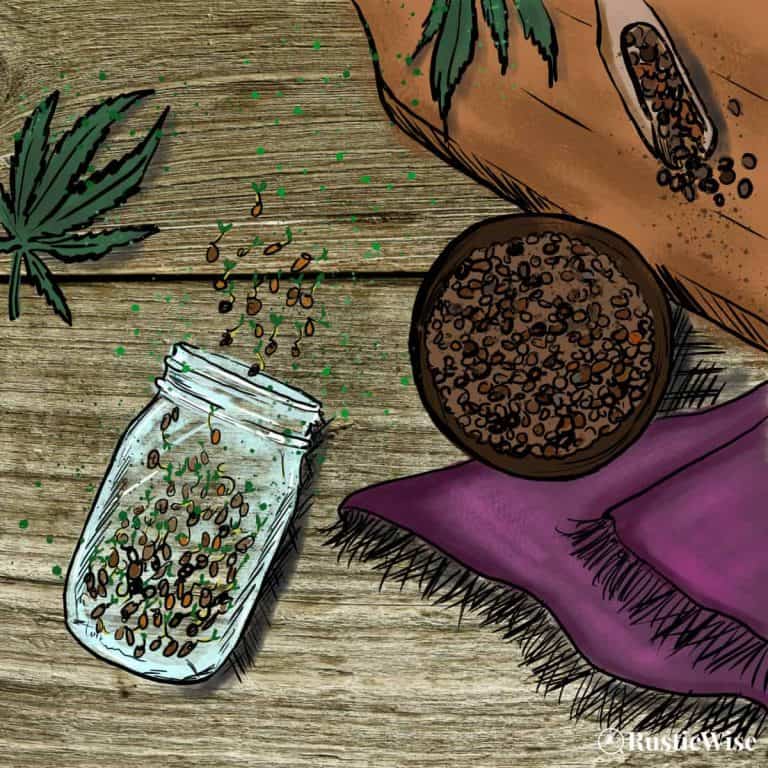
- Some types of microgreens are prone to hulls, especially beets, radish, and sunflower. While softer hulls are edible (and adds dietary fiber—bonus!), harder hulls may be unpleasant to eat. Before you begin harvesting, do an initial shake down! Carefully tilt the tray sideways (best to do this over a sink) to shake out any loose hulls.
- With one hand, gently grab a handful of microgreens. With the other hand, snip or cut just above the soil line. Be careful not to flick up soil as you work to avoid contaminating your microgreens.
- Inspect your microgreens for any soil or seed hulls. Remove any wilted, or lack-luster seedlings. Gently brush or shake off any debris.
- Handle with care—microgreens are delicate and prone to damage.
- Place your freshly harvested microgreens directly into a clean container or plastic bag.
- Use your clean paper towel or dish cloth to wipe off your scissors or knife as needed.
- You can choose to harvest an entire tray at a time, or only the microgreens you plan to eat. (Microgreens taste best when harvested fresh!) Hand-selecting the greens you harvest is one of the benefits of growing your own produce. Harvest the microgreens which look ready to you, and allow the others to continue growing.
- Refrigerate any leftover cut microgreens promptly. The longer you keep harvested microgreens at room temperature, the quicker they spoil.
How to store microgreens after harvesting
Like sprouts, microgreens spoil faster when stored before they are fully dried.
Rinsing your microgreens before storing them increases the risk of rot. If you have to rinse your greens, dry them on a clean towel and pat dry. Or, use a salad spinner. Ensure microgreens are thoroughly dry before storing.
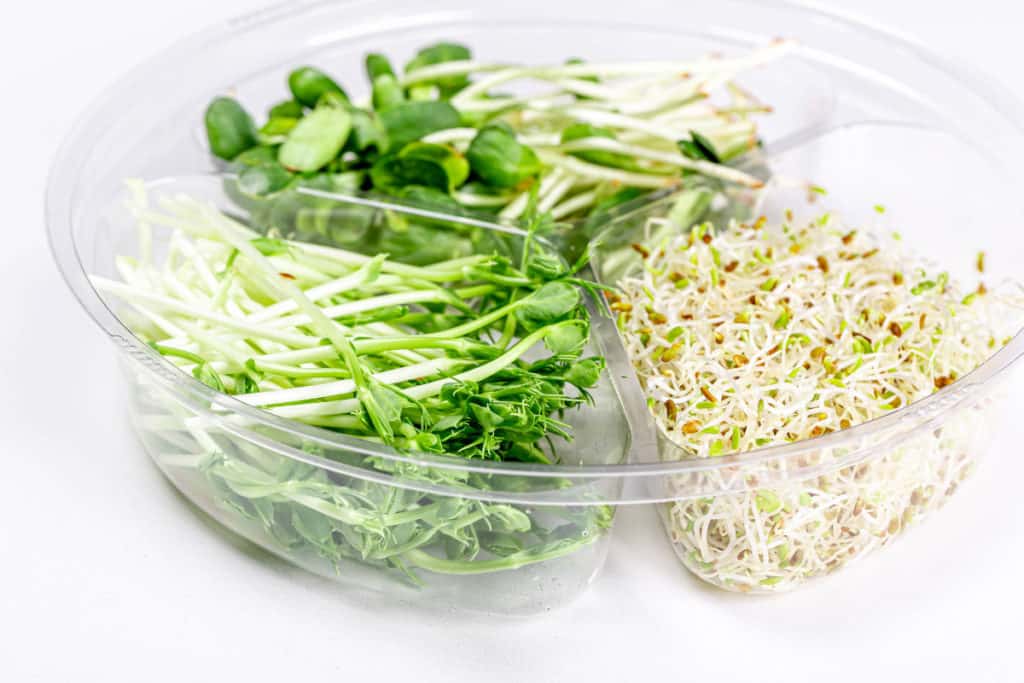
If possible, store microgreens unwashed in a clean plastic bag or container to prolong shelf life. Some people like to wrap microgreens loosely in a paper towel before placing in a container or bag.
There are many different types of plastic or produce bags. Perforated plastic bags, or produce bags are helpful by allowing a certain amount of air circulation. Vented plastic containers are also good.
When packing microgreens, pay attention to the amount you pack in each bag or container. Microgreens like some breathing space. So avoid packing them like sardines.
How long do microgreens last in the fridge? Most microgreens if promptly refrigerated and stored will keep up to one week, or longer.
While some people insist that you don’t need to rinse your microgreens before eating, we think a quick rinse is always a good idea. This removes any possible harmful bacteria on the greens. Washing before eating is especially important if you have anyone with a compromised immune system who’ll be eating your microgreens.
Final thoughts on how to harvest microgreens
Microgreens are a fantastic option for growing in a small space or container. They are easy to harvest, and provide a fresh source of greens year-round. The most important things to remember when harvesting microgreens is to use sharp and clean scissors or a knife to make clean cuts. This helps prevent bacteria from spreading and helps to prolong shelf life. Refrigerate or eat promptly.
Microgreens are definitely an option to consider when you want to grow fresh produce at home, but have limited space.
Related questions
Do microgreens regrow?
In general, most microgreens don’t regrow. If they do, the second crop tends to be lack-luster. However there are some varieties that produce a second (possibly third) crop. This includes arugula, pea shoots, beets, basil, and sunflower.
If growing microgreens commercially, most growers abide by the one-cut rule and don’t regrow from the same batch.
Which microgreens are easy to grow?
It’s true—some microgreens are easier to grow than others. What makes them easier to grow is often a combination of factors including: relatively quick growing time, less finicky requirements with water and humidity, and overall resilience.
In our opinion, here are a few good varieties that most people consider easy to grow: arugula, broccoli, cabbage, cress, kale, radish, kohlrabi, mustard, pea shoots, and wheatgrass.
But don’t just take our word for it. Try it out for yourself! Some people find basil difficult to grow, while others swear it’s a cinch. Overall, microgreens in general are fairly easy to grow, even for newbie gardeners.
Can you reuse microgreen soil?
It’s generally best to start with a new batch of organic potting soil, or soilless growing medium each time you start growing a new tray of microgreens. This helps prevent cross-contamination, and possible transfer of pathogens or diseases.
So what do you do with leftover microgreen soil? You can add it to your backyard compost or vermicompost. The leftover roots add some good nutrients to your compost pile. You can also use leftover soil as garden mulch.
In some instances, some types of growing mats can be reused, if you put in some effort. Over at BioComposites, makers of hemp grow mats, they recommend their mats for one-time use. However, you can try reusing if you allow them to dry out, remove all the roots, and sterilize with food-grade hydrogen peroxide.

References:
- Johnny’s Selected Seeds, Slow-Growing Microgreens Comparison Chart, https://www.johnnyseeds.com/growers-library/vegetables/microgreens-slow-growing-comparison-chart.html. Accessed April 2021.
- Pennsylvania State University, College of Agricultural Sciences, Growing Microgreens, https://extension.psu.edu/growing-microgreens. Accessed April 2021.
- BioComposites Group, Terrafibre Grow Mats, https://www.biocompositesgroup.com/grow-mat.html. Accessed April 2021.

Author: Josh Tesolin
Josh is co-founder of RusticWise. When he’s not tinkering in the garden, or fixing something around the house, you can find him working on a vast array of random side projects.