Microgreens for Chickens: Healthy Greens for Your Flock
RusticWise is supported by its readers. When you purchase through links on our site, we may earn an affiliate commission. As an Amazon Associate, we earn from qualifying purchases. Thank You!
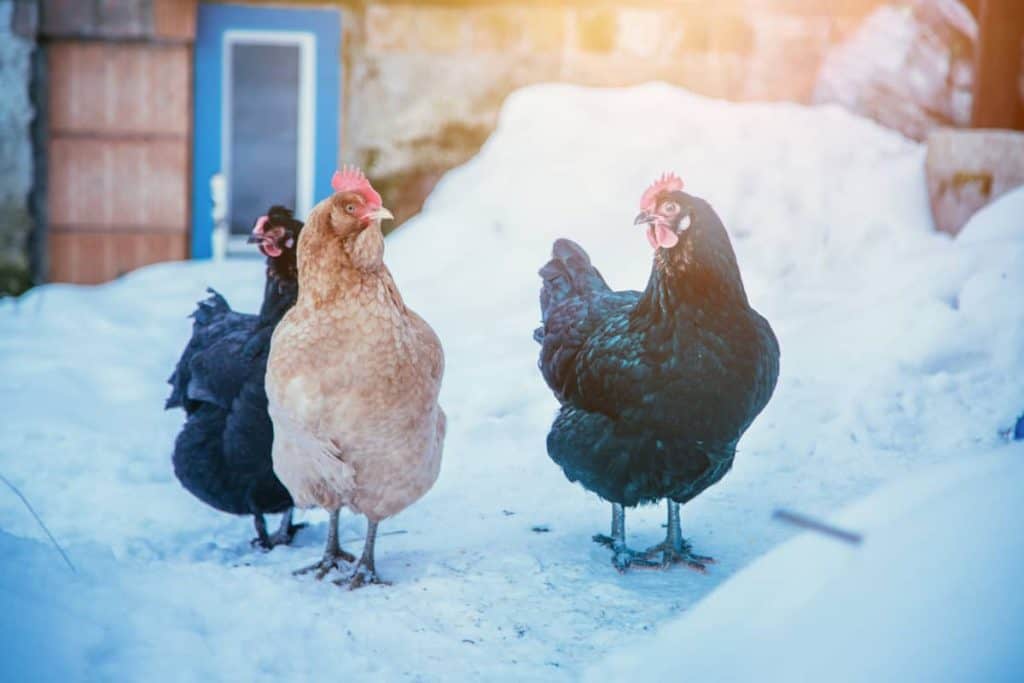
In the dead of winter, growing fresh produce outdoors in most zones just isn’t possible. And, if you happen to raise chickens who are used to foraging for food outdoors, this can make for a few bleak and boring months.
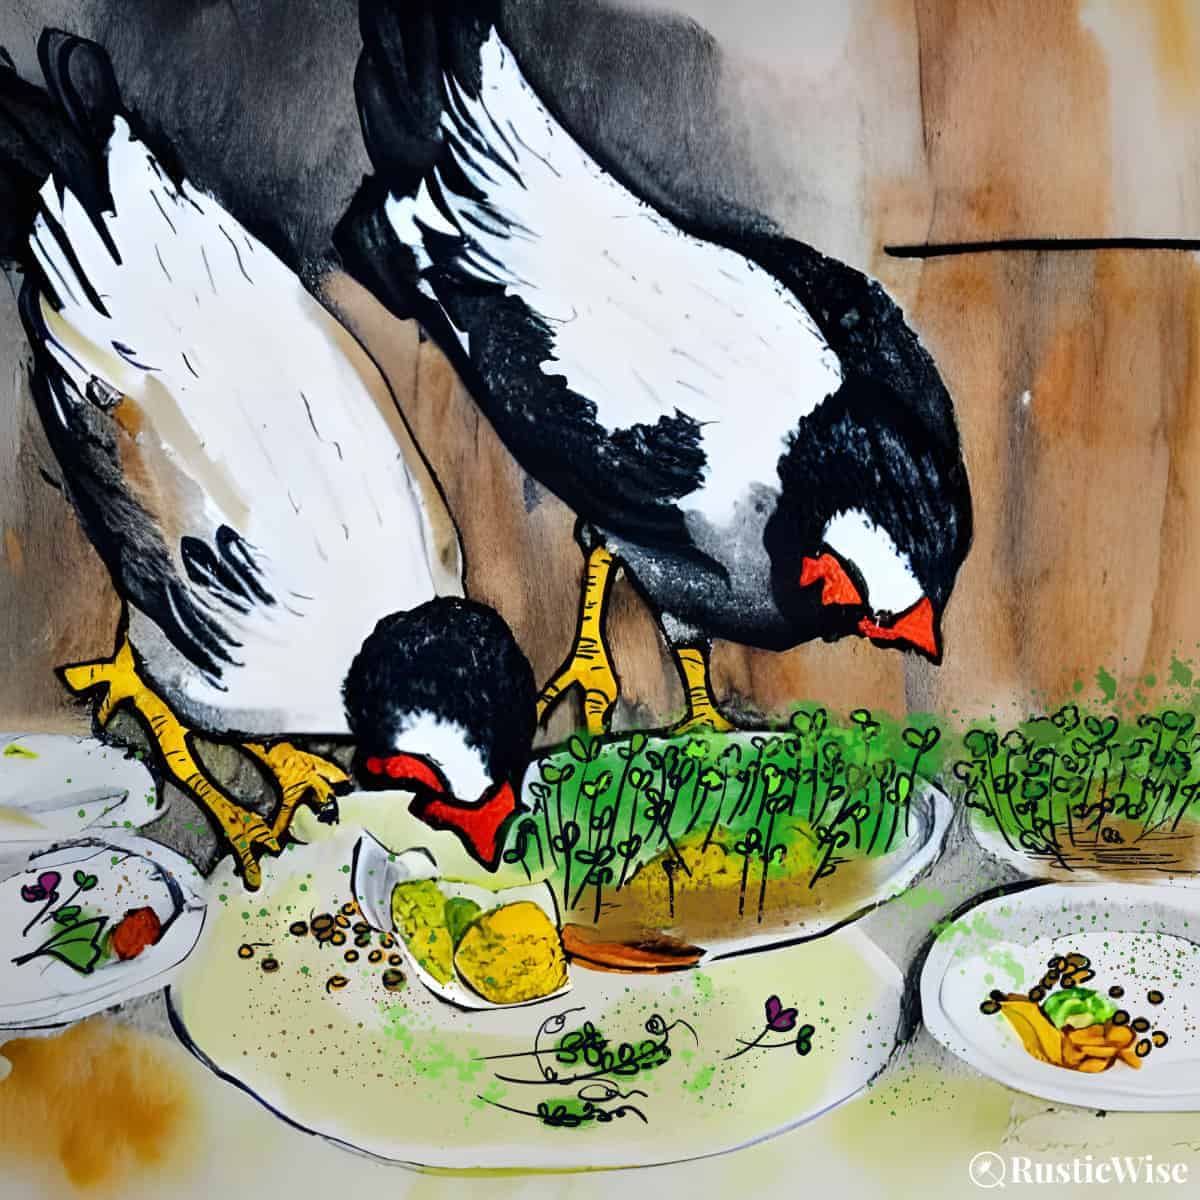
This is why growing microgreens for chickens is gaining in popularity. You can grow microgreens indoors all year round and many varieties are ready to eat in roughly 2 weeks. Packed with vitamins, nutrients, amino acids, and antioxidants, these tiny greens make a healthy addition to a bird’s diet. They also add variety to their food, and save you from making a trip to the grocery store every time you need fresh greens.
Let’s go over everything you need to know about growing your own fodder for your flock. I’ll also go over some of the best seeds to plant for chickens. Your birds are hungry. What are you waiting for?!
Can chickens really eat microgreens?
Yes, microgreens are a type of leafy green that many chickens enjoy.
Microgreens are young, fresh leafy plants that are harvested before they fully mature. Chickens are omnivores and enjoy a variety of grains, seeds, protein, and vegetables as part of a well-balanced diet.
Microgreens are an ideal feed for chickens as they are a wonderful source of vitamins, minerals, and beneficial enzymes. You can germinate a variety of seeds including vegetables, herbs, grains, and nuts/seeds.
This can give chickens a bit more energy for the day, making them happier and healthier overall. If you’re looking for a nutritious supplement or tasty treat to feed your chickens, consider feeding them microgreens.
Credit: VectorState
Microgreens are not the same as sprouts
The terms “sprouts” and “microgreens” are often thrown together, but there are key differences between the two. While both sprouts and micros are immature plants, sprouts are smaller than micros and are ready to harvest sooner.
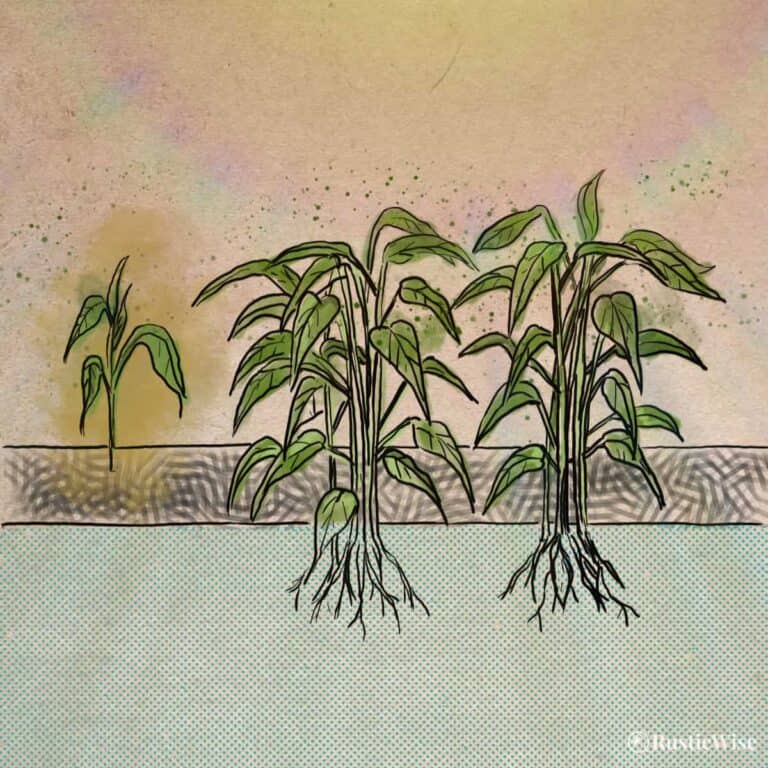
Microgreens are seedlings of edible plants that are sowed in soil or a soilless medium such as coconut coir. Many varieties of fast-growing micros are ready to harvest in under two weeks. These tiny greens require sunlight to grow healthy and strong.
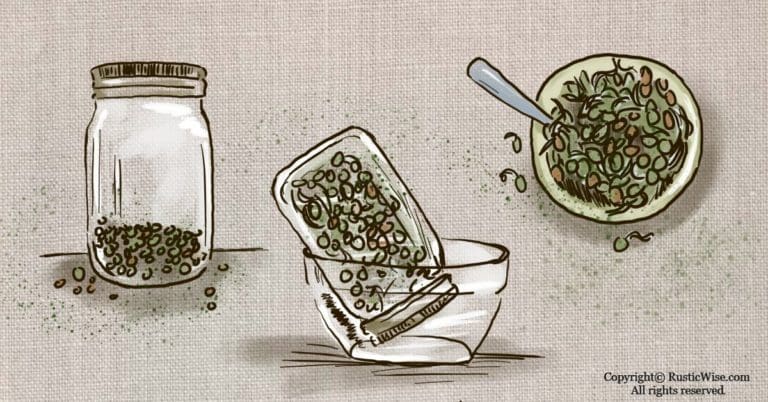
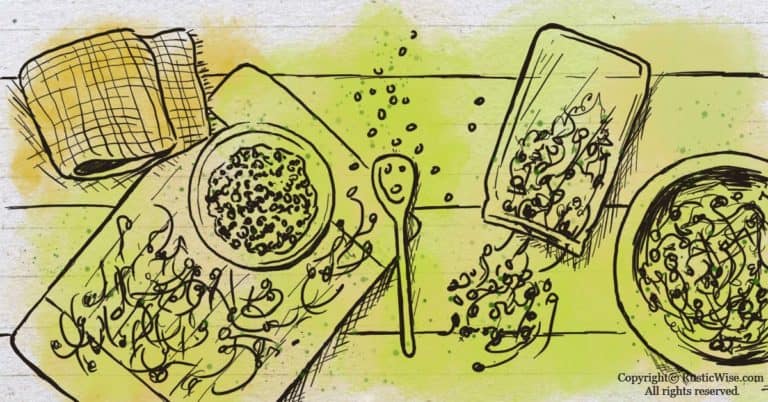
Sprouts are germinated seeds that are often grown in a sprouting jar. They don’t require any soil, or light to grow. Many sprouts are ready to eat in a few days.
However, both sprouts and microgreens are beneficial to your health, and both are relatively inexpensive to grow yourself.
You can also sprout seeds for birds (which we have an article about). This post focuses on sowing microgreen seeds in shallow trays.
Ideal microgreens for chickens
There are many types of leafy greens that can supplement your chicken’s diet. Here’s a list of some of the best ones to try!
- Alfalfa: A mild and nutty flavor with a hint of fresh peas.
- Clover: Contains plenty of vitamins C and K and isoflavones (plant-based estrogen) compound. It’s also a complete protein.
- Flaxseed: Full of healthy omega-3s and protein.
- Kale: Many types of kale to grow: purple, red, or green.
- Lettuce greens: A favorite of many chickens.
- Mustard: Slightly spicy!
- Pea shoots: These will often regrow, so you might want to cut these off at the base instead of offering birds the entire tray.
- Spinach: A superb source of vitamins B6 and C, iron, magnesium, and calcium.
- Sunflower: Black oil sunflower seeds are preferred over striped varieties for germinating.
Benefits of feeding microgreens to chickens
According to the Ontario Ministry of Agriculture, Food and Rural Affairs (OMAFRA), the following groups of nutrients are essential to a healthy chicken diet:¹
- Cereals and grains
- Animal proteins
- Vegetable proteins and fats
- Animal fats
- Micro and macro minerals
- Vitamin premixes
Depending on the type of microgreen you’re growing, these tiny greens meet many plant-based requirements, including minerals and proteins from vegetables.
If growing your own microgreens seems like a lot of extra work, you might wonder if it’s worth it. Growing your own fodder provides your chickens with the vitamins and minerals they need to remain active and healthy.
Here are a few benefits of growing your own micros for your birds:
- Packed with nutrients: I haven’t seen any studies yet about the impact on the health of chickens after eating a microgreens-enriched diet, but there are plenty of studies on the health benefits of these tiny greens. A 2012 study evaluated 25 types of microgreens. Researchers found that on average, most micros contain 5 times the amount of vitamins and carotenoids than the mature leaves of the same plant. Some contain as much as 40 times.²
- A way to supplement food in the winter: In the cold blustery months, growing your own source of food indoors would benefit smaller flocks, or a few backyard chickens. It’s a way to add variety and fresh greens to their diet without breaking the bank.
- Healthier chickens and eggs: Few could argue against adding more greens to a diet, something most animals (and humans) do not get enough of. They can improve the overall health and quality of the chicken, and in turn produce better eggs. Most chickens love eating them. Besides, your birds likely miss the fun and stimulation of foraging outdoors in the spring and summer. Providing a tray of micros to peck at is a great boredom-buster and you’ll make your chickens happy.
A sign your hens are not getting the proper nutrients
A sign your birds aren’t getting enough nutrients are pale-colored yolks. When fed a nutritious diet, yolks should be a darker, golden color.
The chlorophyll in microgreens is especially great for producing darker yolks and ensuring they get all the vitamins, nutrients, protein, and amino acids they need.
Avoid growing these greens
Be wary of sprouting or growing some types of beans such as kidney beans. Some beans contain toxins that can be harmful to poultry when eaten raw.
Types of seed to use for growing micros
The best type of seeds to grow micros are those that are untreated and labelled as “high germination.” Stick with organic seeds if possible.The seeds also need to be whole and unhulled.
Some seeds may be treated with fungicides or pesticides, which may harm birds when eaten. Poorer quality seeds, or older seeds will not germinate well.
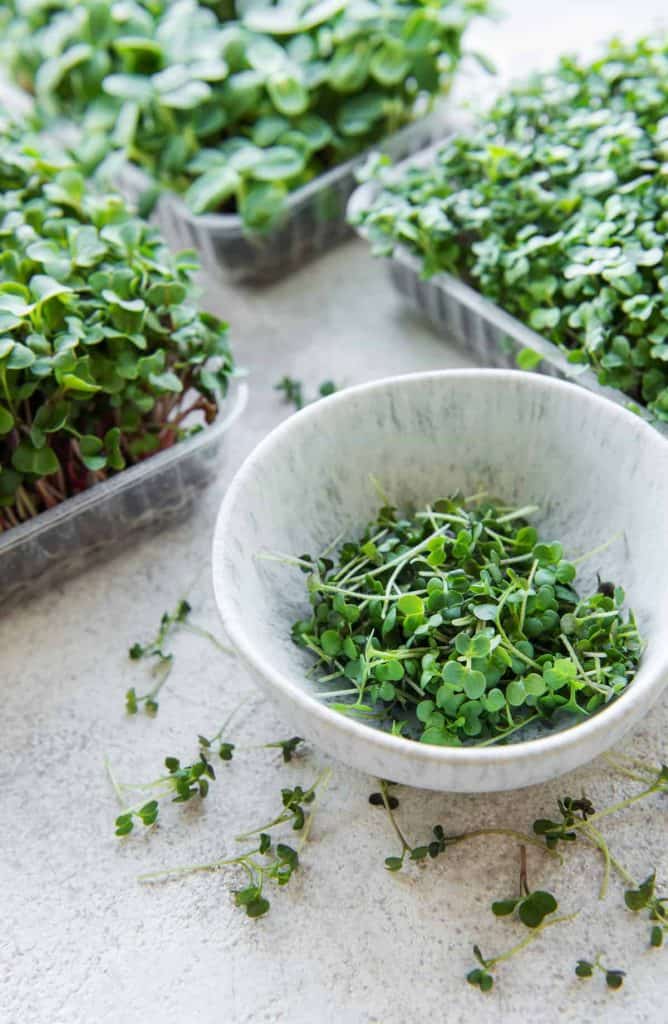
How to grow microgreens indoors for your flock
The following is a general overview of how to grow micros indoors in shallow containers. If you’d like to grow sunflower shoots or pea microgreens, these two seeds require a few extra steps (pre-soaking and pre-sprouting the seeds).
👉Learn to grow sunflower microgreens step-by-step. Or get detailed instructions on growing pea shoots.
Supplies you’ll need
- Quality seeds
- Growing container and cover (You can buy grow trays, or repurpose shallow containers such as pie plates, or clear plastic produce containers. Remember to poke a few holes for drainage.)
- Potting mix or growing medium of your choice such as coconut coir
- Spray bottle filled with clean water
- Small piece of cardboard for tamping down soil and seeds (optional)
- Glass jar (if you’re planning to soak the seeds)
- Small bucket for moistening soil
Tips: Start with about 1–2 teaspoons of seeds for a tray that measures 5 X 5 inches. To soak or not to soak seeds? Many larger varieties of seeds such as sunflower and peas will require soaking. Other smaller types or gelatinous ones will not. Refer to the specific instructions on your seed packet.
- Measure and inspect seeds: Take a quick look over your seeds and remove any debris or broken seeds. Portion out your seeds.
- Fill grow tray with moistened growing medium: It’s easiest to pre-moisten your soil or grow media in a separate bucket before adding to your tray. The soil should feel damp like a sponge, but not overly wet. Fill the tray with about 1–2 inches (2.5–5 centimeters) of soil. Pat down.
- Sow seeds and mist: Broadcast the seeds evenly over the surface of the soil. Avoid overlapping the seeds as this will make it too crowded. Gently tamp down with your hands or a small piece of cardboard to ensure all seeds make good contact with the grow medium. Gently mist the seeds with a spray bottle.
- Cover seeds and keep warm: At this phase, the seeds don’t need light, they are busy germinating. To retain moisture, place a grow cover over the tray. Alternatively, a newspaper, or a piece of clean, breathable cotton cloth will do. Keep at room temperature. Cooler temperatures will slow down germination rates. Most types of micros germinate within the first three or four days. If needed, mist the soil once a day (if it feels dry). Replace the lid after misting.
- Give it light: Once small shoots appear, remove the cover and place in the light. A sunny windowsill works, or you might need artificial grow lights if there’s not enough natural sunlight. Light helps promote healthy, green growth.
- Water regularly: You may notice that now your greens are getting light, your growing medium may dry out more quickly. Keep the soil moist by watering once a day (or as needed). You can side water or bottom water.
- Harvest: Your food for chickens is ready! Some micros grow quickly and are ready to harvest in 1–2 weeks. Others need up to 30 days to finish growing. Some people harvest as soon as the first seed leaves (cotyledons) have unfurled, or wait until the first true leaves (the second set of leaves) appear. Since you’re feeding this to chickens, you can skip the cutting step (less work!) and simply offer them the entire tray.
Chickens will likely feed and forage on the entire batch—even the roots! Depending on the size of your flock, you might want to grow multiple trays of microgreens at a time.
Throw the leftover soil in your backyard compost heap.
You might like
Barenbrug Premium Free Range Chicks Mix Forage Seed Mixture
- Non-GMO ingredients: Contains white clover, tetraploid perennial ryegrass, tetraploid annual ryegrass, flax, and alfalfa seeds. The mixture is non-coated.
- Variety of uses: Mixture can be used for free range chickens/poultry and also backyard game birds, goats, and sheep.
- Can help health of eggs: Some of the ingredients in this mix have been shown to increase the level of Omega-3 in eggs.
Found on Amazon
Check Current Price
Those in Canada and the UK should be taken to the product listing in your region.
Tips for growing greens outdoors
If you’re lucky enough to live in a warmer climate where outdoor growing is possible in the winter months, you can also sow micros, or other types of fodder outdoors directly in the sun.
Here are a few tips:
- Try sowing sunflower microgreens outdoors as they like the sun and heat. Some types of vegetables like lettuce greens or spinach, may not do well in high heat.
- Outdoors, you can also try to grow oat seeds, or millet and sorghum directly in the ground. Place a piece of mesh wire around the growing area to protect birds from digging up the roots. A mesh screen works well to protect hardier weeds such as dandelions from getting uprooted.
👉 If you like this post, see our Complete Guide to Growing Microgreens at Home. 🌱
Would you like more timeless tips via email?
Fun tips to help you live an independent, self-sustaining lifestyle. Opt-out at any time.

References
- Ontario Ministry of Agriculture, Food and Rural Affairs (OMAFRA), Introduction to Poultry Nutrition, http://www.omafra.gov.on.ca/english/livestock/poultry/facts/introduction.htm. Accessed December 2022.
- Lester, Gene & Xiao, Zhenlei & Luo, Yaguang & Wang, Qin. (2013). Microgreens: Assessment of Nutrient Concentrations. Journal of Agricultural and Food Chemistry. https://dx.doi.org/10.1021/jf300459b

Author: Josh Tesolin
Josh is co-founder of RusticWise. When he’s not tinkering in the garden, or fixing something around the house, you can find him working on a vast array of random side projects.

