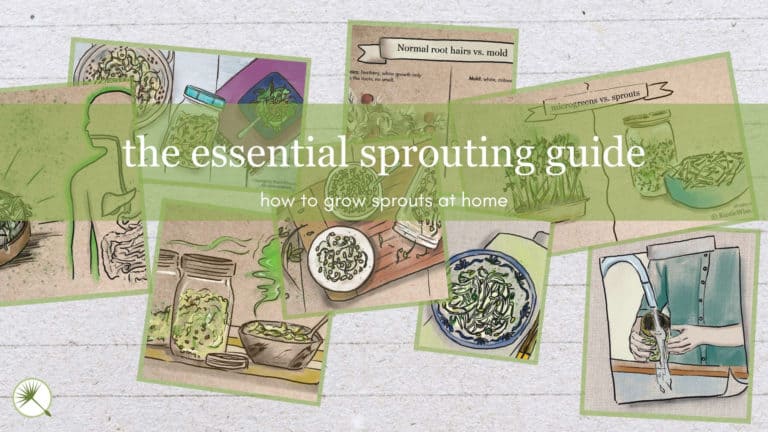
Microgreens vs Sprouts: Similarities and Key Differences You Should Know
RusticWise is supported by its readers. When you purchase through links on our site, we may earn an affiliate commission. As an Amazon Associate, we earn from qualifying purchases. Thank You!
Many people confuse microgreens with sprouts, and it’s easy to see why. Both are harvested before the plant is matured. Both are lauded for their nutritional-rich properties. And home growers have taken to both growing microgreens and sprouts in hoards as they don’t require a lot of space or fancy equipment to get started.
However, there are a few key differences.
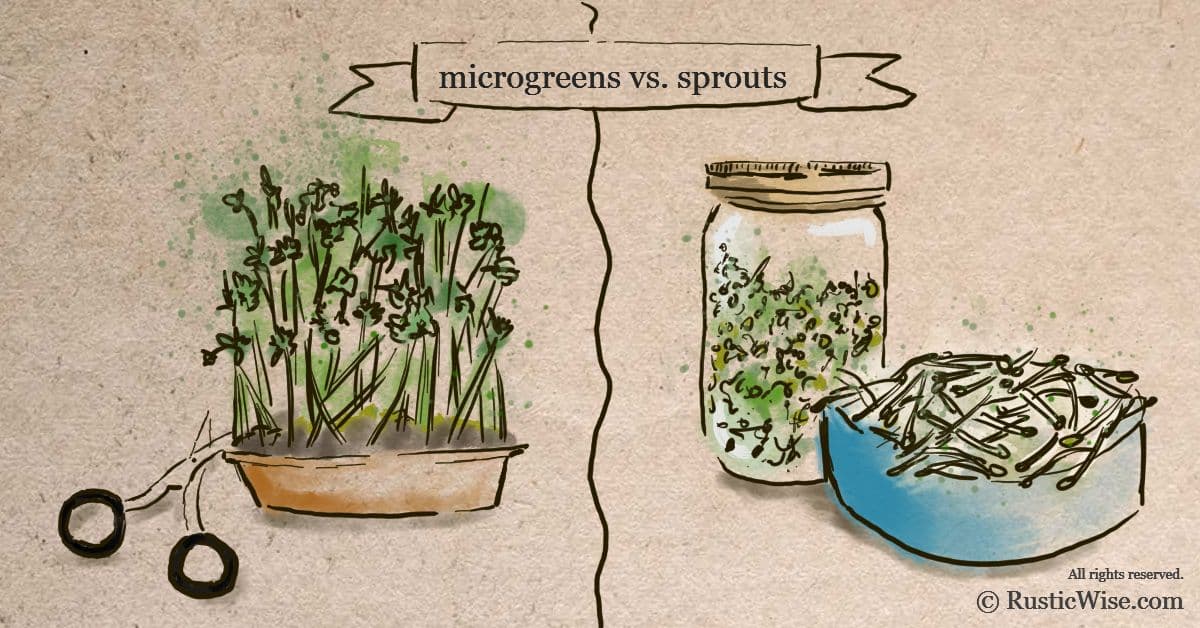
Here’s a quick look at microgreens vs sprouts. Sprouts are the germinated seed of a plant, and are eaten whole: seed, root, and shoot. Microgreens are harvested just above the soil line. The seed leaves (cotyledons), the first true leaves, and stems are eaten.
Let’s explore a few key differences and similarities between microgreens and sprouts. We’ll look at equipment and supplies used to grow these healthy greens, how to care for them, and how long ’til harvest time!
What exactly are microgreens and sprouts?
A sprout is a germinated seed. Microgreens are the young shoots of a plant.

Sprouts grow in the dark. Microgreens like the sun.

Sprouts don't require any soil. Most people grow microgreens using soil or a soilless medium.
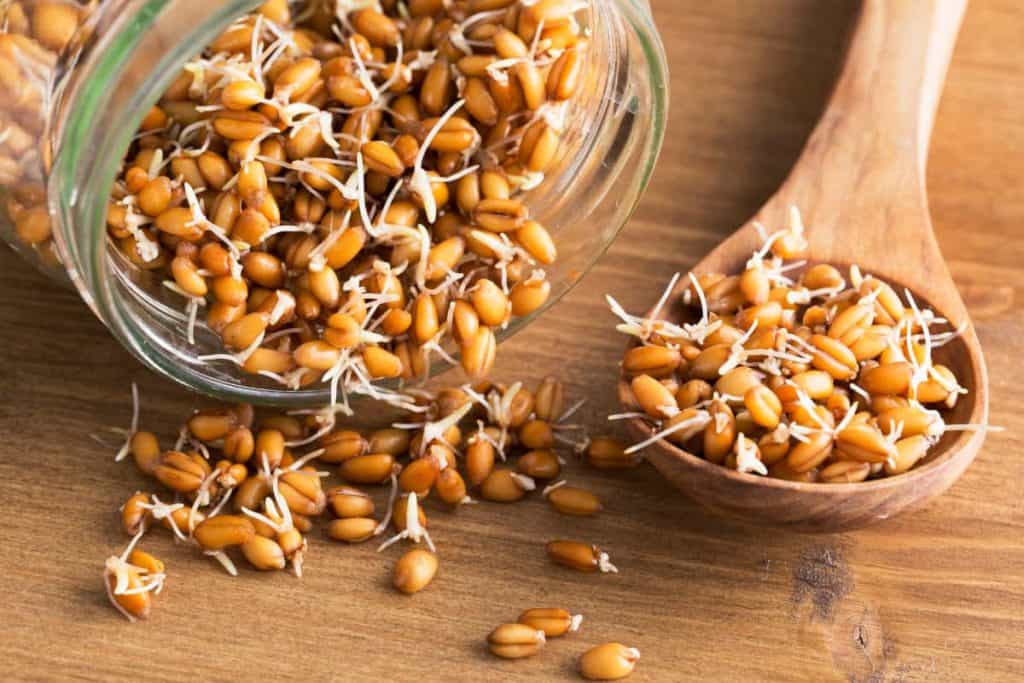
A sprout is a germinated seed. You can sprout the seeds of a variety of vegetables. Some common sprouts include broccoli, mung beans, and alfalfa to name just a few. Sprouting seeds are soaked in water in containers without any soil. After a few days, the seeds have sprouted and are ready to eat.
If you were to picture a timeline of a plant’s germination, the sprout would come first, followed by the microgreen, and finally the mature, true leaves of the plant emerge.
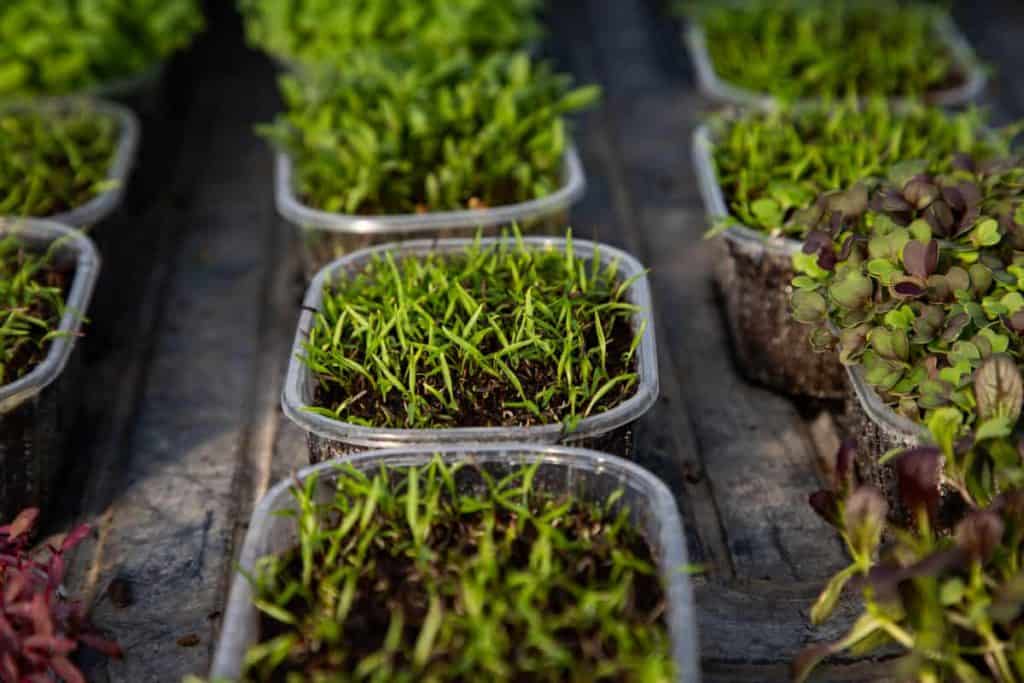
Microgreens are the young shoots of a plant which include the cotyledons (the very first seed leaves), along with the stems and true leaves.¹ Microgreens are harvested when they are around 2 inches (5.1 centimeters) tall, before they reach full maturity.
Growing microgreens is as simple as using a few shallow containers filled with soil (although soilless options are available too). After one to three weeks, the microgreens are ready for harvesting. We cut them close to the soil line; the roots are edible, but typically not eaten.
There are many varieties of microgreens from edible flowers, herbs, and vegetables. A few popular microgreens include arugula, buckwheat, wheatgrass, sunflower, and cabbage.
Both microgreens and sprouts are small, but packed with flavor. They also lend a nice texture to dishes. A small handful can liven up a salad, sandwich, omelette, or serve as a key ingredient in smoothies.
Table: Difference Between Sprouts and Microgreens
| Sprouts | Microgreens |
|---|---|
| A germinated seed. | The youngest shoots of a plant. Includes the cotyledon (seed leaf) and stems, and possibly the true leaf. |
| Grows in dark or low-light conditions. | Most microgreens require plenty of sun. |
| Often grown in a sprouting jar without any soil. | Grown in a shallow container with soil or a soilless medium. |
| Requires regular rinsing and draining. | Requires occasional watering or misting. |
| Harvested before maturity. | Harvested before maturity. |
| Ready to eat within 3 to 5 days. | Ready to eat in 1 to 2 weeks, on average. Some varieties take several weeks to grow. |
Credit: Vector State
Growing conditions and maintenance
Microgreens are sun-lovers. They require plenty of sunlight to grow (or indoor grow lights if a good natural source isn’t available, or if you’re planning to ramp up production).
Typically, you plant microgreen seeds in rich potting soil or compost (although some growers prefer to use soilless options or hydroponic growing mats). There are many different types of growing containers you can use, from growing trays to DIY shallow containers you already have at home with drainage holes poked in.
Microgreens maintenance is easy-peasy. Just keep soil moist by bottom watering, or misting daily (or as needed).
While most people grow microgreens indoors, they can also grow outside in a garden bed from late spring to early fall in milder climates.
Sprouts, on the other hand, do just fine in low-light conditions. This is a benefit for those wanting to grow their own sprouts at home and perhaps live in an area where a sunny windowsill isn’t available.
Sprouts are soaked in an enclosed container such as a mason jar with a mesh lid (to allow for drainage). They don’t require any type of soil to grow. Sprouts germinate through a combination of soaking in water plus warmth and humidity generated within the growing container.
To care for your growing sprouts, rinse with water and allow the container to drain at least twice a day.
Credit: Deposit Photos
Growing times
In terms of growing times, growing sprouts win. While all varieties of sprouting seeds and microgreens vary, most sprouts are ready to eat within 3 to 5 days.
Growing microgreens takes longer— they’re ready to be harvested in 1 to 2 weeks. This is just a general guideline, however, as some growers prefer to let their microgreens grow longer, up to four or five weeks, depending on the variety.
Don’t wait too long before harvesting your microgreens. Microgreens that grow too long have altered texture and taste, are less tender, and often have a stronger, bitter flavor.
You might like
Plastic Sprout Lid with Stainless Steel Screen for Wide Mouth Mason Jars
- Food Grade Material: Made of food- grade ABS plastic. The mesh is made of 316 stainless steel. Durable and easy to clean.
- Great Design: The easy-to-drain stand lets you soak, rinse, and drain seeds and sprouts without losing them out the holes. Fits wide-mouth Ball, Kerr and Bernadin mason jars.
Found on Amazon
Check Current Price
Those in Canada and the UK should be taken to the product listing in your region.
Food safety
Unfortunately, sprouts have earned a bad reputation when it comes to food safety. A report from the U.S. Food and Drug Administration (FDA) states that from 1996 to 2018, “contaminated sprouts were associated with 50 outbreaks, which together resulted in more than 2,600 cases of foodborne illness.”²
Salmonella and E.coli are the most common types of foodborne illnesses from improperly handled sprouts. The FDA has issued stricter guidelines for sprout growers to adhere to reduce the risk of food poisoning.
Why are sprouts so prone to developing foodborne illnesses? It has to do with the sprout growing process which involves dark, warm and humid conditions making it a breeding ground for harmful bacteria.
Microgreens on the other hand grow like most other vegetables in soil and aren’t exposed to the warm temperatures and humidity that make sprouts so susceptible to bad bacteria.
After growing sprouts at home for many years, we’ve never personally experienced any type of food poisoning. This is not to say that homegrown sprouts can’t develop harmful bacteria—they definitely can if not handled properly. But you can imagine that it would be much more difficult to do quality control over large batches of sprouts rather than just a few small jars for personal use.
Safety tips: To stay on the safe side, certain people should avoid eating raw sprouts including pregnant women, very young children, the elderly, or people who are immunocompromised. Cooking sprouts can kill most of the harmful bacteria. The downside is that cooking also diminishes its nutrient contents.
Which is healthier: microgreens vs sprouts
Both microgreens and sprouts are packed with nutrients and antioxidants. Rich in protein, vitamins C and K, as well as magnesium, folate, phosphorus, and manganese, you really can’t go wrong with either.
While I’m not a nutritionist or doctor, the consensus among the online community seems to tip the scale towards microgreens. There are several arguments supporting this.
- Nutrients are absorbed through soil. Since sprouts are germinated only in water while microgreens are grown in rich soil or compost, it’s believed that microgreens absorb nutrients from the soil. Some growers enrich their soil with added nutrients as well.
- Cotyledons are full of nutrients. The cotyledon stage of plant growth that microgreens undergo is a unique time when the plant is about to begin photosynthesis. The cotyledons (seed leaves) are accessing vital nutrients from the seed in order to kickstart photosynthesis. Many cotyledons are harvested with microgreens and are bursting with nutrients.
- Less risk of foodborne illnesses. As we mentioned earlier, sprouts have the added risk of developing foodborne illnesses while microgreens are pretty safe.
- Slightly more fiber. Microgreens in general contain a wee bit more fiber than sprouts.
Studies have shown that microgreens contain a higher concentration of nutrients than their mature counterparts. So eating broccoli microgreens versus a fully-grown broccoli for example would provide more nutrients.
The USDA Agricultural Research Service (ARS) studied 25 common varieties of microgreens and found them to have on average about five times the amount of vitamins and carotenoids than the leaves of the same mature plant.³
The takeaway: The bottom line is that both sprouts and microgreens are healthy (with microgreens perhaps having a slight edge). We could all benefit from a diet of more greens though, right?
How long do microgreens and sprouts last?
Both microgreens and sprouts need to be refrigerated and have a fairly short shelf life compared to other longer-lasting veggies, like carrots. There’s also a range in shelf life amongst different varieties of microgreens and sprouts.
Sprouts tend to become slimy after a few days. The UK’s Food Standards Agency recommends that raw sprouts be consumed within two days.⁴
I’m assuming they’re referring to store-bought alfalfa sprouts, for example, which need to factor in the transportation times. Personally, we’ve kept homegrown broccoli sprouts in an aerated container in the fridge for up to four days, but use your judgment. Throw out anything that looks wilted, brown, or slimy!
Microgreens have a similar short shelf life of up to a week, depending on the variety (and with proper harvesting/storage). With proper storage, the shelf life of microgreens can be extended.
Researchers at the U.S. Agricultural Research Service (ARS) experimented with various packaging that creates the right balance of oxygen and carbon dioxide. Experimenting with different packaging membranes, researchers were able to extend the shelf life of buckwheat microgreens up to 14 days.³
Tip: To properly store microgreens, wrap them in a clean, damp paper towel and place inside a ventilated container. Keep refrigerated.
Final thoughts on microgreens vs sprouts
So which is better, microgreens vs sprouts? If you’re in a rush and want fresh greens pronto, sprouts are the answer. If you don’t have a natural source of sunlight at home, sprouts are also the way to go.
If you want tender greens for salads, smoothies, and all around versatility, you can’t go wrong with microgreens.
It’s a tough call. I would say there’s value in both and that if you have the time to try growing both for yourself. Just remember to follow best practices when handling microgreens, and especially sprouts.
Related questions
Are sprouts and microgreens the same?
Simply put, no, sprouts and microgreens are NOT the same. Sprouts are eaten in their entirety (root, shoot, and seed). You grow sprouts without any soil in low-light conditions. Microgreens on the other hand are the youngest shoots of a plant and are harvested when only 2 inches (or so) tall. Most microgreens are grown in soil (or a soilless medium), and most varieties require ample sunlight.
What’s the difference between regular seeds and microgreen seeds?
Microgreen seeds differ from regular seeds in that they’re specifically produced for high germination rates in more densely sown conditions in a short period of time. Good quality microgreen seeds are also free of harmful pathogens. While you could try using regular seeds to grow microgreens, you may have lackluster results.
What’s the difference between microgreens and baby greens?
Microgreens are smaller than baby greens and are harvested earlier. Most microgreens are harvested when they are roughly 2 inches tall (although some varieties such as sunflower microgreens and pea shoots are grown taller).
Most microgreens are harvested within 1 to 2 weeks. Baby greens such as baby kale and baby spinach are often harvested at 3 to 4 weeks.
👉 If you like this post, see our Complete Guide to Growing Microgreens at Home. 🌱
👉 If you like this post, see our Essential Sprouting Guide: How To Grow Sprouts at Home. 🌱
Would you like more timeless tips via email?
Fun tips to help you live an independent, self-sustaining lifestyle. Opt-out at any time.

References
- Britannica, Cotyledon, https://www.britannica.com/science/cotyledon-plant-anatomy. Accessed June 2020.
- U.S. Food & Drug Administration, FDA Issues Draft Guidance for Reducing Food Safety Hazards in the Production of Seed for Sprouting, https://www.fda.gov/food/cfsan-constituent-updates/fda-issues-draft-guidance-reducing-food-safety-hazards-production-seed-sprouting. Accessed June 2020.
- USDA, AgResearch Magazine, “Specialty Greens Pack a Nutritional Punch.” https://agresearchmag.ars.usda.gov/2014/jan/greens. Accessed June 2020.
- UK’s Food Standards Agency, Food Safety, https://www.food.gov.uk/consumer-advice/food-safety-advice. Accessed June 2020.

Author: Josh Tesolin
Josh is co-founder of RusticWise. When he’s not tinkering in the garden, or fixing something around the house, you can find him working on a vast array of random side projects.

